

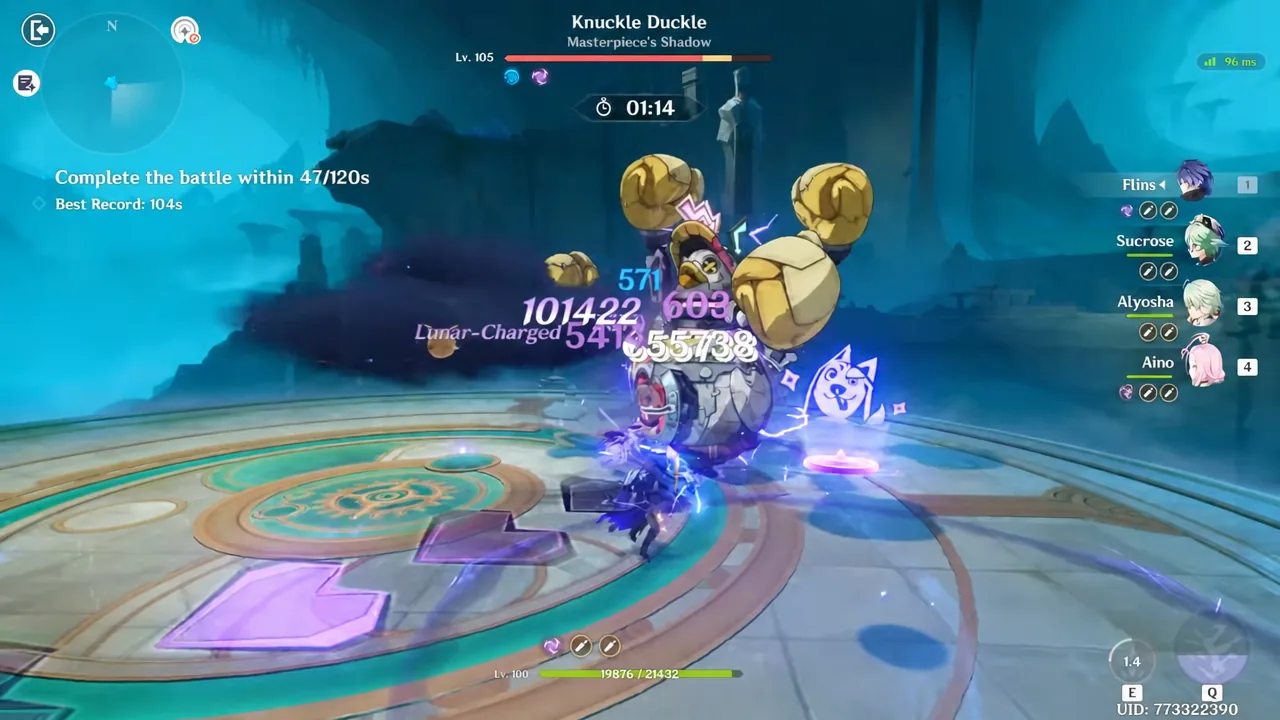
Alyosha is a free 4-star Electro polearm user built around Stellar-Conduct teams, but his sixth constellation quietly turns him into something else: a general-purpose Electro support that a Lunar-Charged Flins team can genuinely use. The Knuckle Duckle stage in the 7.0 Stygian Onslaught rotation is where that shows up most clearly, since the boss punishes anything that isn’t applying Electro fast.
Quick answer: C6 lets Alyosha’s Hunter’s Precision buff stack twice, which doubles his ATK% buff and hands the on-field character 100 Elemental Mastery. For Flins, that means more damage per Lunar-Charged tick without needing a Polestar Field anywhere on the team.
What C6 Alyosha changes for a non-Stellar team
Alyosha’s whole kit runs on Hunter’s Marks. His Elemental Skill applies a Mark to whatever it hits, and Tugarin — the companion summoned by his Burst — activates that Mark when it attacks. Activating a Mark grants Hunter’s Precision to the active character, which is where the ATK% buff lives. That ATK% number scales with his Skill talent level, so Skill takes priority over Burst when you level him.
Below C6, Hunter’s Precision does not stack. His Stellar-Conduct DMG bonus is also locked behind a Polestar Field, which a Flins team simply doesn’t have. That is why he reads as a Stellar-Conduct-only unit at low constellations.
C6 removes that ceiling. Hunter’s Precision now stacks to two, and at two stacks the ATK% buff doubles and every active party member gains 100 Elemental Mastery. Neither half of that requires Stellar-Conduct to be active, so a Lunar-Charged or Electro-Charged team gets the full value. Flins, Chasca, and Alhaitham are the kind of on-field damage dealers that convert those two buffs efficiently.
| Effect | Below C6 | At C6 |
|---|---|---|
| Hunter’s Precision stacks | 1 | 2 |
| ATK% buff | Base value from Skill talent level | Doubled at 2 stacks |
| Elemental Mastery | None | +100 at 2 stacks |
| Stellar-Conduct DMG | 20% (needs Polestar Field) | 40% (needs Polestar Field) |
Note: the Stellar-Conduct portion is dead weight in a Flins team. You are running C6 Alyosha purely for ATK%, Elemental Mastery, off-field Electro, and healing.
Why the Knuckle Duckle stage rewards this specifically
Knuckle Duckle: Armored Arsenal is the third battlefield of the 7.0 Stygian Onslaught rotation, sitting at Lv. 105 on Fearless. It opens by throwing up a white damage ward and giving itself resistance high enough that raw damage will not break through. At the same time it spawns Stamping Devices, the small drones that hold the ward up.
Those drones can be killed with damage, but they also count instances of Electro-Charged and Lunar-Charged. Land enough of those reactions and the drones dismantle themselves, skipping their health bars entirely. When the last one falls, the ward breaks, the boss loses its extra resistance, its Electro RES drops further, and you get a stun window.
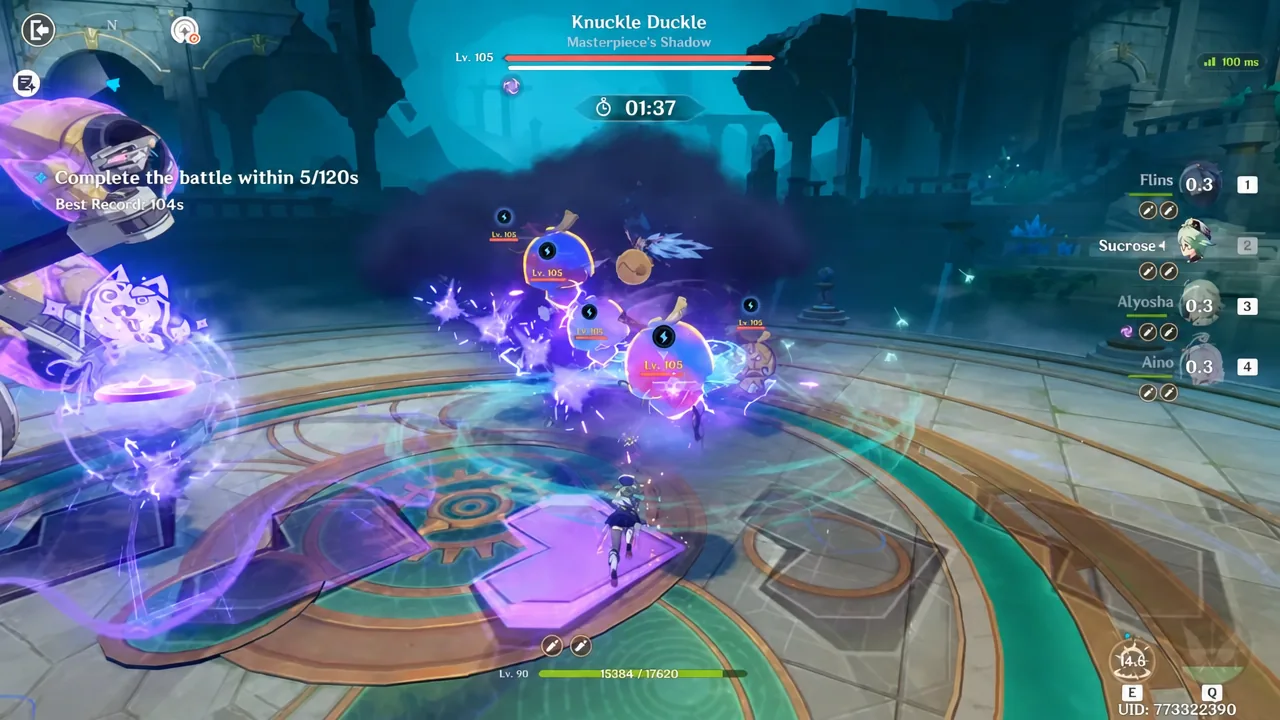
That is the entire reason Electro carries dominate this stage. A team that clears the drones through reaction counts rather than health bars gets to the damage window far faster, and the reduced Electro RES afterward makes an Electro on-fielder the natural pick for the burst phase.
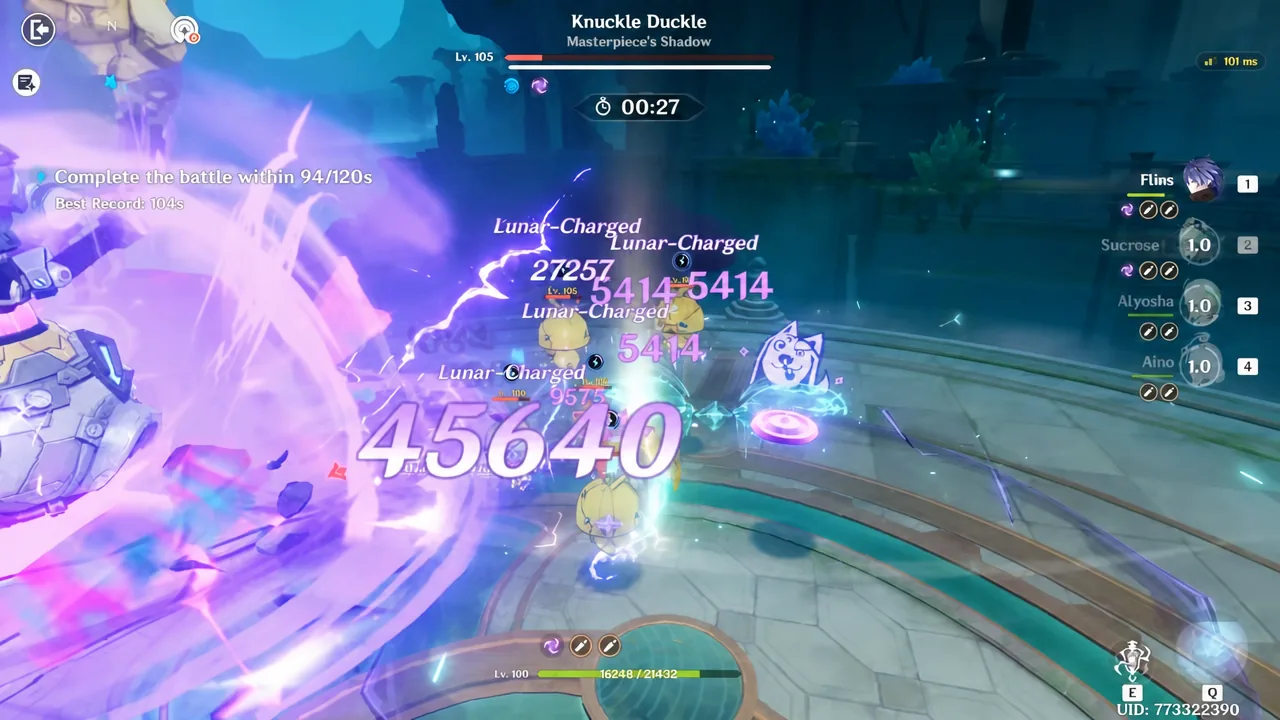
A Flins team using C6 Alyosha instead of a premium support
The standard answer for this battlefield is Flins with Ineffa, Columbina, and Sucrose. Swapping in Alyosha alongside Aino and Sucrose is a workable variant, and it clears the Fearless-difficulty Knuckle Duckle in a little under two minutes on the 120-second timer.
| Slot | Weapon | Artifacts |
|---|---|---|
| Flins (on-field Electro DPS) | Bloodsoaked Ruins | Night of the Sky’s Unveiling |
| Alyosha (Electro support, C6) | Favonius Lance | Noblesse Oblige |
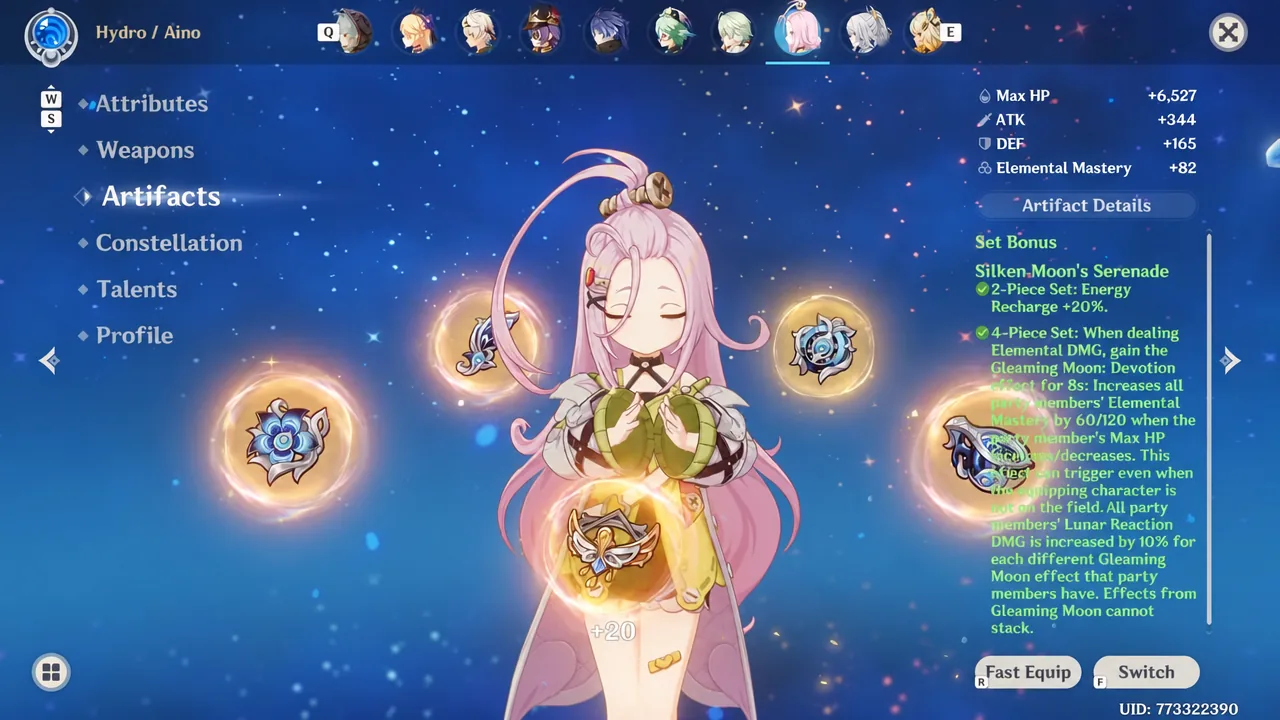
| Aino (Hydro support) | — | Golden Troupe |
| Sucrose (grouping, EM sharing) | Wandering Evenstar | Viridescent Venerer |
Favonius Lance is doing real work here. Alyosha’s Normal Attack string can trigger its passive, and his Skill already generates five Electro particles on hit, so his energy problem largely solves itself. Noblesse Oblige is the sensible default set because his buffs go to the on-fielder anyway and he brings no personal damage worth building around.
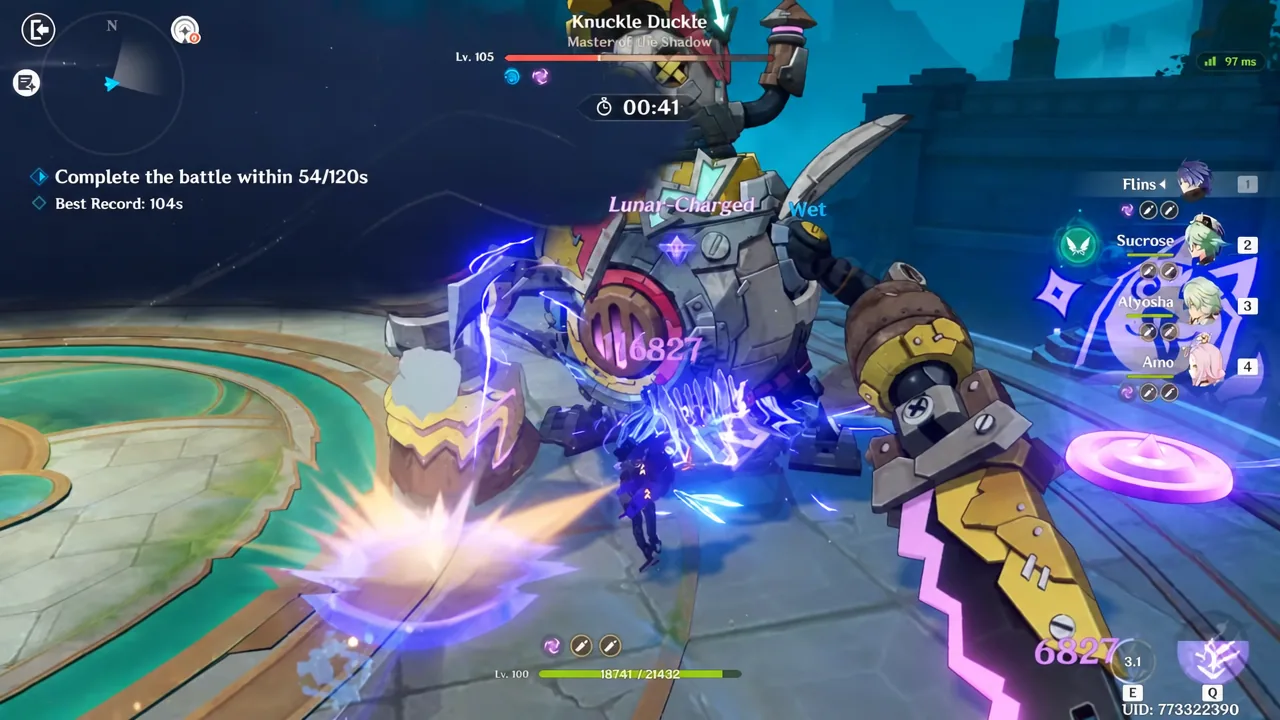
Sucrose covers the gap Alyosha cannot: she groups the Stamping Devices so reaction applications hit multiple targets, and Viridescent Venerer shreds elemental resistance. Aino supplies the Hydro half of the Lunar-Charged equation.
Rotation order and constellation timing
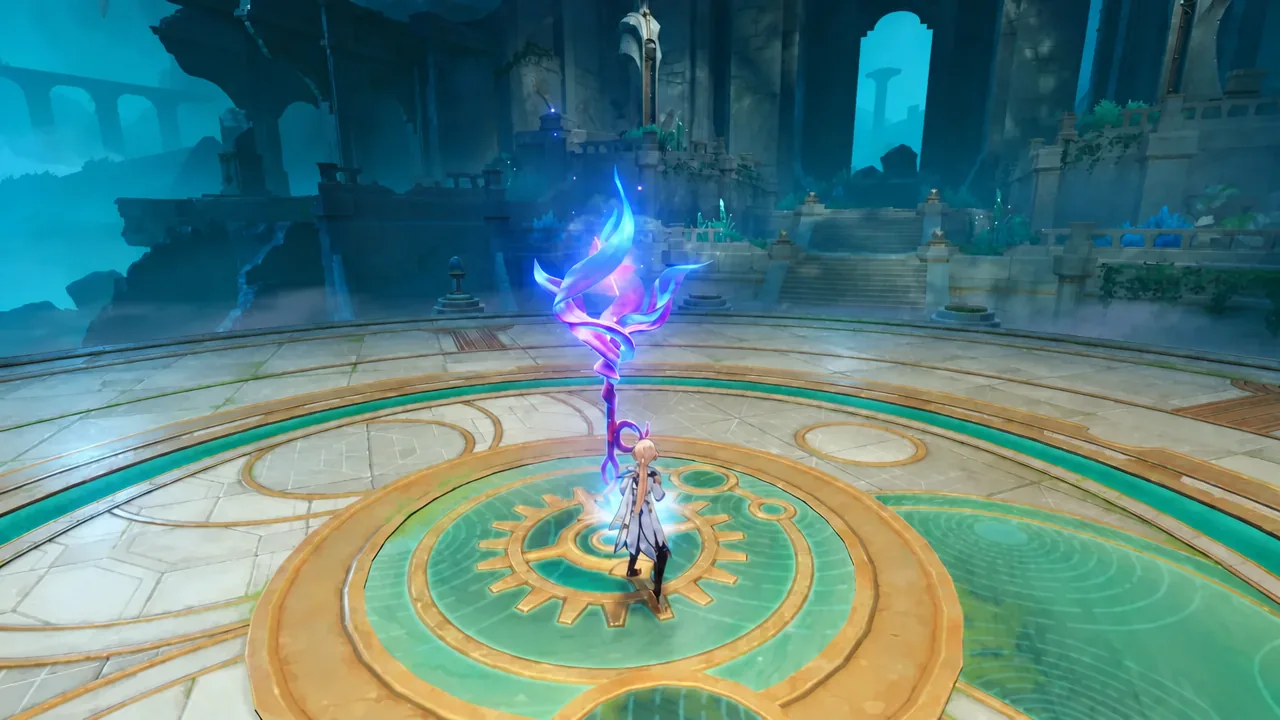
One constellation worth knowing about below C6: C2 extends the Burst from 14 to 20 seconds, which stretches buff coverage to around 35 seconds and lets Alyosha skip his Burst every other rotation. C1 hands him 15 energy whenever a nearby character triggers an Electro reaction, on an 18-second cooldown, which cuts his Energy Recharge requirement noticeably in a team that reacts constantly.
How to tell the setup is working
The clearest signal is the ward. If the Stamping Devices are dismantling on their own rather than being chipped down through their health bars, your reaction frequency is high enough. If you are still fighting the drones as the timer passes the halfway mark, you are likely to face a second wave, and on Fearless there is not enough time left to clear them twice.
For Alyosha specifically, the buff only lands if Tugarin is actually connecting. If Alyosha’s Burst is on cooldown or the Marks are not being applied, Hunter’s Precision never triggers and the C6 stacks never build. Common failure points are running Alyosha with too little Energy Recharge to Burst every rotation, or using his Skill after switching to Flins instead of before.
Tugarin also heals. His Ascension 1 passive restores HP to nearby active characters at 120% of Alyosha’s ATK whenever he attacks, and C4 adds a second heal worth 60% of ATK to whichever party member is lowest by percentage. That covers the sustain slot on a team that would otherwise have none, which is part of why Alyosha can replace a dedicated healer rather than just a buffer.
The honest read on Alyosha is that C6 is where he stops being a niche pick. He is free, so the constellations are reachable, and the sixth one converts him from a Stellar-Conduct specialist into a support any Electro-heavy team can slot in. Against Knuckle Duckle, where the answer is almost always “apply more Electro”, that flexibility matters more than the raw numbers suggest.





