Gaming Guide

The Blood of Dawnwalker: What Hunts the Night Walkthrough

Every objective in order, from Crake's cellar to the Beast of St. Teotim's and the inscription that ends the quest.

Every objective in order, from Crake’s cellar to the Beast of St. Teotim’s and the inscription that ends the quest.

What Hunts the Night picks up the moment Where Loyalty Lies ends, and it hands Coen a grim piece of news to deliver: the missing manumit scouts are dead, torn apart by a winged creature that Brencis appears to be manufacturing. The quest runs from a cellar meeting in Svartrau City to a night raid on St. Teotim’s Church, a boss fight, and a fighting retreat through the streets.

Quick answer: Report to Crake in the Svartrau City cellar, meet him and Sara outside St. Teotim’s Church in the Middens at night, follow the black trail in the churchyard to the belltower doors, kill the Beast of St. Teotim’s, pull the inscription from its jaws, then fight your way out and follow Crake to Mevasser.


What Hunts the Night requirements and time cost

The quest unlocks automatically once Where Loyalty Lies is finished, and it sits in the middle of the manumit chain that continues into What Moves the Dead and Who Pulls the Strings. It is one of the more expensive quests in terms of the in-game clock, so plan around it if you are tracking your 30 days.

DetailValue
Unlocked byCompleting Where Loyalty Lies
RegionSvartrau City (Middens district)
Starts withTalking to Crake inside the building, down in the cellar
Time cost8 time segments
Timing restrictionThe church meeting only happens at night
BossBeast of St. Teotim’s
Leads intoWhat Moves the Dead

Objective order

#Journal objective
1Report back to Crake
2Speak with Crake
3Help Crake investigate the scouts’s deaths
4Meet Crake and Sara in front of St. Teotim’s Church at night
5Follow Crake and Sara
6Open church gate from the other side
7Investigate the churchyard
8Check the belltower doors
9Defeat the monster
10Inspect the monster’s remains
11Help Crake escape the ambush
12Open the gate from the other side
13Show the inscription to Crake

Report back to Crake in Svartrau City

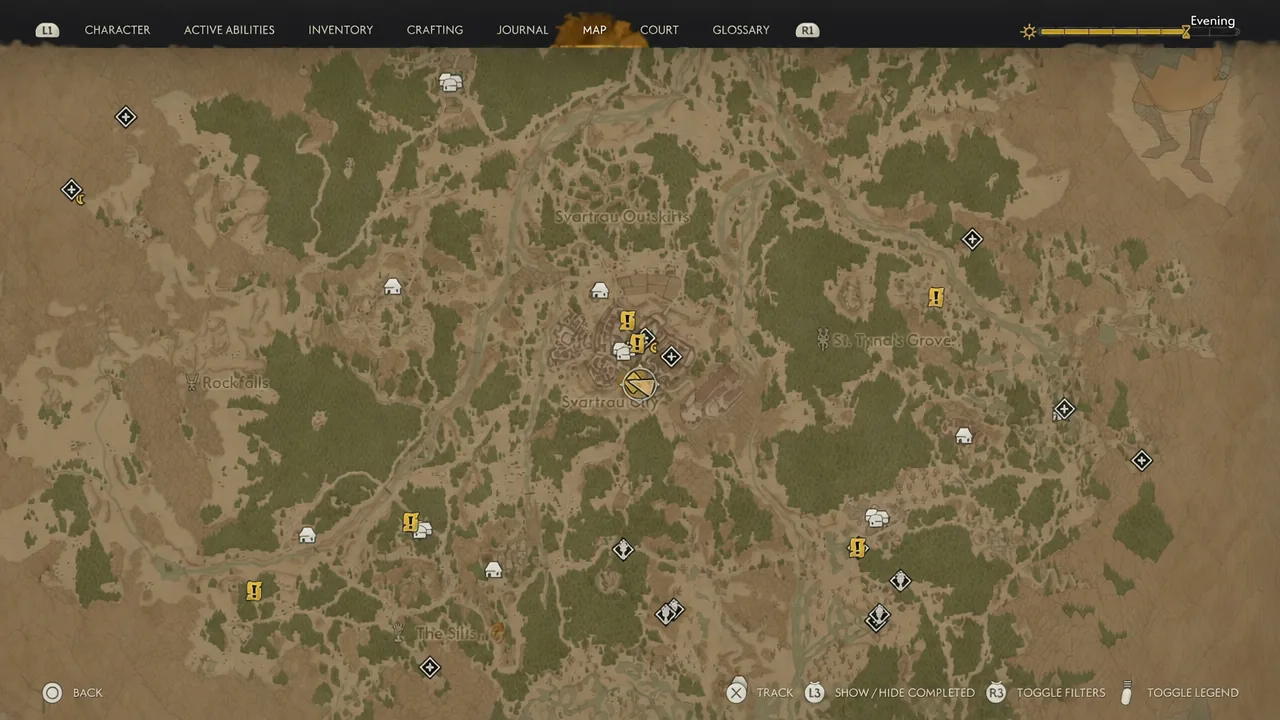
Head into Svartrau City and follow the compass indicator to the marked house. If the arrow is hard to read in the narrow streets, open the map and pin Crake’s marker directly.
Regional map open with quest and location markers, including Crake's position in Svartrau City
The map screen with Crake’s marker in Svartrau City. Image: Rebel Wolves
Go inside and take the stairs down to the cellar, then open the door at the bottom. Crake is busy working when you find him.
Run through the conversation and tell him the scouts are dead and that Brencis appears to be breeding these creatures. The dialogue options here change the tone, not the outcome, so pick whichever line fits your Coen. Once it ends, the quest pauses until nightfall.

Meet Crake and Sara at St. Teotim’s Church
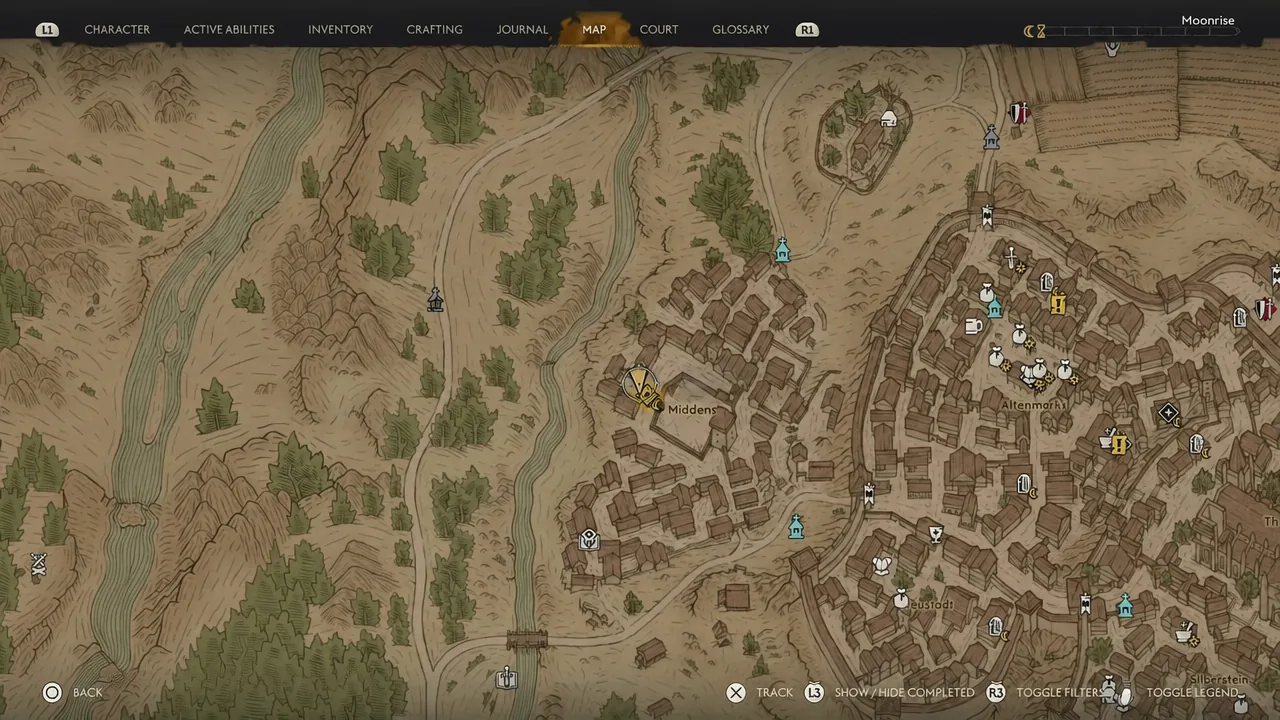
After dark, make your way to the front of St. Teotim’s Church in the Middens. Crake arrives with Sara, a lockpicker brought along for the doors you cannot force.
Map view with the Middens district marker selected in Svartrau City
The Middens marker on the map, where St. Teotim’s Church sits. Image: Rebel Wolves
Follow the pair until they stop at the churchyard gate. Something is wedged against it on the far side, so Coen climbs over the top while the other two wait. Drop down, clear the obstruction, and open the gate for them.

Investigate the churchyard and the belltower doors

Use focus mode inside the churchyard and examine the dark stains on the ground. Each one you inspect fills in more of what happened to the scouts here.
The black trail leads away from the stones and straight to the belltower doors. Interact with them to trigger the fight. There is no way to scout the interior first, so heal up and swap to your preferred night loadout before you touch the doors.

Beast of St. Teotim’s boss fight

The doors open onto the Beast of St. Teotim’s, a winged, clay-encrusted monstrosity that immediately attacks. It has a deep health pool and hits hard enough to end a careless run in a few swings, so expect to retry if you are underlevelled.

Sara fights alongside you for the whole encounter, which gives you openings while it is turned away from her. Since this all takes place at night, your claws and vampiric abilities are available, and leaning on them is far more efficient than trading sword swings.
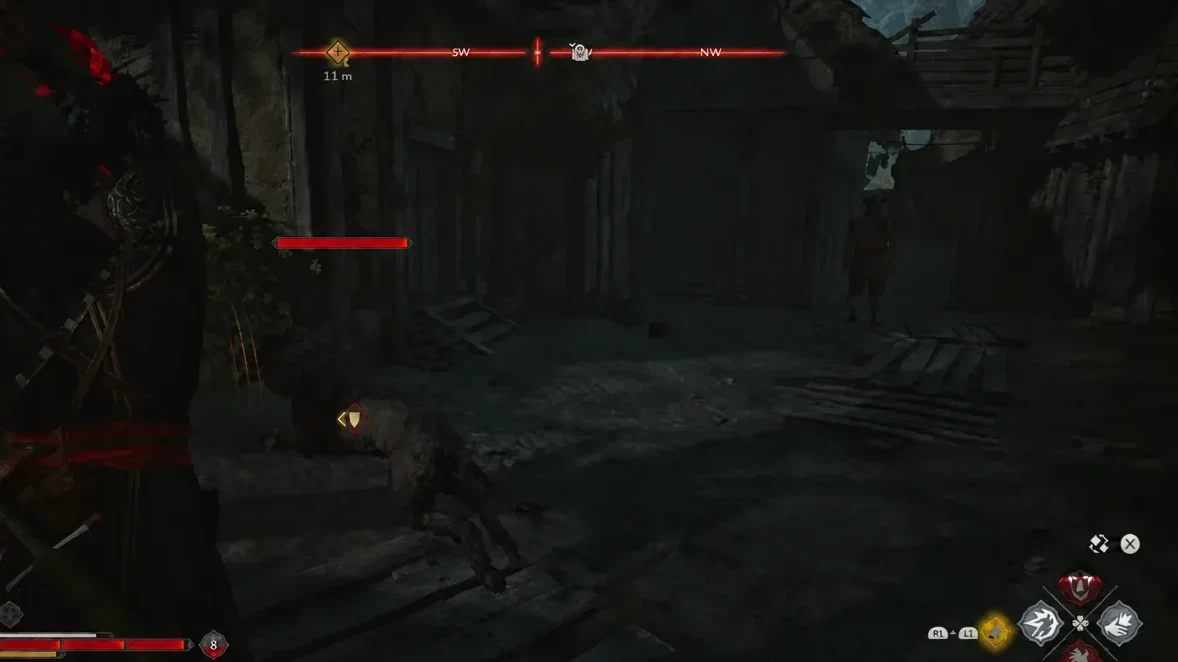
Combat screen with a highlighted ability icon lit up during the fight against the beast
A charged ability icon lights up mid-fight, ready to use on the beast. Image: Rebel Wolves

When the creature goes down, a cutscene takes over. Sara is mortally wounded in the fight, and Crake finishes her himself rather than risk what she knows getting out.


Inspect the monster’s remains and the inscription
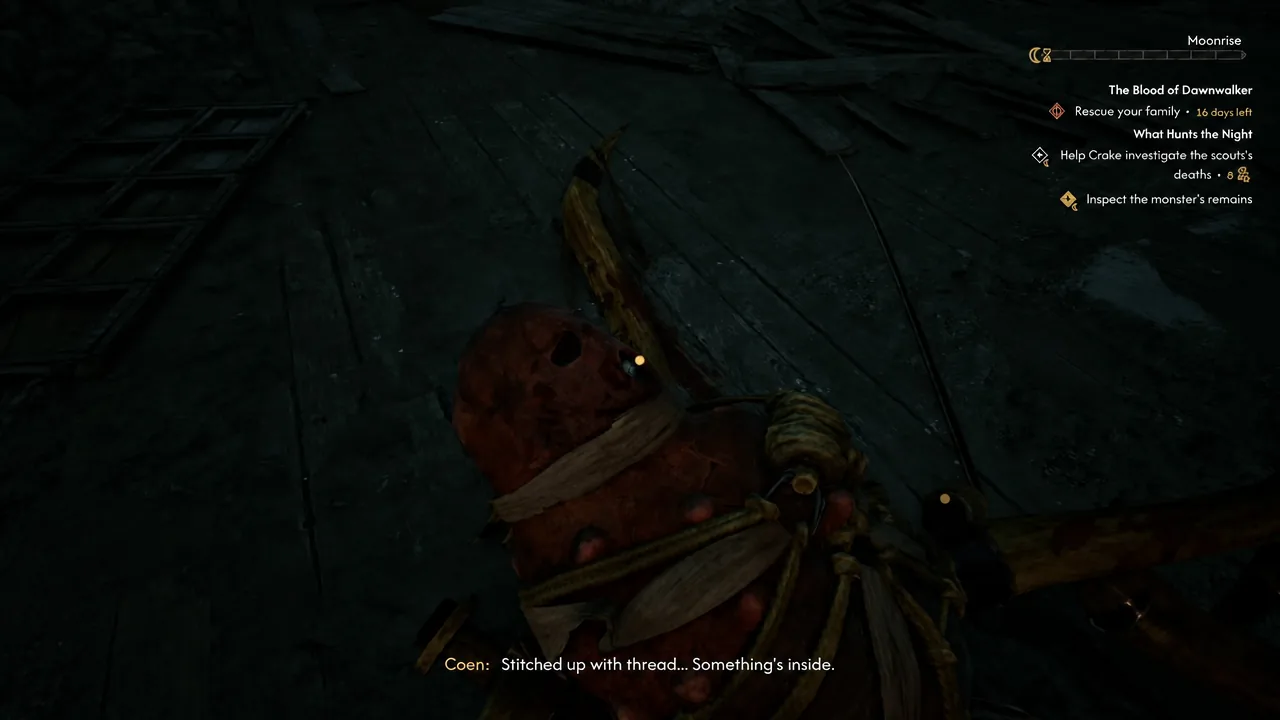
Focus on the corpse and work through every highlighted point on it. The body is stitched together from a human frame, and there are several separate spots to examine before the objective clears.
Quest tracker showing Inspect the monster's remains while Coen examines the stitched corpse
The tracker updates to “Inspect the monster’s remains” as Coen examines the stitched-together body. Image: Rebel Wolves
The important find is an inscription clutched in the creature’s jaws, written in a script Coen cannot place. Show it to Crake when prompted. Note that it is not Hebrew, which is why a specialist is needed rather than a quick translation on the spot.

Escape the ambush with Crake

City guards close in on the churchyard the moment the examination ends. Stay with Crake and cut through the soldiers blocking the route rather than sprinting ahead, since he needs you to clear the path.
The run stops at a locked gate. Climb over it the same way you handled the churchyard entrance, then unlock it from the far side so Crake can follow you through.

Note: fighting here is unavoidable. There is no stealth route past the ambush, so treat it as a running battle and use the gate as your finish line.


Reaching Mevasser and confirming the quest is complete
Once you are clear of the guards, Crake takes you to a safe house and then on to Mevasser, a scholar in the Jewish quarter who can read the script. Let the two of them talk without interrupting.
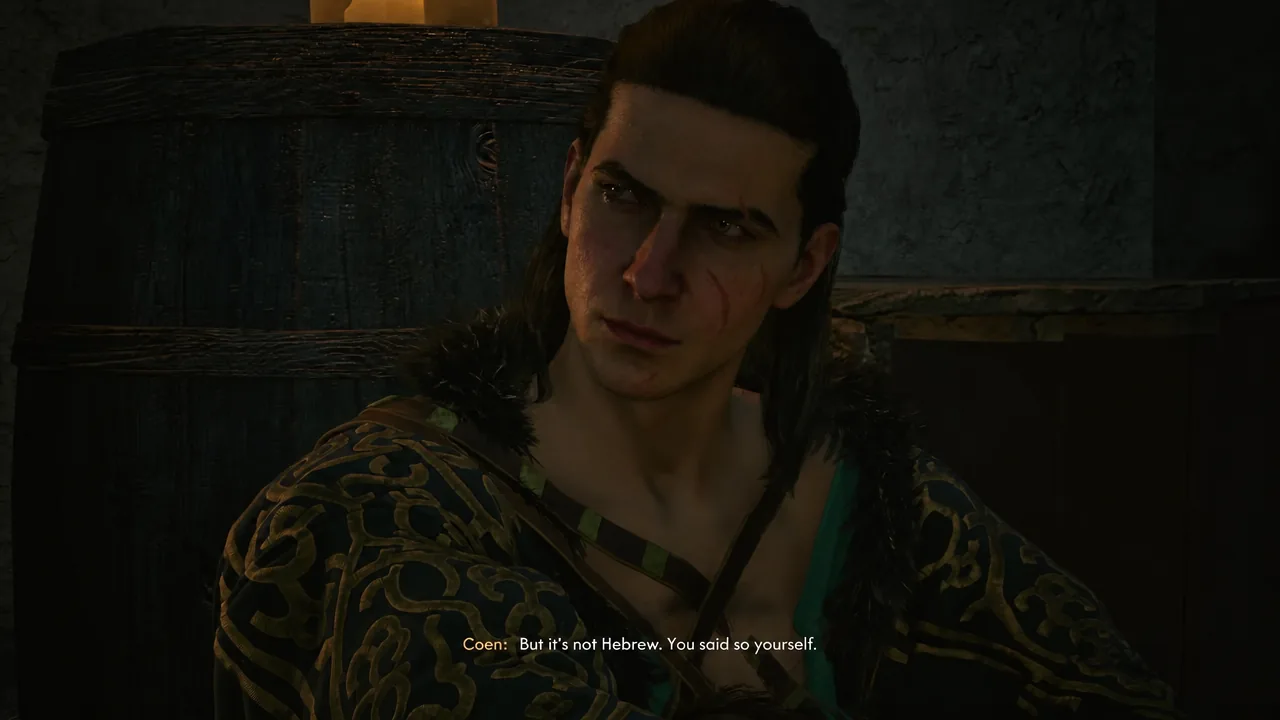
Dialogue scene with Coen's subtitle reading But it's not Hebrew. You said so yourself.
Coen presses the point that the inscription is not Hebrew during the conversation about the script. Image: Rebel Wolves

The quest closes out as soon as that conversation ends. Your journal entry updates to say the inscription may hold the key to killing these creatures and that Crake knows someone who can decipher it, and the manumit thread continues into What Moves the Dead. If your journal instead reads that you failed the manumits or that you never got to the bottom of Brencis’s monsters, that branch of the questline is shut and you would need an earlier save to reopen it.

Budget accordingly before you start. At eight time segments, What Hunts the Night is a meaningful chunk of the countdown to Brencis, and the night-only meeting means you cannot compress it into a daylight errand run.