What Moves the Dead Walkthrough in The Blood of Dawnwalker (Full Quest)
Every objective from the Altenmarkt investigation to the Crypt Dweller boss and the reveal that ties into Aurelius's Tower.
Every objective from the Altenmarkt investigation to the Crypt Dweller boss and the reveal that ties into Aurelius’s Tower.
by AllThingsHow Staff
What Moves the Dead is a main story quest in The Blood of Dawnwalker that sends Coen and Crake from Neustadt to Altenmarkt to investigate Silas, a long-dead doctor who learned to animate objects by draining life from the living. The trail leads into a hidden laboratory beneath the town, a boss fight against the Crypt Dweller, and the first mention of the sorcerer Aurelius. Completing it unlocks the follow-up quest, Who Pulls the Strings.
Quick answer: Defeat the thugs outside Mevasser’s home, inspect his woodcut, ask the Old Lady with the dog (Reaper) about Silas, enter the locked house left of the stone archway, drop through the trapdoor, slide the bookcase to reach the ruins, follow the blood trail, beat the Crypt Dweller, then lead the wounded Crake back to the hideout. The quest ends and Who Pulls the Strings begins.
How to start What Moves the Dead
This quest sits inside the Manumit storyline that begins with The Firebrand. The chain runs through Under Watchful Eyes, Shadows in the Woods, Where Loyalty Lies (required), and What Hunts the Night before What Moves the Dead unlocks. During the later part of What Hunts the Night, Crake mentions Mevasser, a man in the Jewish Quarter who may be able to read a strange manuscript.
The open-world structure gives you flexibility on ordering, but Where Loyalty Lies must be done first for What Hunts the Night to appear, which in turn leads into this quest. When you reach Mevasser, he dismisses the manuscript as gibberish and walks off toward his home, which sets the first objective.
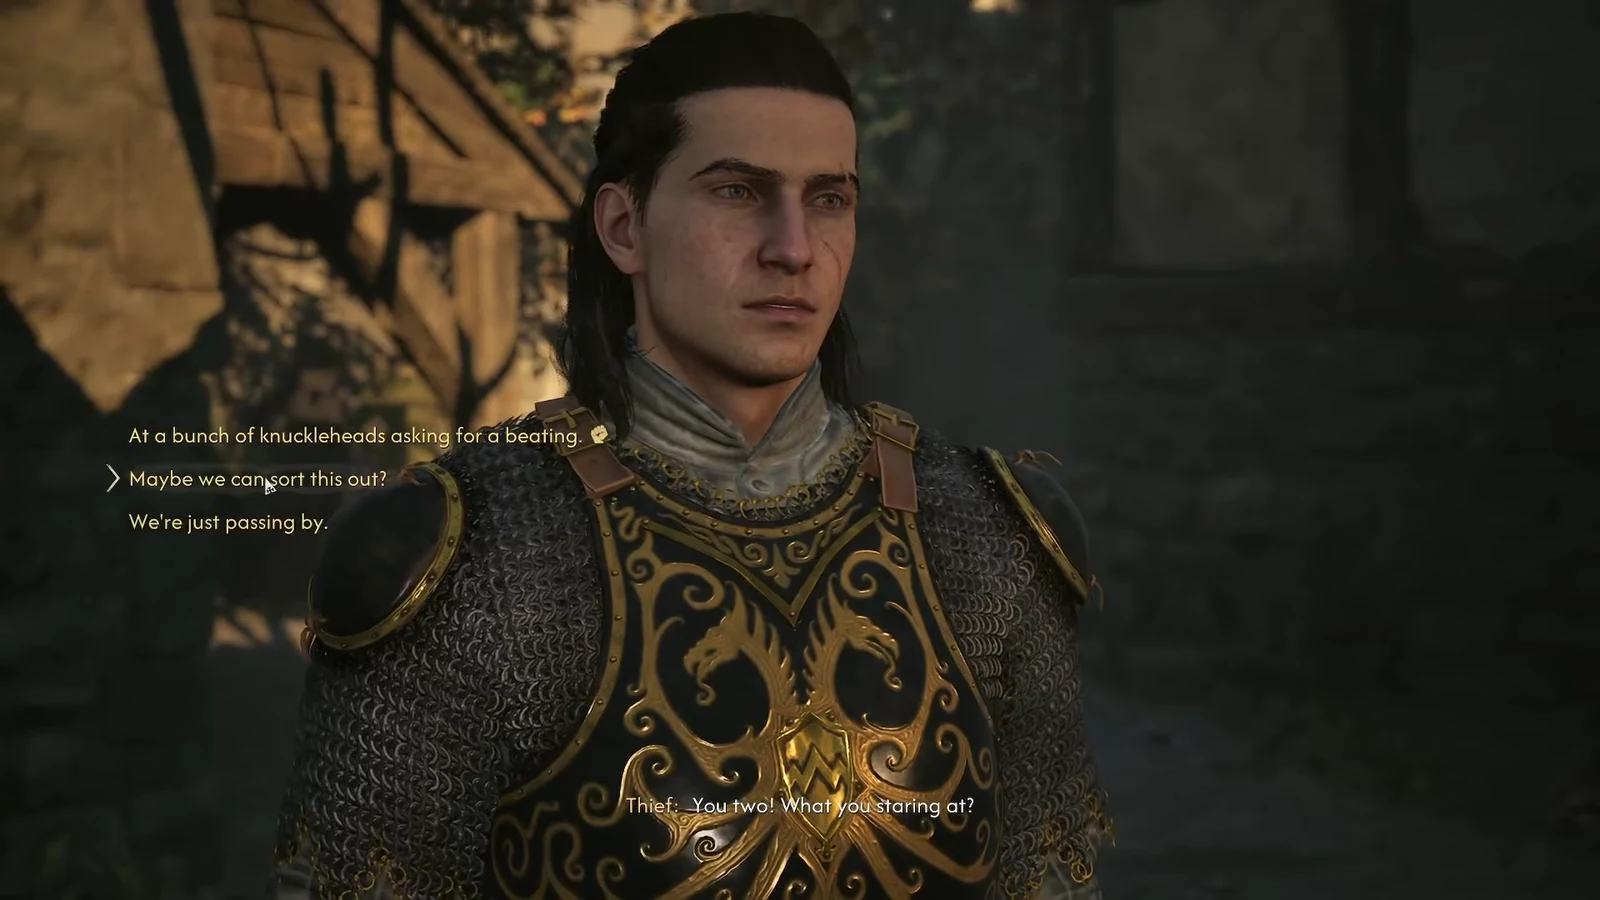
Fight the three armed thieves in the alley using melee attacks and magic. You can beat them or pay them off, but note that beating them leaves Mevasser annoyed, since they will demand more money from him later. Either way, they retreat and Mevasser invites you inside.
Speak with Mevasser inside his home. He explains that Silas was a doctor who dabbled in dark magic over a century ago. Convince him to help, and he produces an old woodcut of Silas’s workshop.
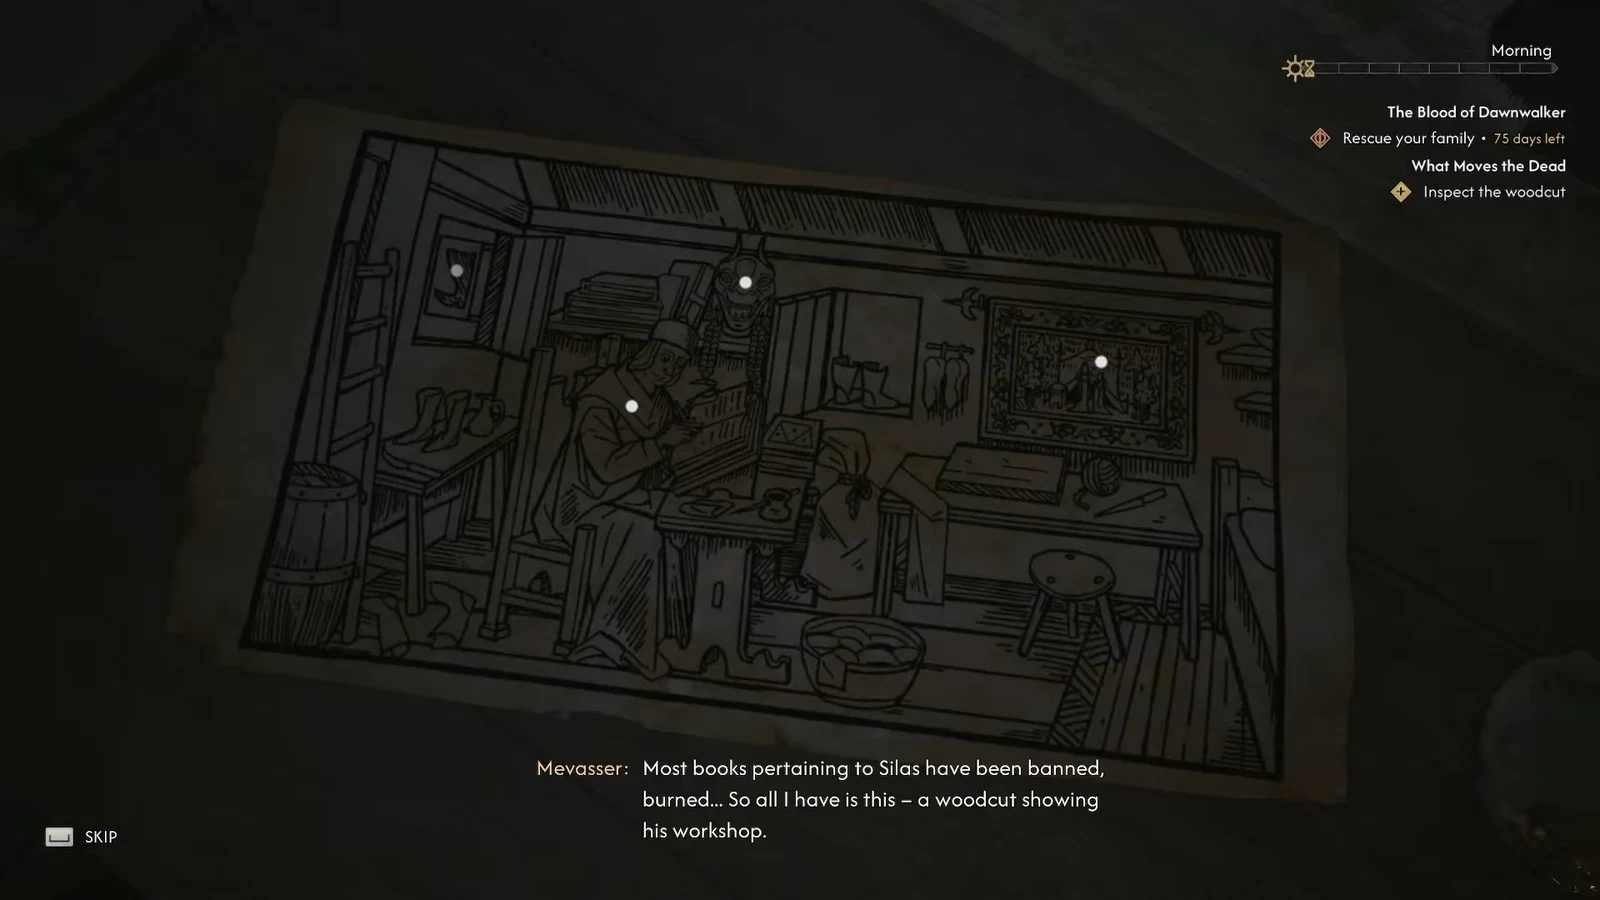
Enter the inspection screen and examine all four points on the woodcut. The clues are the tapestry, the funerary mask, the cobbler’s sign, and Silas himself. Inspecting every point reveals that Silas posed as a cobbler in Altenmarkt.
04:11The woodcut inspection screen where you check the tapestry, funerary mask, cobbler's sign, and Silas. Shown at 04:11 in PazarGamingGuides’s video. Image: Rebel Wolves
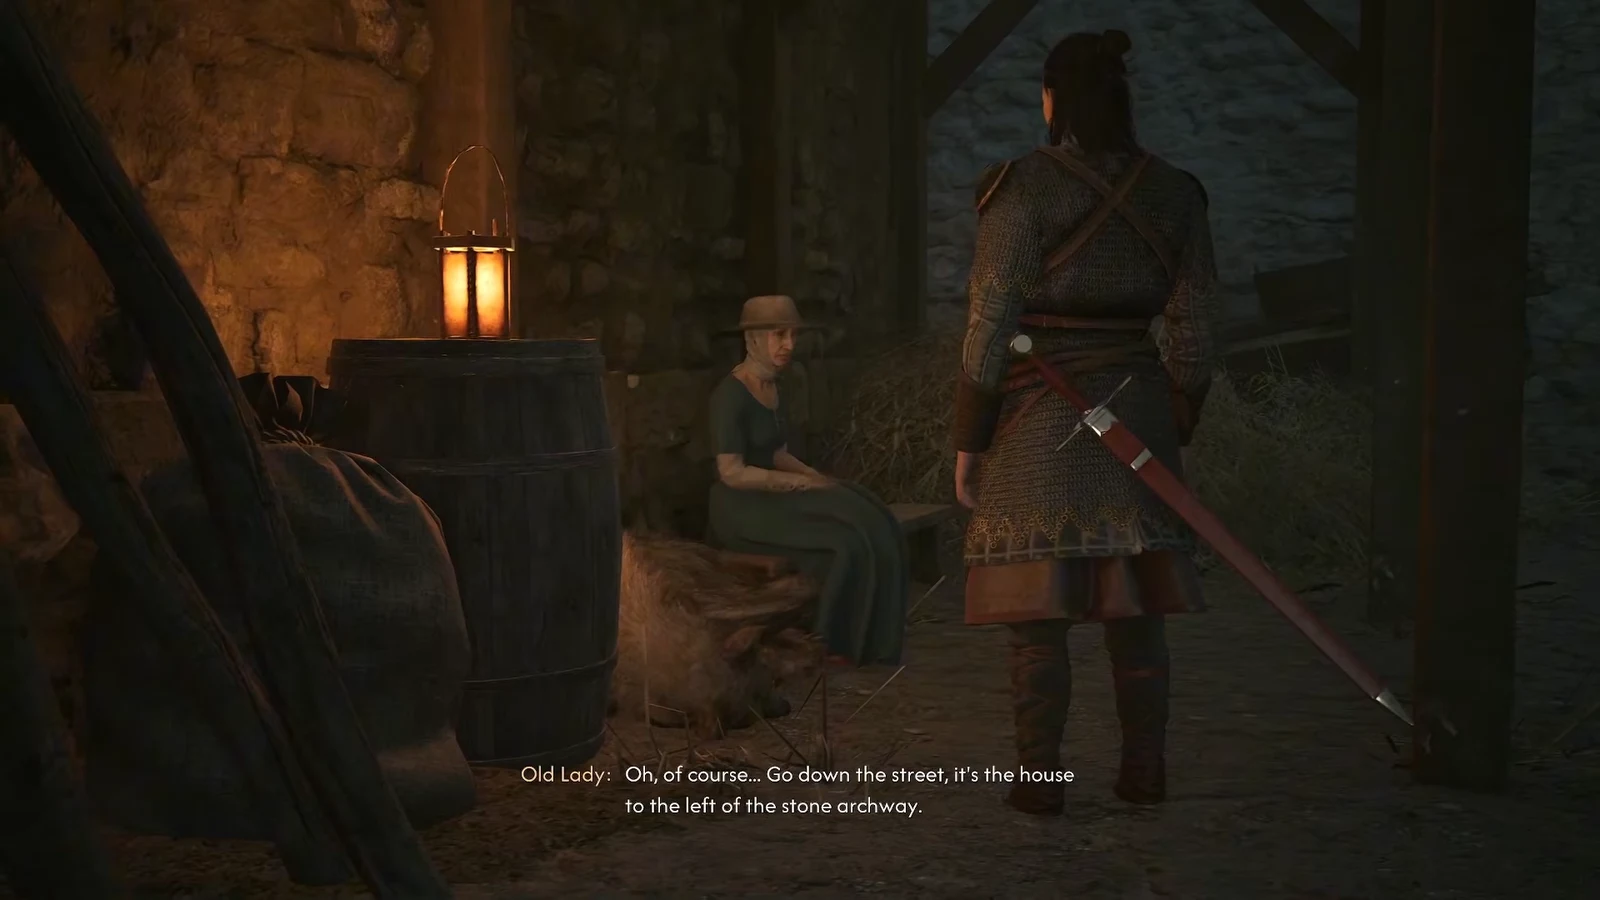
Speak to the Old Lady sitting beside her dog, Reaper. Ask about cobbler shops, and she reveals Silas was a grave robber driven out by an angry mob. When she asks why you are inquiring, sharing your story (“It’s a long story…”) consumes some time but gets her to point you to the house.
Investigate the interior. Inspect the blank patch on the wall where a tapestry once hung, then inspect the chimney in the back room. This turns up a hidden trapdoor under the floorboards.
The house owner storms in with an axe. You can threaten him or pay him to leave. Choosing “Take this and sod off. (50)” hands over 50 Demarius and avoids a fight, giving you peaceful access to the basement.
Descend the ladder and inspect the wooden bookcase. You will find hagiographies, a mask, and a moving spiderweb that signals a draft behind it. Crake helps you slide the bookcase aside, opening a secret passage into ancient ruins.
Explore Silas’s laboratory and loot
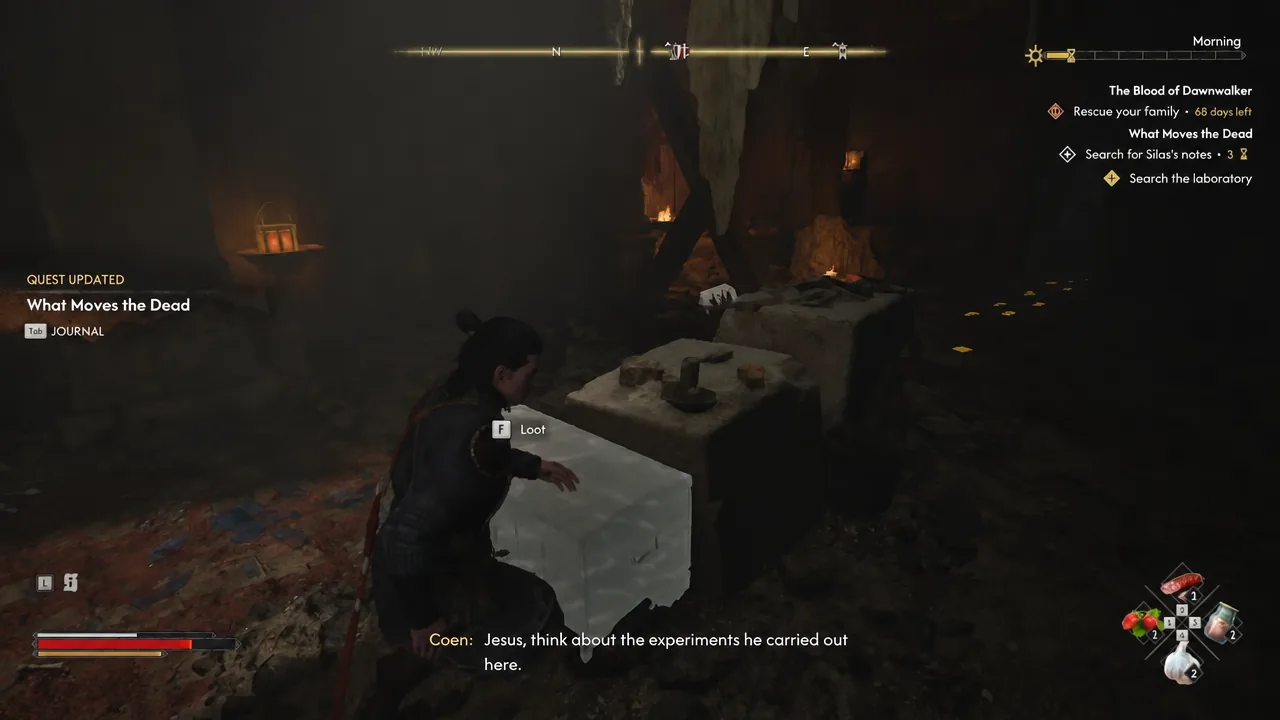
The laboratory is large and worth searching thoroughly. Read the note titled “Regarding the Laboratory,” then open the chest to grab a Silver Brooch and a Balm of Fortitude. More notes on Silas’s gargoyles sit on the ground near a fallen stone pillar.
11:59Looting a container in Silas's laboratory using the on-screen prompt. Shown at 11:59 in PazarGamingGuides’s video. Image: Rebel Wolves
There is also a locked door in the lab. The key sits on a table near the door itself. Opening it rewards the Mercurial Fervour Manual, the recipe for Minor Revitalizing Tonic, a Keen Narrow Cleaver, and a Ruby Brooch. After looting, find the intruder footprints nearby and follow them deeper.
Following the blood trail leads to a mutilated corpse and then a decapitated body holding a note titled “Orders from Master Aurelius.” Inspecting the body triggers a cutscene where Crake is suddenly dragged into the darkness.
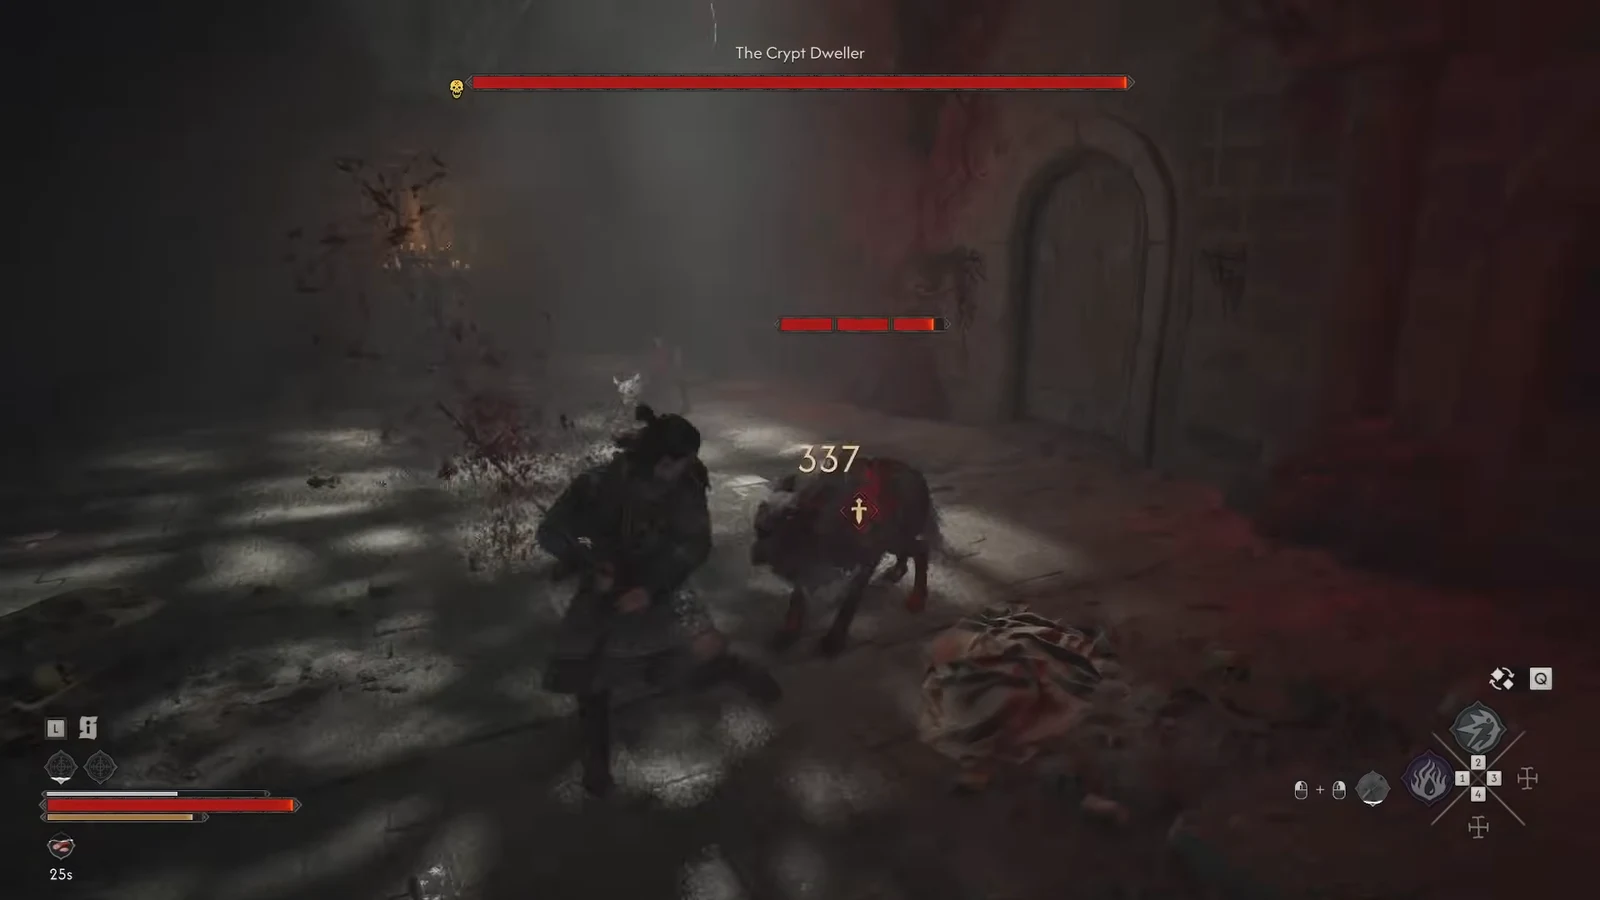
Chase after Crake by following the blood trail and the highlighted marks on the floor. Along the way you fight off several Cursed Mongrels, the wolf-like beasts that guard the deeper ruins.
With the enemies down, find Crake injured on the floor. Loot the surrounding bodies for rare materials such as Pangolin Claws, Hellhound Pelt, Murohn Blood, and an Abyss Pendant. Then head out through the foggy graveyard.
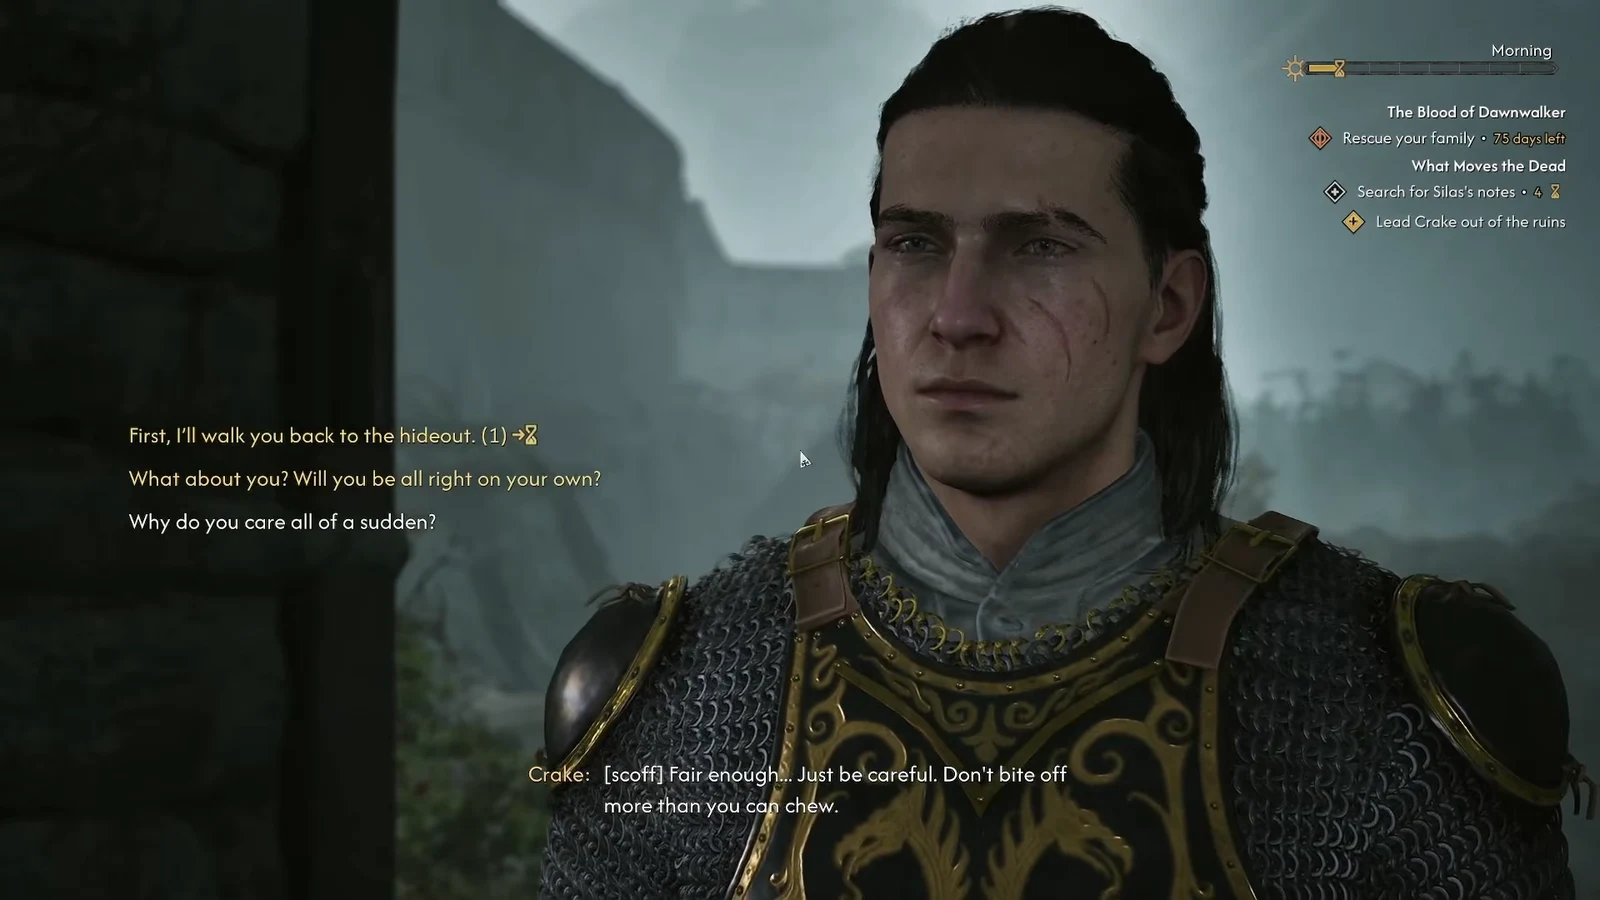
Outside in the cemetery, ask Crake about the note with “Does the name Aurelius mean anything to you?” He identifies Aurelius as an evil sorcerer who took Silas’s research and now resides in a tower directly south of Oghasti.
Choose “First, I’ll walk you back to the hideout.” This costs some time, but Crake formally introduces himself as Marat, a high-ranking figure from Svartrau.
18:43Selecting the option to escort Crake back to the hideout. Shown at 18:43 in PazarGamingGuides’s video. Image: Rebel Wolves
Back at the hideout, Drogos demands to know where Sara is, and Marat orders him to fetch medical supplies. As Marat struggles out of his armor, you can help dress his wounds, which advances Coen’s romance with him. The quest completes here and Who Pulls the Strings begins.
You will know the quest finished when the journal swaps the active objective to Go to Aurelius’s Tower and the tracker names Who Pulls the Strings as the current quest.
With Crake safe and the trail to Aurelius set, your next stop is the tower south of Oghasti, where Who Pulls the Strings picks up the thread. Escorting Crake and dressing his wounds is optional but the only part here that moves his romance forward, so factor that in against the time it costs.