

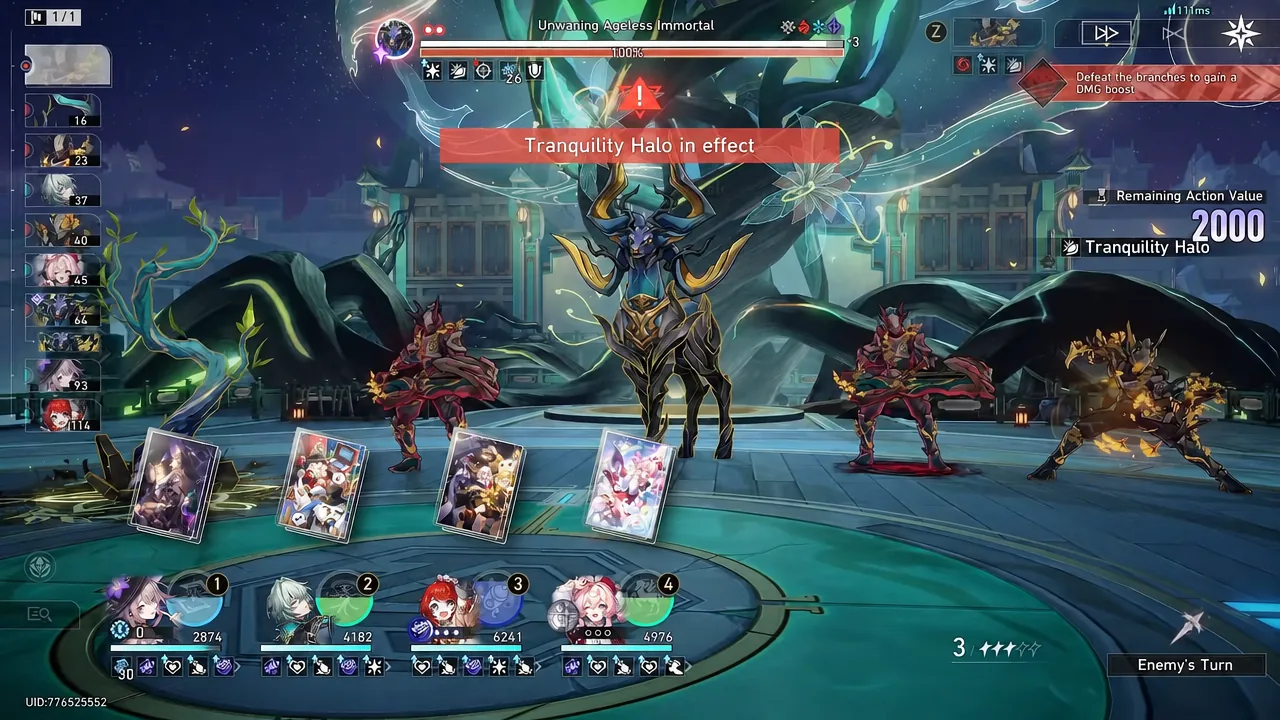
Starward Mode in Apocalyptic Shadow 4.5 asks for three separate teams and three separate boss kills, and the reward gate sits high enough that a sloppy clear on any one node sinks the whole run. The current rotation runs from August 31 to October 5, 2026 on server time, with Difficulty 4 pitting you against the Unwaning Ageless Immortal, the Hellcharred Shadow General, and Super Idol: Center of Attention.
Quick answer: Clear Difficulty 4 in Starward Mode with a combined score of 10,200 points or higher across all three nodes to earn the Prismatic Star; combine that with 12 regular stars to unlock the period’s Limited-Time Clearance Medal.
How scoring works in Starward Mode
Apocalyptic Shadow tracks Action Value rather than cycles. Each node gives you 2,000 Action Value, and you earn up to 2,000 points from the percentage of the boss mirage’s HP you strip away (1,000 per phase). If you actually kill the boss, whatever Action Value you have left converts into points one-for-one, which is how a node reaches its 4,000-point ceiling.
Regular Difficulty 4 has two nodes and an 8,000-point ceiling. Starward Mode adds a third boss and a third team, so the star targets are multiplied by 1.5 and the maximum climbs to 12,000. That makes 10,200 an average of roughly 3,400 per node, which requires all three bosses dead with Action Value to spare, not just heavy damage.
| Detail | Value |
|---|---|
| Action Value per node | 2,000 |
| Max score per node | 4,000 |
| Max total (3 nodes) | 12,000 |
| Prismatic Star threshold | 10,200 |
| Unlock requirement | Clear Apocalyptic Shadow Difficulty 3 |
One structural advantage over the older format: in Starward Mode you can swap a single node’s lineup without wiping every record. Each node keeps its best score unless you change that node’s team or reuse its equipment somewhere else.
The global Ruinous Embers buff this rotation
Every boss mirage carries Steadfast Safeguard, which cuts incoming damage by 50% until you Weakness Break it. Breaking dispels that reduction until the boss changes phase, applies Safeguard Breach for 100% increased damage taken, and sets the boss’s Action Value to 150.
The 4.5 rotation stacks extra value on top of that break. When a target with Steadfast Safeguard is Weakness Broken, control debuffs are cleared from your whole team and every ally’s Ultimate fires immediately. Enemies also take 25% more Skill damage and 15% more Elation damage for the duration of the rotation. Break timing is therefore your damage window, not a side objective.
Boss weaknesses and stats for all three nodes
| Boss | Weaknesses | Toughness / SPD |
|---|---|---|
| Unwaning Ageless Immortal (Node 1) | Fire, Physical, Quantum, Ice | 240 × 3 / 158 |
| Hellcharred Shadow General (Node 2) | Fire, Physical, Lightning, Quantum | 350 / 190 |
| Super Idol: Center of Attention (Node 3) | Fire, Physical, Quantum, Imaginary | 440 / 158 |
HP pools rose sharply this cycle. The Hellcharred Shadow General sits at roughly 19.4 million per copy, up from about 11.9 million previously, and Super Idol: Center of Attention jumped to around 30 million per copy from roughly 14.5 million. The Unwaning Ageless Immortal fields two bodies at about 13.5 million each. Node 1 also runs corruption level 2 effects.
Node 1: Unwaning Ageless Immortal
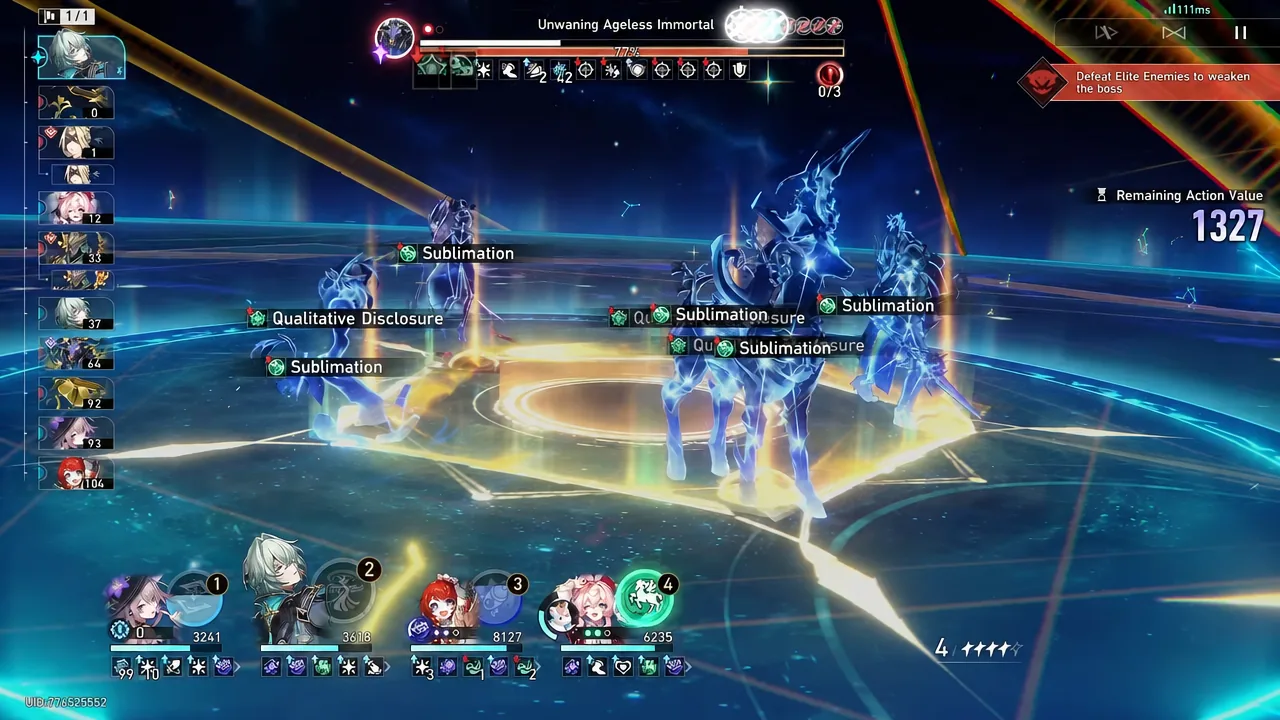
This is an AoE check first and a single-target fight second. The deer constantly summons Twigs and additional enemies, and killing them is the only efficient path to Toughness damage. Every summon you defeat chips the boss’s Toughness and deals True damage to it; killing an Elite summon does both on a much larger scale and immediately triggers a fresh summon wave.
The Twigs matter for a second reason. Defeating them grants your team a stacking damage bonus and dispels the Halo effect, and Dazzling Halo at Difficulty 4 means any enemy that is not Weakness Broken while a Halo is active takes less damage and deals more. Leave Twigs alive and your numbers stay suppressed. In phase two, two Elite enemies flagged as Right-Hand Man appear — killing them strips a large chunk of the boss’s Toughness and removes their damage reduction.

The Like a Deer With Wings trait at Difficulty 3 and above heavily advances the action of summons, so a slow team gets overrun before it can clear a wave. Bounce-damage carries are unreliable here because targets are spread across five slots; true multi-target output is more consistent.
Node 1 buff options
| Buff | Effect |
|---|---|
| Land of Fertility | +30% Skill and Ultimate DMG for all allies, plus another 30% for the 1st character in the lineup |
| Unstoppable Force | Memosprite damage ignores 20% of the target’s DEF |
| Beaming Bliss | +30% Elation DMG taken by enemies; +50% Weakness Break Efficiency for all allies if an Elation character is on the team |
Land of Fertility suits a hypercarry sitting in the first slot, such as an AoE Erudition core built around The Herta with Anaxa, Tribbie, and Hyacine, or a Himeko • Nova lineup with Welt and Dan Heng • Permansor Terrae. Unstoppable Force is the pick for a memosprite team like Castorice with Evernight, Cyrene, and Hyacine. Beaming Bliss covers Elation setups running Evanescia or Silver Wolf Lv. 999 with Yao Guang.
Node 2: Hellcharred Shadow General
The second node is the fastest boss on the board at 190 SPD and the one most punished by a bad support choice. At the start, the fight converts one ally of your choosing into the Bloodstained Lupine. Pick a support for that role — you need your DPS free to deal damage and your sustain free to keep the team alive.
The boss’s parts are the real Toughness bar. Breaking the parts removes a large portion of the General’s Toughness and blocks the Sweep the Heavens, Swallow the Earth attack. If you cannot break, expect a phase where the boss is effectively untouchable and your Action Value drains for nothing.

Node 2 buff options
| Buff | Effect |
|---|---|
| Literary Brilliance | -40% Wind RES and Lightning RES on all enemies |
| Blighted to the Bone | Allies regenerate 1 Energy per DoT tick; DoT ignores 40% of enemy All-Type RES |
| Past Life: Shadowed Reverie | +60% DMG for all allies while 3 or more ally memosprites are on the field |
Blighted to the Bone is the standout if you own a DoT core. Hysilens with Black Swan, Kafka, and either Ruan Mei or Huohuo bypasses the break bottleneck entirely by ignoring 40% RES and self-fueling Energy. Without DoT, Literary Brilliance backs Wind and Lightning carries — an Acheron team with Mortenax Blade, The Dahlia, and Ruan Mei, or Ashveil and Mortenax Blade with Summeretto and Huohuo. Saber alongside Gilgamesh and Summeretto works under the same buff.

Node 3: Super Idol: Center of Attention
The Starward boss has the largest health pool and the strictest mechanic. At a set point you must send one character into the sub-field. Send your main DPS, because the enemies inside that sub-field need to die quickly and nobody else in the party can reach them.
The remaining three characters stay in the prime-field and attack the Output Ports. Hitting the Ports feeds buffs to the character in the sub-field and debuffs to the enemies fighting them. Reaching full stacks on the Ports deals a meaningful chunk of damage to the sub-field enemies, which is the part most players miss — partial stacks do almost nothing by comparison.
Skills that hit all three Output Ports at once build stacks far faster than single-target attacks, and a summon that acts on its own turn keeps stacking while the rest of the team does other things.

Node 3 buff options
| Buff | Effect |
|---|---|
| Beaming Bliss | +30% Elation DMG taken by enemies; +50% Weakness Break Efficiency with an Elation character on the team |
| Armed Up | +50% Physical DMG for all allies; -20% Physical RES on all enemies |
| Unto Apotheosis | +6% CRIT DMG per Skill Point consumed, stacking up to 10 times |
Beaming Bliss is the default because the Elation core is built for this fight. Silver Wolf Lv. 999 with Sparxie, Yao Guang, and Huohuo covers both the sub-field damage and the Port pressure. Swapping in Lingsha for the sustain slot is a practical alternative, since her summon keeps hitting the Ports on its own and pushes stacks to full more reliably. Sparxie-led and Evanescia-led variants with Yao Guang work under the same buff. Unto Apotheosis rewards heavy Skill Point consumption, but it conflicts with teams that need to bank points.
What a clearing run looks like
A run that lands at 10,869 total points breaks down as 3,372 on Node 1 with The Herta, Anaxa, Tribbie, and Hyacine under Land of Fertility; 3,704 on Node 2 with Acheron, Mortenax Blade, The Dahlia, and Ruan Mei under Literary Brilliance; and 3,793 on Node 3 with Silver Wolf Lv. 999, Yao Guang, Robin • Summeretto, and Huohuo under Beaming Bliss.
A different route reaching similar numbers uses Himeko • Nova, Welt, Robin, and Dan Heng • Permansor Terrae for 3,828 on Node 1, a Hysilens DoT core with Black Swan, Kafka, and Ruan Mei for 3,861 on Node 2, and the same Elation team for 3,730 on Node 3. Both confirm the same thing: hitting roughly 3,400 per node with Action Value left over is what clears the threshold, and a node that finishes with under 1,400 remaining Action Value puts pressure on the other two.
How to confirm the clear registered
Each node ends with a Challenge Ended screen showing that node’s score and the Action Value you had left. The mode adds all three together into the total score displayed on the stage screen. Once that total reaches 10,200 or higher on Difficulty 4 in Starward Mode, the Prismatic Star appears alongside your regular stars, and the additional Starward rewards unlock.
The Limited-Time Clearance Medal for the period needs both pieces — 12 stars and the Prismatic Star. If the medal has not appeared, check whether one node is still short of a full kill, since a node scored purely on HP percentage caps at 2,000 and cannot make up the difference.
Why runs fail this rotation
- Bringing a single-target carry to Node 1. The deer’s summons advance their own actions, and if you cannot clear a wave before the boss’s next turn, the Halo damage reduction stays up.
- Choosing your DPS or sustain as the Bloodstained Lupine in Node 2 instead of a support.
- Ignoring the parts in Node 2. Without breaking them, the boss spends a phase effectively invulnerable and your Action Value budget disappears.
- Sending a support into the Node 3 sub-field, or never pushing the Output Ports to full stacks.
- Reusing the same relics or Light Cones across two nodes, which resets the affected node’s stored score.
Apocalyptic Shadow refreshes every six weeks, and clearing a difficulty with three stars automatically unlocks everything up to Difficulty 3 in the next rotation, so a clean run now saves time later. If a node keeps stalling, change only that node’s team — the other two scores stay intact, and you can iterate on the one fight that is costing you the threshold.





