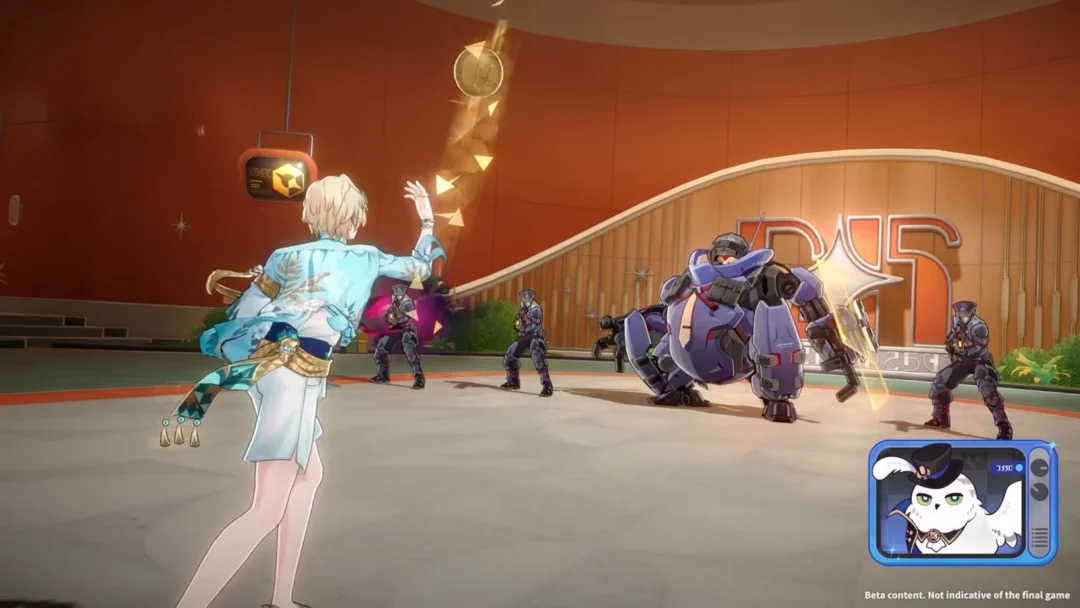
Celestial Lupine is the Apocalyptic Shadow cycle running in Honkai: Star Rail 4.5, and Starward Mode turns it from a two-boss endgame into a three-team commitment. The extra node sits alongside Stage 4, bans duplicate characters across all three fights, and only pays out its Prismatic Star if your score clears the threshold. That means roughly 36 built characters worth of roster depth, or a very careful split of your supports.
Quick answer: Run Unstoppable Force on Node 1 with a memosprite team, Blighted to the Bone (or Literary Brilliance) on Node 2, and Beaming Bliss on Node 3 with an Elation carry. A completed Difficulty 4 Starward run posted 3,755, 3,628, and 3,692 on the three nodes.
Celestial Lupine cycle window and how Starward Mode scoring works
The current cycle opened on August 31 and runs through October 5, 2026 in server time. Phases last about six weeks and roll over on a Monday at 04:00 server time, so anything you leave unscored disappears when the reset lands.
Apocalyptic Shadow scores on a value timer rather than turn count. Every ally and enemy action subtracts Action Value, and your final score is calculated from how much boss HP is gone plus how much Action Value is left when the fight ends. Killing faster is worth more than killing safely, which is why speed tuning and break windows matter more here than raw damage ceilings.
Starward Mode layers a third boss on top of Stage 4 with one hard restriction: no character may appear in more than one node lineup. Clearing it and hitting the score threshold awards 100 Stellar Jades and a badge for the Collection Showcase.
All Finality’s Axiom buffs in Apocalyptic Shadow 4.5
Each node offers three buffs and you pick one per fight. The buff choice is locked to the team you commit, so decide the buff before you build the lineup, not after.
| Node | Buff | Effect |
|---|---|---|
| 1 | Land of Fertility | All allies deal more Skill and Ultimate damage, with a larger bonus for the first character in the lineup. |
| 1 | Unstoppable Force | Memosprite damage ignores 20% of the target’s DEF. |
| 1 | Beaming Bliss | Enemies take 30% more Elation damage. With an Elation character on the team, all allies gain 50% Weakness Break Efficiency. |
| 2 | Literary Brilliance | Enemy Wind and Lightning RES reduced by 40%. |
| 2 | Past Life: Shadowed Reverie | All allies deal more damage while three or more memosprites are on the field. |
| 2 | Blighted to the Bone | Each DoT tick an ally deals regenerates 1 Energy, and ally DoT ignores part of enemy All-Type RES. |
| 3 | Beaming Bliss | Same Elation damage and Break Efficiency package as Node 1. |
| 3 | Unto Apotheosis | Every Skill Point consumed grants 6% CRIT DMG, stacking up to 10 times. |
| 3 | Armed Up | Ally Physical damage up 50%, enemy Physical RES down 20%. |
Node 1: Unwaning Ageless Immortal teams
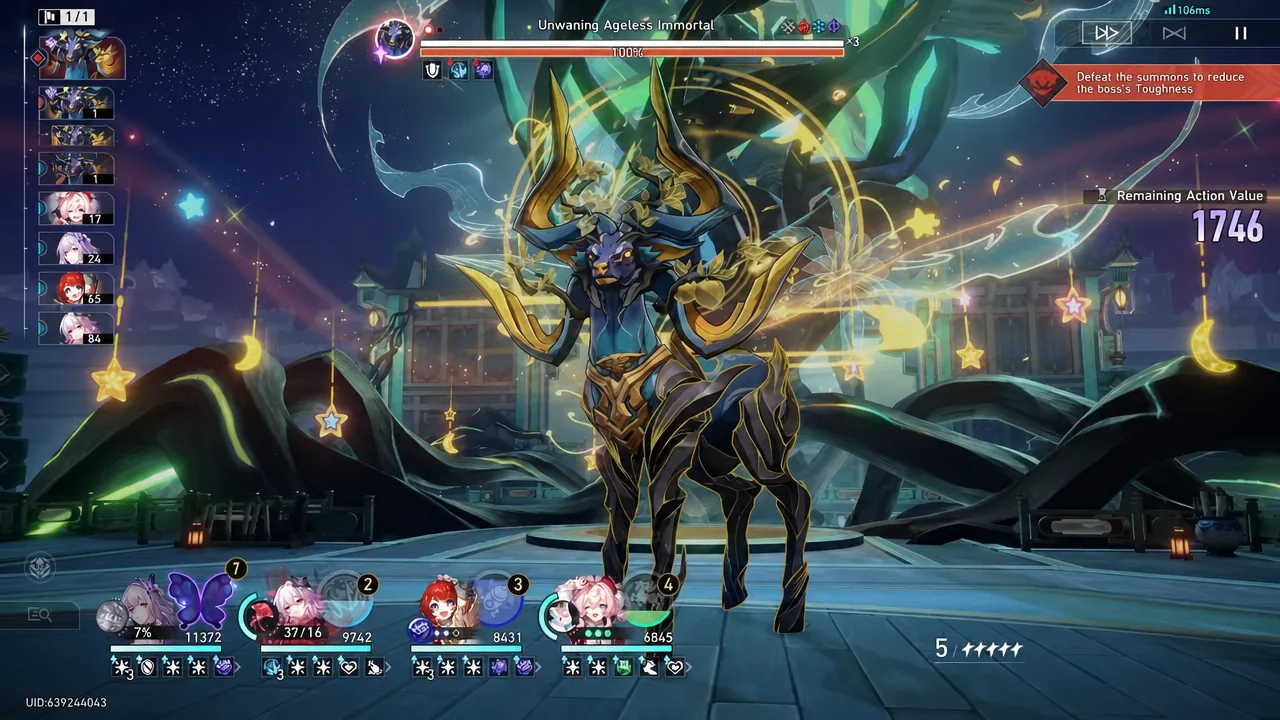
The first boss mirage, an Abundant Ebon Deer, is weak to Quantum, Fire, Ice, and Physical. It stretches across five distinct combat phases at Difficulty 4, so sustained damage and a healer who can absorb a bad turn matter more than a single burst window.

Unstoppable Force is the pick if you own a memosprite carry. A Castorice, Evernight, Tribbie, Hyacine lineup with Castorice at E0S1 and the rest at E1 posted 3,755 here, clearing all five phases without swapping the sustain. Cyrene, Evernight, Robin • Summeretto, Hyacine is the same idea with a different damage source.
Without memosprites, take Land of Fertility and lead with a Skill and Ultimate heavy carry. Himeko • Nova with Sunday, Sparkle, and Dan Heng • Permansor Terrae is the cleanest version, and swapping Sunday and Sparkle for Welt and Robin • Summeretto works if you need the extra break pressure. Archer, Sparkle, Rin Tohsaka, and Dan Heng • Permansor Terrae covers the same node as a dual-DPS alternative.
Node 2: Hellcharred Shadow General teams
Node 2 puts you against a Shadow of “Feixiao,” weak to Fire, Quantum, Physical, and Lightning. It resolves in two phases, so this is the node where a well-tuned DoT or break team can outpace a hypercarry on Action Value.
Blighted to the Bone is the strongest buff if you have the units for it. The Energy refund per DoT tick keeps Ultimates cycling almost continuously, which is what turns a slow damage-over-time comp into a fast clear. A Guinaifen team at E6 alongside The Dahlia, Fugue, and Ruan Mei scored 3,628 in two phases. Hysilens, Black Swan, Kafka with either Ruan Mei or Dan Heng • Permansor Terrae is the more conventional build of the same plan.
Literary Brilliance is the alternative when your damage is Wind or Lightning, since the 40% RES cut applies to both. Gilgamesh, Mortenax Blade, Remembrance Trailblazer, and Huohuo fits, as does Mortenax Blade, Acheron, Tribbie, and Gallagher. If you sent your memosprite team elsewhere, Past Life: Shadowed Reverie is only worth taking when you can reliably keep three memosprites alive on the field.

Node 3: Super Idol Center of Attention (Starward Mode)
The Starward-exclusive fight is @SparxiConOfficial, weak to Fire, Imaginary, Quantum, and Physical. It has a very large HP pool and runs two phases, so the whole node is a damage check against the clock rather than a mechanics puzzle.
Beaming Bliss is the default. The 30% extra Elation damage taken is already strong, and the 50% Weakness Break Efficiency for the whole team, granted whenever an Elation character is present, shortens the break windows that gate your damage. An Evanescia team at E0S1 with Mortenax Blade, Yao Guang, and Huohuo scored 3,692. Evanescia, Yao Guang, Elation Trailblazer, and Huohuo is the version that works without a second limited DPS, and Sparxie with Silver Wolf LV999, Yao Guang, and Huohuo is the dual-carry option.
Armed Up is the fallback if you have no Elation unit left after the first two nodes. The 50% Physical damage bonus and 20% Physical RES shred still line up with the boss’s weakness list, and Unto Apotheosis suits a Skill Point hungry carry that can bank all 10 CRIT DMG stacks early.
Reference Difficulty 4 clear: eidolons and stat targets
These are the stat lines from a completed Difficulty 4 Starward run across all three nodes, useful as a floor rather than a requirement. Note how modest the speed values are — the carries sit in the 95 to 107 range, so the clear comes from break timing and buff stacking, not from extreme speed tuning.
| Character | Eidolon | ATK | SPD | CRIT Rate / DMG |
|---|---|---|---|---|
| Castorice | E0S1 | 1547 | 95 | 66.1% / 207.1% |
| Evernight | E1 | 1425 | 99 | 67.0% / 185.7% |
| Tribbie | E1 | 947 | 96 | 85.6% / 133.9% |
| Hyacine | E1 | 1217 | 110 | 5.0% / 71.3% |
| Guinaifen | E6 | 2784 | 106 | 5.0% / 55.1% |
| The Dahlia | E0 | 1208 | 96 | 5.0% / 80.4% |
| Fugue | E1 | 1517 | 102 | 10.5% / 50.0% |
| Ruan Mei | E1 | 1697 | 104 | 5.0% / 74.6% |
| Evanescia | E0S1 | 2460 | 104 | 58.6% / 265.9% |
| Mortenax Blade | E0 | 1643 | 107 | 78.8% / 137.4% |
| Yao Guang | E1 | 1867 | 101 | 70.0% / 131.0% |
| Huohuo | E1 | 1495 | 98 | 5.0% / 94.7% |
Tip: the two signature light cones in that run sit on the Node 1 and Node 3 carries. If you only have one, put it on the Starward node, since that is where the HP pool is largest and the score threshold is tightest.
Confirming the clear and the two rules that break a run
A node counts once the boss is defeated and the score screen posts a number. Stars are awarded against the score total for the stage, not the individual fight, so a strong node can carry a weaker one. The Prismatic Star and its 100 Stellar Jades only appear after all three Starward nodes are cleared and the combined threshold is met.
Two things reliably cost people a run. First, the no-duplicate rule applies across the entire Starward stage, so a shared Huohuo or Dan Heng • Permansor Terrae will block the third lineup from being submitted. Plan the sustain units backwards from Node 3. Second, teams are recorded per stage once used — if you want to change the lineup for one boss in a difficulty, you have to reset both bosses in that difficulty and refight them. Retries with the same team and gear are unlimited, so re-running a node purely for a better Action Value score costs nothing but time.
If you are short on a third viable team, the Elation package is the most flexible entry point this cycle, since Beaming Bliss appears on both Node 1 and Node 3 and its Break Efficiency bonus helps any team you attach it to. Build that lineup first, then split your remaining memosprite and DoT units across the other two fights.