Besieged Ruins is one of the optional dungeons tucked into the Ruins of Mammon, and it exists for a single reason worth caring about: the Zealot’s Stone Tarstone sits at the end of it. The dungeon is short, the fighting is manageable, and the only real obstacle is finding the cave mouth, which is hidden along a wall two levels below the nearest Beacon.
Quick answer: From the High Lord’s Courtyard Beacon, head east and drop down two levels to the lower area with the jump pad, then hug the wall until the cave entrance appears. Ride the lift down, clear the cultists, loot both chests, and interact with the Armed Knave helmet at the back of the chamber to trigger The Schism of Mammon and receive the Zealot’s Stone.
Besieged Ruins location: East of the High Lord’s Courtyard Beacon
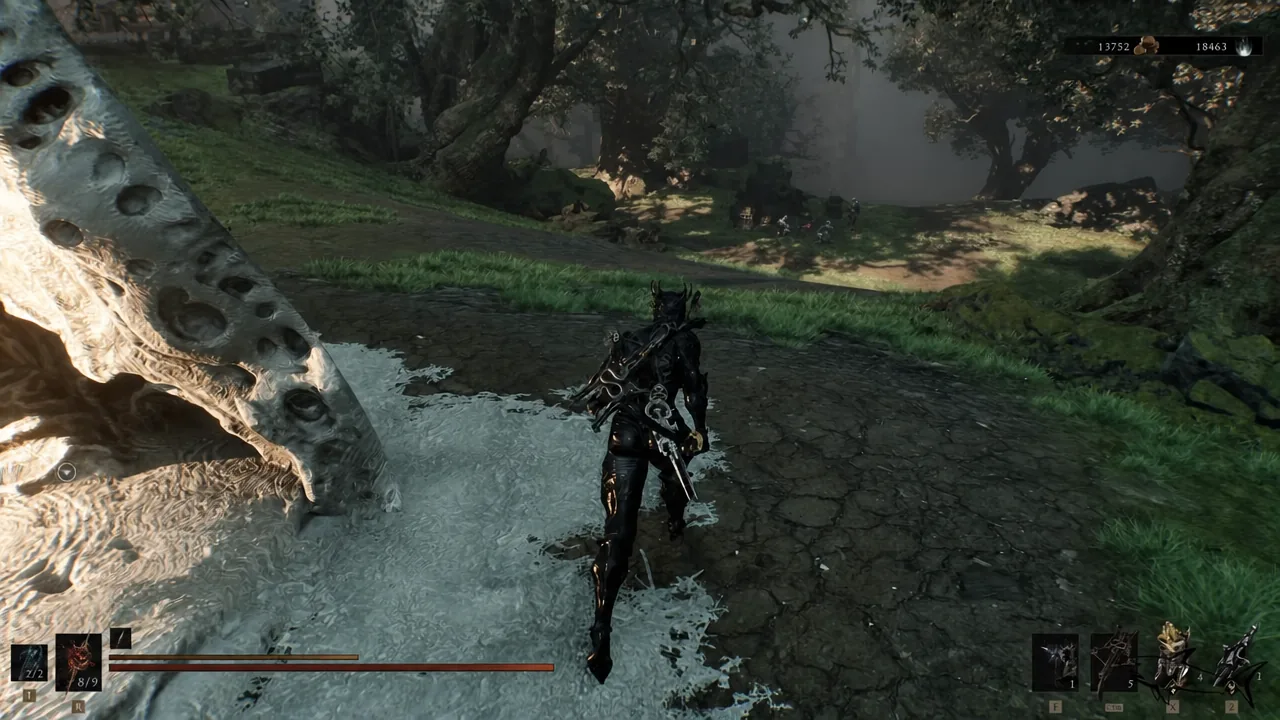
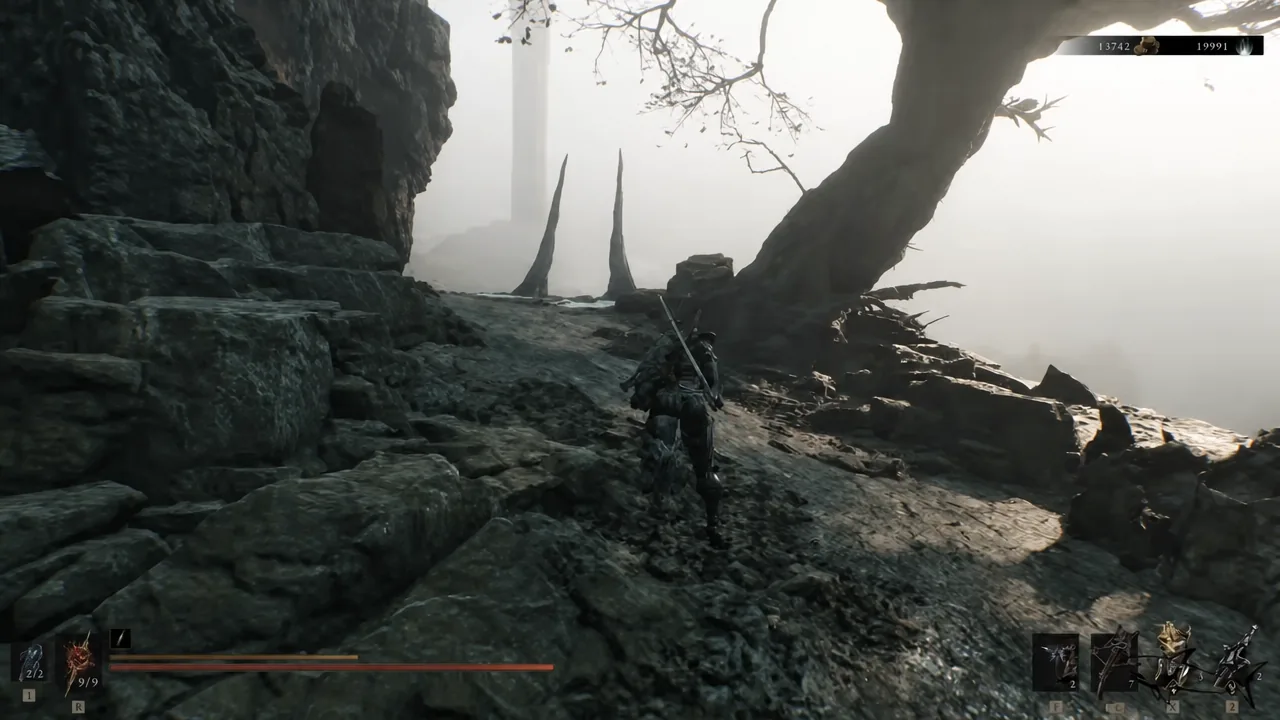
The entrance is not visible from the Beacon itself. Stand at High Lord’s Courtyard, face east, and work your way down two levels of rocky ledges. You are aiming for the lowest tier, where a group of enemies patrols near a jump pad. From there, follow the rock wall on foot and the cave opening reveals itself, marked by a pale mist and a glowing tree nearby.
Once you step through the fog, the dungeon icon is permanently pinned to your map, so you can leave and come back later without retracing the descent.
Route from the Outskirts of Mammon Beacon
If you have not unlocked the closer Beacons yet, the cleanest approach starts further west. The chain runs Outskirts of Mammon, Deserted Slums, Abandoned Outpost, High Lord’s Terrace, High Lord’s Keep, and finally High Lord’s Courtyard.
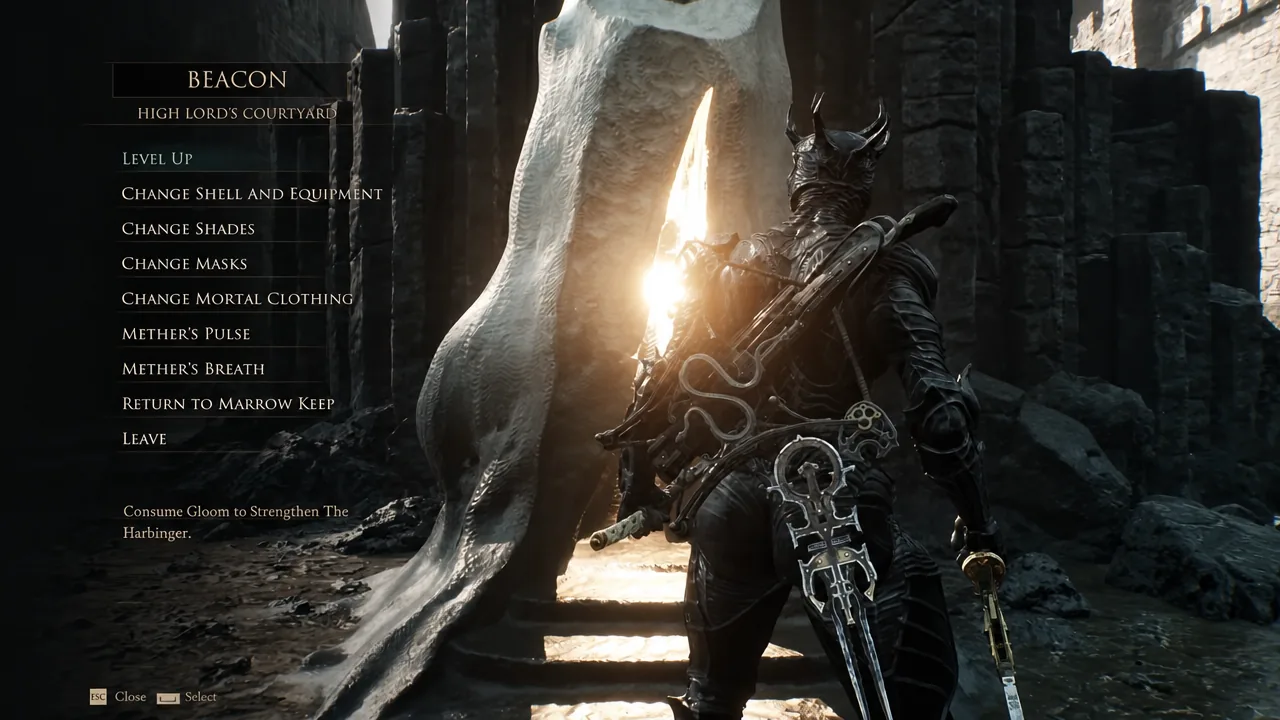
Inside Besieged Ruins: Lift, cultists, and both chests
Past the entrance, descend the stairs inside the stone structure, step onto the wooden platform, and pull the lever to ride the lift down. The dungeon name appears once you reach the bottom.
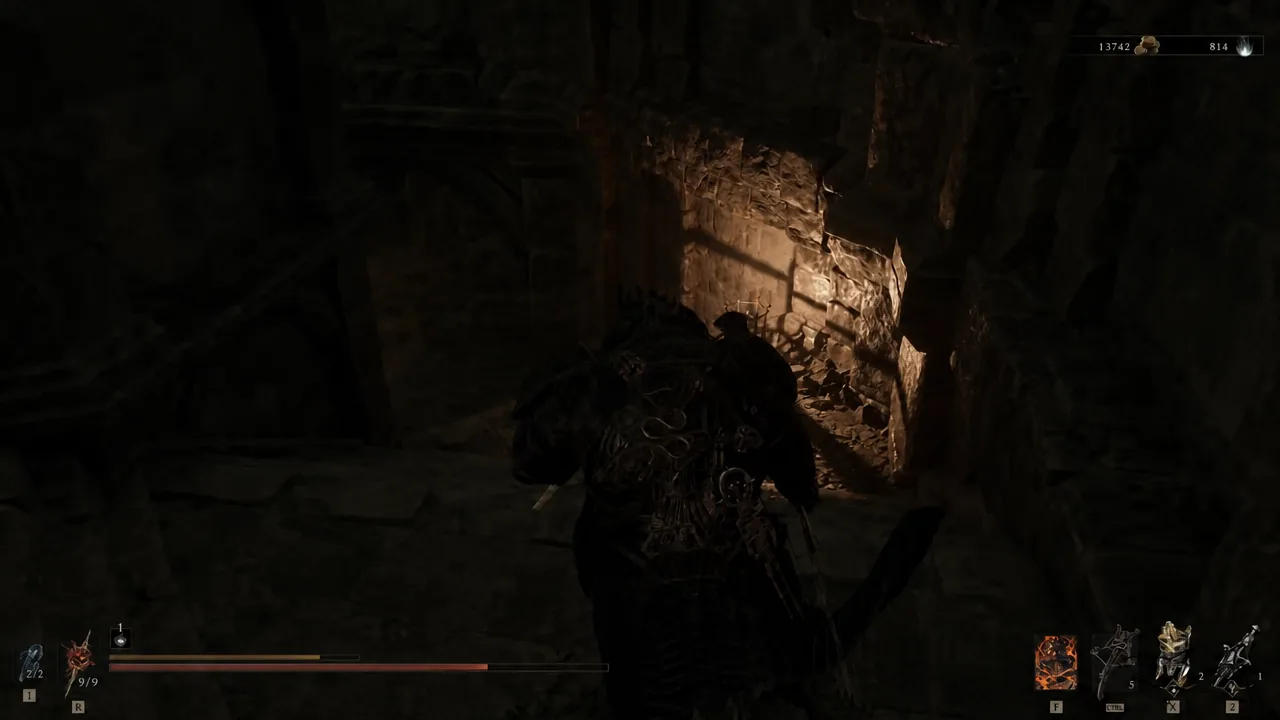
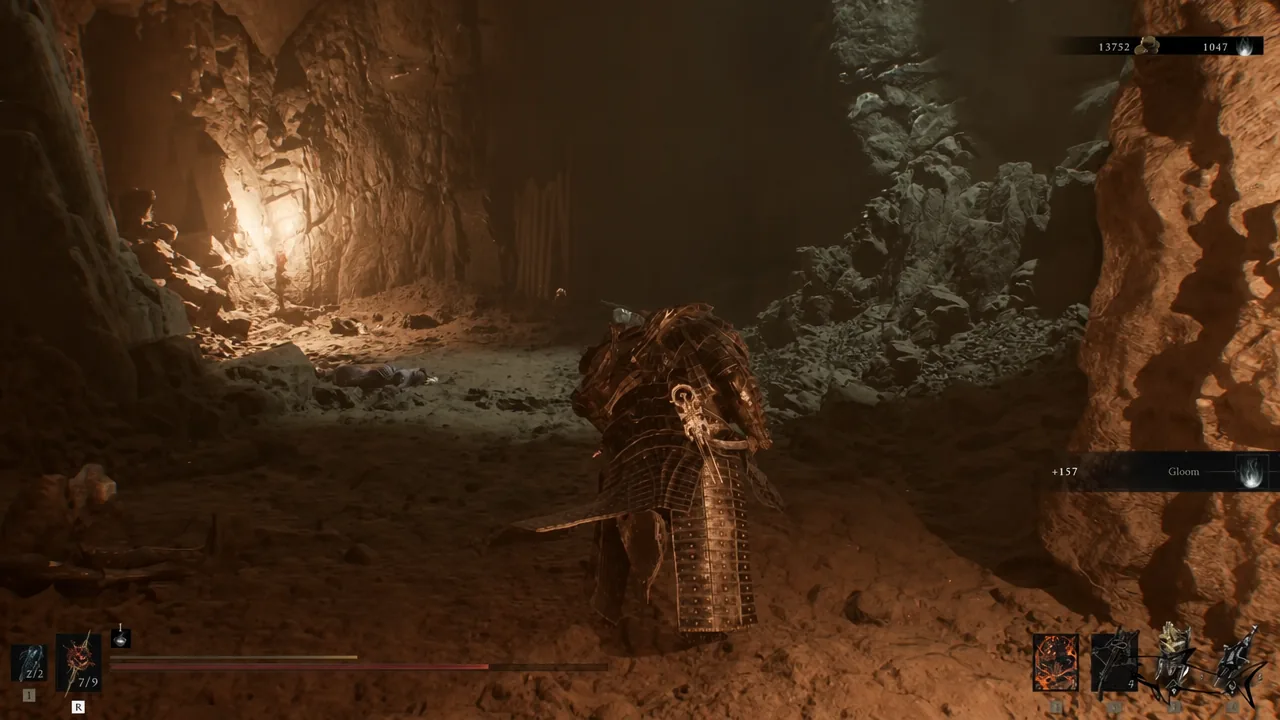
Step off the lift and head straight ahead to find a Neophyte Sester, which lets you heal and refill before the fighting starts. Turn right into the main chamber and clear the Cultists inside. They come in loose groups and fold quickly to standard combos, but the cave is cramped, so pull them apart rather than letting three swing at once.
Two chests sit in this room, both on the stone altars. The one on the left side holds Dorsalite. Push deeper into the chamber and the chest on the right contains a Winterglass Gem.
| Reward | Where it is |
|---|---|
| Dorsalite x1 | Chest on the left side of the main chamber |
| Winterglass Gem x1 | Chest on the right, further into the room |
| Zealot’s Stone | Awarded automatically after the memory ends |
The Schism of Mammon memory fight
At the far end of the chamber, an Armed Knave helmet rests on a candle-lit pedestal. Interacting with it whites out the screen and drops you into The Schism of Mammon, a memory sequence where you play as an armored knight on a rain-soaked battlefield.
The memory is a series of combat waves. Soldiers and spectral figures come at you across the mud and burning ruins, and you simply keep advancing and killing until the sequence ends. The closing beat is a fight against a large armored figure, a Knight of Mammon, and the memory resolves when an arrow strikes the knight you are controlling. That death is scripted, not a failure state.
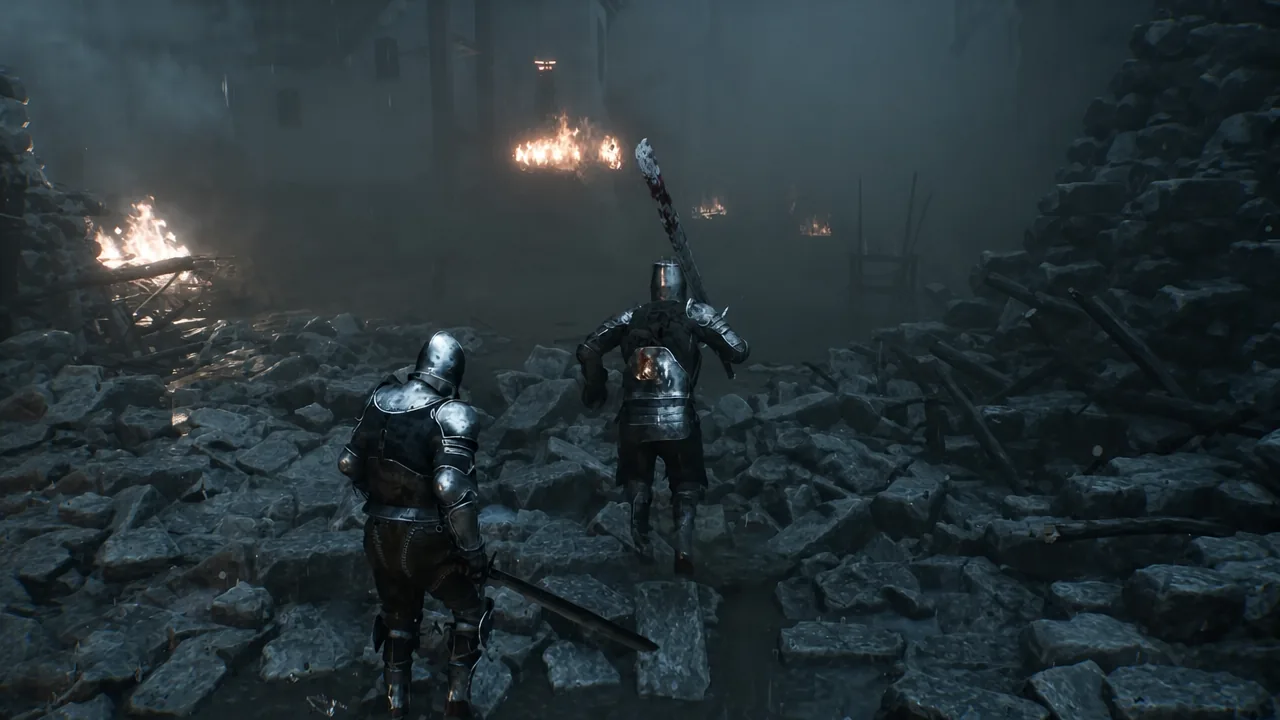
Note: your usual Shell abilities and gear do not apply inside the memory. You are playing a fixed loadout, so lean on spacing and parries rather than the build you brought in.
Zealot’s Stone effects and how to confirm you got it
When the memory ends you return to the cavern and a banner reads NEW TARSTONE ACQUIRED: ZEALOT’S STONE. That banner is your confirmation. If you want to double-check, open the Tarstones menu; the Zealot’s Stone should be listed at Level 1.
The stone unlocks a special Light Combo Finisher and increases the Resolve that finisher generates as you upgrade it.
| Level | Resolve from the light finisher |
|---|---|
| 1 | +6% |
| 2 | +8% |
| 3 | +10% |
| 4 | +12% |
| 5 | +14% |
There is only one way this run goes wrong, and it is skipping the helmet. Clearing the cultists and emptying both chests does not award the Tarstone on its own; the interaction with the Armed Knave helmet is what starts the memory, and the memory is what hands over the stone. Once you have it, ride the lift back up and step out into the daylight to close out the dungeon.
Besieged Ruins is not missable either. If you are cleaning up collectibles late, the entrance stays open in free roam after the final boss, so you can come back for the Zealot’s Stone before rolling into New Game+.