Gaming Guide

Mortal Shell 2: Zealot’s Stone Location in the Besieged Ruins

A Combat Tarstone that adds a Light Combo Finisher, hidden in a dungeon east of High Lord's Courtyard.

A Combat Tarstone that adds a Light Combo Finisher, hidden in a dungeon east of High Lord’s Courtyard.

The Zealot’s Stone is one of the few Tarstones in Mortal Shell 2 that changes how a weapon actually behaves instead of nudging a stat. Slot it into a compatible primary weapon and the end of your light attack chain gains a new finisher, one that pours Resolve back into your bar every time it lands. There is no chest sitting in the open for this one — it is the reward for clearing a dungeon buried under the cliffs east of the High Lord’s Courtyard Beacon.

Quick answer: Fast travel to the High Lord’s Courtyard Beacon, drop down two levels to the lowest ledge where enemies gather near the jump pad, follow the cliff wall to the cave entrance, ride the elevator down into the Besieged Ruins, and interact with the helmet in the candlelit back room. Finish the memory encounter and the Zealot’s Stone is yours.


Zealot’s Stone effects and weapon compatibility

Zealot’s Stone is a Combat Tarstone, which means it slots into a weapon rather than your shell, and you can run two Combat stones at a time. At its base level it does one thing: it opens a dedicated Light Combo Finisher, an extra attack that only exists while the stone is equipped. Every upgrade after that raises how much Resolve the finisher generates.

LevelEffect
1Unlocks a special Light Combo Finisher
2The light finisher generates +40% Resolve
3The light finisher generates +70% Resolve
4The light finisher generates +150% Resolve

The Resolve bonus is tied to the finisher itself, not to your attacks in general. You will only see the gain when the last hit of a light chain actually connects, which is worth knowing before you build around it. It is the fast-string counterpart to the Tyrant’s Stone.

Six weapons accept it, so check your loadout before you go hunting for it:

Compatible weapons
Black Needle
Clockwork Scythe
Great Martyr’s Blade
Obsidian Hammer
The Iconoclast
Veteran’s Battle Axe

Route to the Besieged Ruins from Outskirts of Mammon

If the High Lord’s Courtyard Beacon is already lit on your map, skip straight to the descent below. If it isn’t, the overland run starts further back and passes through four beacons on the way.

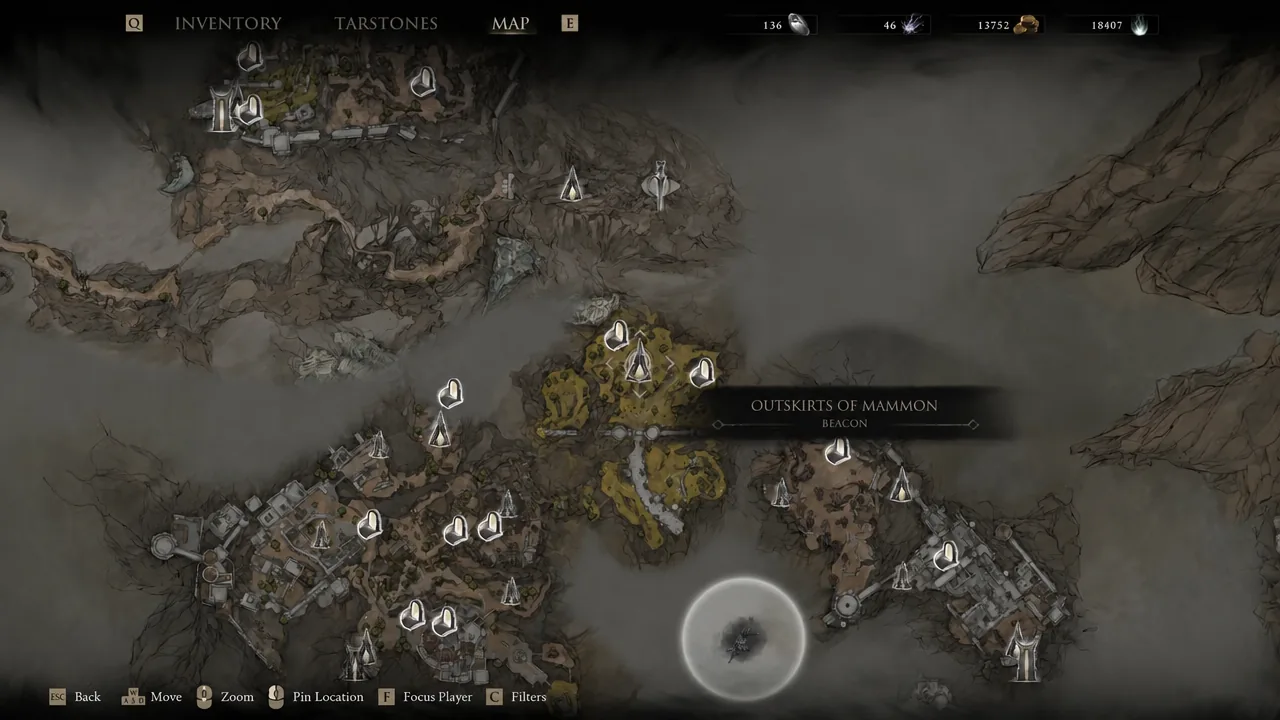
Travel to the Outskirts of Mammon Beacon and open your map to orient yourself. This is the anchor point for the whole run, and everything from here heads toward the High Lord’s ruins.
Map screen with the Outskirts of Mammon Beacon selected as the starting point for the run
The Outskirts of Mammon Beacon on the map, where the route begins. Image: Cold Symmetry
Head out toward the Deserted Slums and push through to the Abandoned Outpost Beacon. Rest there so you have a closer restart point if the run goes badly.
Continue on to the High Lord’s Terrace Beacon, then carry on through the High Lord’s Keep. Most of the enemies along this stretch can be ignored if you keep moving.
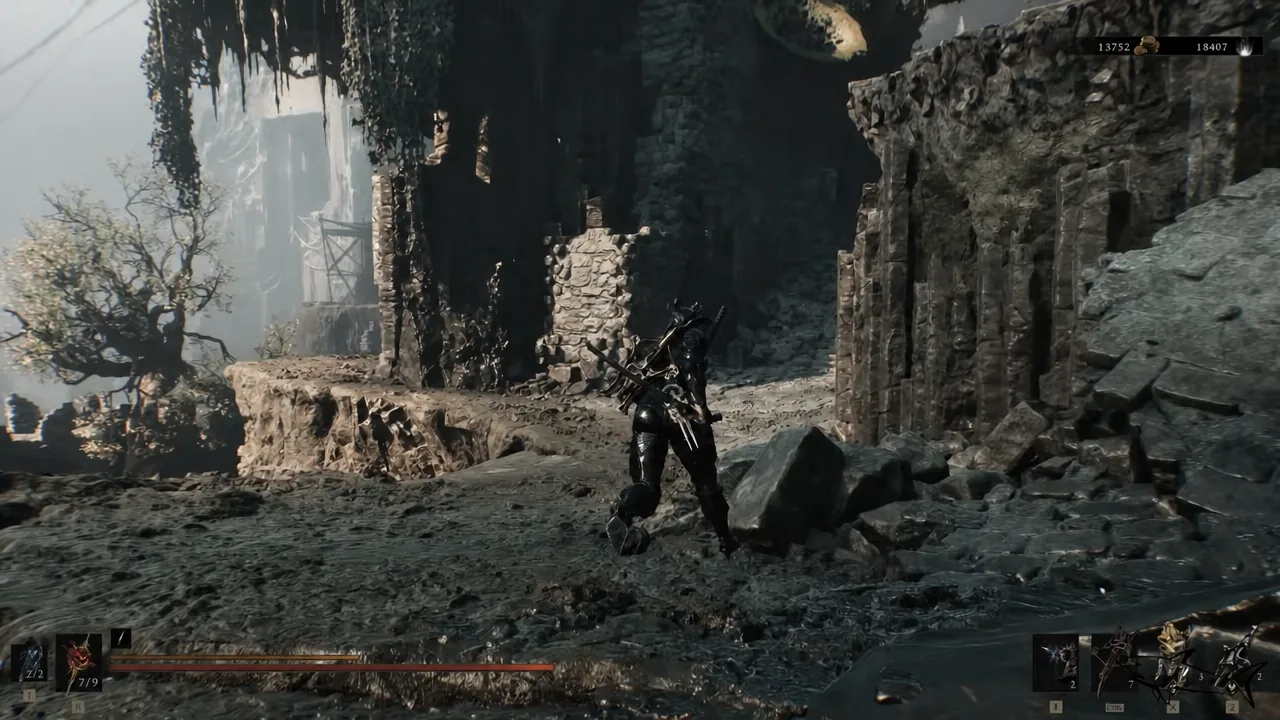
Light the High Lord’s Courtyard Beacon at the far end. This is the fast travel point you will want for any return trips, and it is the last checkpoint before the dungeon.
Player character moving through the ruined stone courtyard on the way to the High Lord's Courtyard Beacon
The ruined courtyard stretch leading to the High Lord’s Courtyard Beacon.

Finding the dungeon entrance below the courtyard

From the beacon, face east and go down rather than across. The entrance sits two vertical levels below the courtyard, which is why so many players sweep the surface path, find nothing, and turn around.

Drop off the cliff edge past the beacon and keep descending until you reach the lowest ledge. You will land near a cluster of enemies gathered around a jump pad — clear them or run past them, but do not treat the area as a dead end.
Hug the rock face and follow the wall on your right. The opening into the Besieged Ruins is tucked into the cliff and blends into the stone, so it is easy to walk straight past it.
Go through the archway and step onto the wooden lift inside. Riding it down takes you into the Besieged Ruins proper, a candlelit hall well below the surface.
Player character wading through a flooded underground chamber toward a lit doorway
The waterlogged passage inside the ruins, heading toward the next chamber.
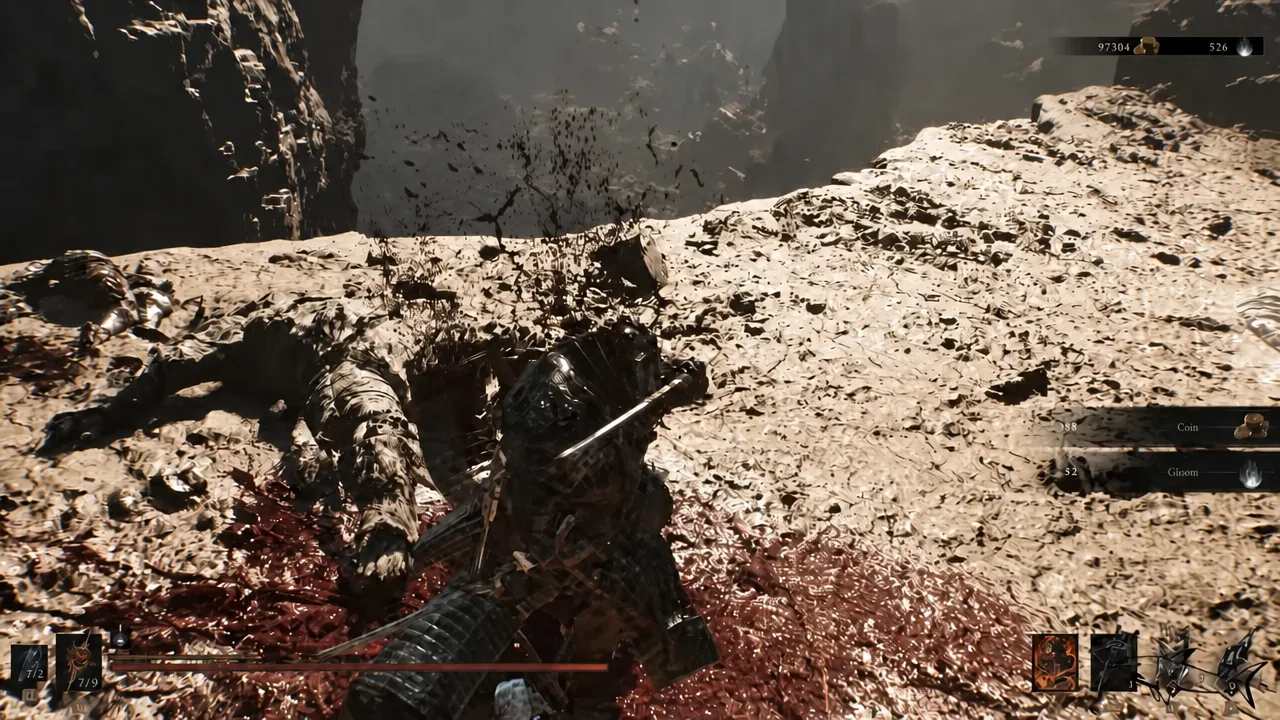
Fight your way through the cultists and creatures in the hall. The stone tombs and the central sarcophagus along the way are worth opening for materials before you push on.
Coin and Gleam pickup notifications appearing as the player clears enemies inside the ruins
Clearing the Besieged Ruins and collecting drops on the way to the back room.

The helmet, the memory, and the boss that drops the stone

The reward is gated behind a memory encounter rather than a chest, so clearing the enemies alone will not hand you anything.

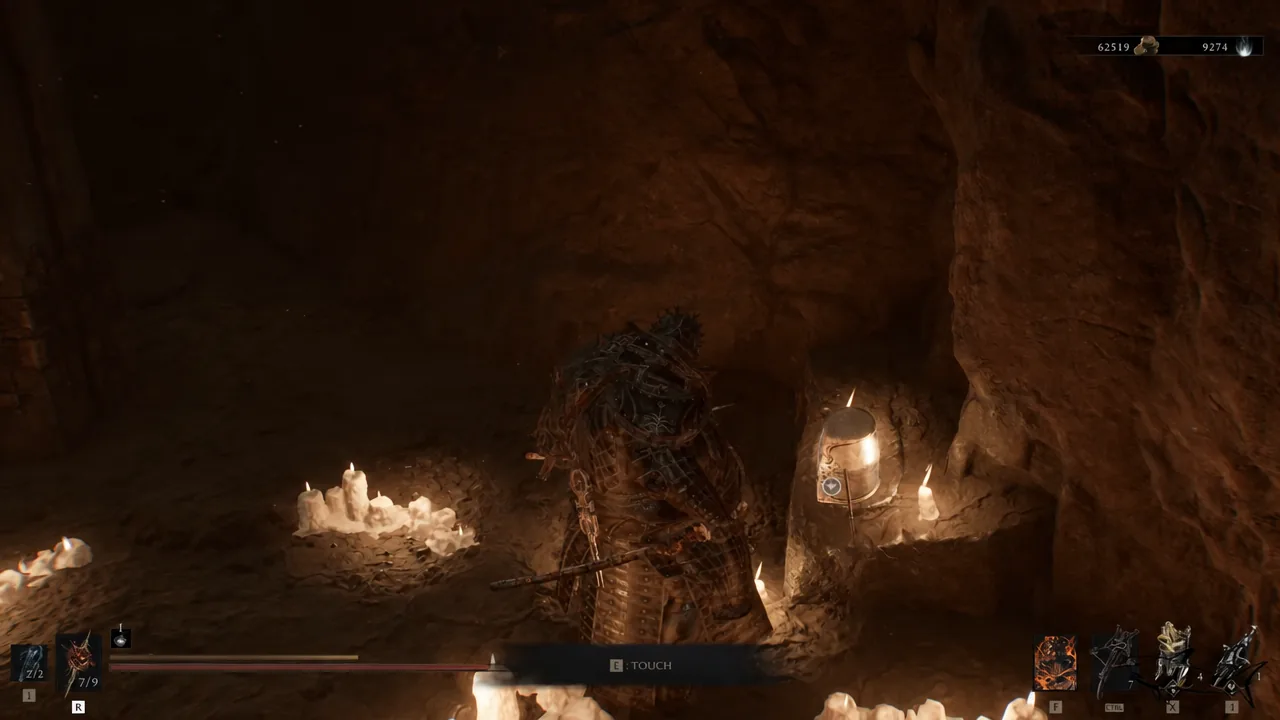
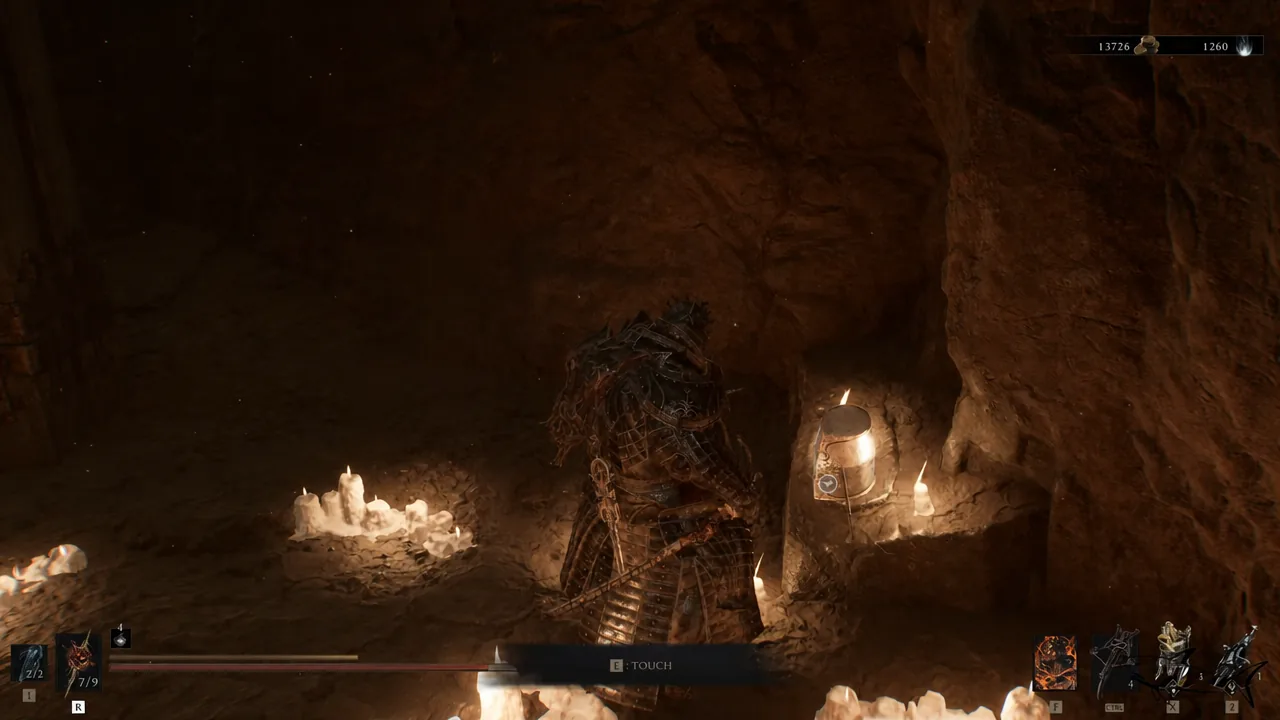
Keep pushing until the corridors open into the room at the rear of the ruins, where rings of lit candles surround an interactive helmet. Approach it and use the prompt.
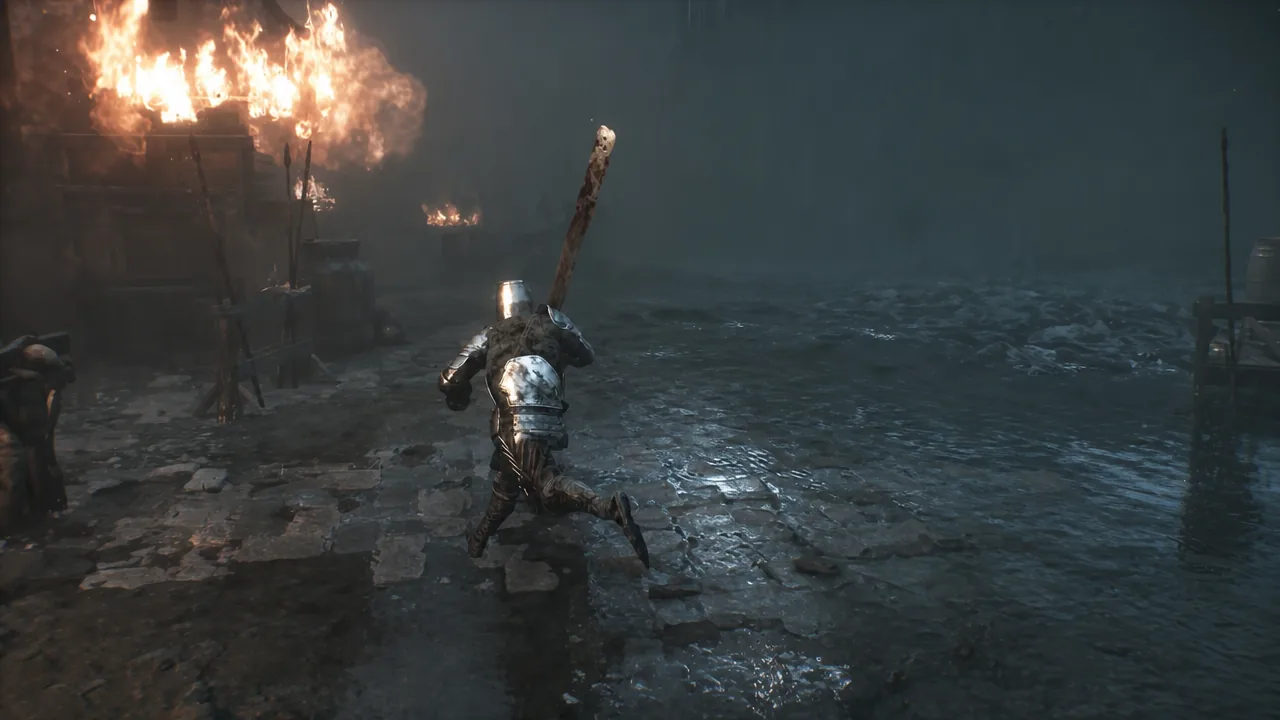
The screen transitions to a sequence labelled 849 PA – THE SCHISM OF MAMMON. You now control a bucket-helmeted knight with a greatsword on a muddy, barricaded battlefield.
Armored knight running through shallow water past burning structures during the memory sequence
The Schism of Mammon memory, where you fight as an armored knight. Image: Cold Symmetry
Cut through the waves of armored soldiers as you advance across the field. The knight’s moveset is heavier than your usual one, so lean on spacing and parries instead of trading hits.
Face the hulking armored brute with the heavy hammer at the end of the sequence. Completing the encounter closes the memory and awards the Tarstone.

You will know it worked when the NEW TARSTONE ACQUIRED prompt appears and the Zealot’s Stone shows up under Combat in your Tarstones menu. From there, backtrack through the cavern, ride the lift up, and use the High Lord’s Courtyard Beacon to fast travel out.


Upgrading Zealot’s Stone at the Tarforge

Level 1 only opens the finisher — the Resolve numbers arrive with ranks. Upgrades happen at the Tarforge in Marrow Keep, but Franz needs the Etching Needle before the higher options unlock. That quest item is looted from a chest just before the fight with Magdalena, the Lady of the Woods. When you spot Ruk past the bridge, jump down through the opening and turn right before the tunnel to reach a small alcove with a bone chest.

After that, keep the stone equipped and kill enemies with it slotted in. Tarstones gain experience while equipped, and once the bar fills you can return to Franz and pay Coin to push it to the next level.

Tip: Because the stone earns experience passively during combat, equip it as soon as you claim it rather than saving it for a later build.


Why players miss the Zealot’s Stone

Two mistakes account for almost every failed run. The first is elevation: the Besieged Ruins entrance is below the High Lord’s Courtyard Beacon, not along the surface route, so searching the courtyard itself for a chest or a vendor turns up nothing. The second is stopping at the ledge with the jump pad, assuming it is a dead end, and never sweeping the cliff wall for the opening.

The other trap is expectation. Zealot’s Stone does not add Resolve to every swing — the bonus fires only on the special Light Combo Finisher at the end of a light chain, and only if the weapon you have it slotted into is one of the six that accept it. Once both of those line up, a fast light-attack rhythm turns into a fairly reliable way to keep the Resolve bar topped up without stepping outside your normal combo.