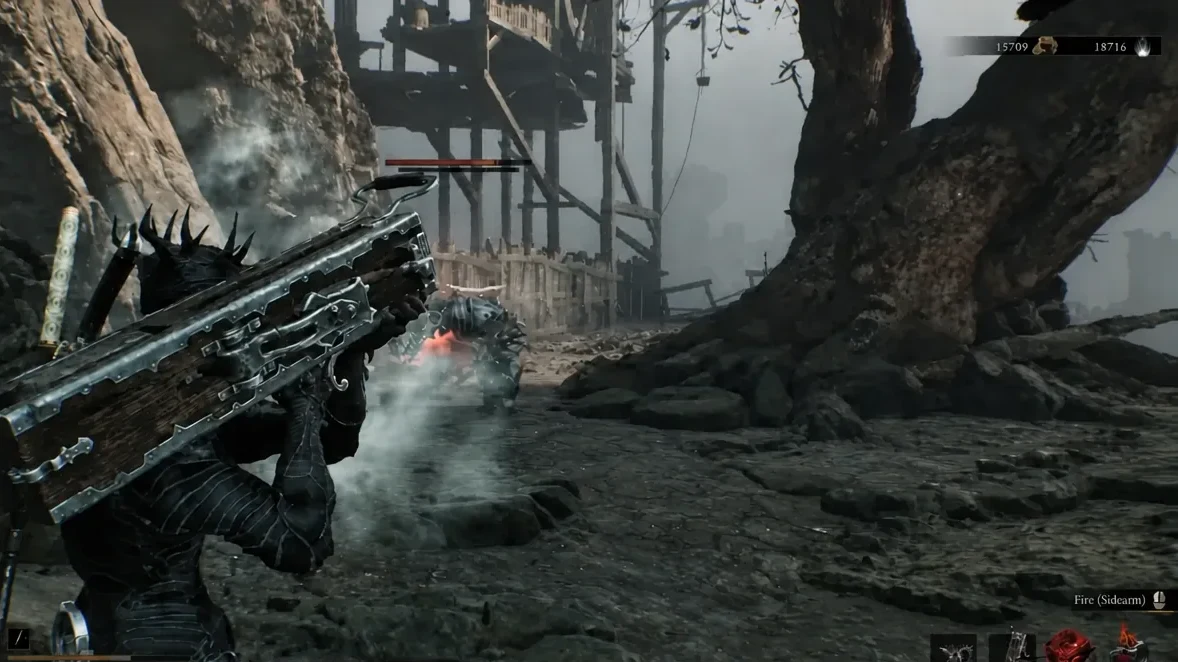
The Ballistazooka is the hardest-hitting sidearm in Mortal Shell 2, and it is also one of the slowest. It fires a heavy ballista bolt with a long draw time and only two shots in reserve, so it functions as a punish tool rather than a weapon you spam. Getting it means crossing the southern half of Mammon and clearing a dungeon boss, not looting a chest.
Quick answer: Travel to the Gate of Mammon beacon, enter the Sentry’s Grave dungeon at the base of the Lonesome Spire, descend to the lowest level, and kill the Subjugated Guardian mini-boss. The Ballistazooka drops automatically when it dies.
Ballistazooka weapon profile
The weapon’s in-game text sets expectations plainly.
Heavy and unwieldy, scholars argue if the weapon was ever used in battle or just for executions in Marrow.
| Property | Detail |
|---|---|
| Slot | Sidearm |
| Attack style | Slow, high-damage ranged projectile |
| Ammo | Two shots |
| Dungeon | Sentry’s Grave (Lonesome Spire, Ruins of Mammon) |
| Drop source | Subjugated Guardian mini-boss |
| Upgrades | Tarstones, applied at the Tarforge |
Because the draw is long, the Ballistazooka is best used against a staggered or Broken enemy, or to soften something before you close the gap. It complements a melee build rather than replacing one.
What you need before heading to Mammon
Access to the region comes from cleansing the corruption on top of Marrow Keep, which opens the jump pad to the Outskirts of Mammon. Enemies in the southern half of the map hit considerably harder than anything in the north, so bring levels and healing before you commit.
If you want the location marked on your map first, Merrick in Marrow Keep sells the Location: Ballistazooka map fragment for 500 coins. It is optional. The map only places a marker in the general area and does not open the dungeon or shorten the route.
Route from the Outskirts of Mammon to the Gate of Mammon
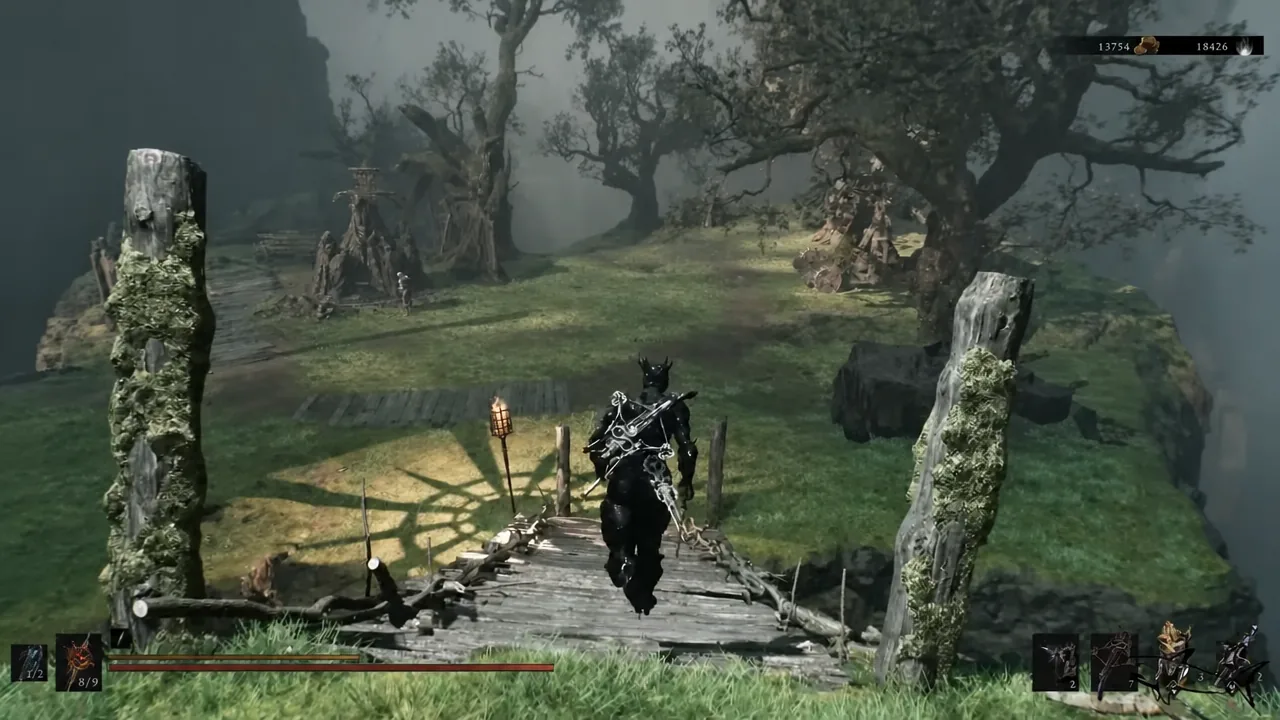
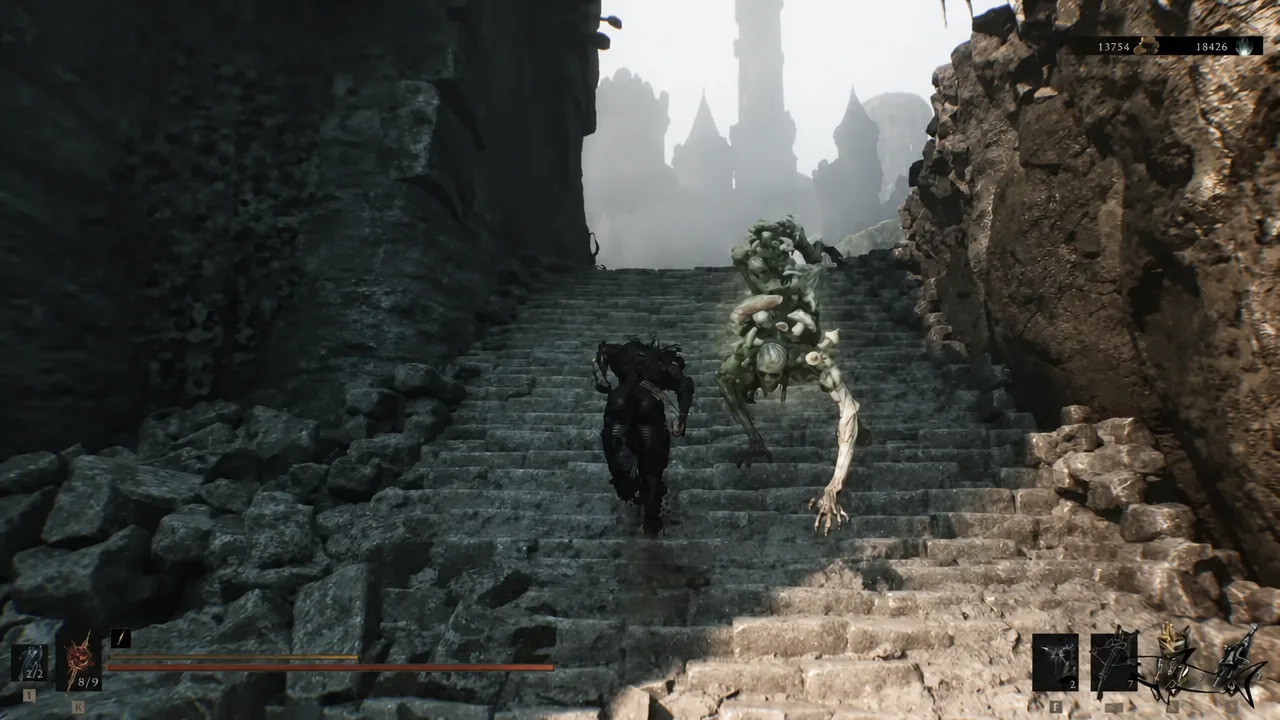
Finding the Sentry’s Grave dungeon entrance
The entrance sits at the base of the Lonesome Spire, the tall tower with a merchant trading at its peak, southwest of the Outskirts of Mammon beacon. You can approach it by descending from the top of the spire or by climbing up from the village full of casket enemies.
Getting through Sentry’s Grave to the boss arena
The dungeon is packed with ballista-head enemies that fire lightning-infused bolts. They barely move, and each one makes an audible string-pull noise before it shoots, so a dodge on that cue avoids most shots. Running past them is the efficient play, since you want your healing intact for the fight at the bottom.
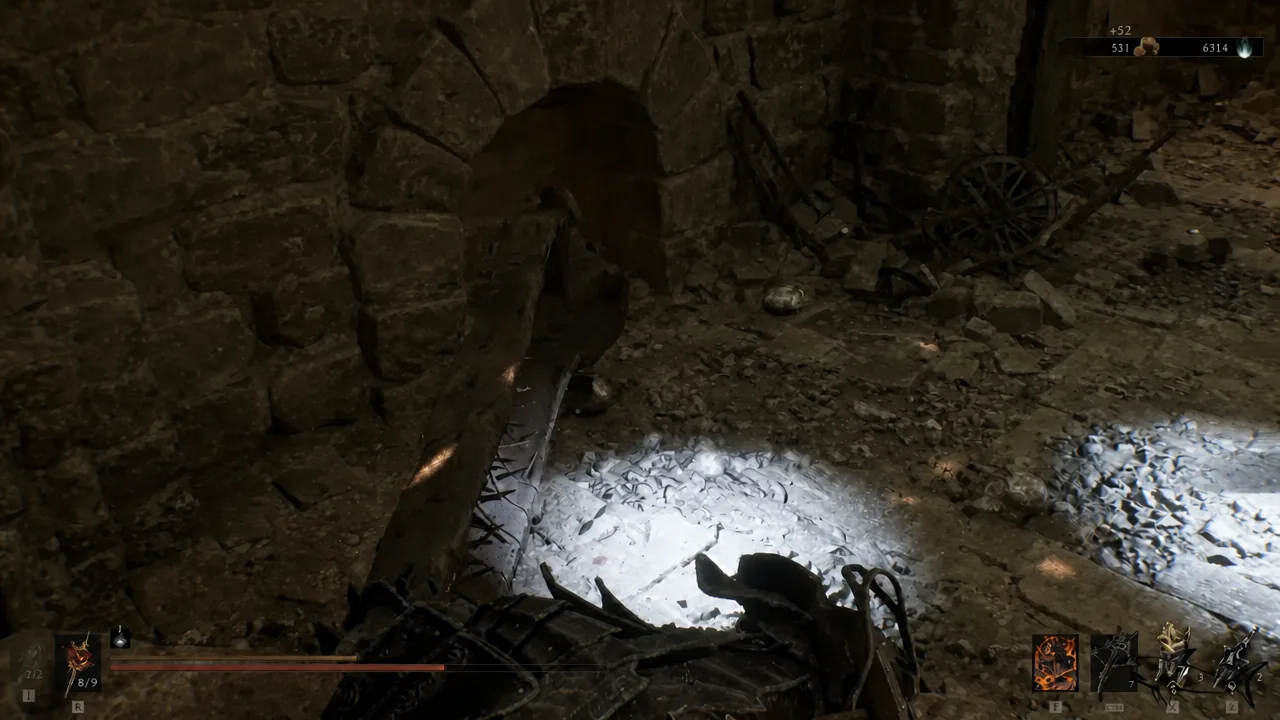
Keep descending. Some routes are hidden behind wooden barriers that need breaking, and the objective is always downward rather than sideways. The boss sits on the lowest level, so any path that gains height is the wrong one.
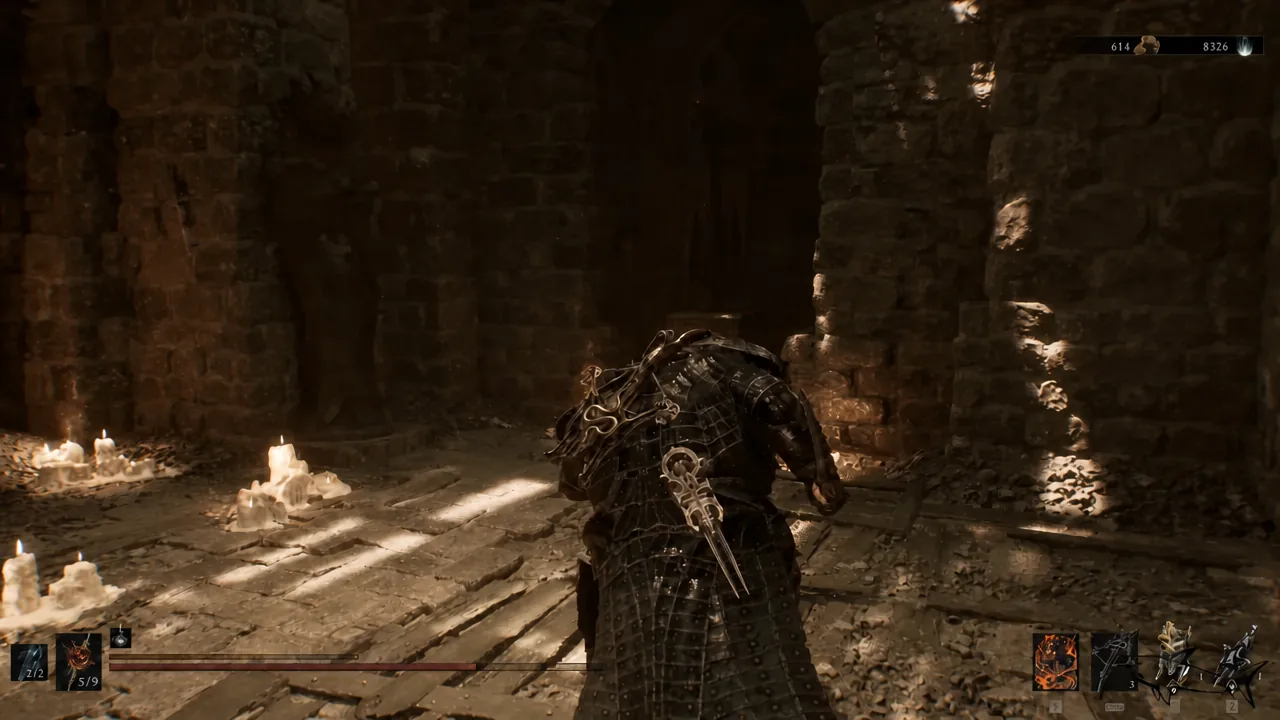
When you reach the long hallway, the Subjugated Guardian’s health bar appears while you are still approaching. Archers on the ledges above will open fire, and most of them cannot be reached. Ignore them and run for the arena.
How to beat the Subjugated Guardian
The Guardian is an upsized version of the ballista enemies, and its shots burst into clusters that leave fire on the ground. Equipping the Burnt Effigy before the fight reduces the burn damage if you keep catching alight.
Confirming you have the Ballistazooka
The weapon is awarded the moment the boss dies, alongside a Gloom and coin payout. No chest to open and no follow-up pickup exists, so if the drop notification appeared, it is yours.
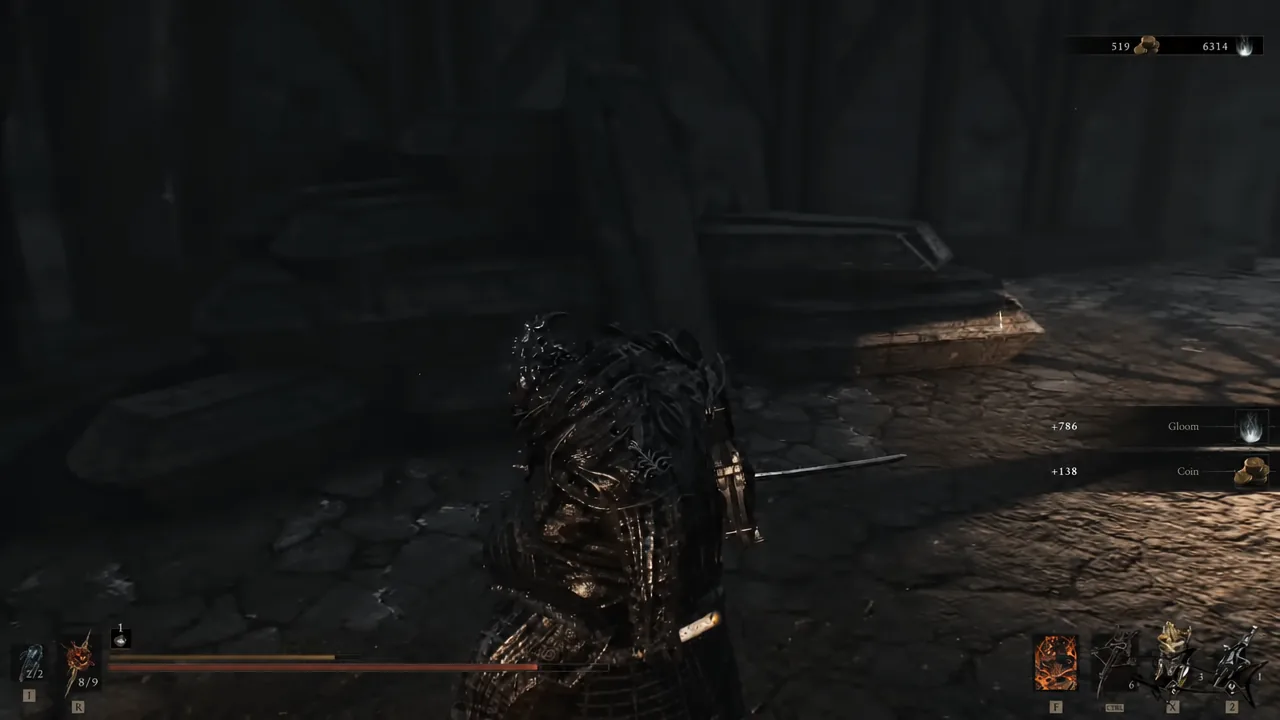
Open the inventory and check the sidearm list to verify it. Trying to equip it while another sidearm is in the slot returns a “Sidearm Already Equipped” prompt, which means you need to swap the existing one out first. You can teleport straight back to the dungeon entrance afterwards.
Tarstones that work with the Ballistazooka
Tarstones are slotted at the Tarforge and are how the sidearm scales past its base damage. A ranged critical setup suits it well, since the low ammo count means each shot has to matter.
| Tarstone | Effect and source |
|---|---|
| Fusillade Stone | Fires all remaining ammo at once with raised crit chance and damage. Cleanse the Winterglass Lake Beacon in the Conquered Temple region. |
| Corroded Stone | Adds three extra damage instances per hit, then ticks a share of the original damage every 7 seconds for 30 seconds. Cleanse the Sunken Village Beacon in the Glutted Mire. |
| Deadeye Stone | Increases critical damage. |
| Marksman’s Stone | Increases critical hit chance. |
| Emberseed Stone | Adds a Burn infusion to shots. |
Fully invested, that combination reaches roughly 53 percent crit chance and +140 percent crit damage on top of Burn. The full compatibility list is much wider and includes Charged Stone, Enfeebling Stone, Fulminant Stone, Infested Stone, Ironpiercer’s Stone, Pulse Stone, Rupturing Stone, Shuddering Stone, Siegebreaker’s Stone, Spite Stone, Weeping Stone, Volatile Fragment, Confessor’s Keepsake and Tarblighted Trophy.
Note: none of this changes the draw speed. However you build it, the Ballistazooka rewards patience over volume, which is why it pairs best with a melee kit that can create the opening in the first place.