Grand Blue drops you into ten-player seas, and grouping up is handled by a small party panel that sits on the left edge of the screen rather than a separate social menu. Everything you need to form a group, pull people in, and break it apart again lives inside three buttons.
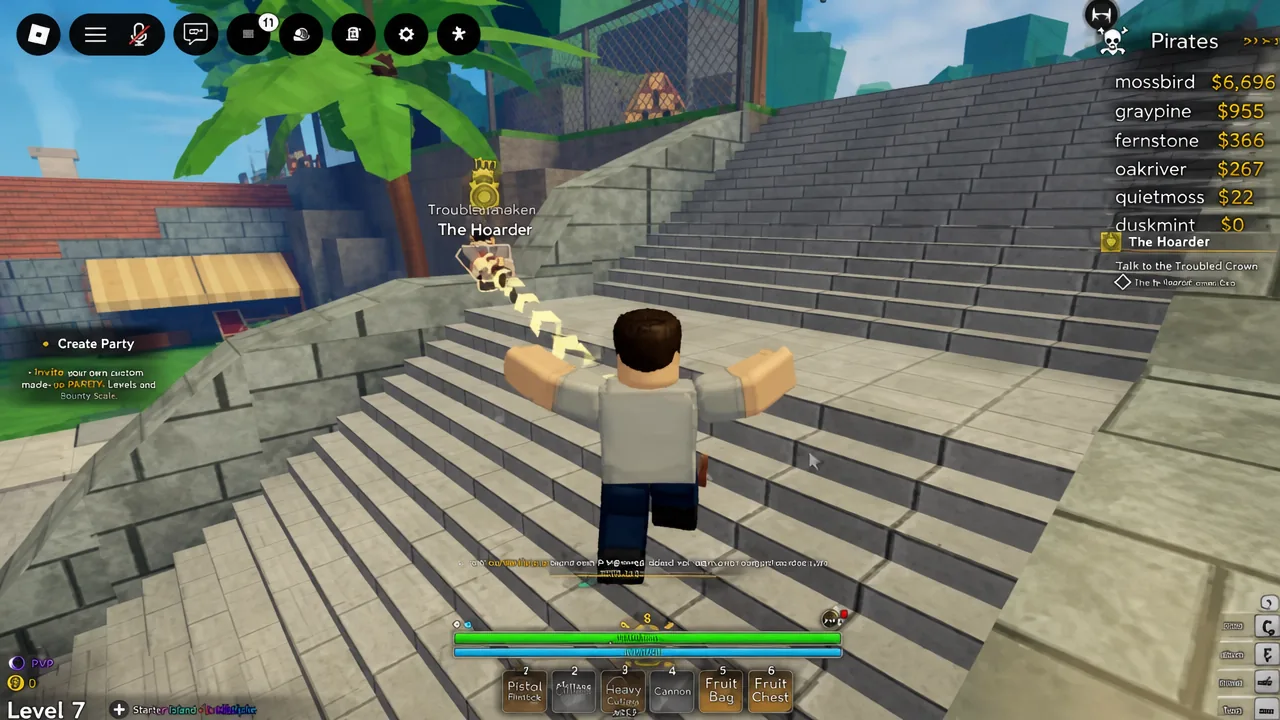
Quick answer: Click Create Party on the left side of the screen, then click Invite and choose a name from the in-server player list, or open Invite Friends to pull in a Roblox friend who is not in the server yet.
Where the party buttons sit on the Grand Blue HUD
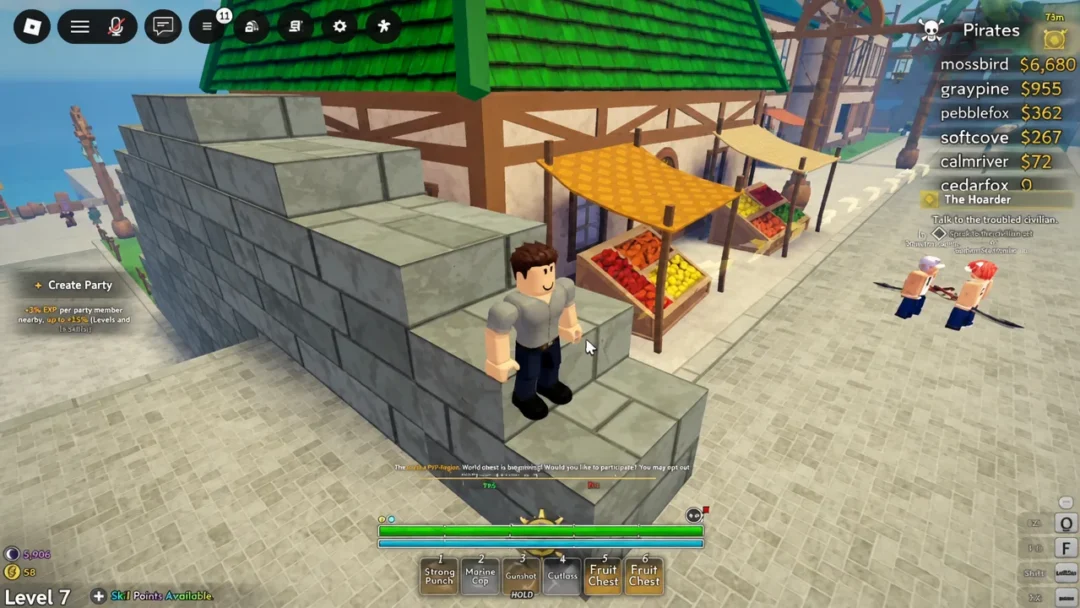
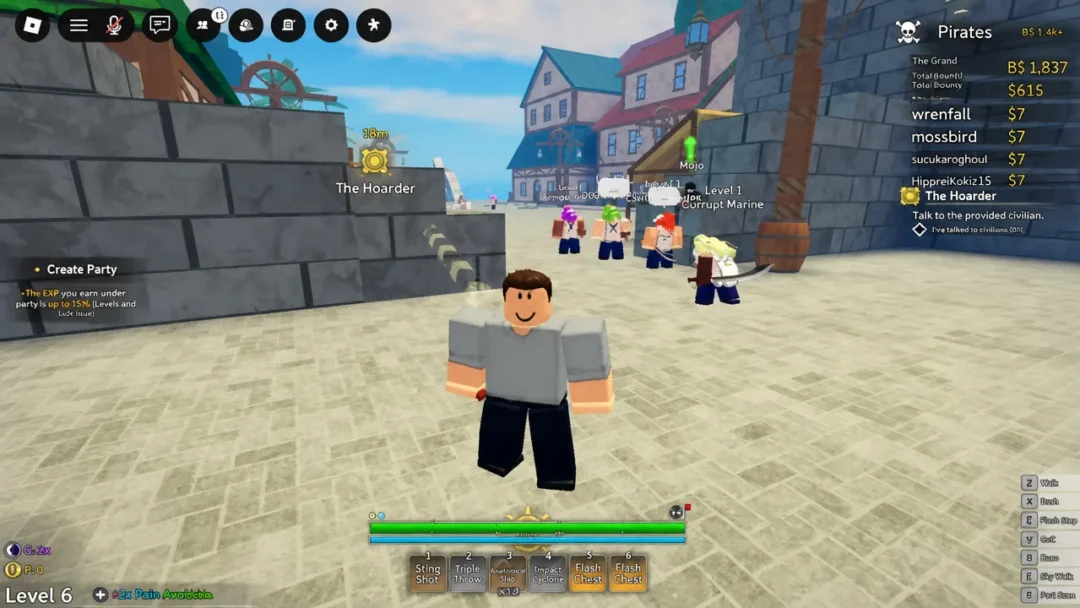
The party controls are docked to the left side of the play screen, under the same column as the rest of the in-world HUD. Before you group up, that column shows a single Create Party button. Once a party exists, the button is replaced by a small Party panel carrying Invite, Disband, and Hide.
Nothing about the panel pauses the game. You can be mid-fight, knocked down, or running between quest markers and the buttons stay clickable, so it is worth opening it from a safe spot if you plan to scroll a player list.
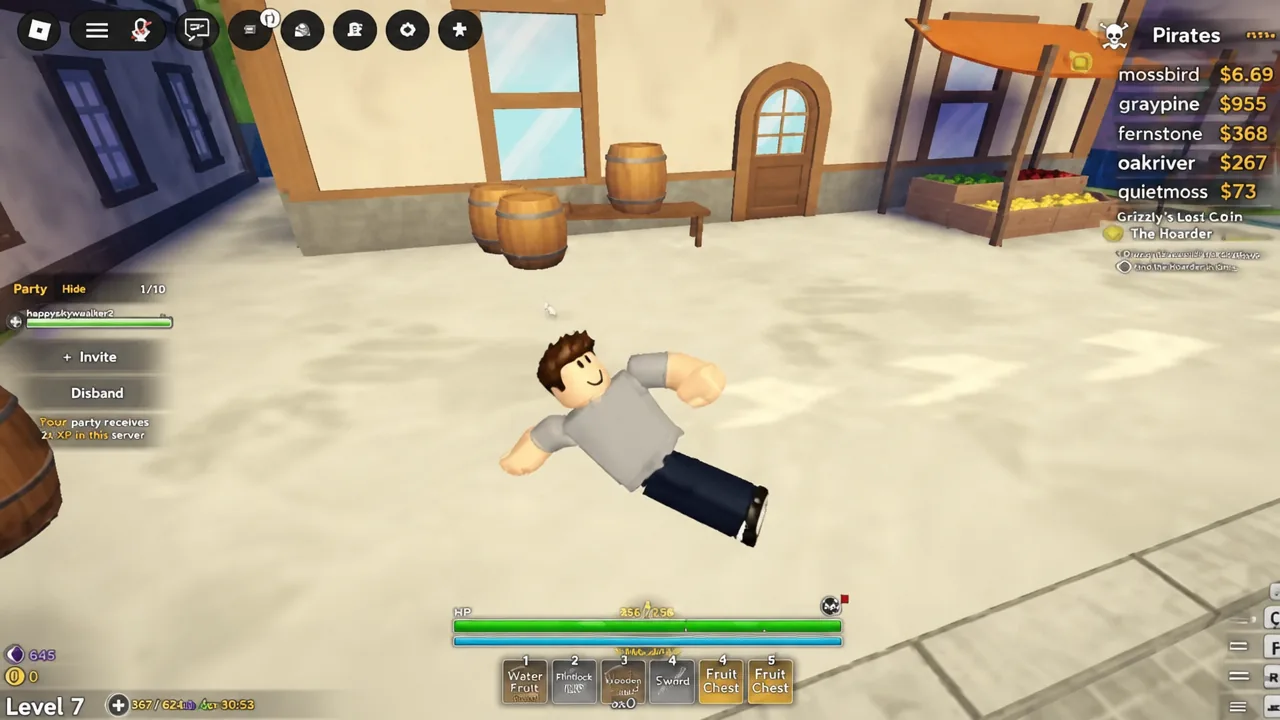
Create a party in Grand Blue
You do not need a second player present to create the party. Making it first and inviting afterwards is the faster order, because the invite list only appears once the party exists.
Invite friends to your party
| Route | What it covers |
|---|---|
| In this server | The players already loaded into your session, shown with their names and levels |
| Invite Friends | The Roblox friends menu with a search field, for pulling someone into your server first |
Note: The Invite Friends route is a Roblox-level join request, not a Grand Blue party invite. Your friend lands in your server first, and you then add them from the in-server list.
Running quests and bosses with a party
The practical reason to group is island progression. Quest objectives are tracked on the right side of the screen, and having a second player following the same marker keeps the pace up on longer chains like The Hoarder.
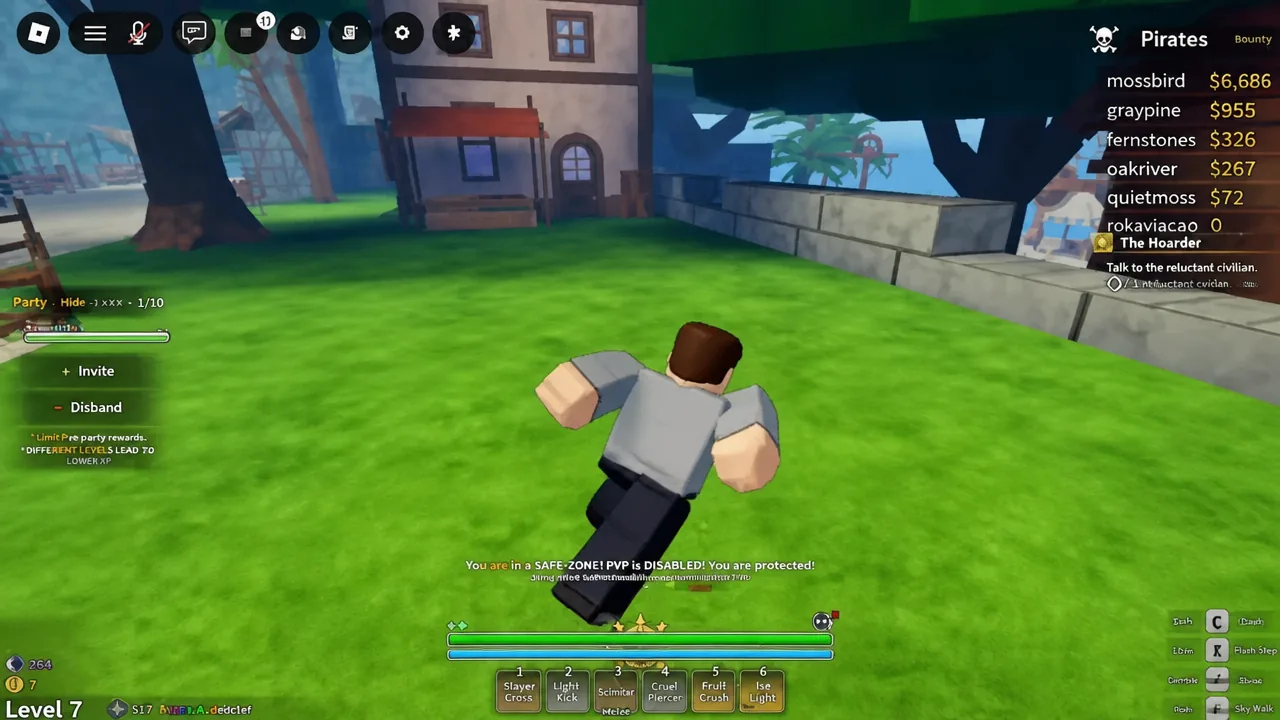
Clear-out objectives benefit most. Tasks such as defeating a set number of bandits and returning their bandanas to the weapons shop finish far faster when two players split the spawns instead of taking turns.
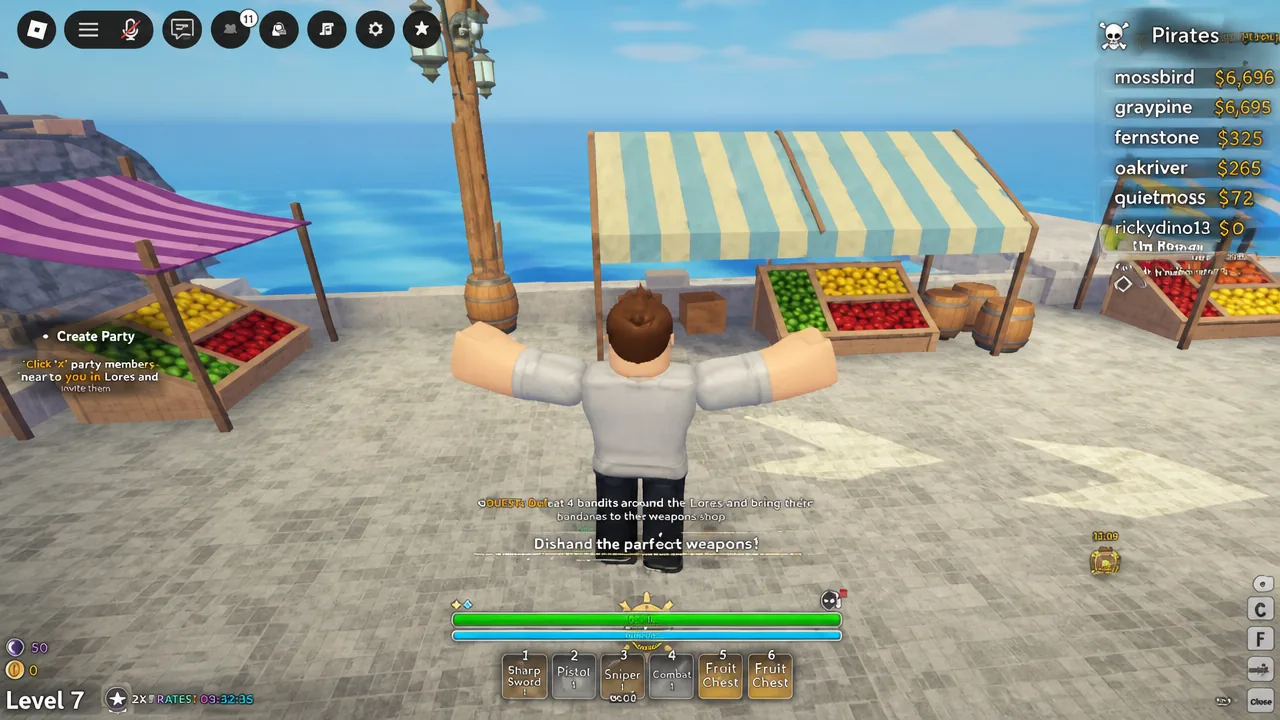
In combat, the party panel does not block your skill bar or camera, so you can keep swapping between light attacks and fruit abilities without closing anything.
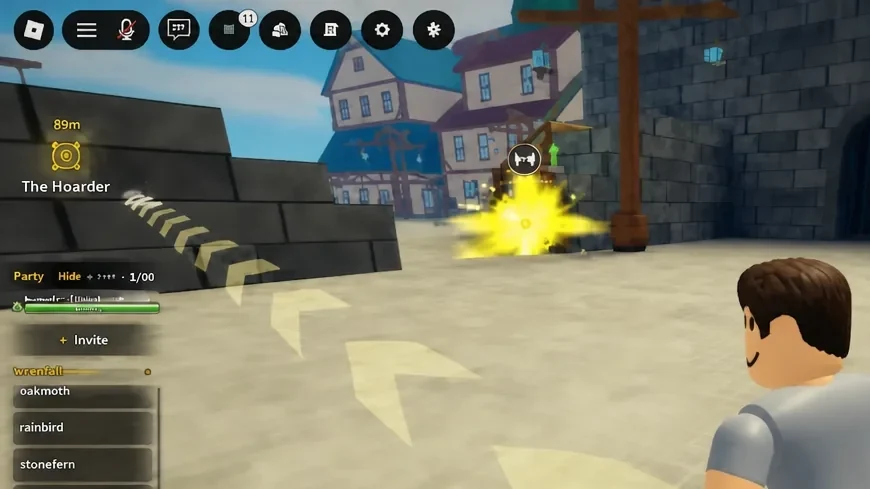
Disband the party
If you only want the panel out of the way while staying grouped, use Hide instead. That collapses the display without touching the party itself.
The menu buttons next to the party panel
Three more buttons share the same HUD area and are easy to mix up with the party controls. Servers handles hopping between sessions, Backpack opens your inventory, and Menu is the character hub.
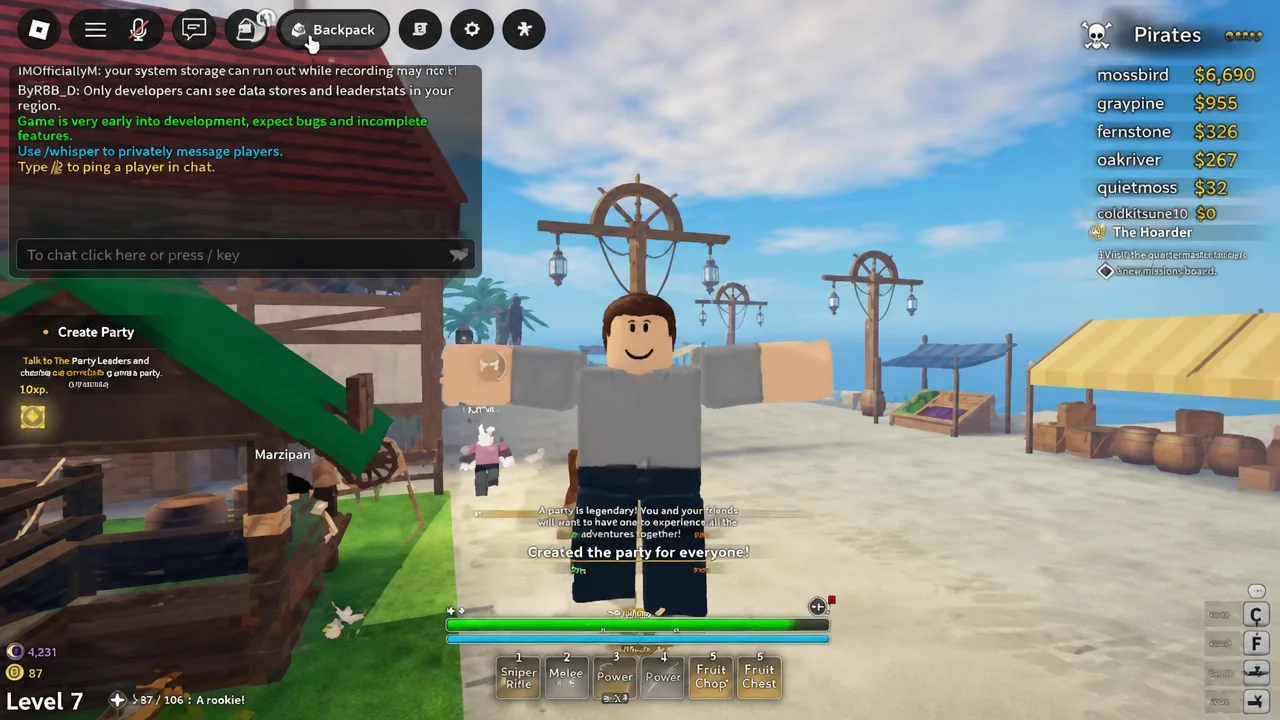
Opening Menu gives you the full set of character screens, listed as Character, Skills, Logbook, Map, Lifeskills, Crew, and Shop, with Close to back out. Crew is a separate long-term affiliation and is not the same thing as the temporary party you build from the HUD.
Since Grand Blue is still in Early Access, button placement can shift between patches, but the flow itself is short enough to redo in seconds. Create first, invite second, and remember that disbanding takes the whole group down with you.