

Durandal is the earliest legendary longsword most players in The Blood of Dawnwalker will ever hold, and it can be picked up almost immediately after the prologue ends. It sits at the bottom of a gorge in the northwest corner of Vale Sangora, guarded by a pack of wolves and a trio of wraiths that hit far harder than anything else you have met by that point. The side quest that gates it is called The Cursed Chasm.
Quick answer: Fast travel to the Coward’s Path shrine, follow the road northwest to the broken bridge, drop into the chasm below, kill the wolves and the Echo wraith that spawns, then loot the large ruined wagon under the bridge to claim Durandal.
Durandal stats and effects
Durandal is a medium-speed legendary longsword built around stamina economy rather than raw swing damage. Its base form carries a modest 66 max damage, but the weapon can be upgraded, and an upgraded copy at level 20 reaches 291 DPS with a 177–214 damage spread. The percentages on its effects climb with those upgrades too.
| Property | Detail |
|---|---|
| Type | Longsword |
| Rarity | Legendary |
| Attack speed | Medium |
| Weight | 1.5 |
| Weapon Art | R1 + L1, 15-second cooldown |
| Source | The Cursed Chasm side quest |
The four effects stay the same no matter how far you take it. Only the numbers move.
| Effect | Value range |
|---|---|
| Damage against supernatural (corrupted) enemies | +8% base, up to +14.4% upgraded |
| Attack stamina cost | -15% base, up to -27% upgraded |
| Dodge stamina cost | -15% base, up to -27% upgraded |
| Swordmastery ability cooldown | -4% to -7% |
The two stamina reductions are what make it worth the detour. Cheaper attacks and cheaper dodges mean you can trade far longer in a fight than any common sword allows at that stage of the game.
Where to find Coward’s Path and start the quest
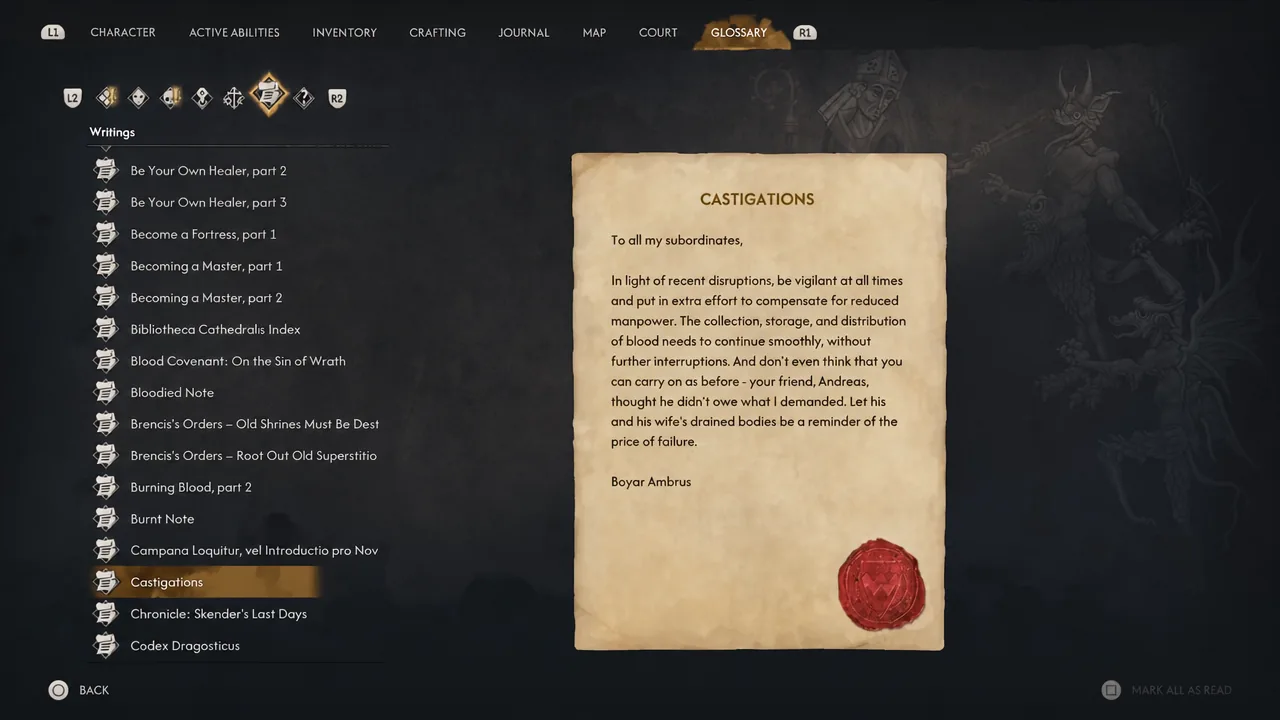
There are three ways to put The Cursed Chasm in your journal, and none of them are mandatory. Walking up to the location is enough on its own, so you can skip the reading entirely if you already know where you are going.
- Read Chronicle: Skender’s Last Days on the second floor of the cathedral library.
- Ask the innkeeper at the tavern on the western edge of Altenmarkt in Svartrau City for gossip about Skender’s lost treasure.
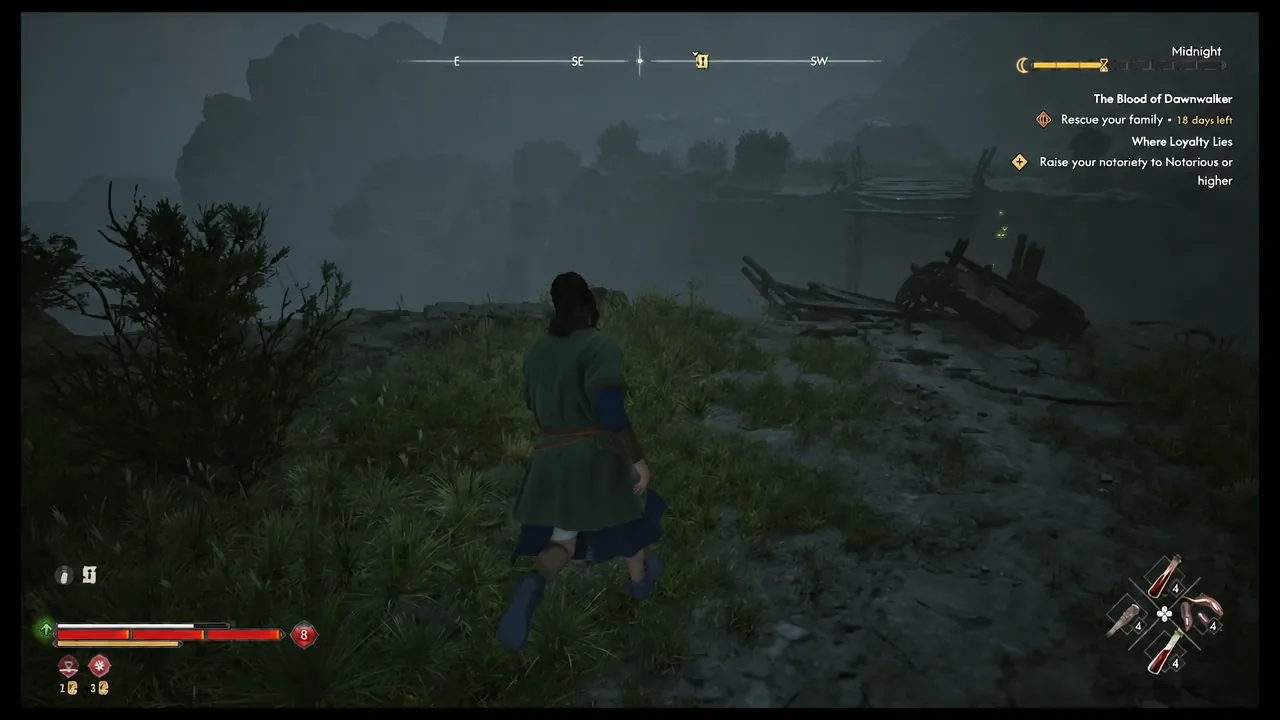
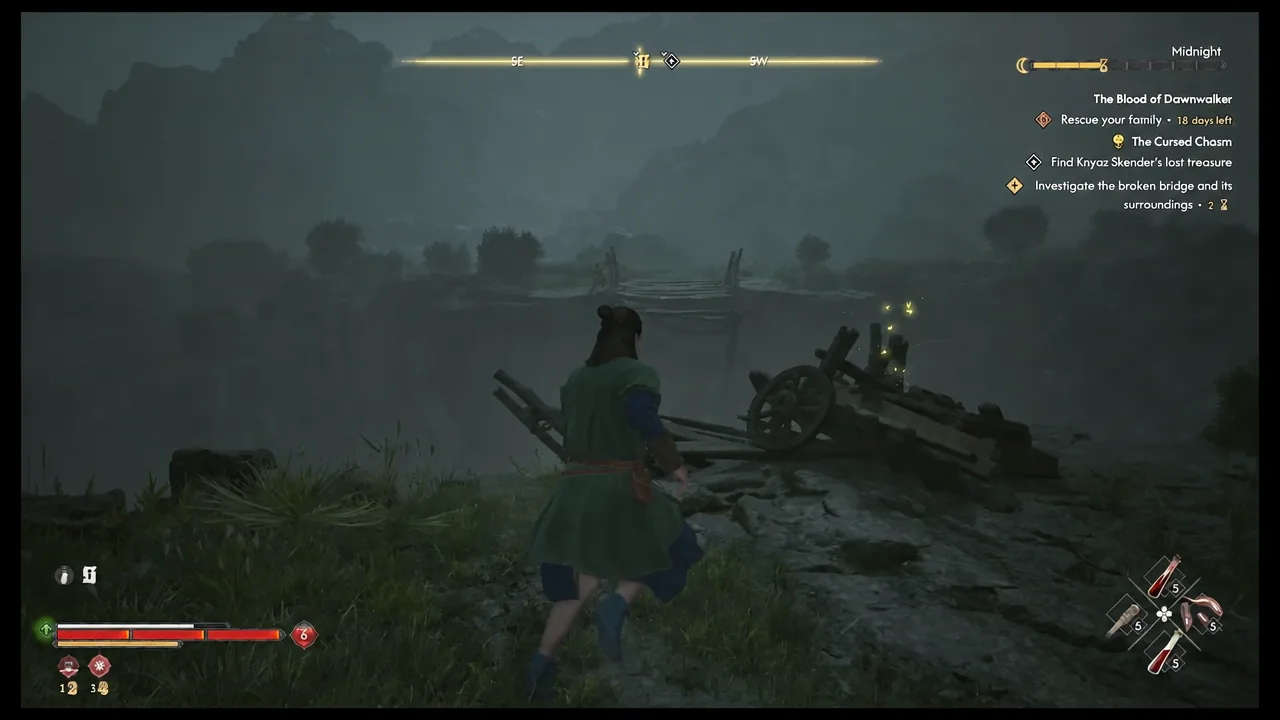
- Simply travel to the broken bridge yourself and interact with the debris at the edge.
Getting down into the chasm safely
The drop is long enough to kill you outright at low level, so pick your descent based on whether it is day or night.
At night, in vrakhiri form, you can jump straight in and use Shadowstep before you hit the ground to cancel the fall damage. Save first — the timing is unforgiving, and the animation has to land before impact.
In human form there is a slower route that costs no time at all. Follow the chasm edge east and then northeast from the bridge to find a series of ledges that step down almost like a staircase, with one small gap to jump partway through. From the shrine side, those ledges sit west and northwest of Coward’s Path. You can also loop back to the shrine and head due west instead of northwest to pick up the descending path.
Note: the same ledges are your way back out once the fighting is over, so remember which side you came down.
Echo boss fight: Wolves, Vidmos, and the health drain
A pack of wolves is feeding on the wreckage at the chasm floor. They are low level and go down quickly, but they are only the trigger. Killing at least one wolf is what makes Echo appear, so the fight cannot be skipped by sneaking past them to the loot.
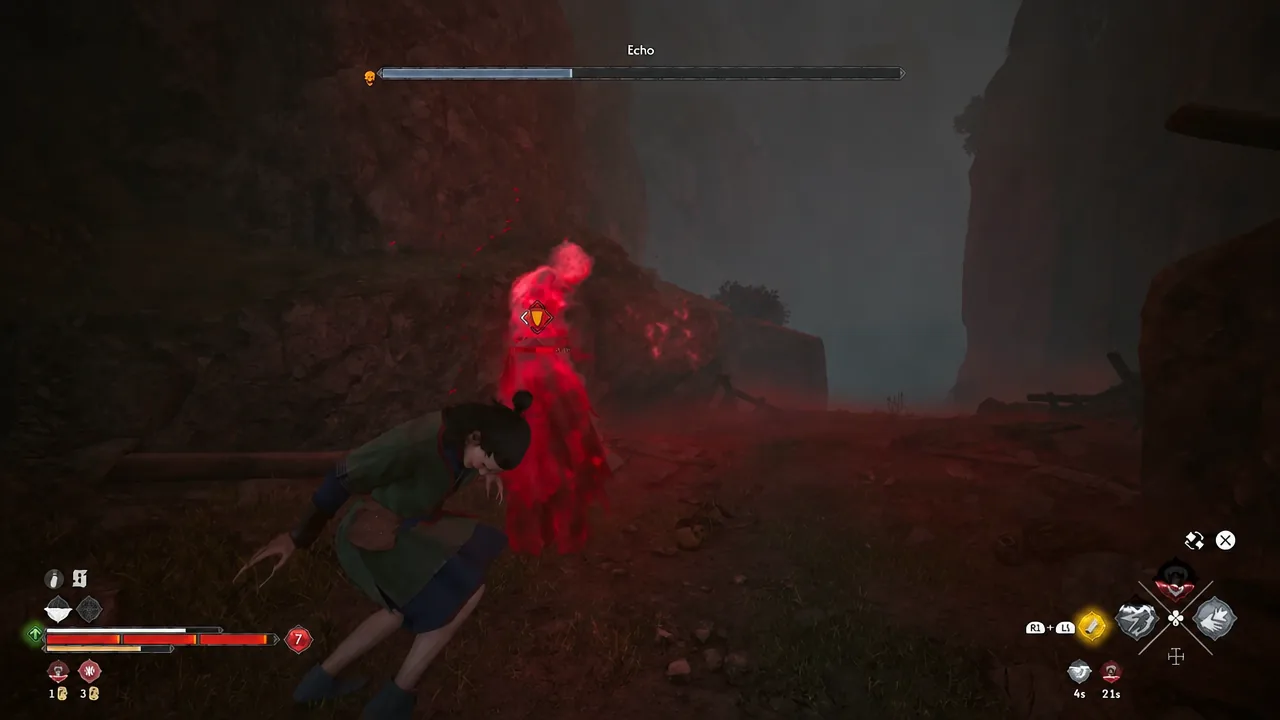
Echo is a red wraith flanked by two darker phantoms called Vidmos. All three are considerably stronger than the wolves, and at very low level the wolves themselves may show a skull icon next to their health bar, which means one hit can kill you. If that happens, leave, level up, and return around level 11.
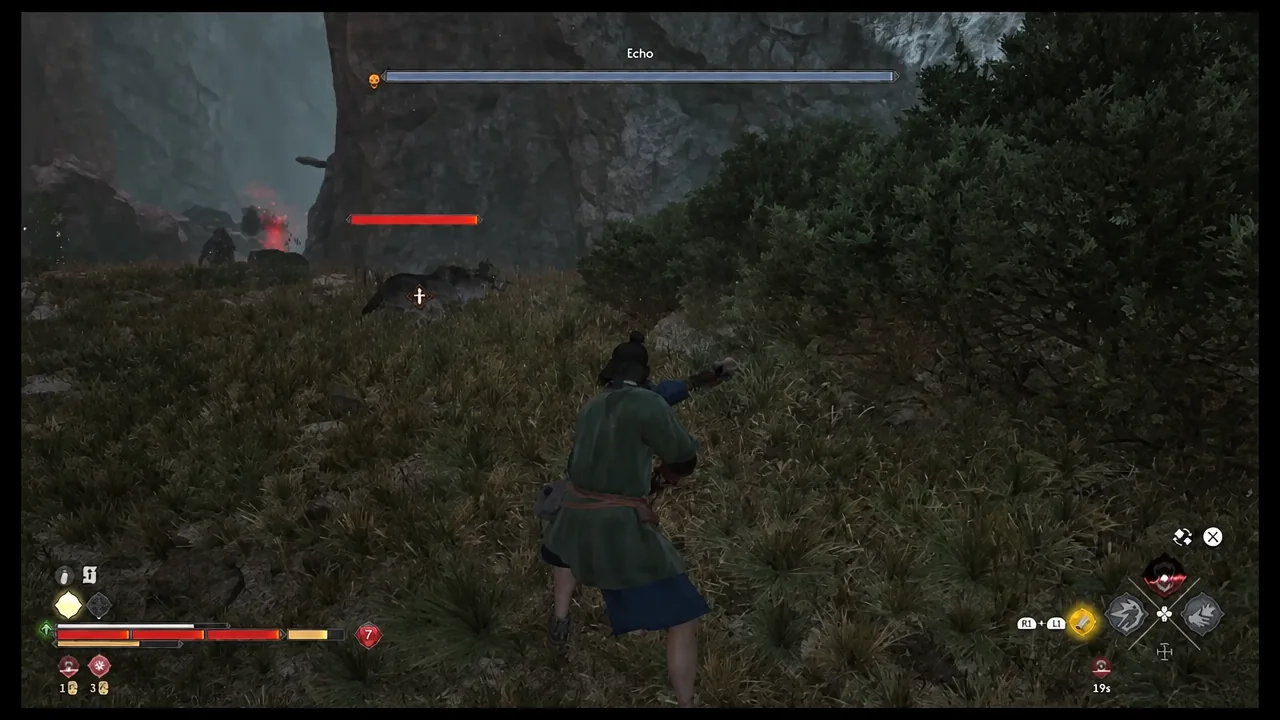
The wraiths share a simple pattern. Their claw swipes can be blocked normally, and their spinning attack is unblockable area damage flagged by a red skull icon, so create distance the moment it appears rather than trying to trade through it.
Echo’s dangerous move is different. When it raises an arm in a beckoning gesture, it starts draining your health from range. That drain cannot be blocked or dodged, and nothing on screen warns you beyond the animation and your shrinking health bar. The only way to stop it is to hit Echo. Whenever the wraiths teleport away from you, close the gap immediately instead of waiting for them to come back.
Everything in the wreckage at the chasm floor
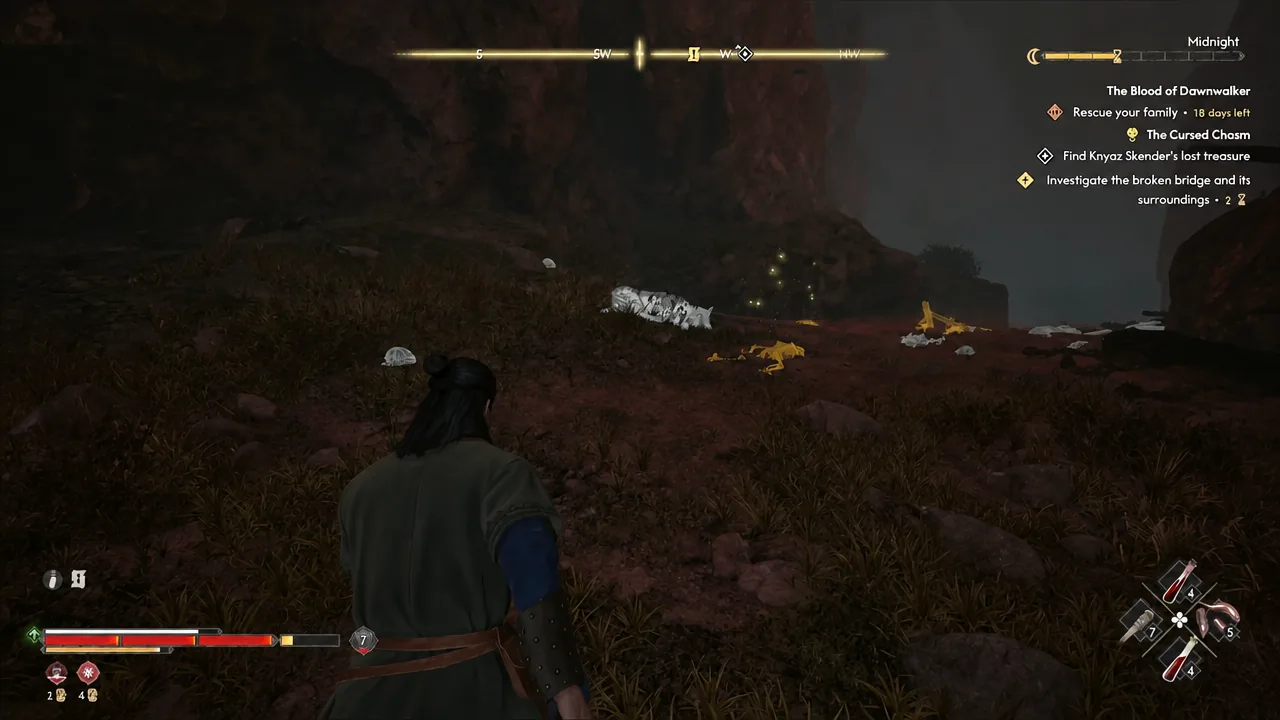
With every enemy dead, switch on Focus Mode. It highlights the skeletons and the piles of debris scattered under where the bridge once stood, and several of them are easy to walk past otherwise.
| Item | Where and why it matters |
|---|---|
| Final Report | On a skeleton, alongside a ring. Captain Bojidar’s letter refusing to die for a noble’s lost cause. |
| Treasure Map: Silver Cache | In the surrounding debris. Starts the Finders Keepers side quest. |
| Durandal | In the largest ruined wagon, the yellow wooden wreck under the bridge. |
| Recipe for Minor Balm of Fortitude | Found with Durandal in the same wagon. |
| Silver, Denarius, and armor pieces | Scattered across the wrecks, including bracers and a master-tier coat of plates. |
The silver is the sleeper reward here. It is not spendable on its own, so take it to the Silver Trader in Svartrau City to convert it into Denarius.
Quest completion, time cost, and rewards
Picking up Durandal is the completion trigger, not clearing the enemies. The moment you take it, the quest closes out and the game charges you two segments on your time bar, so do the looting before you grab the sword rather than after.
You will know it worked when the quest log marks The Cursed Chasm as complete and pays out 100 EXP plus one skill point on top of the sword itself. If Echo never showed up at all, you almost certainly reached the wreckage without killing a single wolf, which is the one condition that gates the spawn.
From here, the Treasure Map: Silver Cache points you toward Finders Keepers, and the Coward’s Path shrine gets you back out of the northwest corner in one jump. Given how early Durandal becomes available and how well the stamina reductions scale with upgrades, it is a blade that can comfortably stay on Coen’s hip for a long stretch of the campaign.





