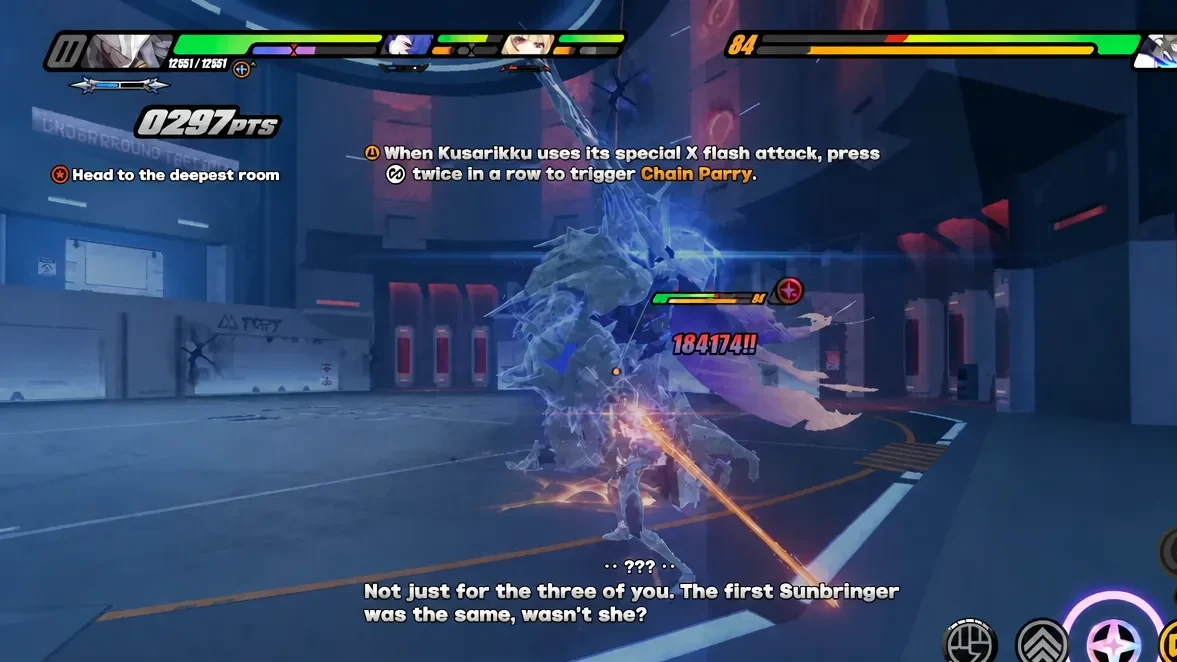
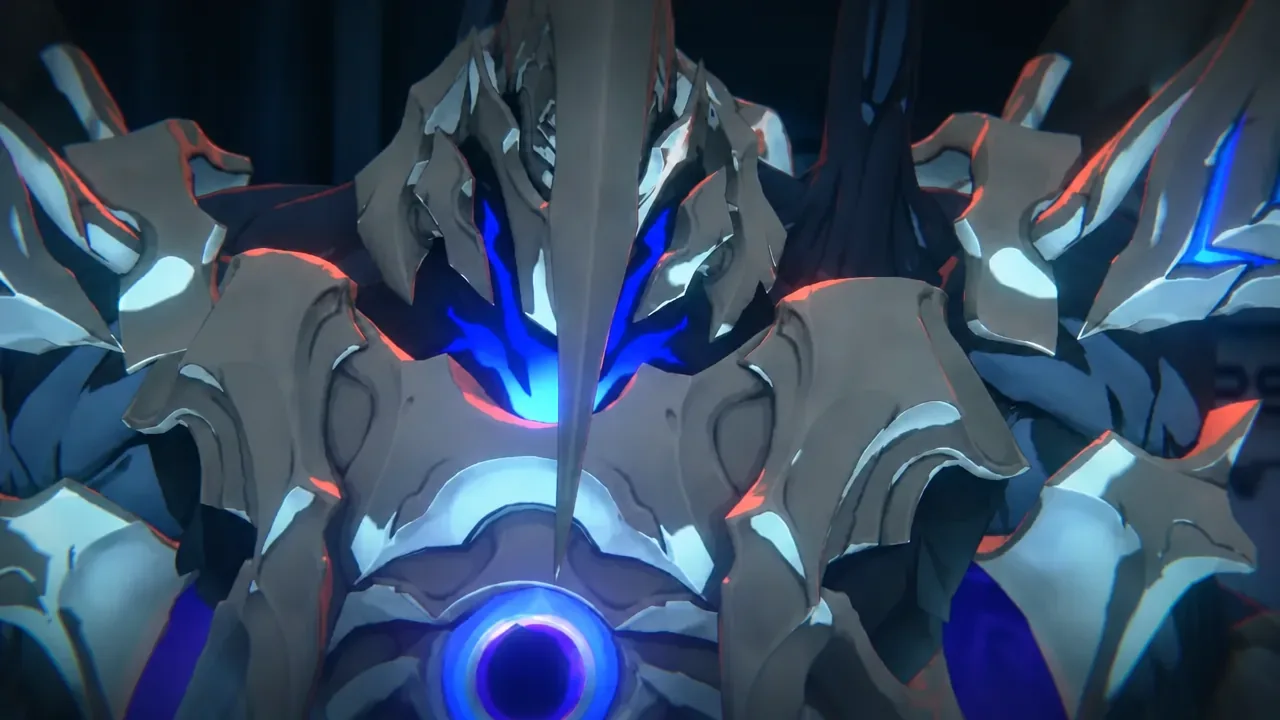
Kusarikku is the boss that closes out the main story sequence in Zenless Zone Zero version 3.2. Roscaelifer summons the creature during a confrontation with the squad, and the fight takes place in a high-tech arena with Claret, Lindverne, and Belle on the field. The encounter is built around two prompt-driven defensive inputs, and both are introduced by tutorial screens mid-fight.
Quick answer: Press the switch button when Kusarikku flashes gold to trigger a Counter Assist, dodge or assist through its Control Skill damage phase, and press the parry button twice in a row when an attack is marked with the X flash. Defeating the boss awards the “Can’t Touch This” achievement.
How the Kusarikku fight starts
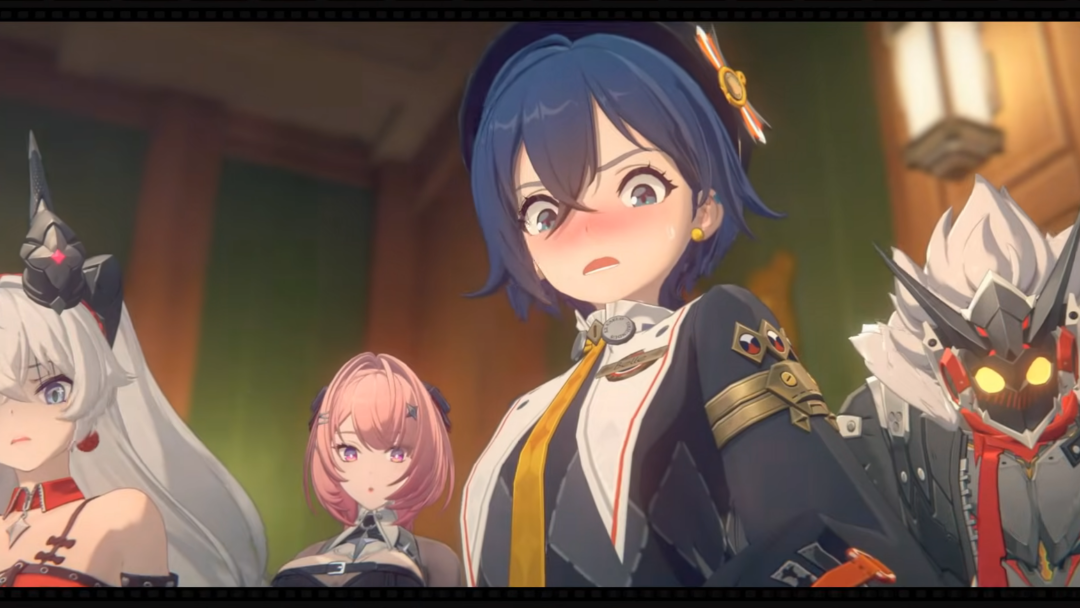
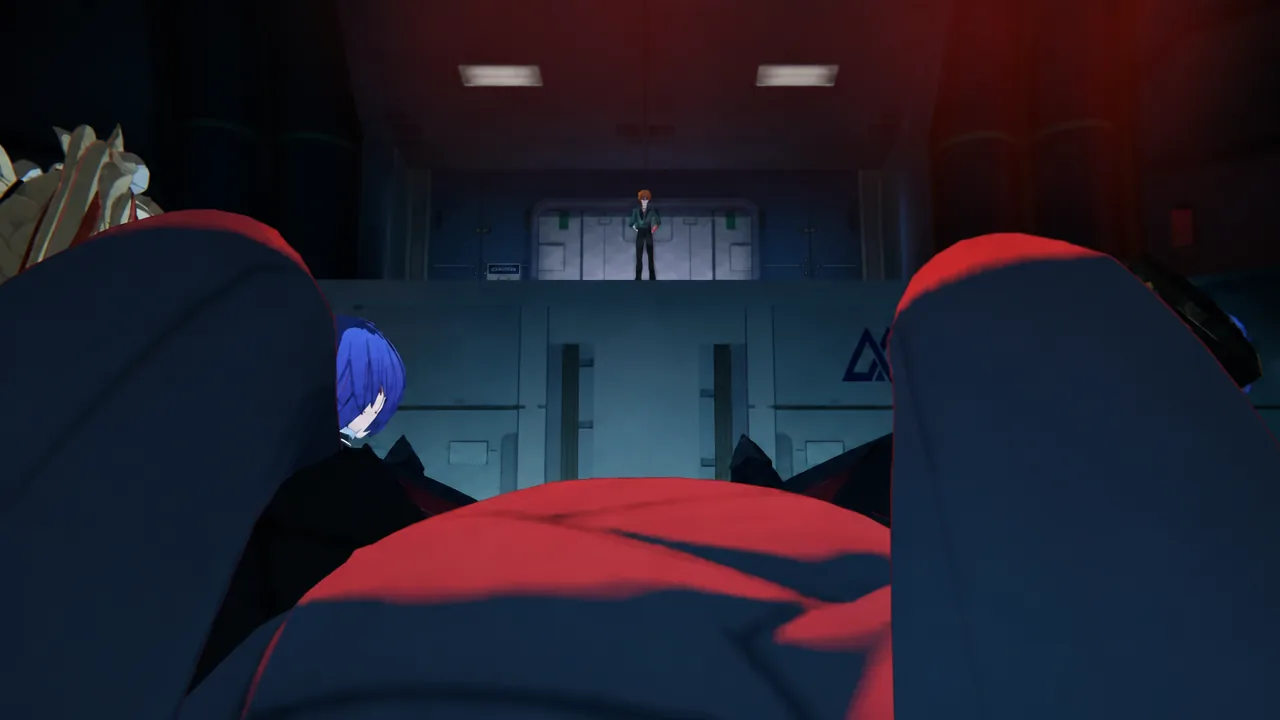
The lead-up follows the objective marker reading “Head to the deepest room.” Once the party arrives, Roscaelifer blocks the way and calls up Kusarikku as a replacement for Sunbringer, and the cutscene hands control straight over to combat with Claret as the starting agent.
There is no preparation window between the cutscene and the first exchange, so set your team before entering the room rather than expecting a loadout screen at the arena.
Kusarikku attack prompts and the inputs that answer them
Every defensive moment in the fight is telegraphed on screen. The boss tells you which input it wants, and the table below maps each signal to the response.
| On-screen signal | Input | Result |
|---|---|---|
| Golden flash on Kusarikku | Press the switch button | Counter Assist: the incoming agent interrupts the attack and takes over |
| Control Skill wind-up | Perfect Dodge or Perfect Assist | Avoids the first damage phase of the skill |
| X flash on a special attack | Press the parry button twice in a row | Chain Parry: stops the special attack outright |
Counter Assist
A combat tutorial for Counter Assist appears shortly after the fight begins. When Kusarikku lights up gold, the switch button swaps in a benched agent who answers the attack instead of blocking it, which keeps pressure on the boss while you rotate characters. Treat the gold flash as a swap cue rather than a dodge cue, since dodging out of it wastes the opening.
Perfect Dodge and Perfect Assist during Control Skill
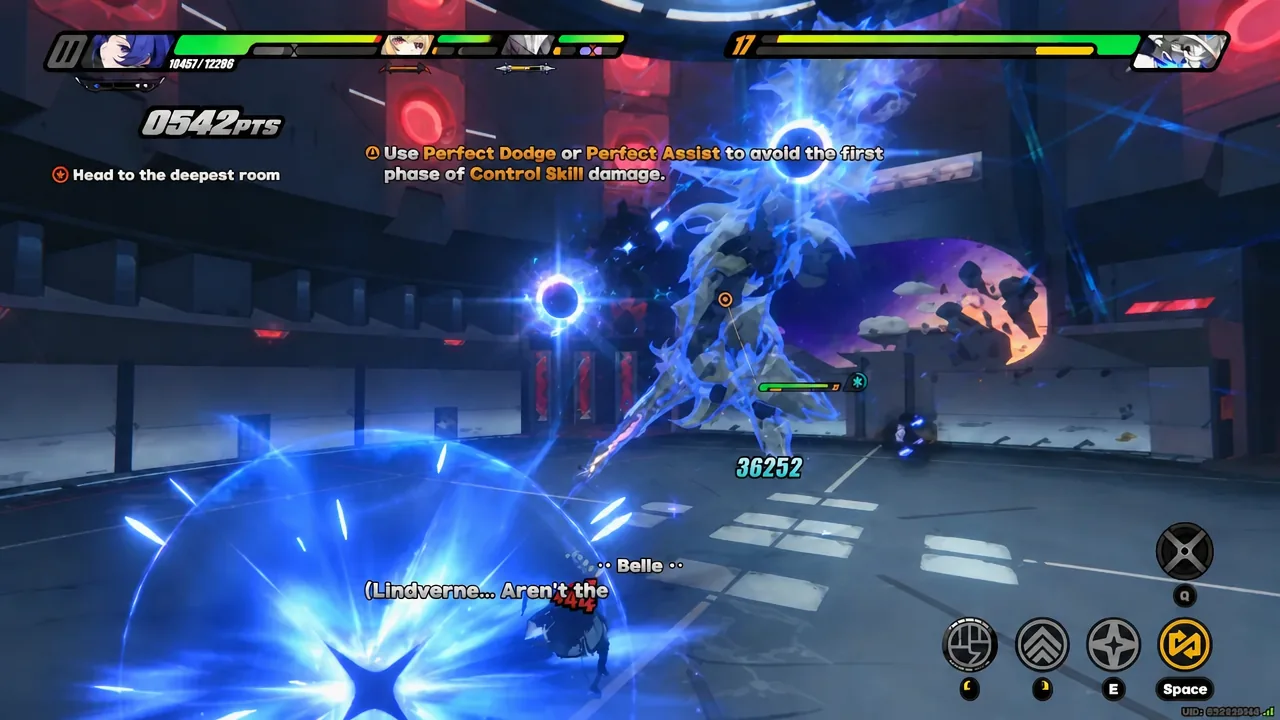
Kusarikku’s Control Skill deals damage in phases. The prompt on screen asks for a Perfect Dodge or a Perfect Assist to slip past the first phase, so either input works and you can pick whichever fits the agent you are holding at that moment.
Chain Parry
Later in the fight, a second tutorial covers the Chain Parry. When Kusarikku uses a special attack marked with the X flash, pressing the parry button twice in a row chains the block into a counter and shuts the attack down. A single press is not enough here, which is the most common reason the sequence fails.
Damage windows and the squad you fight with
Claret, Lindverne, and Belle form the field team for the encounter. Each successful Counter Assist or Chain Parry leaves Kusarikku exposed, and those are the windows to spend EX Special Attacks and Ultimates. The fight is paced so that ultimate cinematics land during the openings you create rather than on a fixed timer.
Tip: rotate agents on the gold flashes instead of holding one character. Swapping through Counter Assists keeps all three on the field and builds toward chain attacks faster than trying to solo the boss with your strongest damage dealer.
Can’t Touch This achievement
Bringing Kusarikku down unlocks the “Can’t Touch This” achievement. You will see the achievement pop as the fight ends and the post-battle cutscene begins, so if the notification does not appear, the boss is not yet defeated and the encounter is still running.
What the cutscenes after the fight show
Kusarikku does not go quietly. Its defeat tears open a destructive spatial fissure, and the scene shifts to Lindverne and Belle combining their powers to close it before the damage spreads.
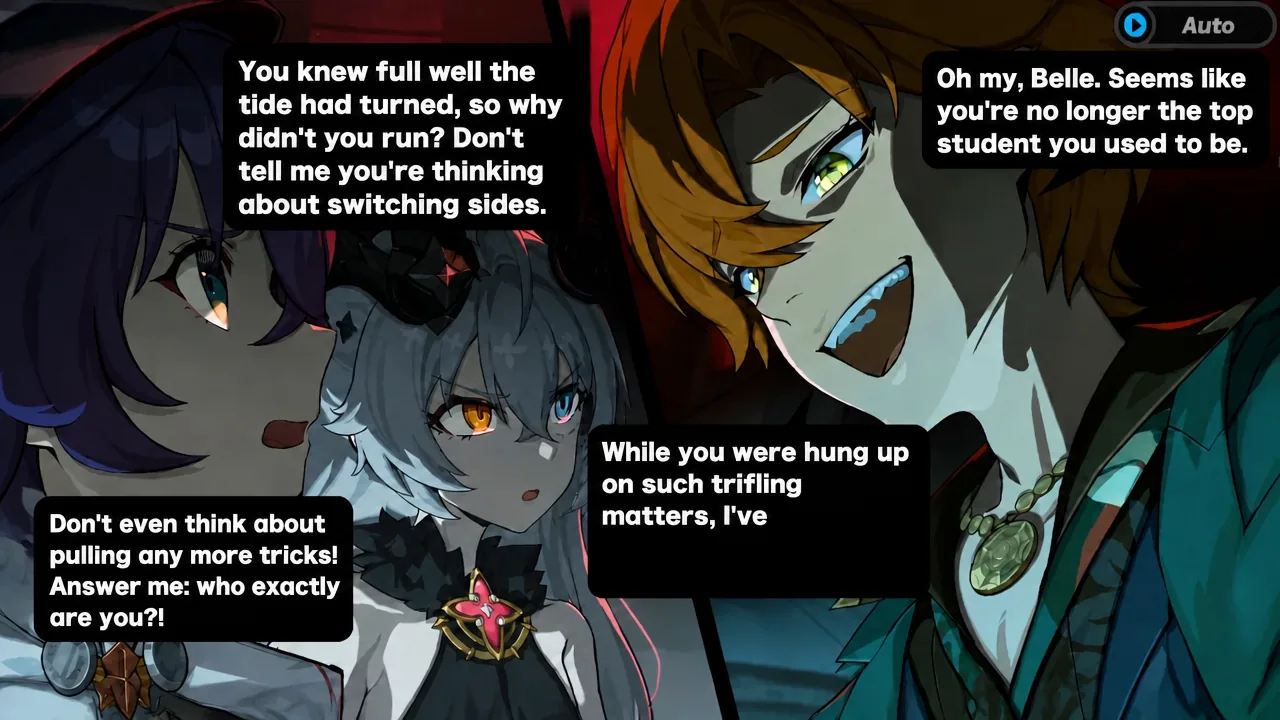
The sequence ends on a dialogue scene rather than another fight. Roscaelifer applauds the group, taunts them, reveals that he is a Youkai, and then collapses, with the conversation pointing toward events in Boastrum. The exchange runs long, and the Auto button on the dialogue screen will advance the lines for you if you would rather watch it play out.
Once the dialogue closes out, the story chapter wraps and control returns to you. If you plan to replay the encounter, the two tutorial screens do not reappear, so the gold flash and X flash cues are the only signals you need to watch for.