Clearing waves quickly in Survive Zombie Arena is less about aim and more about shutting down the two things that slow a run down: dying, and running out of damage. The raid route solves both at once. You pick a class that can make itself untouchable, bring weapons that already have their upgrade tree maxed in the hub, and let automated turrets do the grinding while you hold a corner the boss cannot punish.
Quick answer: Equip Bastion with a fully upgraded Blood Pistol and Blood SMG, clear waves 1 to 5 for crystals, then place a Shelter under the ship’s staircase when the boss spawns on wave 6 and ring it with Laser Turrets while you fire non-stop.
Fastest wave route in Survive Zombie Arena (raid runs)
A raid is a short, bounded run. Instead of an open-ended arena where wave counts climb until your defenses break, you queue against a specific boss, fight five quick zombie waves, and then face the boss on wave 6. The zombie waves exist to fund you, so treat them as a crystal pipeline rather than a fight.
| Phase | What to do |
|---|---|
| Hub, before queueing | Max weapon upgrades, equip Bastion, auto-equip best artifacts |
| Waves 1 to 3 | Kill with the Blood Pistol, collect every crystal drop |
| Waves 4 to 5 | Buy the Blood SMG, add health, hold the rest of your crystals |
| Wave 6 | Boss spawns; place Shelter, stack Laser Turrets, fire continuously |
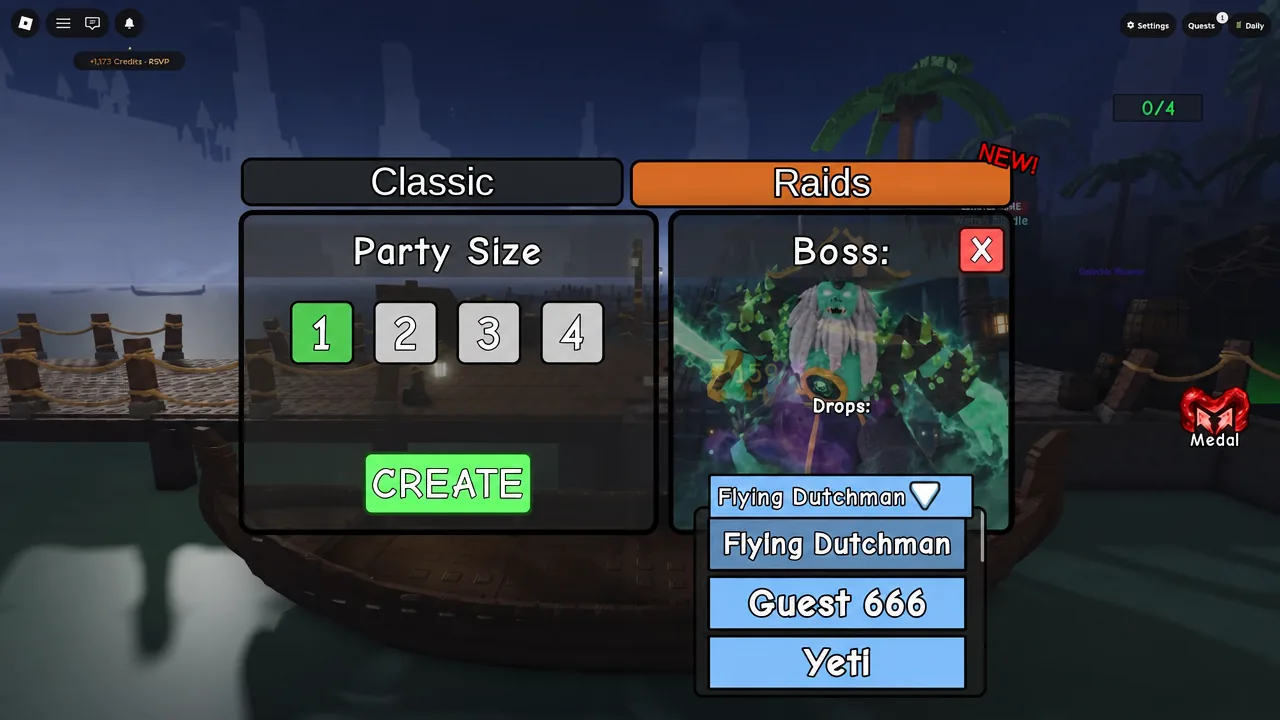
You can start a raid solo. The Raid menu lists the Flying Dutchman, Guest 666, and the Yeti, each with its own exclusive drops, and you create the match from the boat at the docks in the hub.
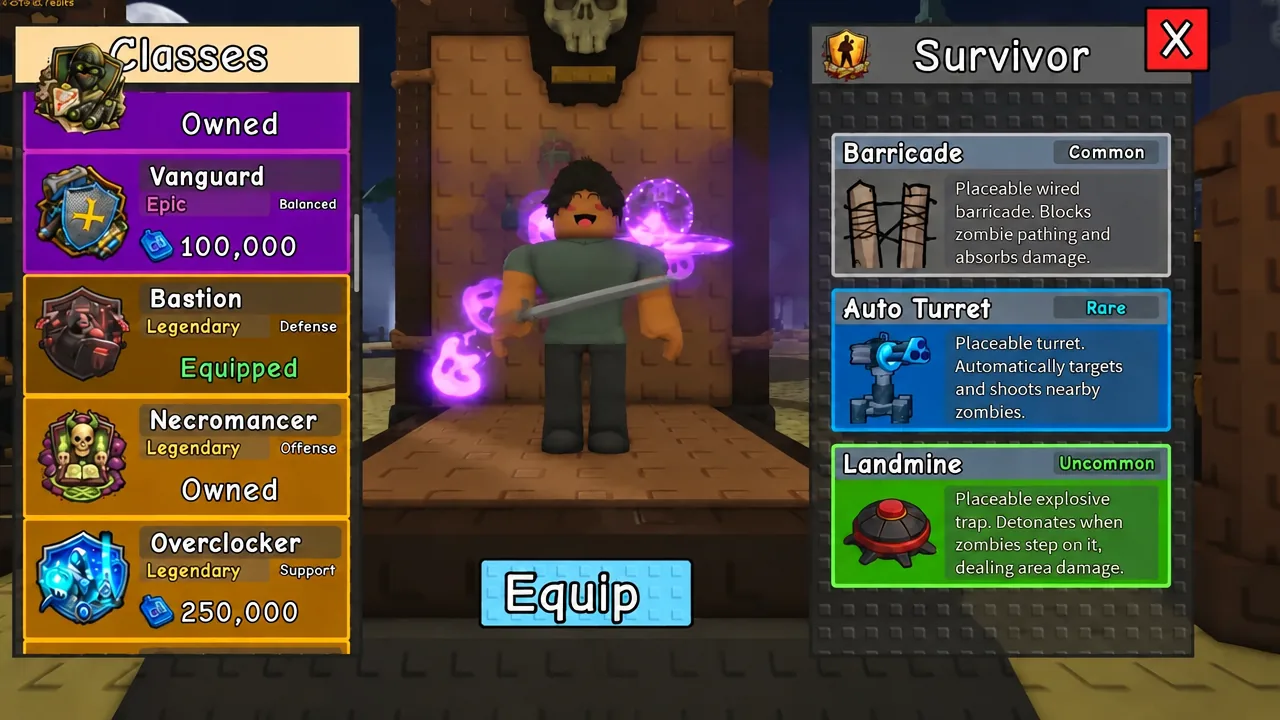
Loadout setup before you queue: Blood weapons, gears, and Bastion
Everything that decides your clear speed is bought outside the match. Crystals earned inside a raid are limited, so the damage you walk in with matters far more than the damage you buy mid-run.
Finish in the Artifact Crates menu. Open what you have, then use auto-equip to slot the rarest artifacts you own; top-tier pieces such as Deathbloom go straight into the loadout without you sorting through the list.
Tip: redeem any working code before your first purchase, not after. Codes have paid out Credits in bulk, and the Credit balance you carry into the hub shop is what caps your upgrade level.
Waves 1 to 5: crystal spend order
Once you spawn onto the arena, the only real decision is spending order. Zombies drop crystals on death, and those crystals fund weapon swaps, health, and gear placement inside the match.
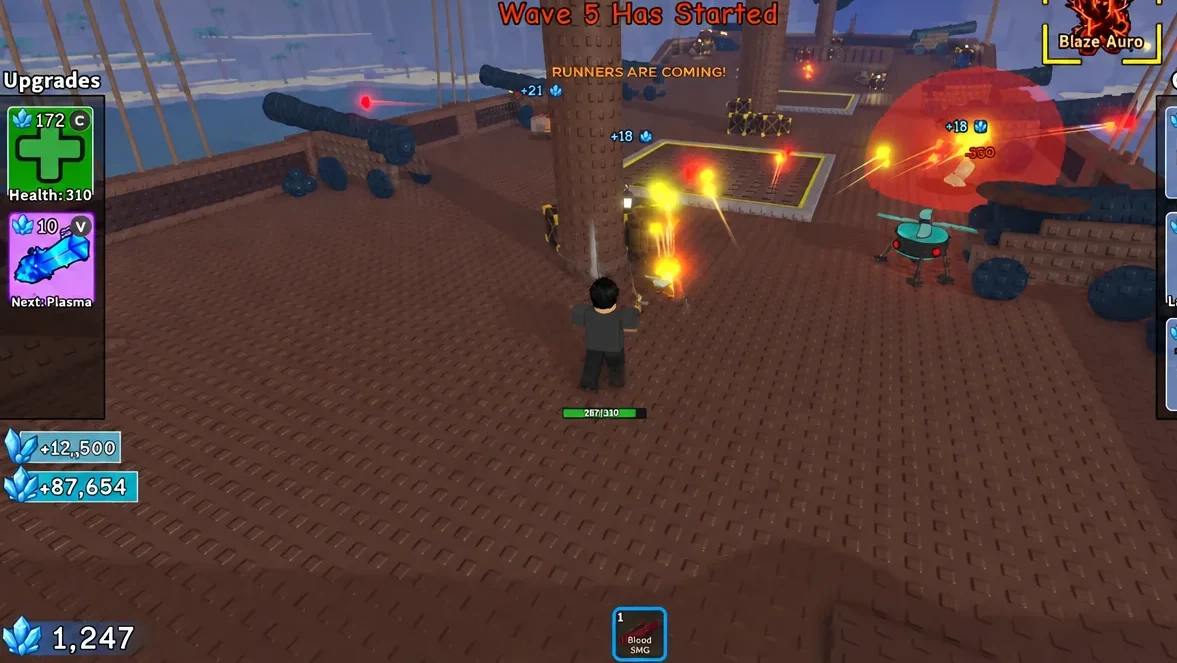
Wave 6 boss spawn: Shelter safe spot under the staircase
On the pirate ship, the Flying Dutchman appears above the deck with a full bar of 2,885,000 HP. It moves back and forth across the ship, which is what makes a fixed position viable.
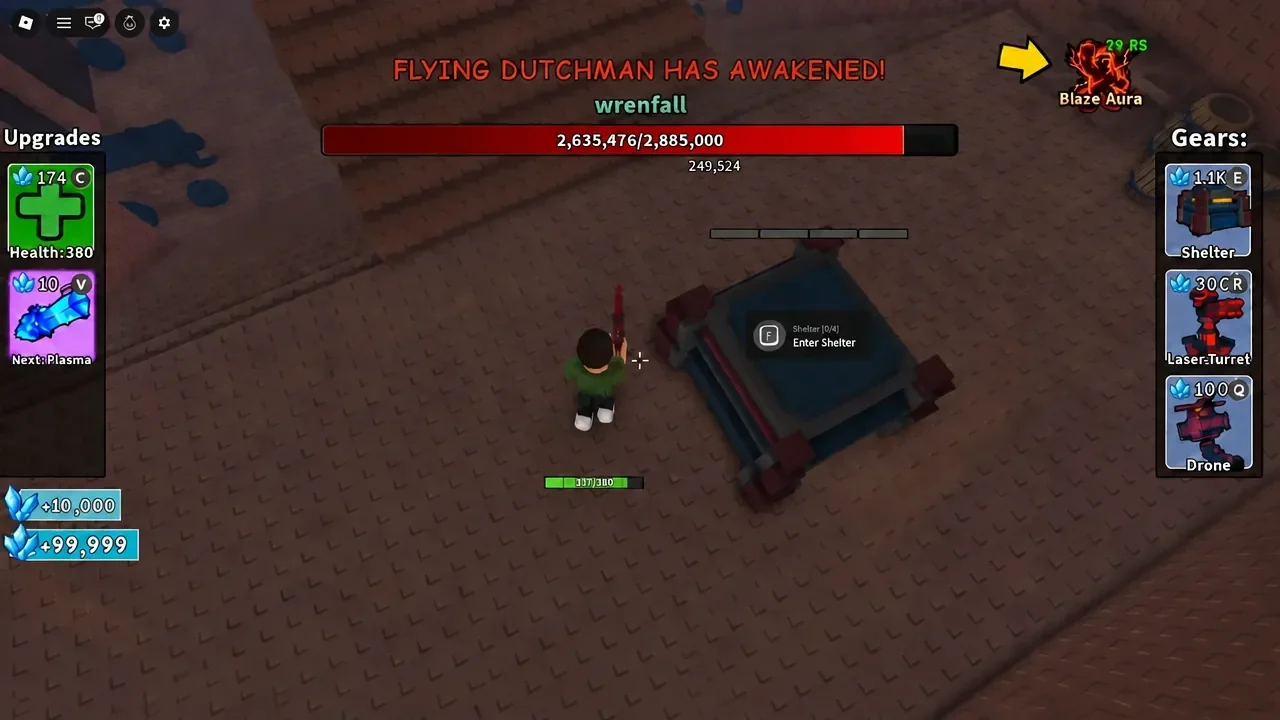
Laser Turret placement for extra DPS
Your saved crystals go into Laser Turrets, placed around the Shelter rather than out in the open. Turrets left exposed get chewed apart; turrets tucked beside a protected position keep firing for the whole encounter and add damage you never have to aim.
Deploy several of them near the shelter so the boss takes automatic damage on every pass. Combined with a maxed Blood SMG, continuous fire from inside cover is what drains a multi-million health bar without a single death.
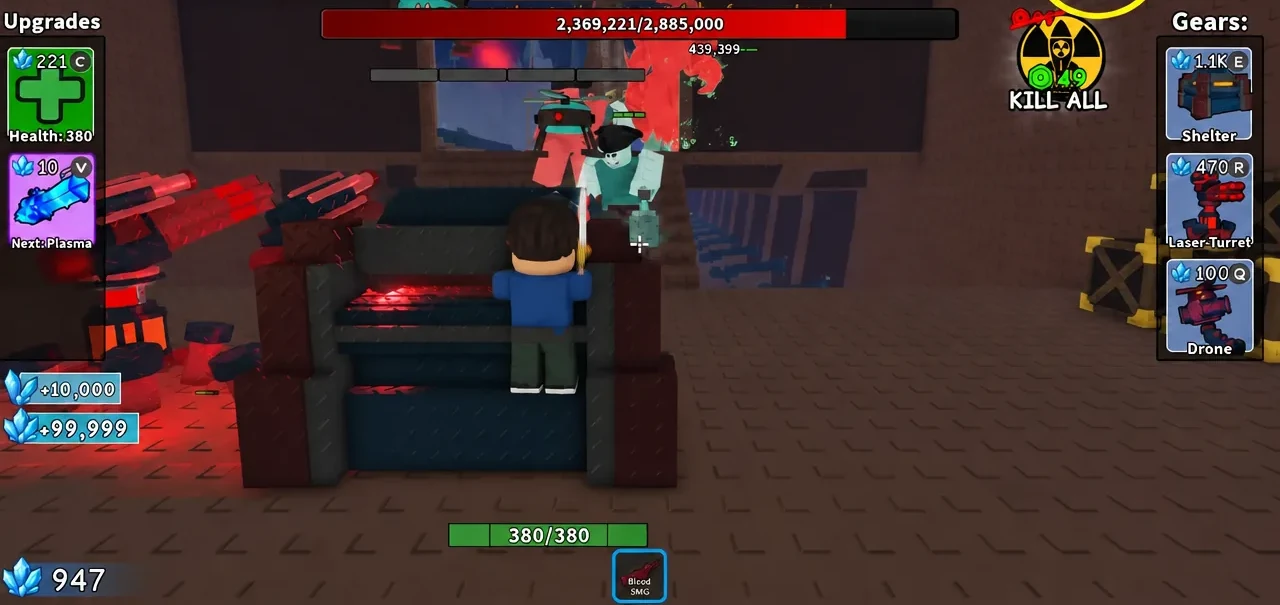
Backup safe spot: lower deck hull corner
If the Shelter is on cooldown or the staircase pocket gets contested, drop into the bottom hull of the ship and take the corner. Jumping against the wall there keeps you out of range of lethal damage long enough to recover.
Treat it as a retreat, not a damage position. Your turrets stay where they were placed, so head back to the Shelter and resume firing once the pressure drops.
Raid boss health pools and Ultra variants
Health pools tell you how many turrets to budget for. The Ultra version of the Flying Dutchman follows the standard fight and needs extra Laser Turrets placed around the shelter to burn through the larger bar.
| Boss | Health | Arena |
|---|---|---|
| Flying Dutchman | 2,885,000 HP | Pirate ship deck |
| Ultra Flying Dutchman | Over 7,900,000 HP | Same ship, after the standard fight |
| Guest 666 | 1,993,200 HP | Grassland map, multistory building |
Guest 666 runs on the same template with one change. There is no staircase pocket, so you clear the waves by circling the open frame tower and jumping to dodge hits, then set up your turret cluster before the boss awakens. When a raid ends, leave the match, load back into the hub, and create the next one from the dock boat.
Wave skipping in normal arena runs: when to vote yes
Outside raids, the fastest wave completion comes from Auto Skip, a server-wide vote that ends the buy phase early and starts the next wave immediately. It raises your Credit income per minute, but calling it at the wrong moment ends runs. Servers hold up to 25 players, so treat it as a team decision.
| Vote yes when | Hold when |
|---|---|
| A barricade is up at the main entry with a turret behind it | Anyone is still placing barricades or turrets |
| Everyone has moved past the starter handgun | A teammate is mid-upgrade and has not confirmed the spend |
| Your loadout clearly outscales the current wave’s payout | The team just wiped a position and needs to re-anchor |
| Nobody is spending and roles are covered | You are on a class you have not learned the timing for |
Why the run fails: common mistakes
Four errors account for most collapses, and all of them are spending or placement problems rather than skill problems.
- Buying a new class before any weapon upgrade, which caps both your kill speed and your income at the same time.
- Placing turrets in the open instead of behind cover, where elites destroy them before they pay for themselves.
- Pushing the skip vote into a wave the group cannot stall.
- Starting a run without redeeming an available code first.
You know the route is working when the boss health bar drains steadily while you never leave the Shelter, and the wave ends without a single revive. If you are taking damage inside cover, your position is wrong rather than your damage; move to the hull corner, reset, and rebuild the turret cluster before re-engaging.