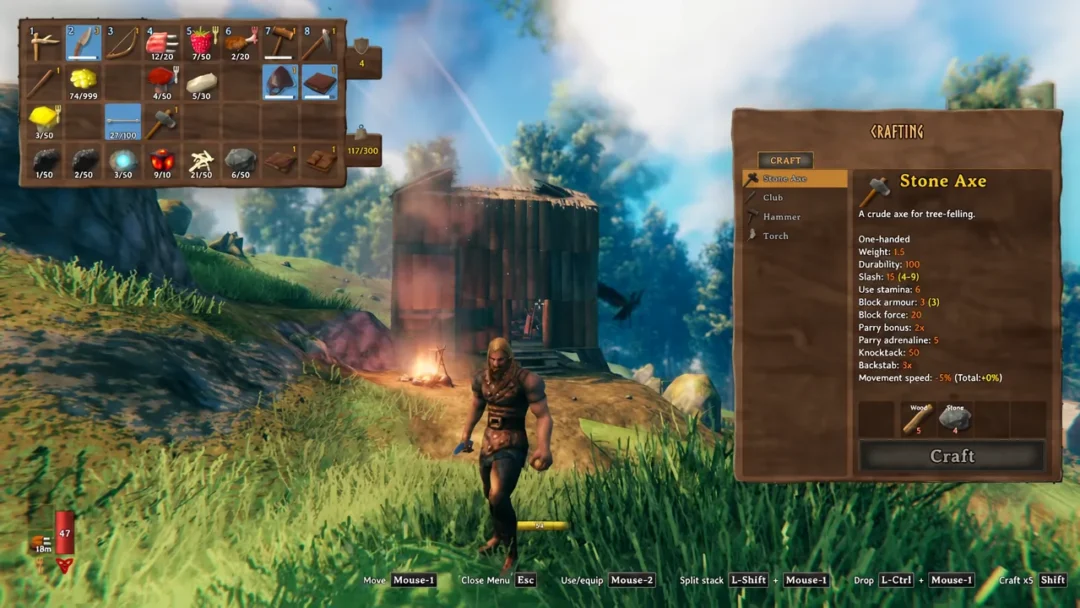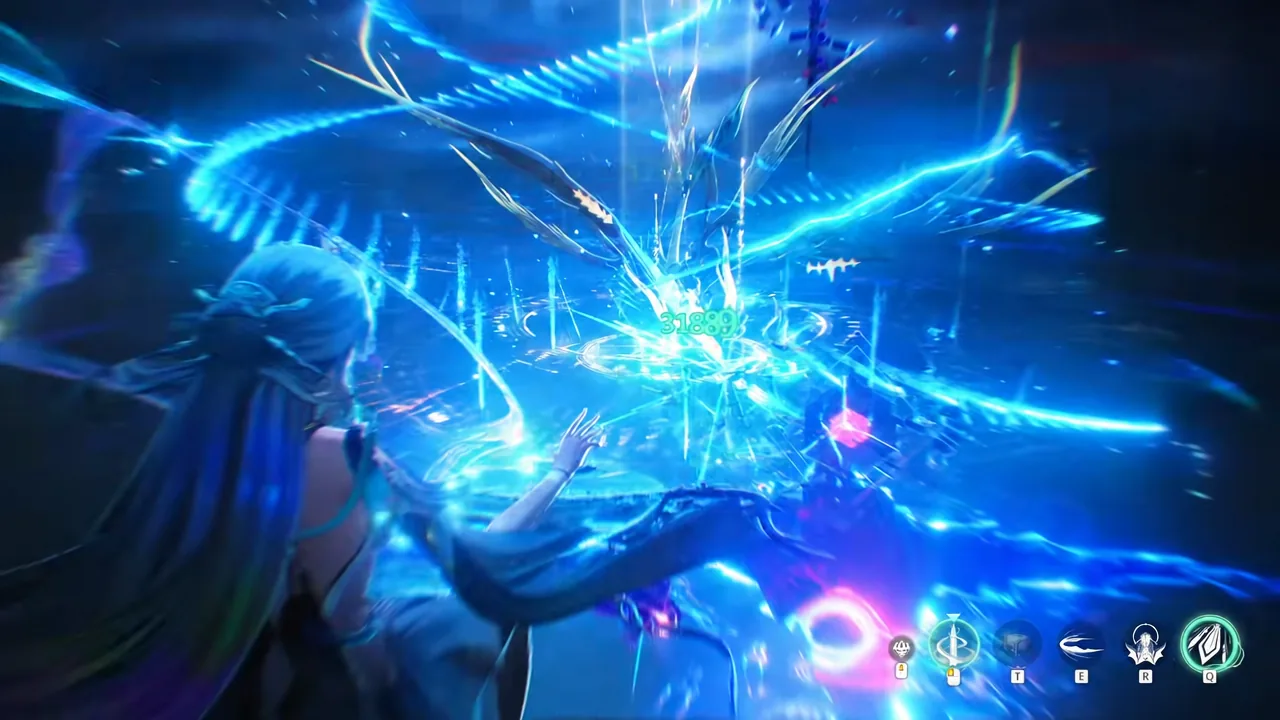
Hiyuki arrived as the 2nd Anniversary flagship five-star, a Glacio Sword main DPS built around the Glacio Chafe status. Several patches and several new damage dealers later, she is back on a limited banner in Version 3.6 Phase 2 alongside Mornye, while Jingran headlines as the new release. The question is no longer whether her numbers are good — it is whether they are still good enough to justify the pulls she asks for.
Quick answer: Pull her if you do not already own a top-tier Glacio main DPS and you can field Chisa (ideally with Lucilla or Lynae). She still clears current endgame at S0 with a four-star sword, so treat her signature and Resonance Chains as optional upgrades, not entry requirements.
Hiyuki’s standing in Version 3.6
She has not fallen out of the top group. Hiyuki still sits in the highest tier for main DPS overall and in both endgame modes, Tower of Adversity and Whimpering Wastes. What changed is the size of that group. Aemeath, Yangyang: Xuanling, Qingxiao, and Jingran now occupy the same tier, so she is one of several answers rather than the only one.
Her staying power comes from the element and the status she carries. She is the first Glacio Chafe damage dealer in the game, she can apply and consume the status by herself, and she converts Glacio Chafe applied by nearby teammates into Glacio Bite, which triggers extra damage instances as new stacks land. Glacio Bite still counts as Glacio Chafe, so nothing in her kit gets orphaned by the conversion. That makes her difficult to replace directly — a future Glacio carry would have to take over the same niche.
How she performs against the newer carries in Endstate Matrix
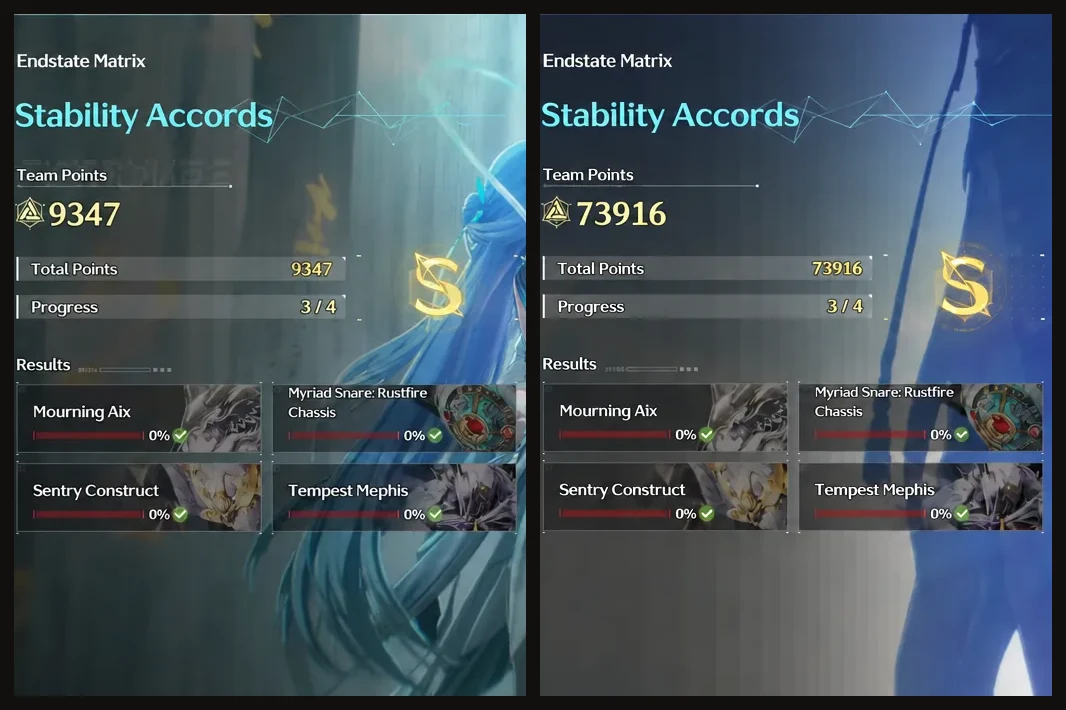
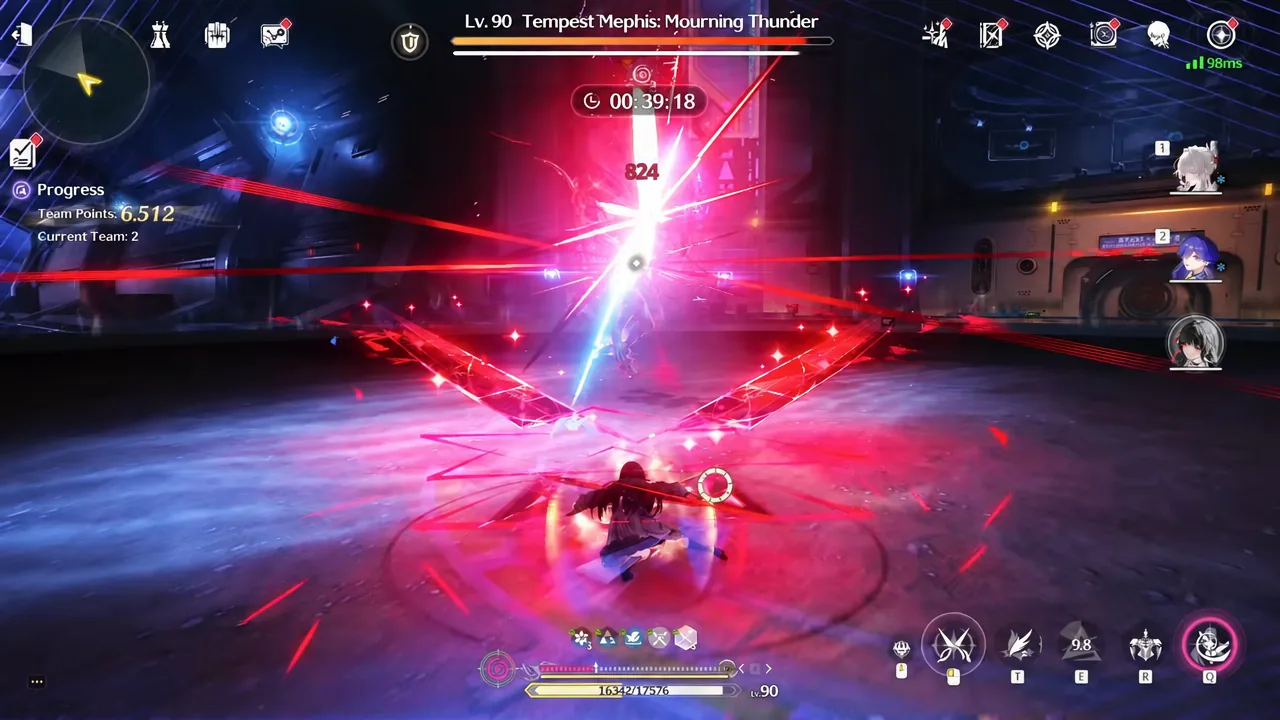
The cleanest current comparison runs four fully built teams through the Endstate Matrix “Stability Accords” challenge against the same four bosses: Mourning Aix: Lamenting Shadow, Myriad Snare: Rustfire Chassis, Sentry Construct, and Tempest Mephis: Mourning Thunder. Because every team is capable of the maximum 10,823 points, the only meaningful separator is clear speed.
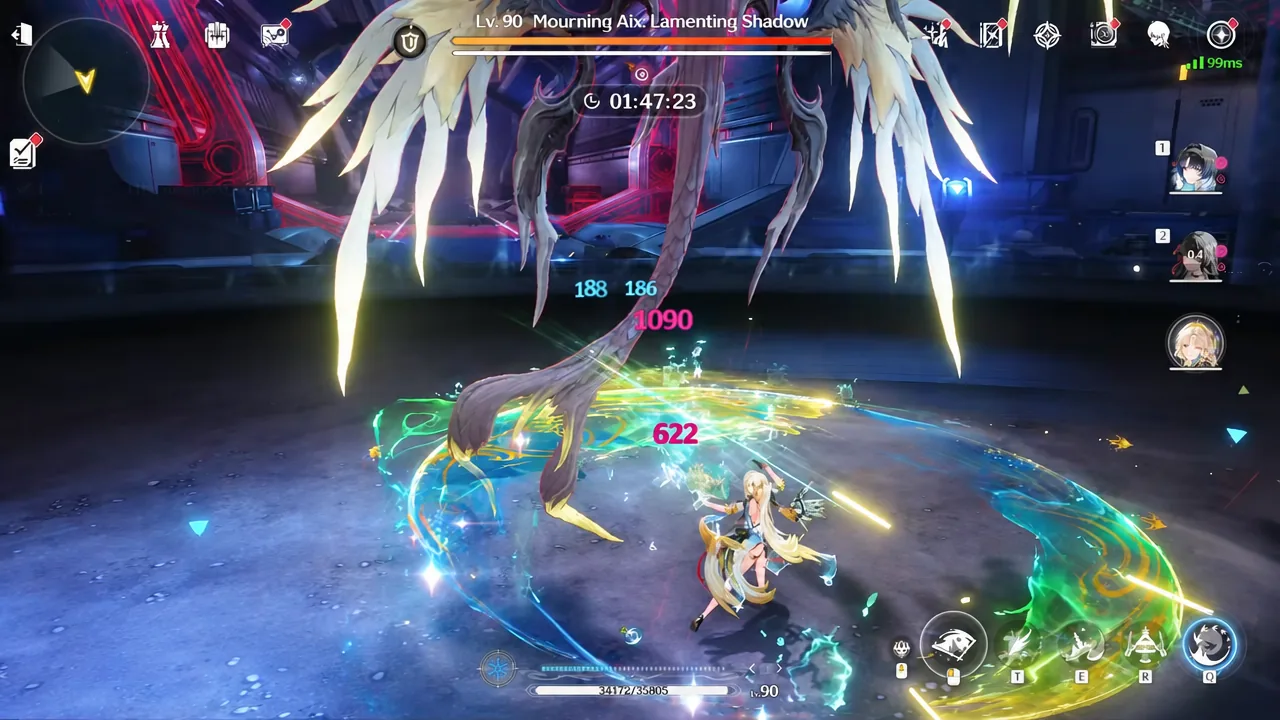
Two of the four teams run into an element wall inside this matrix, which matters when you read any speed comparison from it.
| Carry | Team | Condition in this matrix |
|---|---|---|
| Hiyuki | Chisa, Lucilla, Hiyuki | Sentry Construct resists Glacio DMG, cutting her output on that boss |
| Aemeath | Chisa, Denia, Aemeath | Myriad Snare resists Fusion DMG; no dedicated skill card available |
| Qingxiao | Mornye, Denia, Qingxiao | No element penalty |
| Yangyang: Xuanling | Suisui, Chisa, Yangyang: Xuanling | No element penalty; Xuanling (General Card) is her best skill card here |
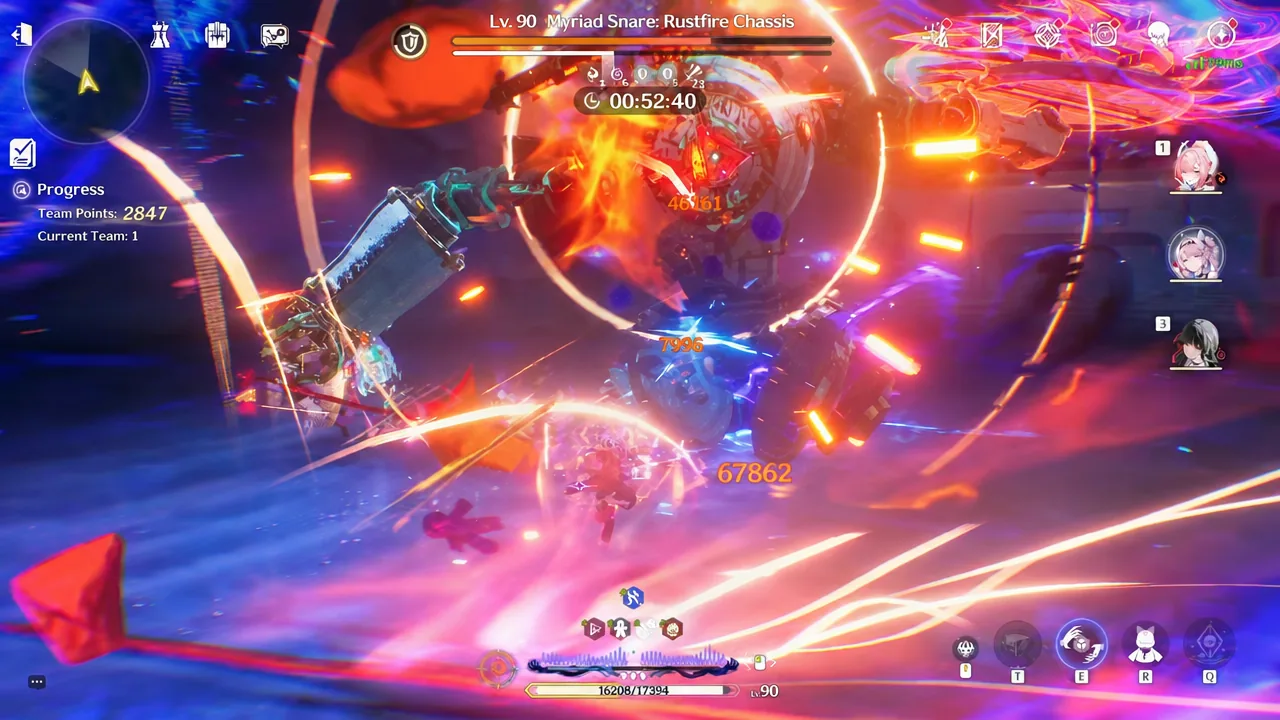
The practical takeaway is that all four teams finish with a perfect score, and Hiyuki does it while eating a resistance penalty on one of the four bosses. A resistance-tuned rotation is a scheduling problem, not a power problem — swap the matrix and the ranking shuffles.
What you sign up for mechanically
Hiyuki has two states. She starts in Present Self, where a three-hit basic chain and her Resonance Skill feed Dedication up to 300 points. Filling the bar unlocks a Heavy Attack that fires three arrows, and finishing it lets her cast Foreclaiming: Inward Vision — the transition that consumes 300 Dedication, grants 3 points of Frostharden Iai, and puts her into Foreclaimed Self.
Foreclaimed Self is where the damage lives. Her basic chain extends to five hits, most of her attacks are tagged as Resonance Liberation DMG, and she gains access to Iai Stance, a backward flash that leads into Basic Attack – Iai for 100 Frostheart per cast. Iai casts consume Frostharden Iai to apply three stacks of Glacio Chafe and build Whiteout Bitterfrost, which in turn feeds Snowforged Blade for her final Foreclaiming: Blade Liberation. That cast ends the form and starts the loop again.
Two useful details for survivability: both her Foreclaimed Heavy Attack thrust and Basic Attack – Iai can neutralise an incoming hit and reduce all damage taken by 100% for a short window afterwards. The trade-off is complexity. Her full loop is long, it has to be built up before her big numbers land, and mistimed inputs cost you a whole window. If you dislike multi-resource rotations, that is the strongest reason to skip her.
Weapon options: Frostburn versus the free swords
Frostburn is a genuinely tailored signature. It raises ATK by 12%, amplifies Glacio DMG by 28% when the wielder applies Glacio Chafe, makes Resonance Liberation DMG ignore 10% of the target’s DEF, and — while she is the active character — amplifies Glacio Chafe DMG to nearby targets by 20% for 6 seconds. Every clause maps onto something she does.
| Weapon | Why it works |
|---|---|
| Frostburn (5★ signature) | Glacio amplification on Chafe, Liberation DEF ignore, team-facing Chafe amplification |
| Emerald of Genesis (5★) | +12.8% Energy Regen and stacking ATK on Resonance Skill; the standard-banner fallback |
| Red Spring (5★) | ATK plus stacking Basic Attack DMG, which suits her Liberation-tagged basics |
| Feather Edge (4★) | Battle Pass sword that covers roughly three-quarters of signature performance |
The gap between Frostburn and Emerald of Genesis is real but not decisive — community calculations land somewhere in the mid-teens to low-twenties in percentage terms, depending on the echo set used for testing. If you are choosing between her weapon and a support she actually needs, the support usually wins.
Echo set and stat targets
Her build is conventional despite the unusual kit. She is an ATK-scaling carry whose damage is largely tagged as Resonance Liberation DMG, so the set and stat priorities are straightforward once you know the cost pattern.
| Slot | Target |
|---|---|
| Sonata Effect | 5-piece Wishes of Quiet Snowfall; Freezing Frost as the placeholder set |
| Main Echo | Reminiscence: Threnodian – Voidborne Construct (passive 12% Glacio and Resonance Liberation DMG, summon type) |
| 4-cost | Crit Rate or Crit DMG |
| 3-cost (x2) | Glacio DMG, or ATK% if you are short on ATK |
| 1-cost (x2) | ATK% |
| Substats | Crit DMG and Crit Rate first, then Energy Regen, Resonance Liberation DMG, ATK% |
Aim for a crit ratio around 70% Crit Rate to 250% Crit DMG, push Energy Regen to roughly 120%, then stack Resonance Liberation DMG and ATK%. If you run the Freezing Frost placeholder instead, Lampylumen Myriad is the better main echo there, though its transform-type skill is harder to weave into her combo than the summon.
For reference, a tested Endstate Matrix build sat at Lv. 90 with 2,632 ATK, 100.4% Crit Rate, 315.0% Crit DMG, and 132.4% Energy Regen on Rank 1 Frostburn with a 5-piece Wishes of Quiet Snowfall. That is a well-invested account, not a floor.
Teams she needs, and what they cost
This is the deciding factor for most players. Hiyuki works best with units that revolve around negative statuses, which means Chisa is close to mandatory and Lucilla or Lynae fill the second slot. She still functions with general sub-DPS units, so her team is flexible rather than locked, but the premium version of her team is expensive if you own none of it.
| Team | Notes |
|---|---|
| Hiyuki, Chisa, Lucilla | Highest-output pairing; the lineup used in the Endstate Matrix run |
| Hiyuki, Lynae, Chisa | Off-field damage plus healing and buffs; strong Chafe generation |
| Hiyuki, Sanhua, Verina | Free-to-play option using a farmable sub-DPS and a four-star healer |
Build cost before she performs
Getting the character is the cheap half. Full ascension to 6✦ needs 170,000 Shell Credits, 46 Glacio Shard, 60 Rimewisp, and 26 Exoswarm Core. Levelling her main skills to 10 adds a large Shell Credit bill plus Waveworn Residue from the Eroded Ruins in Wuming Bay, more Exoswarm Core, and 6 Sentinel’s Dagger from the weekly boss.
The weekly boss drop is the real bottleneck, since attempts are capped per week no matter how much Waveplate you have. Wishes of Quiet Snowfall pieces with usable double-crit substats are the second bottleneck. Plan on a couple of weeks of farming between pulling her and seeing her ceiling.
Note: banking Shell Credits before you pull removes the most common stall point, because ascension and skill levels both draw from the same pool.
Resonance Chains: where to stop
S0 is fully viable and clears current endgame content. S1 is the usual stopping point because it stacks a buff off her basics and skill that is then consumed by her Liberation for a large burst increase. S2 restores Dedication after a short time off-field, which suits quick-swap play. S4 turns her into a partial team buffer with an Attribute DMG Bonus for nearby allies. S6 is the maximum-investment ceiling and not a sensible target for most accounts.
When to skip her
- You already run a well-built Glacio carry and only need element coverage rather than a higher ceiling.
- You own none of Chisa, Lucilla, or Lynae and cannot spare pulls for a support this patch.
- You would rather have Jingran, Qingxiao, or another current top-tier carry that fits your existing supports.
- You want a short, low-input rotation. Her loop is long by design.
- You are still assembling a first functional team as a new account, where universal supports pay off faster.
Hiyuki has aged well because her niche did not get taken. She is still one of the strongest main DPS options in the game, she carries the Glacio Chafe and Glacio Bite mechanic on her own, and her Outro buff gives her a second life as a sub-DPS if a future Glacio carry ever displaces her. What has narrowed is her exclusivity — she is now one good answer among several. Judge the banner on your roster rather than on her ranking, and pull with the supports in mind before the weapon. No official date has been confirmed for a rerun after the current one.