
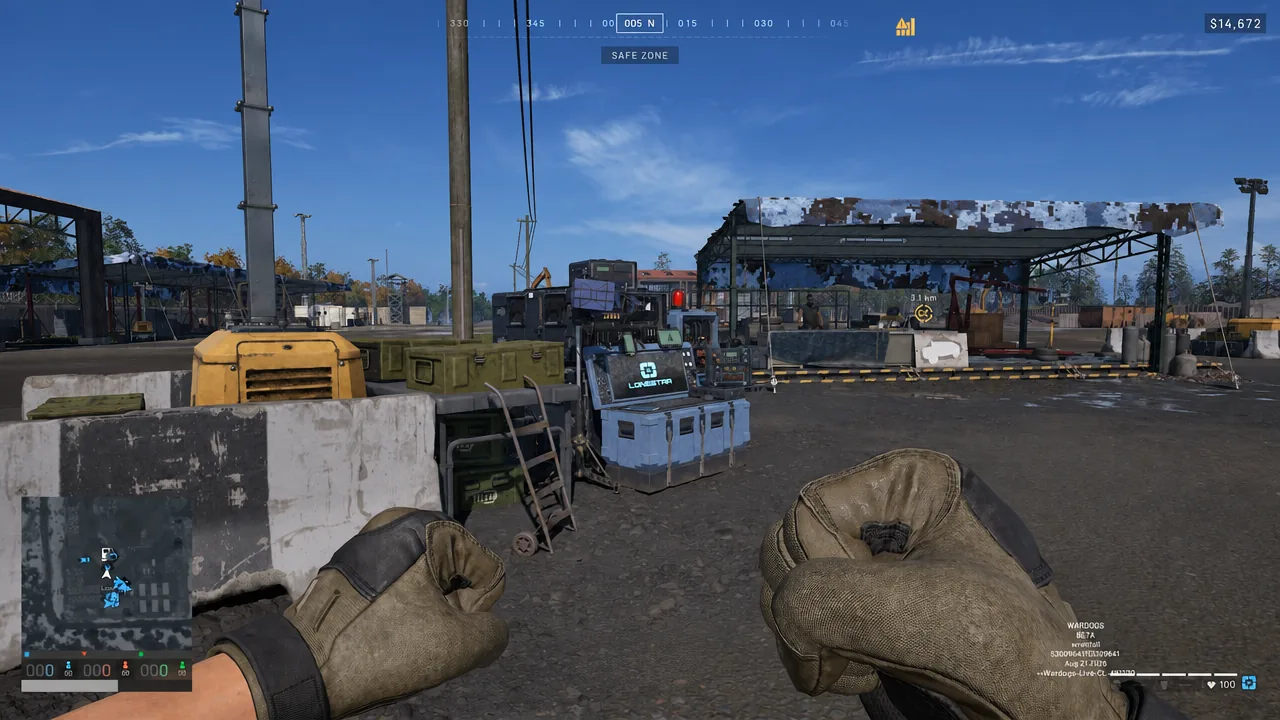
WARDOGS runs acceptably in Early Access, but its default and preset options do not favor competitive play. The right configuration trades away lighting and screen effects that cost frames while protecting the settings that let you read terrain and spot players at range. Dropping everything to the lowest preset is not the goal, because a few options actively improve visibility.
Quick answer: Keep Mesh Detail and View Distance High, set Shading and Effects to Medium, turn Global Illumination Off, drop Shadows and Reflections to Low, disable Motion Blur, Depth of Field, Lens Flare, and Bloom, keep Textures High if your VRAM allows, and enable DLSS or FSR at Quality.
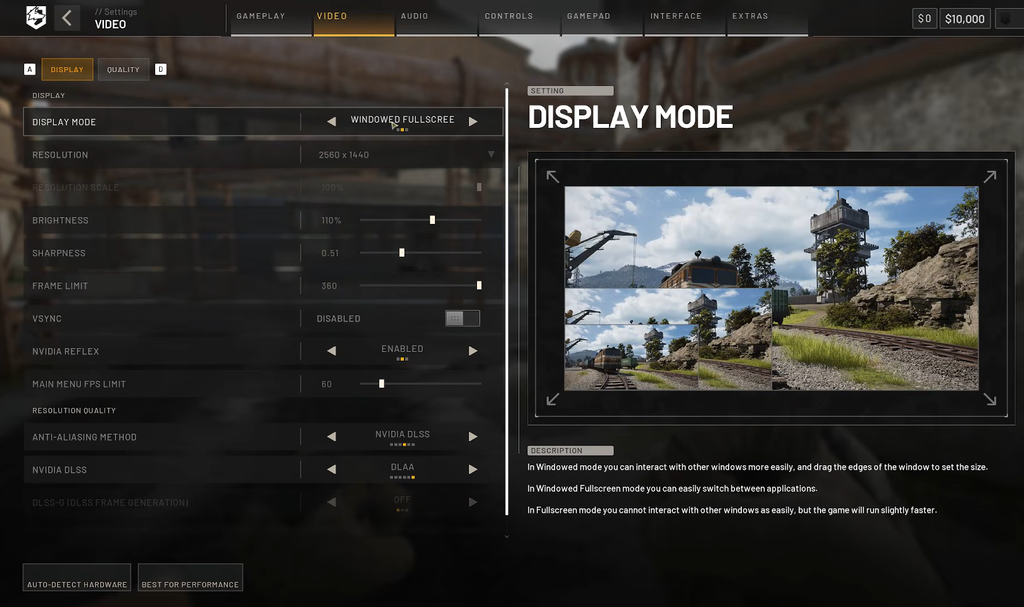
Recommended WARDOGS settings for most PCs
These values suit a mid-range system that already runs modern games at a stable frame rate. They keep the game readable during vehicle fights and destruction while holding frames at a competitive level. Use them as a starting point, then adjust the few heavy options if you need more headroom.
| Setting | Recommended value |
|---|---|
| Display Mode | Fullscreen / Borderless Fullscreen |
| Resolution | Native (1080p for competitive) |
| Frame Limit | Match monitor refresh or Unlimited |
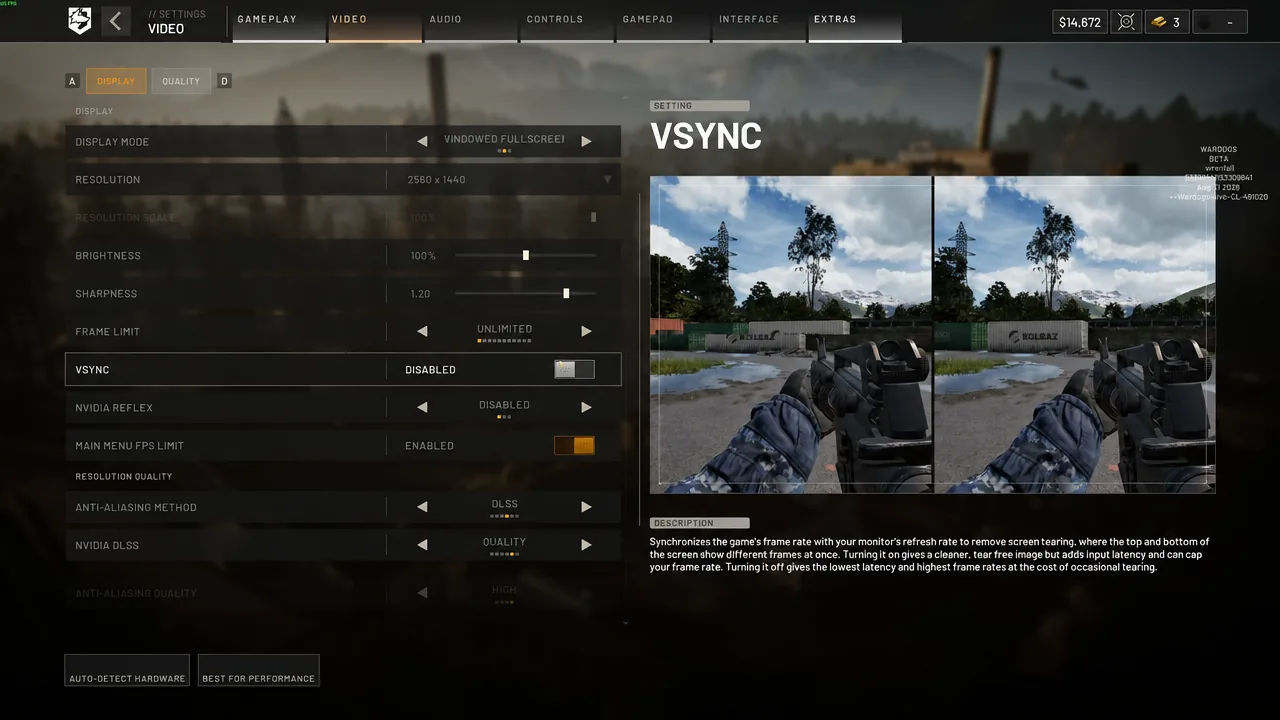
| VSync | Off |
| NVIDIA Reflex | Enabled |
| Main Menu FPS Limit | Enabled |
| Upscaling | DLSS / FSR (Quality) |
| Mesh Detail | High / Medium |
| View Distance | High |
| Shading | Medium |
| Global Illumination | Off |
| Shadows | Low |
| Reflections | Low |
| Effects | Medium |
| Particle Spawn Rate | Low |
| Post Processing | Low |
| Motion Blur | Off |
| Depth of Field | Off |
| Lens Flare | Off |
| Bloom | Off |
| World / Character Textures | High if VRAM allows |
| Texture Filtering | High |
Set the Overall Quality dropdown to Custom so these individual values stick. Avoid the Overkill preset, since it locks several options at maximum and blocks the fine-tuning that gets you both frames and clarity.
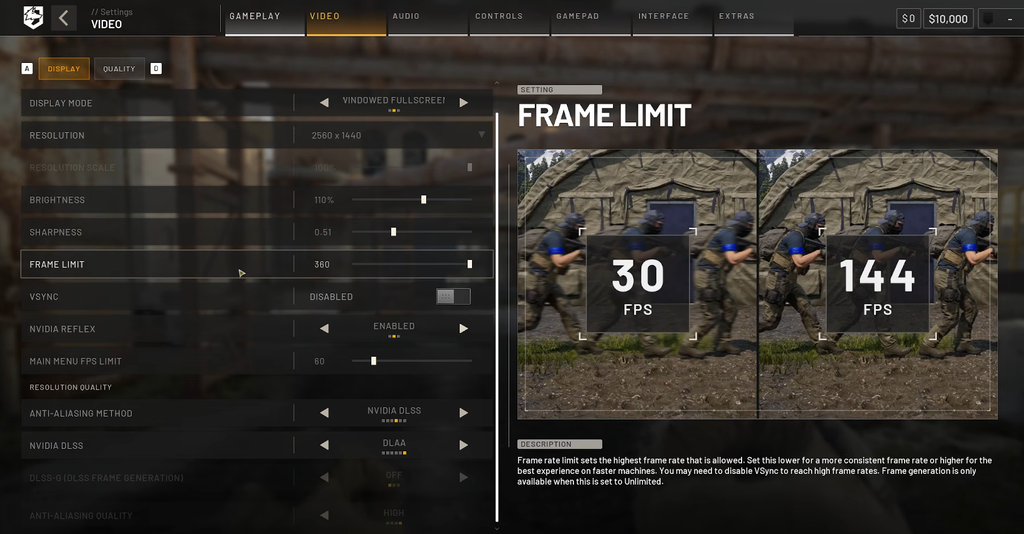
Set up the Display tab first
Frame delivery and input response depend on the Display tab, so configure it before touching quality options. Use your monitor’s native resolution for the clearest image and the best long-range spotting. Lowering resolution can raise frames, but it makes distant enemies harder to see, and WARDOGS is built around long sightlines.
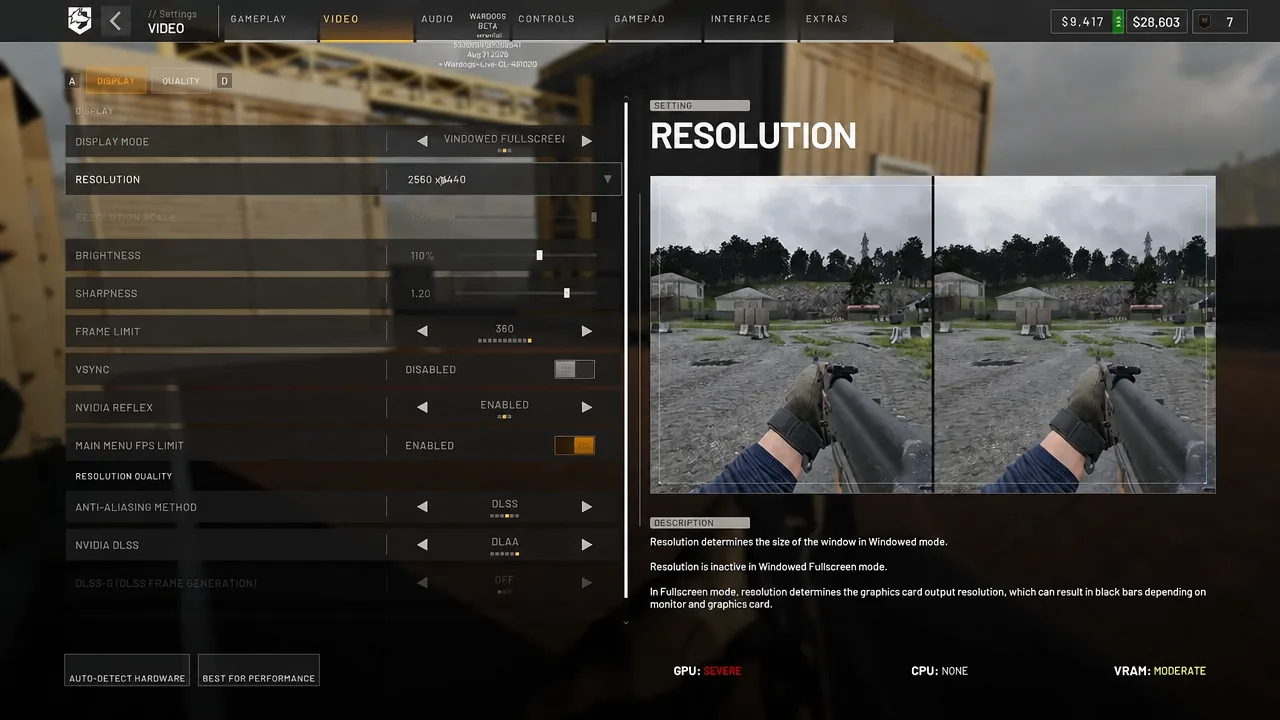
Keep VSync Off to avoid added latency, and enable NVIDIA Reflex on compatible cards to reduce system delay. Set the frame limit to match your refresh rate, or cap it slightly under your monitor’s refresh so frame pacing stays even instead of swinging. If you run G-Sync or FreeSync, leave VSync off entirely.
Settings that steal frames — turn these down first
A handful of options carry most of the GPU cost during busy fights. If you are still short of your target frame rate, change these before touching anything else, and in this order.
| Setting | Value | Why it helps |
|---|---|---|
| Global Illumination | Off | Large frame cost with no competitive benefit; the first option to cut |
| Shadows | Low | Heavy on the GPU, and low shadows can make players easier to read in dark areas |
| Reflections | Low | Expensive and rarely matters in a firefight |
| Particle Spawn Rate | Low | Fewer particles means less smoke sitting between you and a target |
| Effects | Medium (Low if needed) | Keeps explosions and destruction readable while capping the load |
Frame results vary by scene. Shadows in particular scale with your CPU as much as your GPU, so on a CPU-limited system dropping them may return only a few frames. Test Global Illumination and Shadows first, since they show the biggest swing.
Settings worth keeping high for visibility
Some quality options are spotting tools, not eye candy. Cutting them buys frames but costs you fights.
- View Distance: hold this High. It is the single most important visibility setting on a map full of long sightlines. Drop to Medium only on weaker hardware, and lower Shadows or Reflections before this.
- Mesh Detail: keep it at Medium or High so you can read player shapes through trees and at range.
- Textures: keep World and Character textures High if your VRAM allows, since texture resolution is bound by video memory rather than frame rate.
Note: Disable Motion Blur, Depth of Field, Lens Flare, and Bloom. Depth of Field is the worst offender, blurring the areas you are trying to watch and hiding enemy movement. The other three add glare and haze that reduce awareness for no gameplay benefit.
Texture quality by VRAM
Do not drop textures just to chase frames. They lean on your GPU’s memory, and the game shows a VRAM impact indicator in the corner. If you hit stuttering, hitching, or a VRAM warning, lower Texture Streaming first before reducing every texture value.
| VRAM | Texture setting |
|---|---|
| 8GB or more | High |
| 6GB | High, lower Texture Streaming if needed |
| 4GB or lower | Medium or Low |
DLSS and FSR: choosing the right mode
Upscaling recovers performance while holding a cleaner image than simply lowering resolution. Both DLSS and FSR work well here. Start with Quality when native rendering cannot hold your target frame rate, and move down only if your GPU is still near full load. On a strong PC, DLAA gives the sharpest image, but it lowers frames noticeably at 1440p, so switch to DLSS Quality if you need the headroom.
| Situation | Recommended mode |
|---|---|
| Plenty of GPU headroom | Native / DLAA |
| Best balance | Quality |
| Need more frames | Balanced |
| Very heavy GPU load | Performance |
| 1080p competitive | Native / Quality |
| 1440p | Quality |
| 4K | Quality / Balanced |
Compare moving targets rather than static screenshots. Blur around foliage or distant players matters more than a slightly sharper wall. At 1080p, aggressive upscaling modes soften the image, so avoid going below Quality unless your card is struggling.
Tuning by hardware tier
The values above cover most systems. These adjustments target the extremes. Reference frame rates below were measured on an RTX 5070 Ti with a Ryzen 7 7800X3D and 32GB of RAM at 1080p.
Low-end systems (GTX series, RX 500 or lower)
If your main struggle is a playable frame rate, blend Low, Medium, and Potato values for a more acceptable look than Potato mode alone. Set Mesh Detail, Reflections, Effects, Particle Spawn Rate, Post Processing, Character, and Texture Streaming to Potato; View Distance, Shadows, and World to Medium; Shading to Low; and keep Global Illumination, Motion Blur, Depth of Field, Lens Flare, and Bloom off. This kind of near-Potato mix produced an average near 205 FPS with a 1% low of 183 on the test rig.
Mid-range systems (RTX 20/30 series, RX 6000/7000)
The recommended table at the top is built for this tier. Enable DLSS or FSR at Quality or Balanced, push View Distance to High, and keep Shadows, Reflections, Particle Spawn Rate, and Character on Low. That balance held an average near 190 FPS with a 1% low of 157 on the test rig, roughly 15 frames below the aggressive low-end mix but with far better visuals.
High-end systems (RTX 40/50 series, RX 9070/9070 XT)
At 1080p you can set everything to Overkill with upscaling off and still stay playable, though the visual gain is modest. On the test rig, Overkill at 1080p with DLSS disabled averaged around 110 FPS, peaking at 151 with a 1% low of 78. For competitive play, set the overall preset to High, turn on DLSS at Quality, drop Shadows to Medium, and disable Global Illumination. That configuration lifted the average to around 140 FPS with a peak near 161, with no meaningful visual loss.
At 1440p or 4K the picture changes. If you play at 4K on a card weaker than a 5080, you will clear 60 FPS but sit well below players pushing 200, which erases your reaction advantage. Use DLSS Quality and drop the heavy lighting options to claw frames back.
Gameplay, FOV, and mouse settings
Field of View affects how small distant players look, so it matters for spotting even though it costs no frames. A value of 95 gives strong peripheral vision without shrinking far targets too much. Set ADS FOV to Affected so low-magnification optics scale with your base FOV, and disable Picture-in-Picture Scope.
| Setting | Value |
|---|---|
| Field of View | 95 |
| Weapon View Model Scale | 4 |
| Vehicle FOV (first/third person) | 90 |
| ADS FOV | Affected |
| Picture-in-Picture Scope | Disabled |
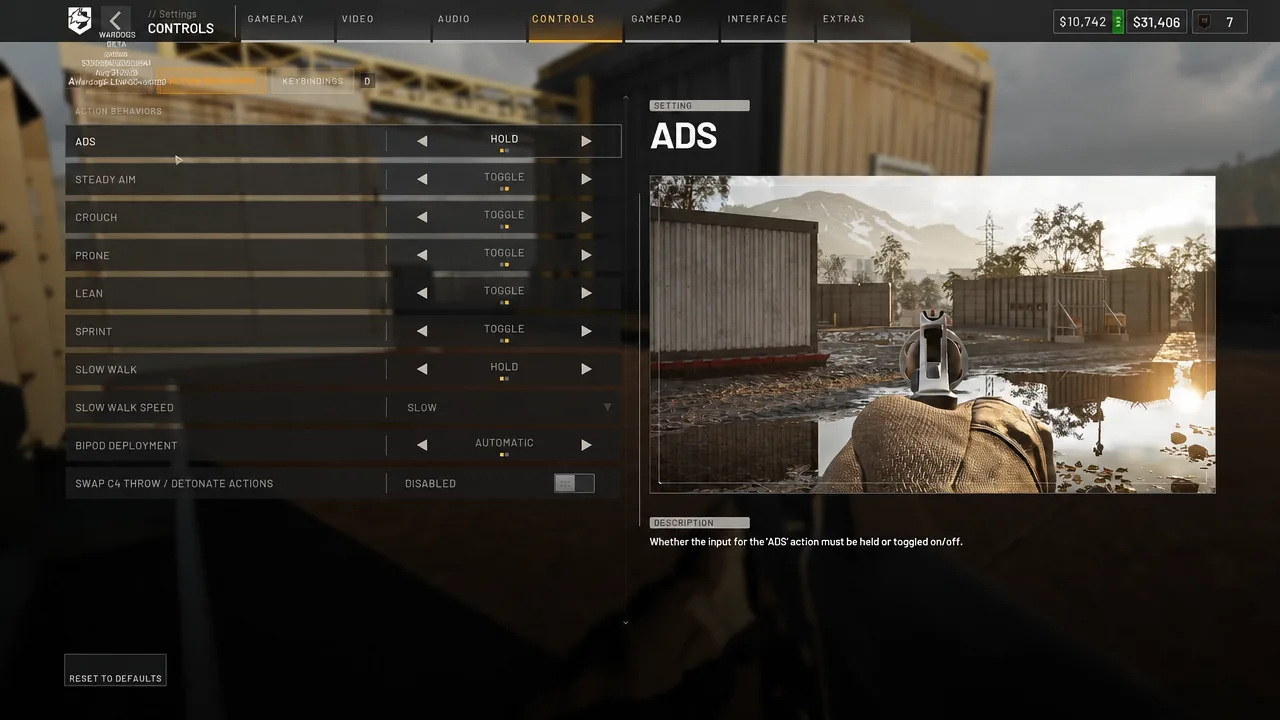
In the Controls menu, set ADS to Hold so aiming stays predictable during quick engagements. Sprint, lean, crouch, and prone behaviors are personal, but keeping lean on E and Q makes strafing peeks easier.
For aim, 0.70 sensitivity at 800 DPI is a solid tactical-shooter baseline. Keep Mouse Acceleration at 0.00 so the same physical movement always turns the camera the same amount, and set the ADS Multiplier to 1.00. Use Relative sensitivity scaling with Monitor Matching at 100% and the transition type on Instant for immediate ADS feel.
| Mouse setting | Value |
|---|---|
| Mouse DPI | 800 |
| Sensitivity | 0.70 |
| ADS Multiplier | 1.00 |
| Mouse Acceleration | 0.00 |
| Sensitivity Scaling | Relative |
| Monitor Matching Distance | 100% |
| ADS Transition Type | Instant |
Audio and interface tweaks
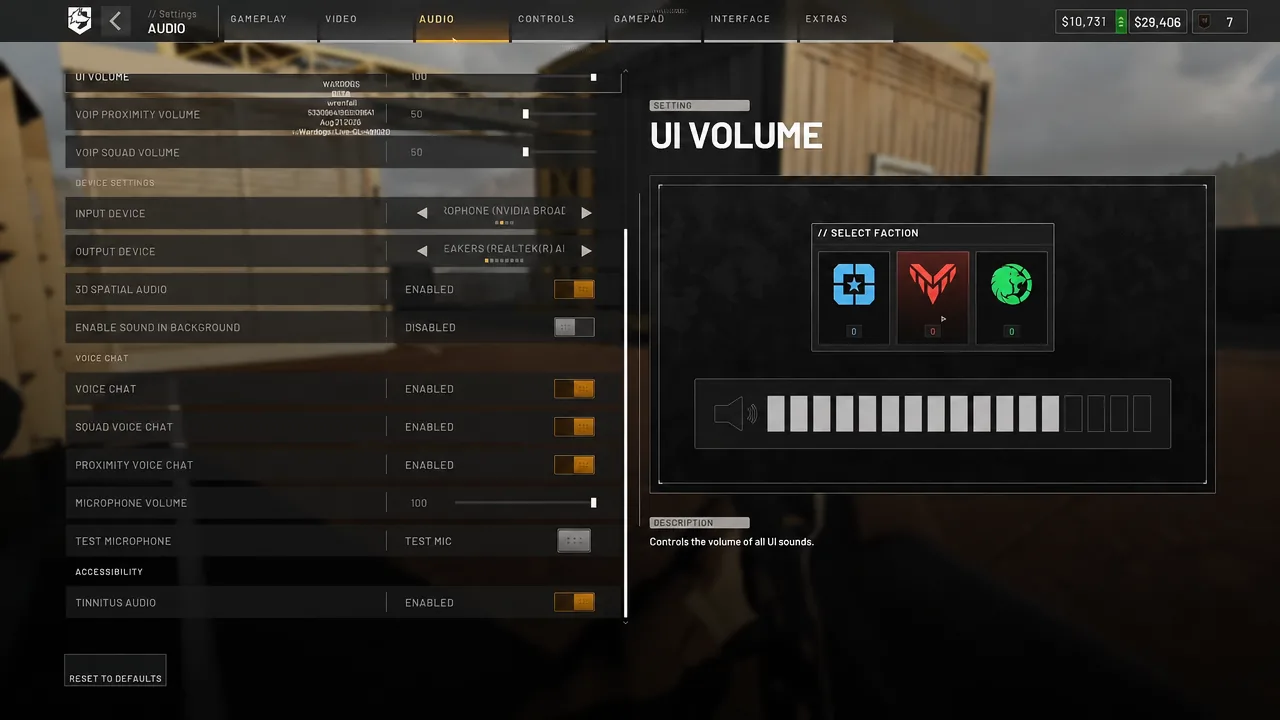
Audio is mostly preference, but enabling 3D Spatial Audio helps you place enemy footsteps and gunfire. Keep Effects and UI volume high, and pull music channels down to reduce distraction during fights.
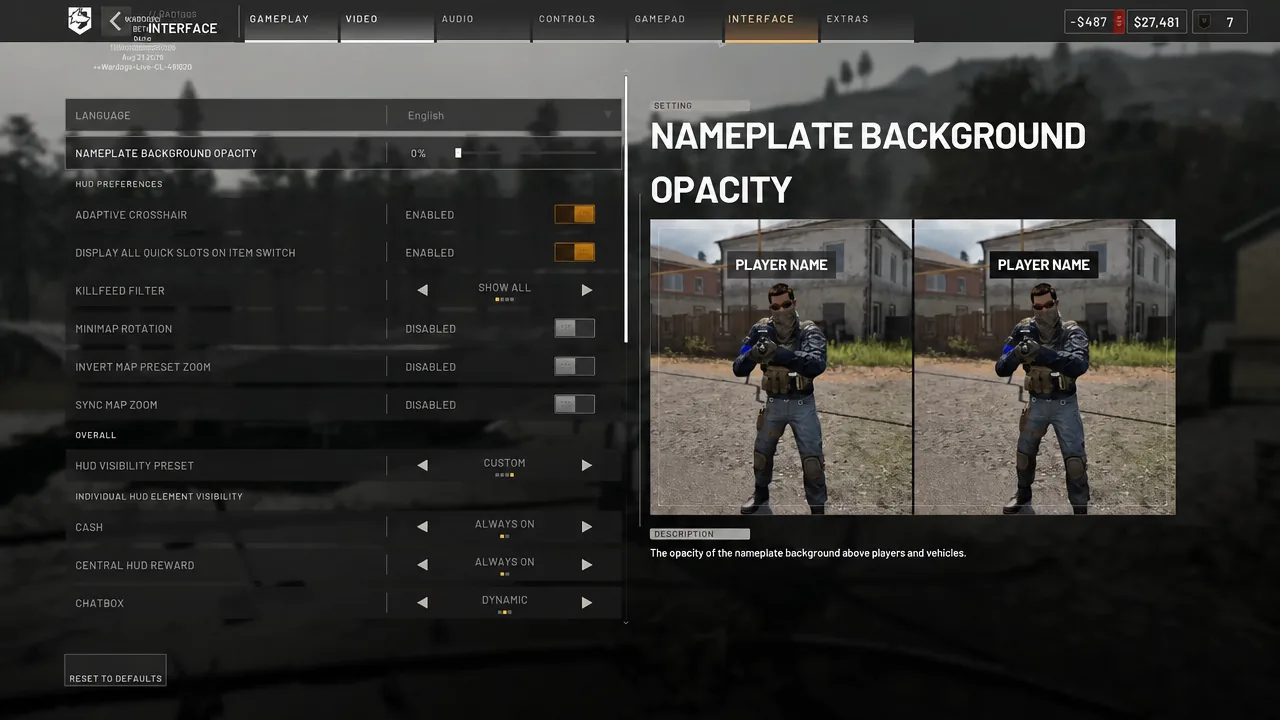
On the interface side, keep Adaptive Crosshair on while learning weapon behavior, since it shows what affects your accuracy. Set HUD elements like Cash, Killfeed, and your equipped item to Always On rather than Dynamic so they stay visible mid-fight. Lowering nameplate background opacity to 0% keeps names from cluttering your view.
Confirm the settings took effect
After applying changes, save and watch the in-game frame counter as you move through a busy area. A stable rate near your monitor’s refresh with no large dips confirms the profile is working. Note that Shading requires a game restart before its change shows, so relaunch if that value does not appear to apply.
If frames still drop or you see stutter, check the VRAM impact indicator in the corner. When it warns you are near the limit, lower Texture Streaming or World textures before anything else. Persistent stutter after that usually points to outdated GPU drivers or background apps, so update drivers and close unneeded programs before another pass. Because the game is in Early Access, defaults and preset behavior can shift between patches, so recheck these values after major updates.


