Project Slayers 2 drops you into a Roblox world with almost no hand-holding, and the early hours are mostly a series of level checks. The game is in early access, so systems can shift, but the opening progression path is consistent: roll a clan, clear bandit quests near spawn, hit level 7 for the first mini-boss, then move to the bear area and start banking skill points.
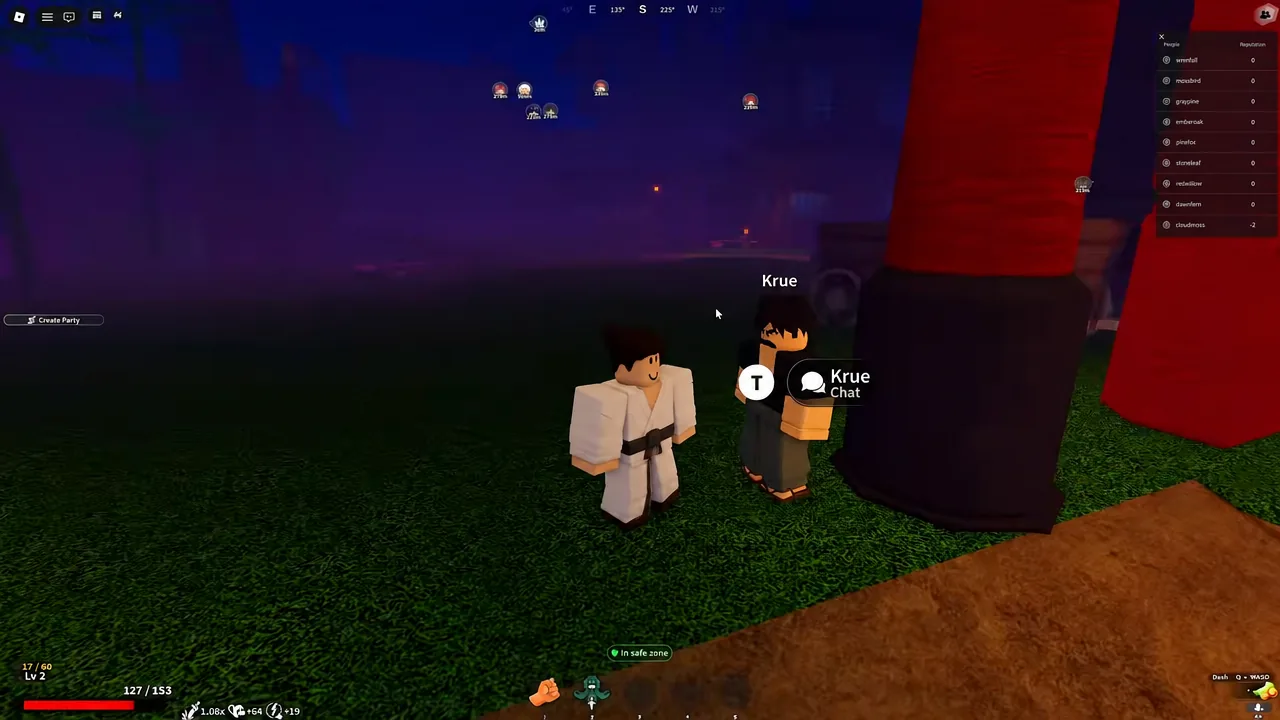
Quick answer: Talk to Krue at spawn, take the 3-bandit quest, and fight with block and dash until level 7. Then kill Zuko, buy a katana from Raze at 500 cash, and move to Tom’s bear quests at level 13. Breathing techniques unlock at level 25.
Project Slayers 2 level requirements for early content
Nearly everything in the first stretch is gated by level rather than skill. If an NPC will not hand you a quest, you are almost always under the requirement. Keep this order in mind so you are not wandering into content that will not accept you yet.
| Level | What it unlocks |
|---|---|
| 1 | Krue’s “Defeat 3 Bandits” quest at spawn |
| 7 | Bandit boss quest — Mini Boss Zuko |
| 13 | Second area, Tom’s “Hunt the Bears” quest, PvP enabled |
| 18 | Mother Bear quest from Tom |
| 25 | Breathing techniques |
Clan spins: rarities, drop rates, and when to stop rolling
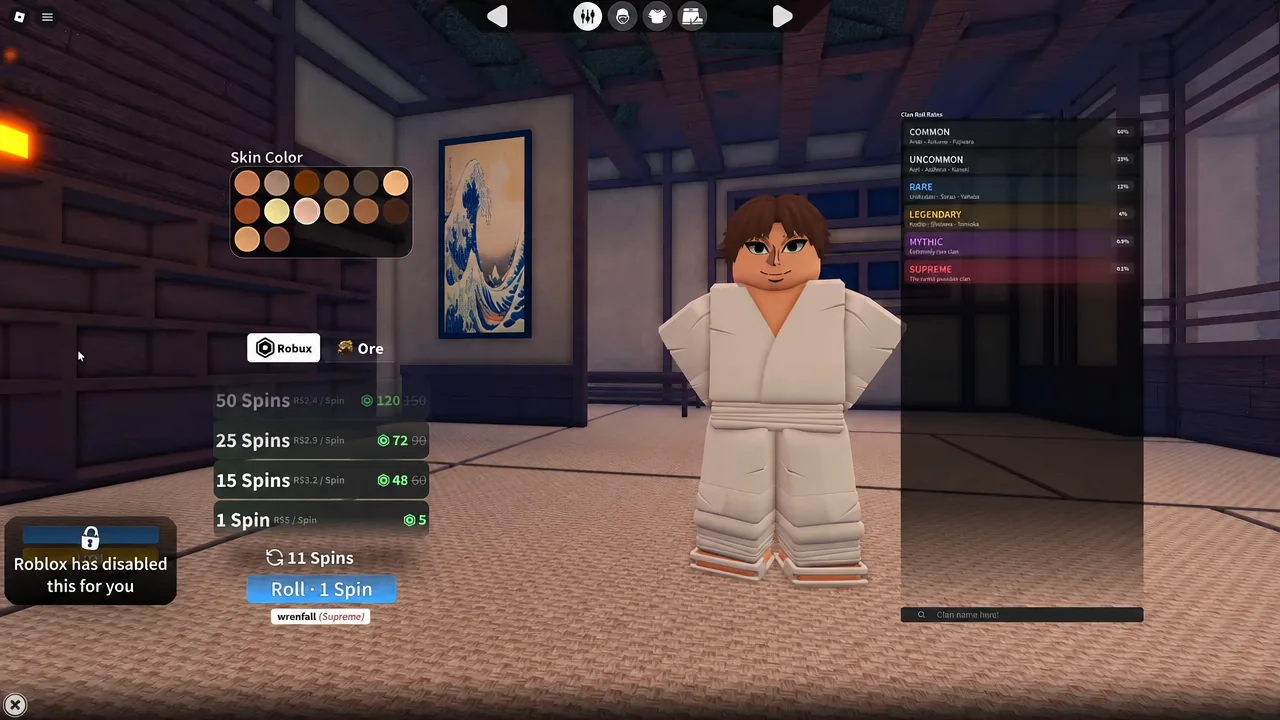
Clans are rolled in the Customize menu using spins, which you buy with Robux or Ore. There are six rarity tiers, and the odds drop off hard at the top. Rerolling forever is not worth the early time cost — an Uncommon or Rare clan is enough to carry you through the bandit and bear content while you learn the combat.
| Rarity | Drop rate |
|---|---|
| COMMON | 60% |
| UNCOMMON | 23% |
| RARE | 12% |
| LEGENDARY | 4% |
| MYTHIC | 0.9% |
| SUPREME | 0.1% |
Here is what sits in each pool, so you know what you are actually chasing at the 0.1% and 0.9% tiers.
| Rarity | Clans |
|---|---|
| SUPREME | Kamado, Rengoku, Soyama, Tomioka |
| MYTHIC | Agatsuma, Hashibira, Kocho, Shinazugawa, Tokito, Tsuyuri, Ubuyashiki, Uzui |
| LEGENDARY | Iguro, Kanroji, Shinazugawa |
| RARE | Himejima, Kanamori, Kuwajima, Makio, Sabito, Suma, Urokodaki |
| UNCOMMON | Haganezuka, Kanzaki, Nakahara, Takada, Terauchi |
| COMMON | Ando, Fukui, Furukawa, Hayashi, Kaneko, Kuroki, Mori, Saito, Suzuki, Takahashi, Tanaka, Yamaguchi, Yoshida |
Blocking and dashing: the two mechanics that decide early fights
You start with fists, and left-click handles basic attacks. That part is simple. The part beginners get wrong is treating block as optional. Blocking prevents the damage and the stun that comes with getting hit, and being stunned mid-crowd is how most early deaths happen. Dashing is your reposition tool — use it to break away from an enemy swing rather than trading hits.
Tip: the HUD tells you when you are exposed. Watch for the “In safe zone” and “In Combat” indicators before you start a fight or walk away from one.
First quest chain with Krue at spawn
Mini Boss Zuko spawn timer and chest loot rules
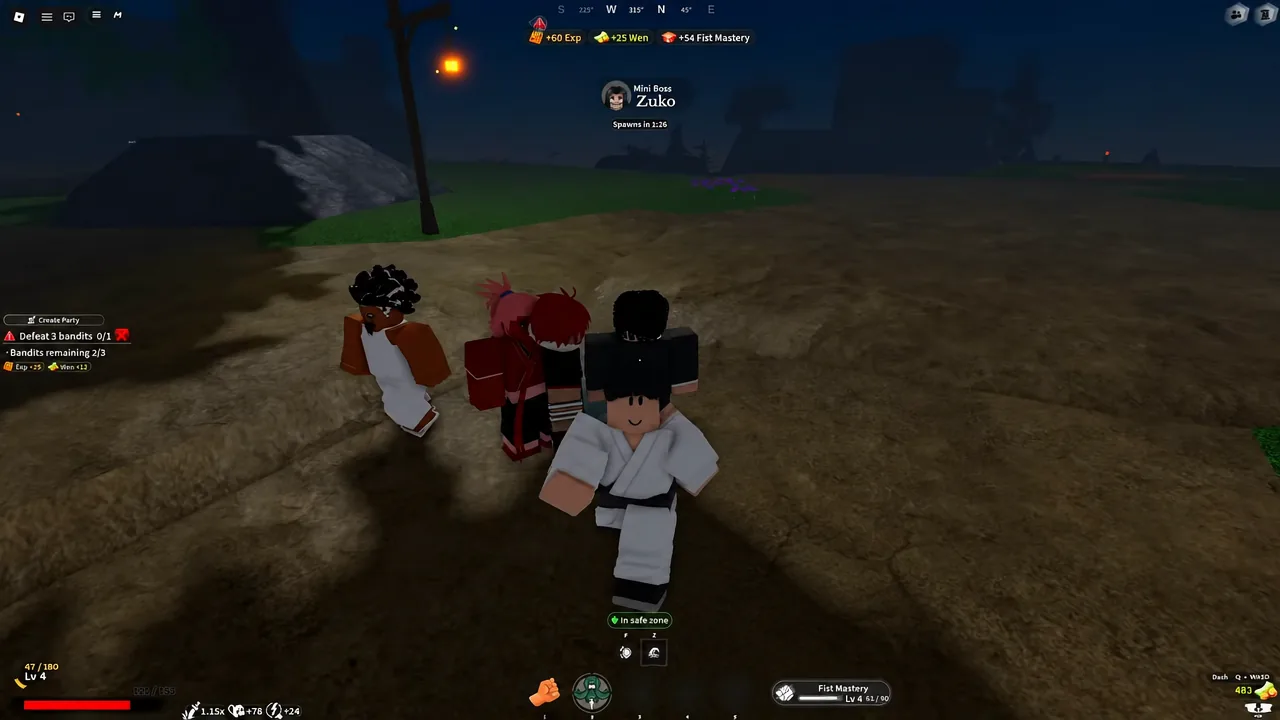
Zuko is the first mini-boss and spawns on a timer, reappearing every few minutes. The HUD shows a countdown, so you can wait in the safe zone rather than standing in the open. On death, he drops a Common Chest.
The loot is first-come, first-served. Damage contribution does not matter — anyone standing nearby can take the chest, including a player who did nothing during the fight. If you want the drop, position yourself close to where Zuko will fall before he dies.
Buying a katana from Raze and reading gear stats
Raze is the weapon vendor. The Regular Katana costs 500 cash and is the first meaningful upgrade over fists, and the Fancy Katana runs 1,500 cash once you have banked more from quests. Buy the cheaper one as soon as you can afford it rather than saving — the damage jump speeds up everything after it.
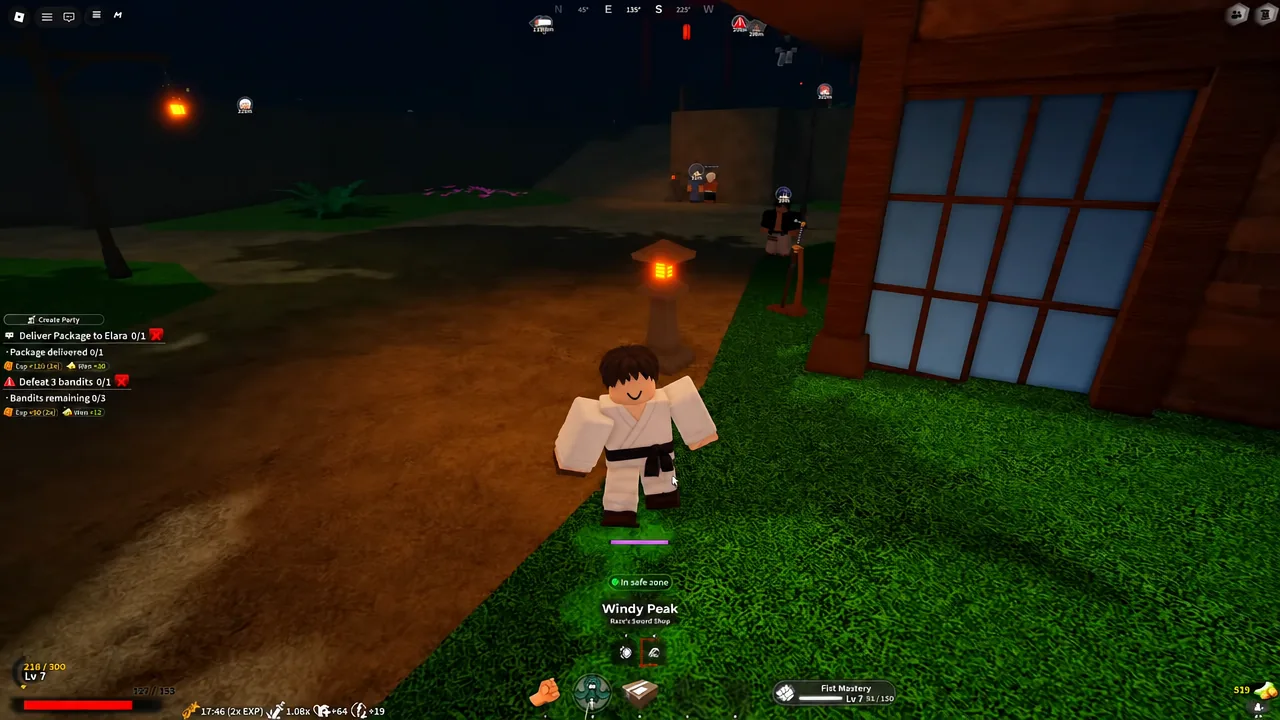
Gear works differently from weapons. Rarity color is not the thing to judge, because a lower-rarity piece can carry better numbers for what you are doing. Open each item and compare the actual stats before equipping. Early drops you will run into include the Black Kumo Haori, Floral Warding Mask, Healing Gem Necklace, Urokodaki’s Mask, Sun Eve Drape, Shima Koshimaki, Prayer of wind Necklace, Kasumi Yukata and Hoshiko Kesa.
Spending skill points in the Skill Tree
Every level-up awards skill points, and they are spent in the Skill Tree. The tree covers survivability and movement rather than raw damage, with nodes like “+40 Max Health,” “+75 Max Health,” “1.14x Health Regen Speed,” stamina bumps at “+23 Max Stamina,” “+27 Max Stamina” and “+29 Max Stamina,” plus “1.17x Stamina Regen Speed” and “+1 Block Points.” Mobility upgrades such as “Wall Climb” and double jumps sit in the same tree, alongside clan-specific branches like Soyama and utility nodes including “Bell Splitter,” “Combat Intuition” and “Innate Skills.”
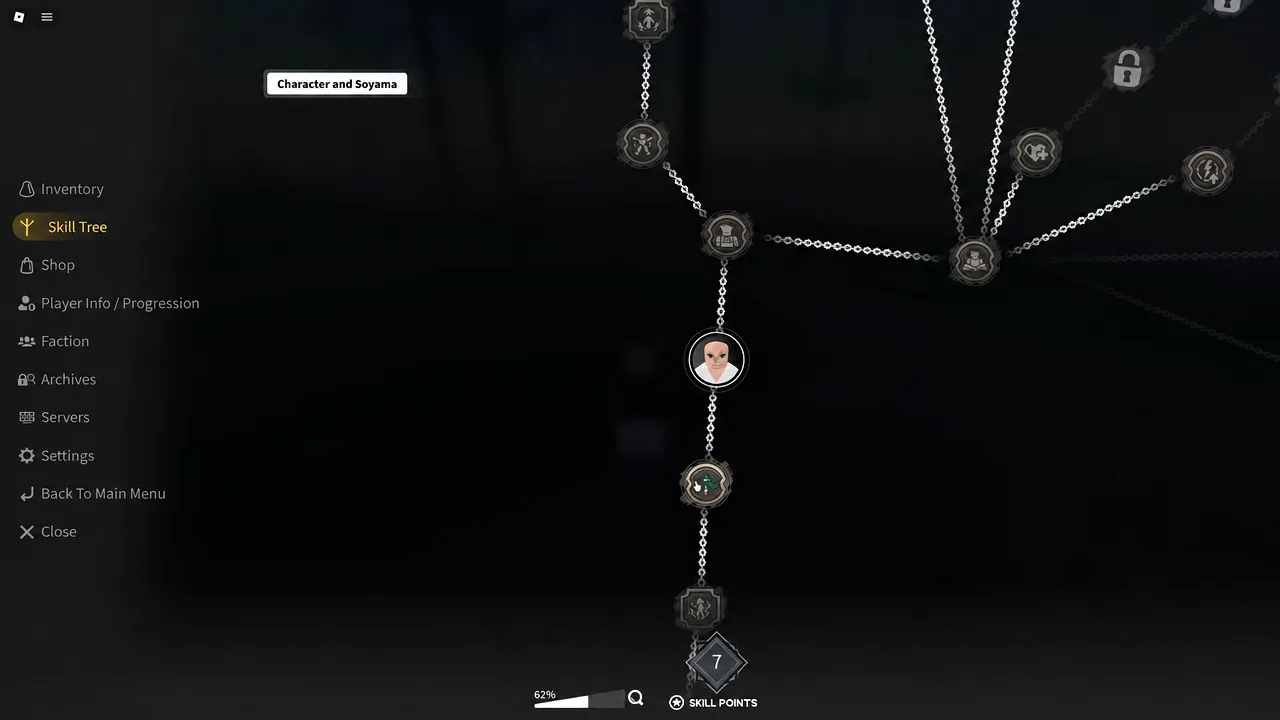
Block points and stamina are the most useful early buys, since both feed directly into the block-and-dash loop that keeps you alive against bandits and bears.
Bear area quests from Tom and the PvP warning
At level 13 you move to the second area and pick up quests from Tom. His first option is “I’ll drive the bears back(lv 13),” and the Mother Bear fight opens at level 18 with “I’ll kill the Mother Bear(lv 18).”
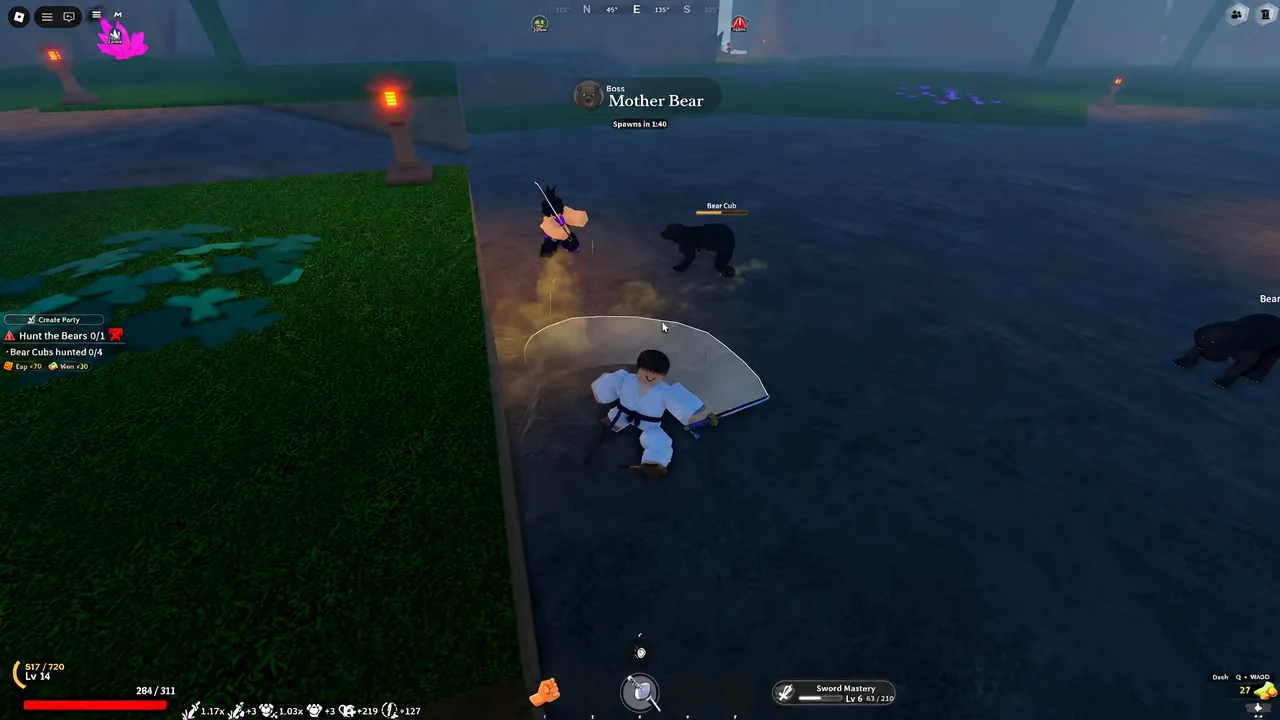
The important change is not the enemies. PvP switches on automatically the moment you enter the bear zone, so other players can attack you while you are mid-fight with a bear. Check your surroundings before committing to a long grind session, and treat an approaching player as a threat rather than a neighbor.
Side quests for extra cash and experience
Main quests are not the only income. Kona hands out collection tasks such as “Discover the Lost Pages,” and other objectives like “Find Betty’s Gemstone” show up alongside the combat quests. They pay out both cash and experience, which matters when you are short of the 1,500 needed for the Fancy Katana.
| NPC | What they give you |
|---|---|
| Krue | Bandit quests and the level 7 bandit boss |
| Raze | Regular Katana (500) and Fancy Katana (1,500) |
| Tom | Bear hunting at 13, Mother Bear at 18 |
| Kona | Lost Pages side quest for extra cash and XP |
Level 25 is the milestone worth grinding toward, since that is when breathing techniques become available and the combat opens up beyond blocking and katana swings. Until then, the fastest route is repetitive by design — bandits to 7, Zuko for the chest, katana from Raze, bears from 13, and skill points into block and stamina along the way. Because the game is still in early access, check your quest options and the Skill Tree after any update rather than assuming the numbers held.