The Hot Zone is the smallest, loudest patch of ground in a WARDOGS match. It sits inside the active Control Zone, it moves during the fight, and it changes the math on both scoring and money. Three teams and up to 100 players share the same 2×2 kilometre fight space, so the moment a Hot Zone lands on a church courtyard or a market row, that spot becomes the most contested real estate on the map.
Quick answer: Stand inside the Hot Zone boundary marked on your minimap. While you are in it, you count as two players toward your team’s Control Zone presence and you earn double cash — so a four-player squad inside the Hot Zone carries the same scoring weight as eight teammates spread elsewhere in the Control Zone.
Hot Zone scoring: why one player counts as two
The Control Zone hands a point to whichever team has the most players inside it, checked every 30 seconds. The Hot Zone does not replace that rule. It reweights it. Bodies inside the smaller sub-zone are counted twice when the game compares the three teams at the next tick.
That is why a smaller, better-organised squad can out-score a bigger group that is scattered across the wider circle. You do not need to wipe the lobby to flip a tick. You need more doubled bodies alive in the right box when the timer lands.
| Position | Objective weight per player | Cash rate |
|---|---|---|
| Inside the Control Zone only | Counts as one | Standard |
| Inside the Hot Zone | Counts as two | Double |
| Outside the Control Zone | No presence value | Standard |
Double cash and what it means for your bank
WARDOGS runs on a persistent balance rather than a battle pass. Every account starts with $10,000, and that money buys weapons, attachments, armour, utility and vehicles. Cash carries between matches, so a Hot Zone push is a spending decision as much as a tactical one — you are risking gear you paid for against a payout multiplier.
Money also turns up loose on the map, and it can be banked, spent on a new loadout, or traded for gold bars. A full-price kit lost in a doomed push is real profit gone. That is the tension the Hot Zone is built around.
Finding the Hot Zone on the map and HUD
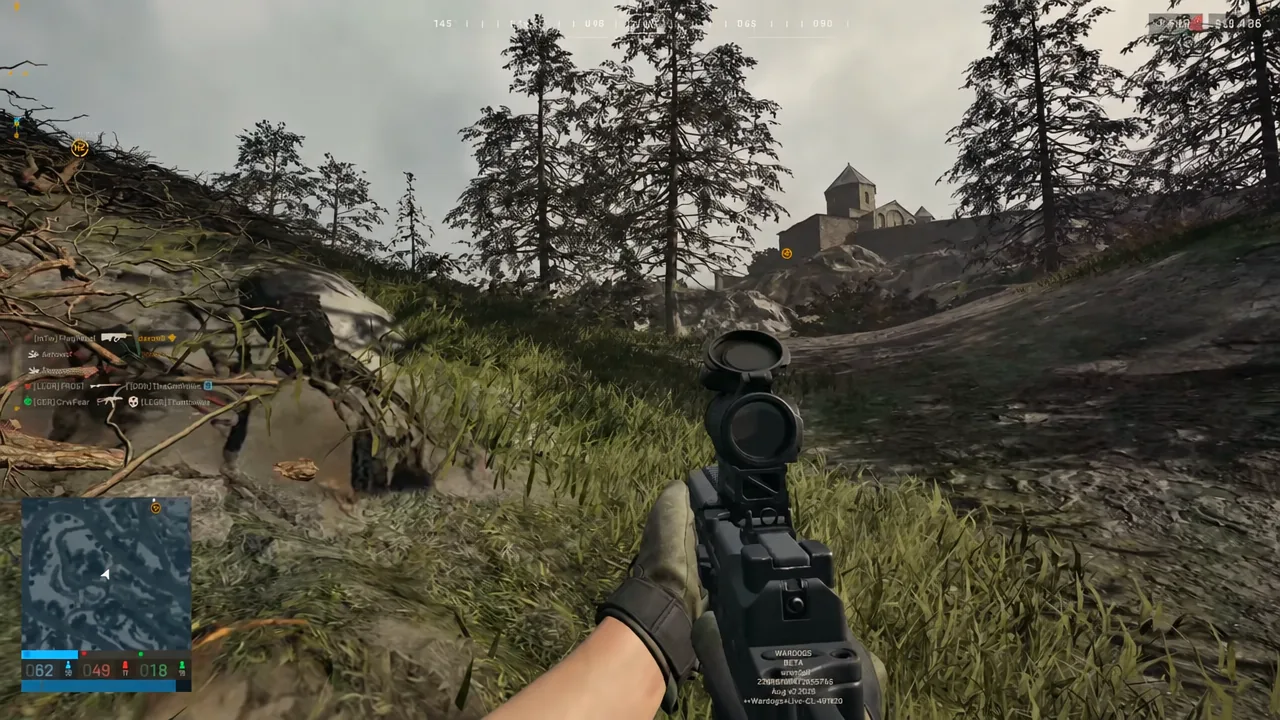
Open the tactical map and look for the yellow sub-zone sitting inside the larger white Control Zone circle. The same boundary is drawn on your minimap as a circular Hot Zone outline, so you can track it without stopping to read the full map mid-fight.
In the world, yellow hexagonal waypoints point you at the objective, blue icons mark friendlies, and red indicators on the compass flag incoming fire. Between those three, you can usually tell which side of the zone is already broken open before you commit to a route.
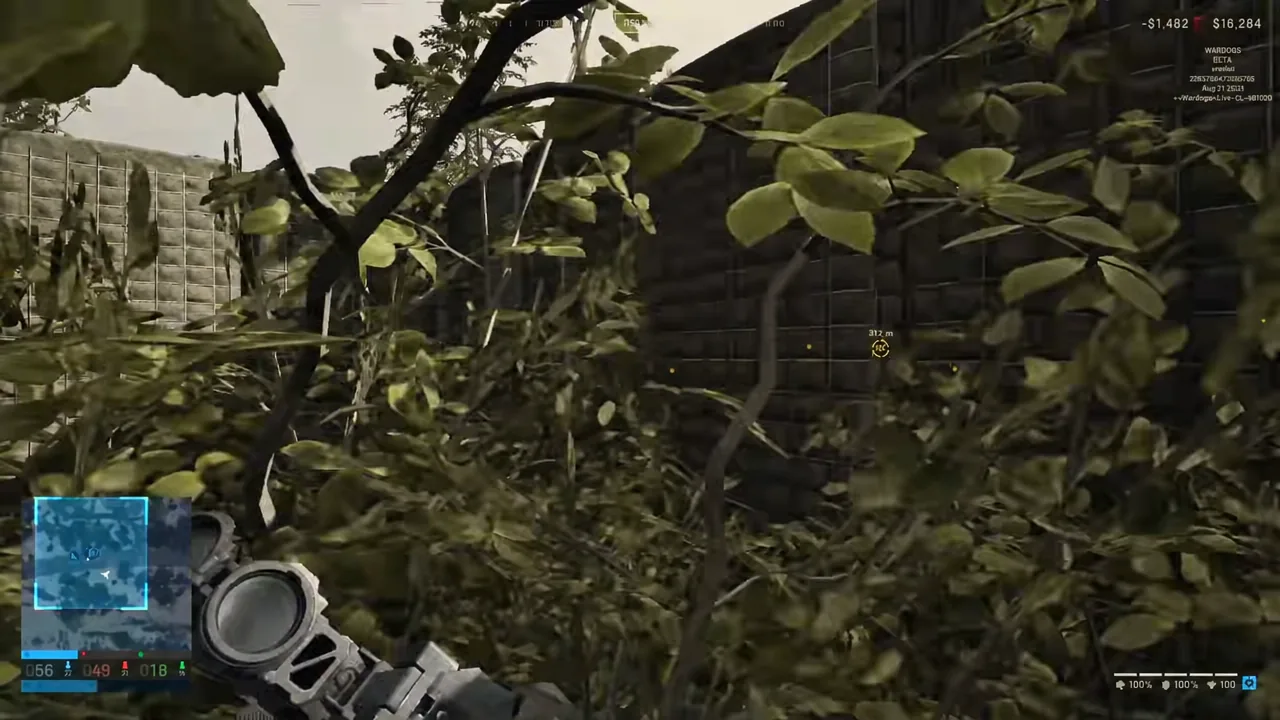
Note: the Hot Zone shifts during a match. A route that gave you cover on the first capture can leave you crossing open river ground on the next one, so recheck the map after every scoring swing.
Buying a loadout at the Equipment Vendor before you contest
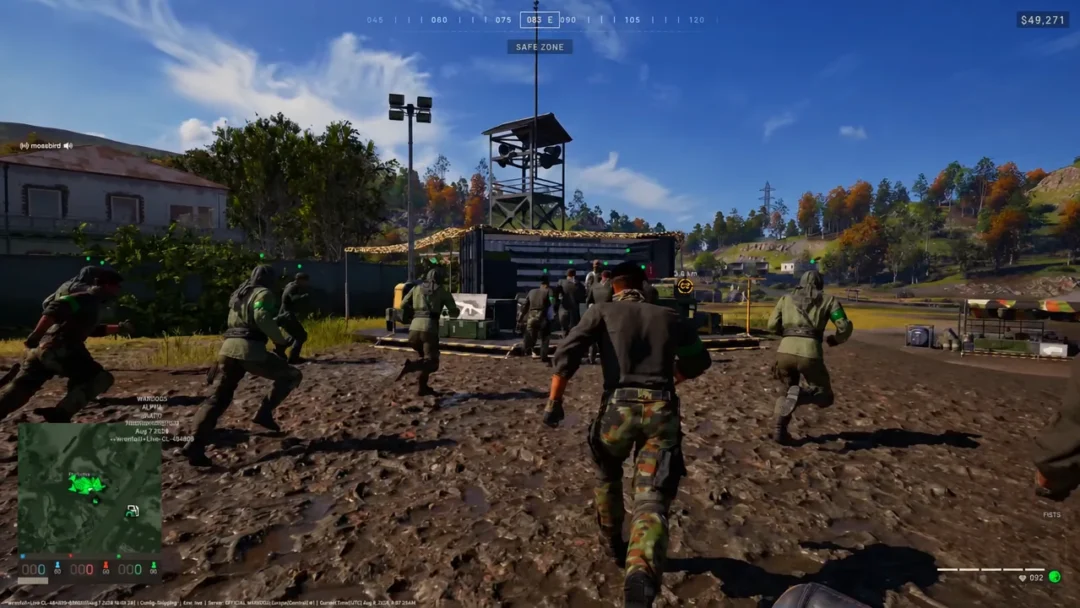
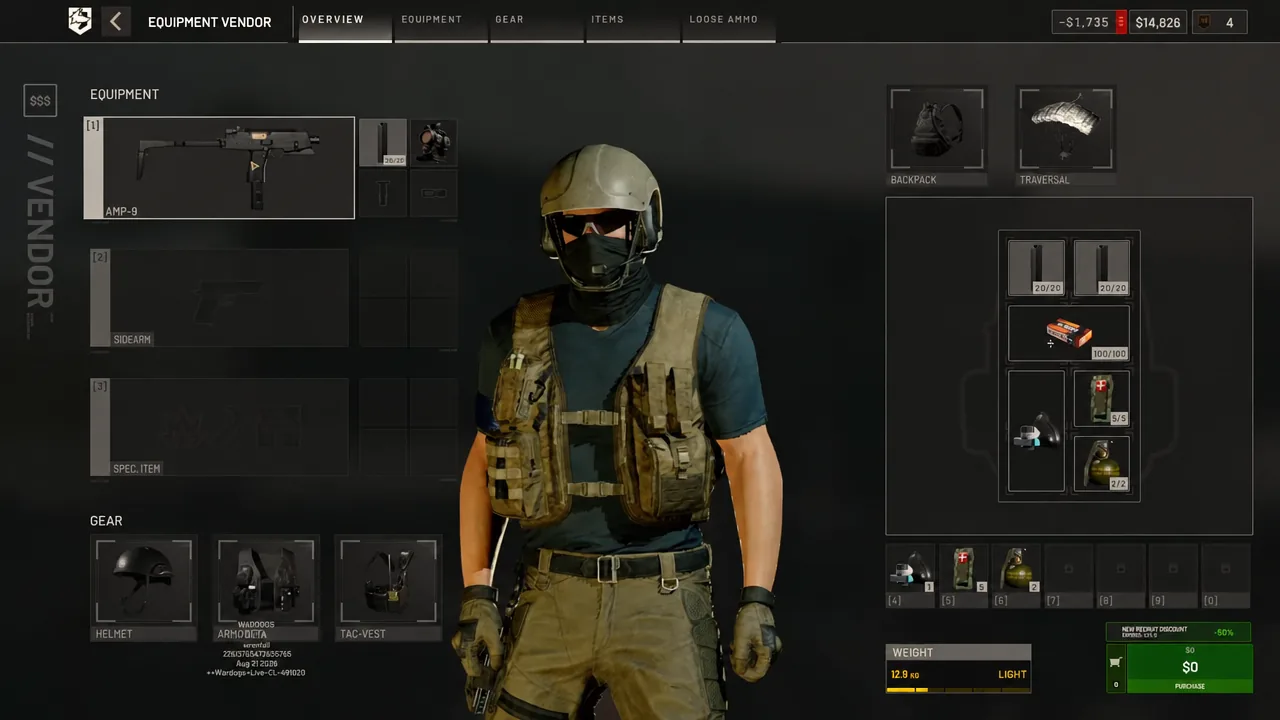
Kitting up happens in the Safe Zone at the Equipment Vendor, before you use the deployment board to spawn in. A workable entry kit for a contested objective covers a primary, spare magazines, healing, armour and at least one grenade.
Holding the Hot Zone: revives, healing and looting
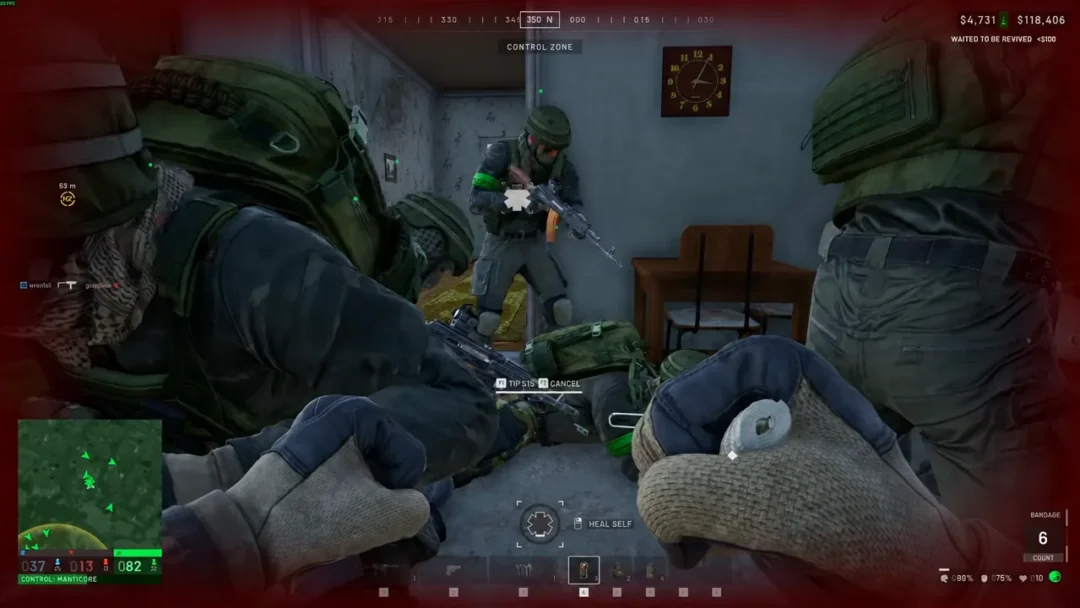
Presence only counts while you are up, so revives are the real currency of a contested objective. Downed teammates can be picked up quickly with medical gear, or slowly through a manual interaction. The manual version leaves both of you exposed for several seconds, and it can be interrupted by another player starting the same action, which resets your progress.
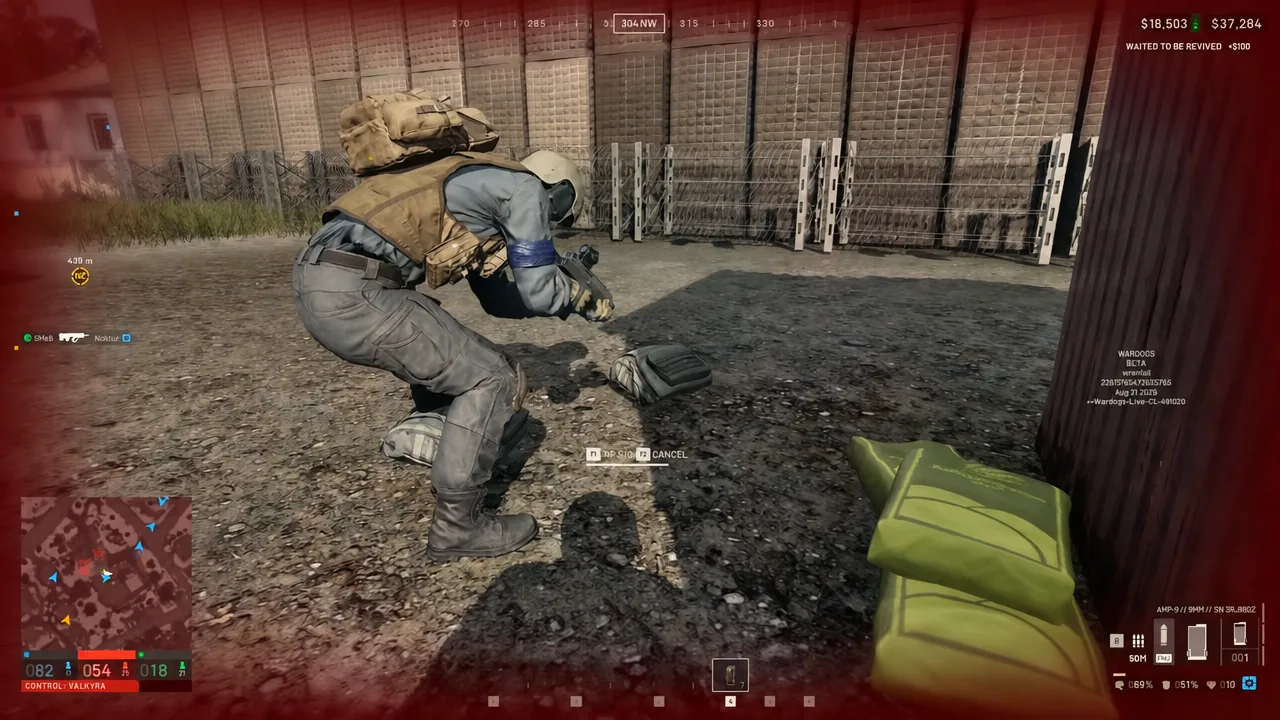
Do the pickup behind something solid. A shipping container, a stone wall or the inside of a building all work. Reviving in the open inside the Hot Zone usually just hands the other two teams a second body.
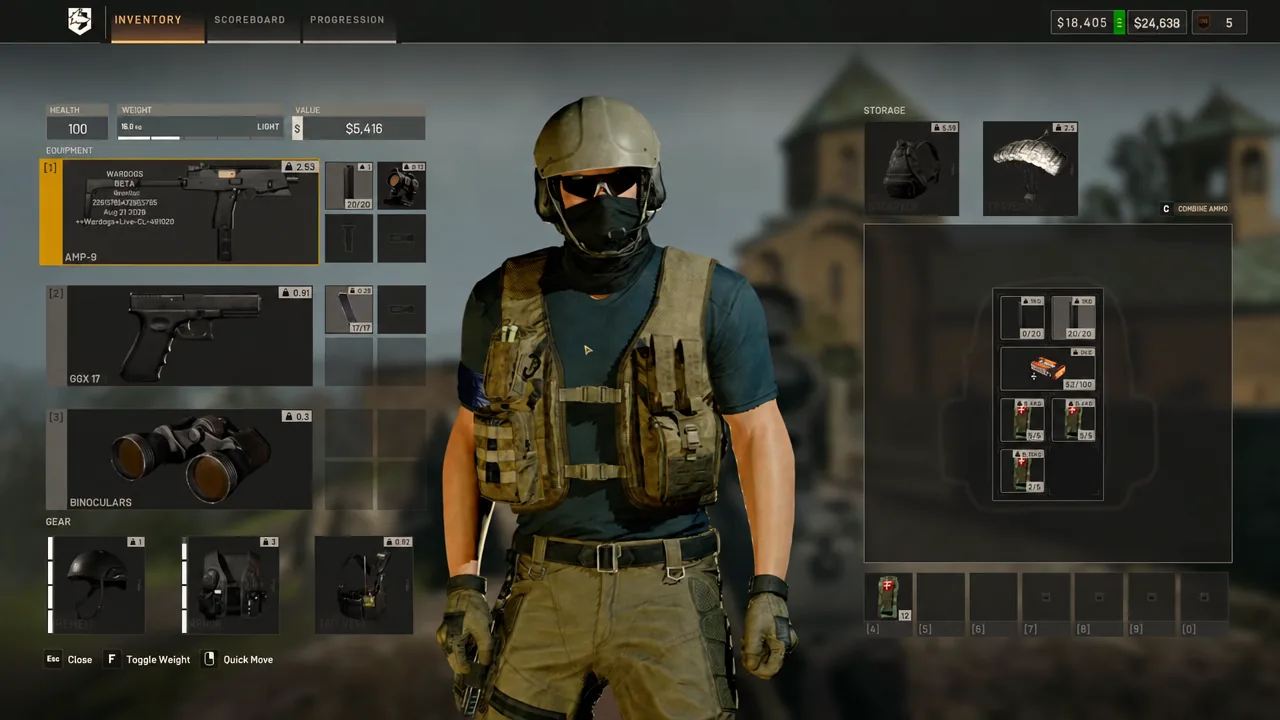
Looting a fallen player opens a grid-based menu where you drag items across into your own space. Bandages and matching ammunition are the priority; a sidearm is worth taking if you have the slot. Keep it short, because standing over a body is the same thing as standing still.
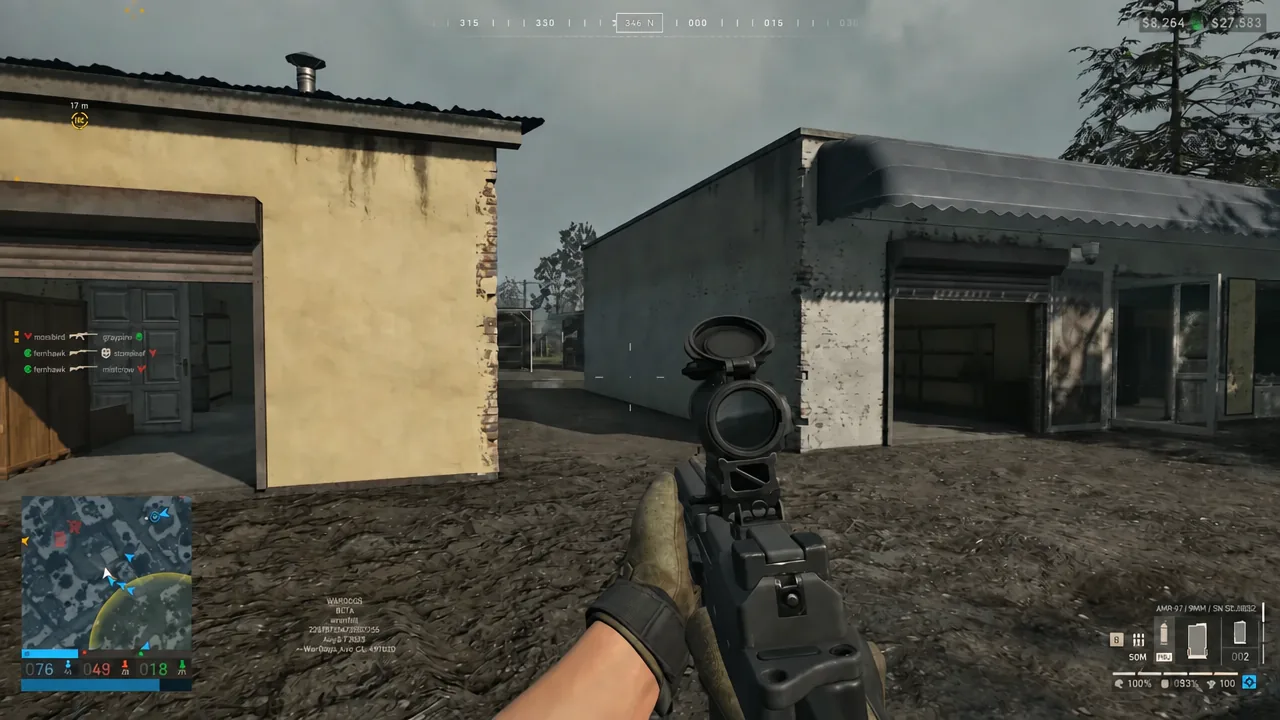
Once the zone is yours, fighting turns into lane control rather than pushing. Hold angles between buildings, watch the approaches your team is not covering, and let the tick do the work.
When contesting the Hot Zone is the wrong call
Double value is not a free point. The Hot Zone pulls all three teams toward one focal point, and the team that arrives second into an existing firefight often ends up being the entry the third team was waiting for.
Back off when the zone has already moved, when your transport is gone and the walk in is open ground, when the buildings around the objective have been blown open and no longer offer cover, or when your route puts you between two enemy teams. A squad that rotates early and arrives organised at the next Hot Zone will usually bank more ticks than one that keeps feeding into a lost fight.
Hot Zone rules that are confirmed and those that are not
| Confirmed | Not published |
|---|---|
| Sits inside the larger Control Zone | Exact size and shape |
| Shifts position during a match | How often it relocates |
| Players count double for zone presence | Spawn and relocation rules |
| Players earn double cash | The full cash calculation |
Treat any fixed positioning pattern or “best” vehicle route as unsettled for now. WARDOGS entered Early Access on Windows on 10 September 2026 through its Steam store page, following a closed beta for pre-orders in August, and console versions for PlayStation 5 and Xbox Series X and Series S are planned for 2028. Balance around zone pressure and cash flow can still move with patches.
The simplest way to use the Hot Zone is to stop thinking of it as a kill box and start treating it as a timer. You are not trying to hold it forever — you are trying to have more doubled teammates standing inside it than either rival team does at the next 30-second check, then leave before the third team turns your fight into their entry point.