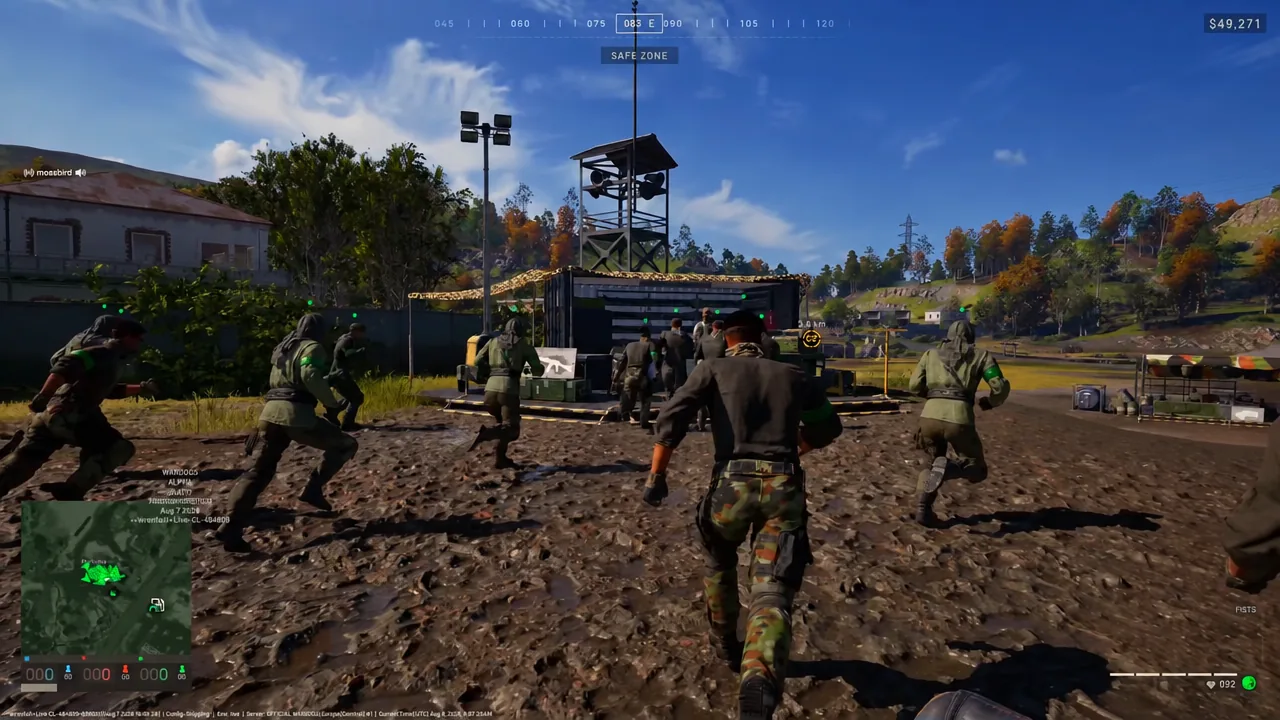
WARDOGS punishes hoarding. Your cash carries between matches, every loadout is bought per life, and death takes that loadout with it — so the instinct to sit on your starting $10,000 and run a bare-bones kit is exactly what keeps new players poor. The players banking money are the ones spending it on armor, ammo, and tools that let them stay alive long enough to collect zone ticks and revive payouts.
Quick answer: Buy Level 1 armor every life (a helmet and chest vest together cost under $500 and absorb roughly two extra bullet hits), carry a revive tool, and do your scoring inside the Hot Zone, where zone cash and revive cash both pay double.
What each action pays in WARDOGS
The core loop is a three-way King of the Hill fight between Lonestar, Valkyra, and Manticore over one Control Zone, with the leading team taking a point every 30 seconds and the first to 100 winning. Standing in the zone pays you on that same tick, and the smaller Hot Zone inside it doubles both your value for scoring and your income.
| Action | Payout |
|---|---|
| Holding the Control Zone | $160 every 30 seconds |
| Holding the Hot Zone | $320 every 30 seconds |
| Defibrillator revive | $1,200 |
| Defibrillator revive inside the Hot Zone | $2,400 |
| Killing a teammate (including crash passengers) | –$1,500 per player |
| Kills, assists, spotting, healing, transport, repairs, resupply, building | Cash and class XP, doubled inside the Hot Zone |
One scoring rule matters for your travel time: the Control Zone spawn only switches on after your team has secured at least 20 points. Before that, you are walking, driving, or flying in from HQ, and the trip is long enough that a careless death costs minutes as well as money.
Level 1 armor is the cheapest survivability you can buy
A Level 1 helmet and chest vest together come in under $500, which is a rounding error next to a $2,200 rifle like the GALIL. Those two pieces buy you roughly two more bullet hits, and two hits is often the difference between dropping in a trade and killing the person shooting at you. Skipping armor to afford a nicer optic is the worst trade in the game.
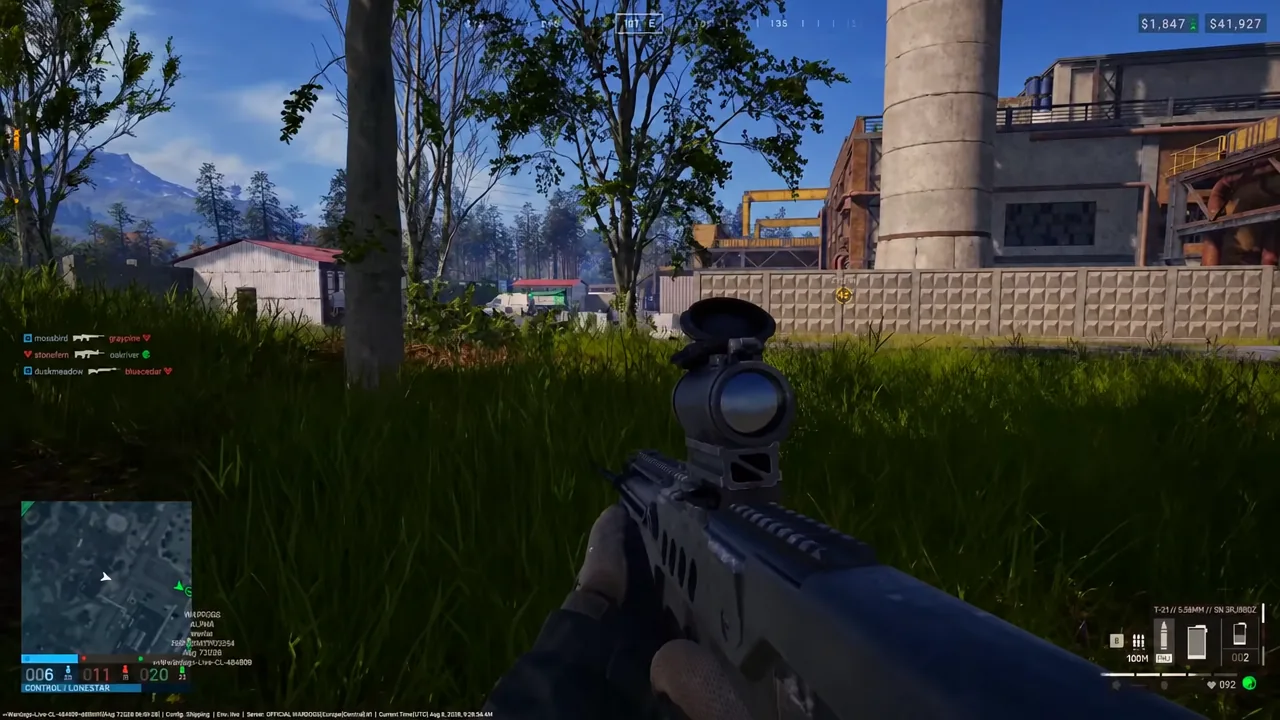
Weight is the counterweight to all this. Gear scales across five tiers from lightest to super heavy, and heavier protection resists more ammunition types while cutting your movement speed, sprint speed, stamina regeneration, jump height, and how fast you bring a weapon up to aim. For a standard infantry life, the light end of the scale plus Level 1 protection is usually the better deal than the heaviest kit you can afford.
Ammo types in WARDOGS: FMJ, HP, and AP
Ammunition is bought per magazine, and the three types are not interchangeable. Picking the wrong one is how you empty a mag into someone in Level 3 plates and watch them walk away.
| Type | Best against | Notes |
|---|---|---|
| FMJ (standard) | General use | The default round; fine while you are learning |
| HP (flesh damage) | Unarmored targets | Maximum damage to legs, arms, and other exposed body parts |
| AP (armor piercing) | Level 3 and Level 4 armor, vehicles | Unlocks at Wardog Level 70+ |
Buy loose ammo alongside a couple of spare magazines rather than filling your backpack with loaded mags. Loose rounds take less space for the same number of bullets, the reload key tops off partly spent magazines from that stockpile, and two half-empty mags can be combined into one full mag from the inventory screen. The tradeoff is that topping off takes time, so do it behind cover and not mid-firefight.
Revive income: the most reliable early money
There are no locked classes — the gear you buy decides what role you are playing that life — which means anyone can pick up a revive tool and start earning without winning gunfights.
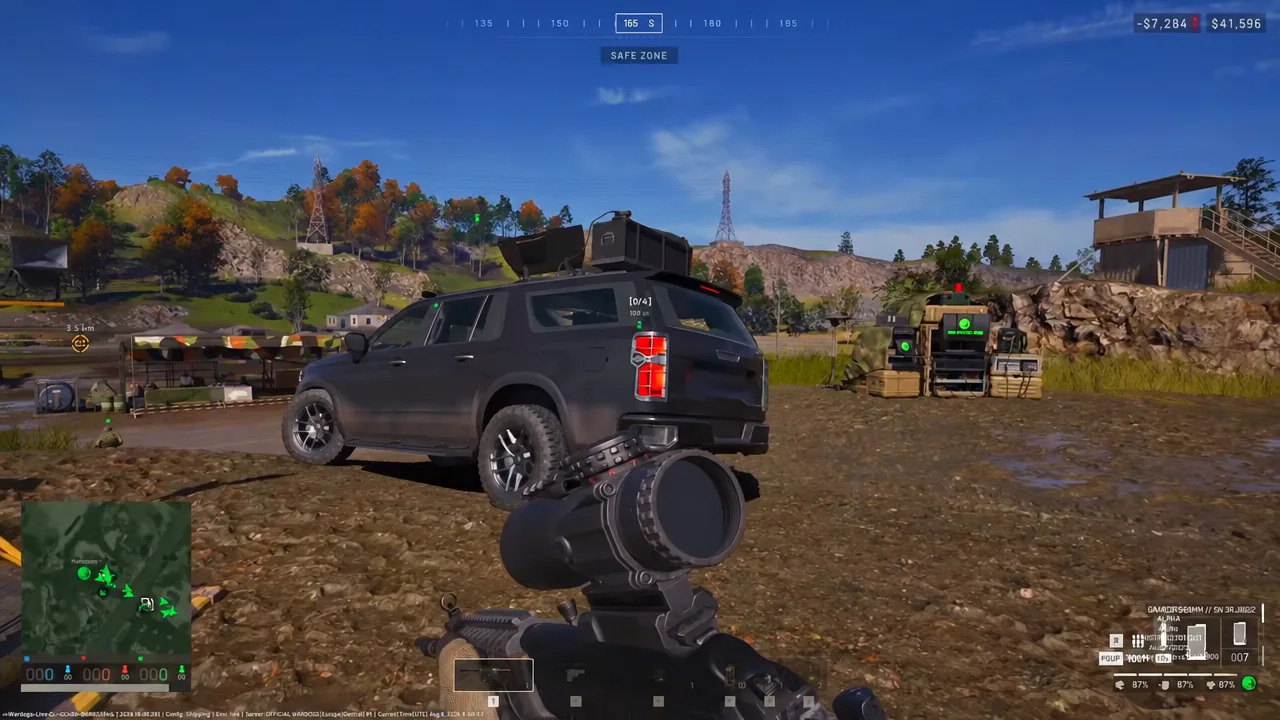
Tip: hover any item at the vendor to see which XP category it feeds. For weapons, that tells you which class the kills credit, which is the difference between actually leveling Medic and accidentally leveling Assault all match.
Permanent unlocks vs. renting gear per round
Unlock prices are one-time fees that then let you buy the item each round. They are large enough that the maths only works if you are genuinely going to use the thing every match.
| Item | Unlock cost |
|---|---|
| Defibrillator | $50,000 (then about $1,600 per round) |
| MP5 | $35,000 |
| Tank | $250,000 |
A $50,000 Defibrillator pays itself back in roughly 42 standard revives, or half that if you work the Hot Zone — which is fast if reviving is your plan and terrible if it is not. The $250,000 tank is a late purchase, not an early one, because that same money buys you dozens of fully kitted infantry lives.
How to beat a tank on foot
Tanks have slow turret rotation, and that single weakness is the whole counterplay. Break line of sight, move around the hull using cover, and get behind it before the gun can track you. A tank that has to reverse and re-aim is a tank that is not shooting anyone.
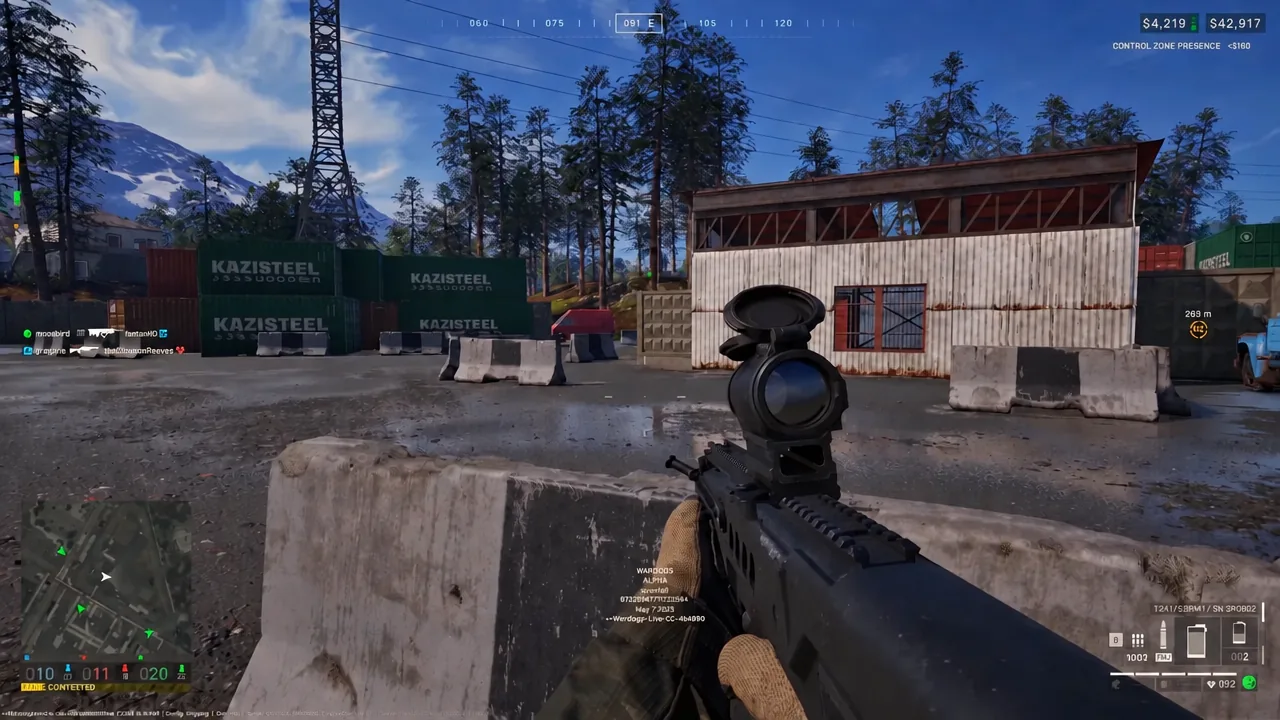
Armor-piercing rounds also help against vehicles, though AP is gated behind Wardog Level 70+. Until then, cover and an RPG-7 are your answer.
Reading the fight: sound, minimap, and objective markers
Most deaths come from walking into a fight you never located. Stop and listen before you commit — gunfire direction tells you where the contact is, and the minimap fills in friendly positions and the current state of the zone. Objective waypoints carry a range readout, which is a free distance estimate for your first shot.
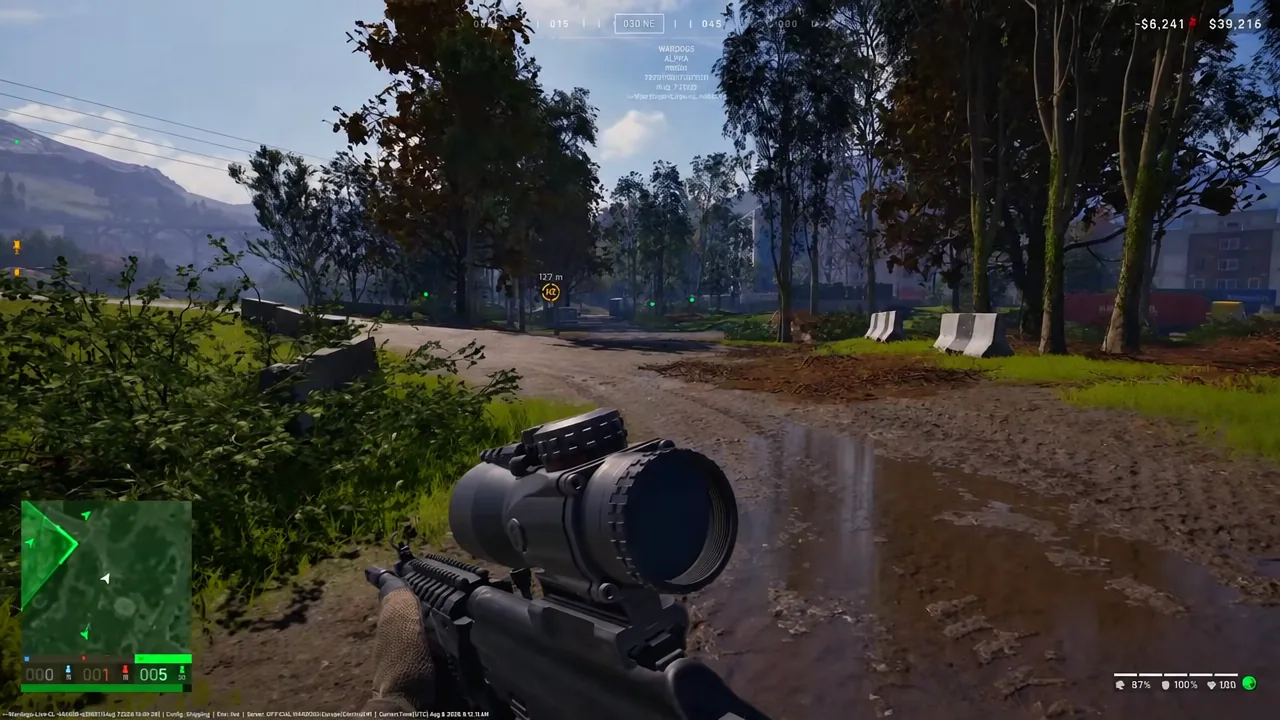
Zeroing defaults to roughly 100 meters. Page Up and Page Down step it up and down, and each weapon has its own range — the AK74, for instance, adjusts from 100m to 1000m in 100m increments. Holding your breath to steady the shot is not sniper-only either; assault rifles use the same mechanic.
Carrying binoculars or a rangefinder turns that awareness into cash. Marking an enemy earns you money and XP from kills you never had to land, which makes spotting one of the safest ways to profit while you are still learning the maps.
Helicopters: easy money, and the $1,500 rule
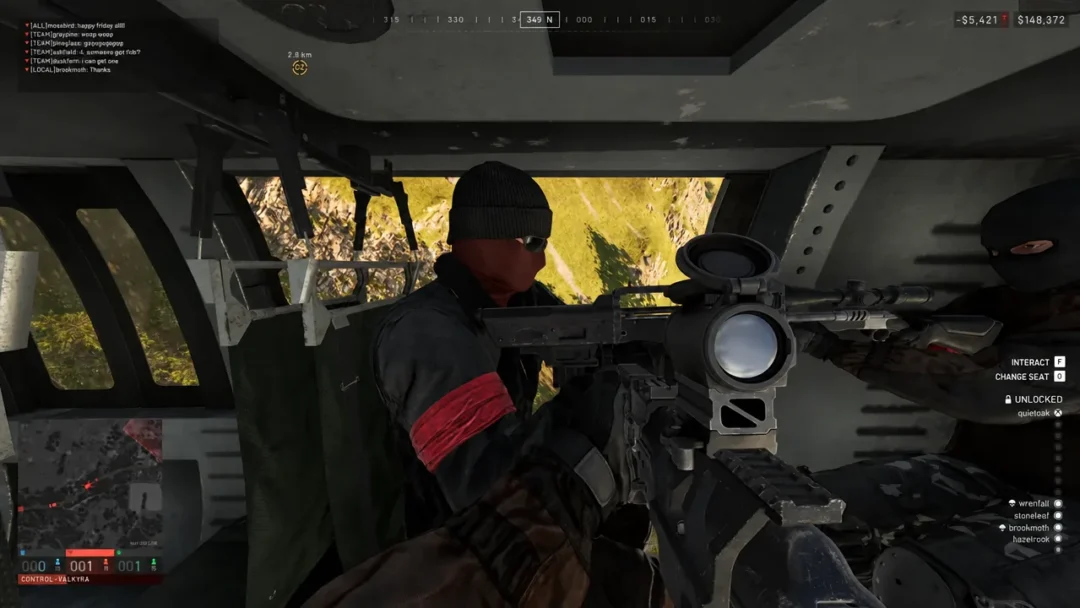
Flying is one of the lowest-risk early incomes in the game. Ferrying squads from HQ to the Control Zone pays, and you are rarely the one getting shot. It comes with a hard condition though: killing a teammate costs $1,500 per player, and that includes passengers you kill by crashing. Learn a helicopter’s handling solo on the firing range — which gives free access to every weapon, attachment, and vehicle — before you take anyone up in it.
As a passenger, be picky. A random pilot who folds the airframe on landing takes your entire purchased loadout with them. If you are riding along and need out, right-click to request a drop-off rather than typing in chat. In a turret or cockpit, WASD nudges the gun for small corrections, and the separate in-vehicle sensitivity slider goes as high as 2.0 if turning feels sluggish.
Small habits that stop you going broke
- Use the rebuy button in the bottom-left of the vendor screen to repurchase your exact last loadout in one click — just don’t use it right after a new unlock, since it repeats the old kit.
- Join a squad the moment you spawn. Squads have no size limit and get a dedicated radio channel separate from proximity voice, and it costs nothing.
- Right-click to loot instead of dragging. It works for helmets, body armor, tac vests, and backpacks, and saves seconds you should be spending watching angles.
- Close every door and gate behind you. Leaving one open hands the enemy a clean path past your team’s fortifications.
- Hold angles instead of rushing. Waiting out a push beats running in blind, and a cheap loadout still counts as a full player for scoring.
You will know the economy has clicked when you finish a match with more cash than you started with despite dying several times. That is the whole test: spend enough per life that you survive to collect ticks, revives, and spot bonuses, and keep enough in reserve that one bad death does not force you back into a naked loadout. WARDOGS is available on Steam if you want to check current pricing and system requirements before you drop in.