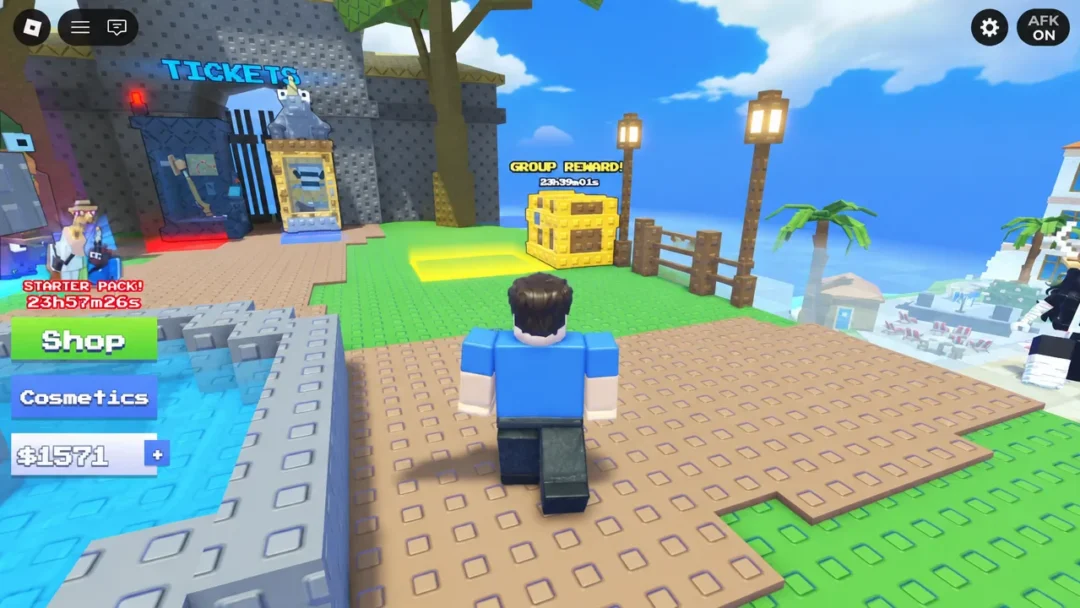
Lift a Cube is an incremental simulator on Roblox built by the Freaky Strong! group, and it runs on one simple idea. You do push-ups to build Strength, you use that Strength to lift cubes, and each successful lift pays out Cash you funnel back into faster arms and stronger arm materials. Every cube on the map is heavier than the last, and the long-term goal is to reach the end of the route.
Quick answer: Press 1 to start push-up training, keep training until your Strength meets the cube’s recommended value, walk up to the cube until the LIFT prompt appears, then rapidly left-click to fill the bar. Spend the Cash payout on a better arm at a blue or green upgrade pad, and roll for an arm material once the chest unlocks at 20 Strength.
Lift a Cube controls on PC
There are only four inputs that matter, and one of them does most of the work. Training is bound to the number row, not to a proximity prompt, so you can start it from the pad and leave it running.
| Action | Input |
|---|---|
| Move | W, A, S, D |
| Jump | Spacebar |
| Interact (pads, chests) | E |
| Train (push-ups) | Number key 1, or the Train button on screen |
| Lift minigame | Rapid left mouse clicks |
How Strength training works
You spawn with 0 Strength and 0 Cash, and the opening objective is to pick up the yellow Strength pads scattered on the ground near spawn to hit the first “Gain 5 Strength” target. White arrows on the ground point you toward each objective, so the first minute is more or less signposted.
After that, Strength comes from push-ups. Stand on the training pad and press 1, and your avatar starts repping automatically at a fixed pace, adding one Strength per rep at base rate. Because it is hands-free, you can leave the game running for a few minutes and come back to a much bigger number.
Occasionally a multiplier bubble appears while you train. Clicking it gives a boost to a single push-up, so it is worth grabbing if you are watching the screen, but it is not something to sit and wait for.
Two separate things affect your training output, and it helps to keep them straight. Arms change how fast each rep happens. Materials change how much Strength each rep is worth. Upgrading the wrong one is the most common reason progress feels stuck.
How to lift a cube and confirm the Cash payout
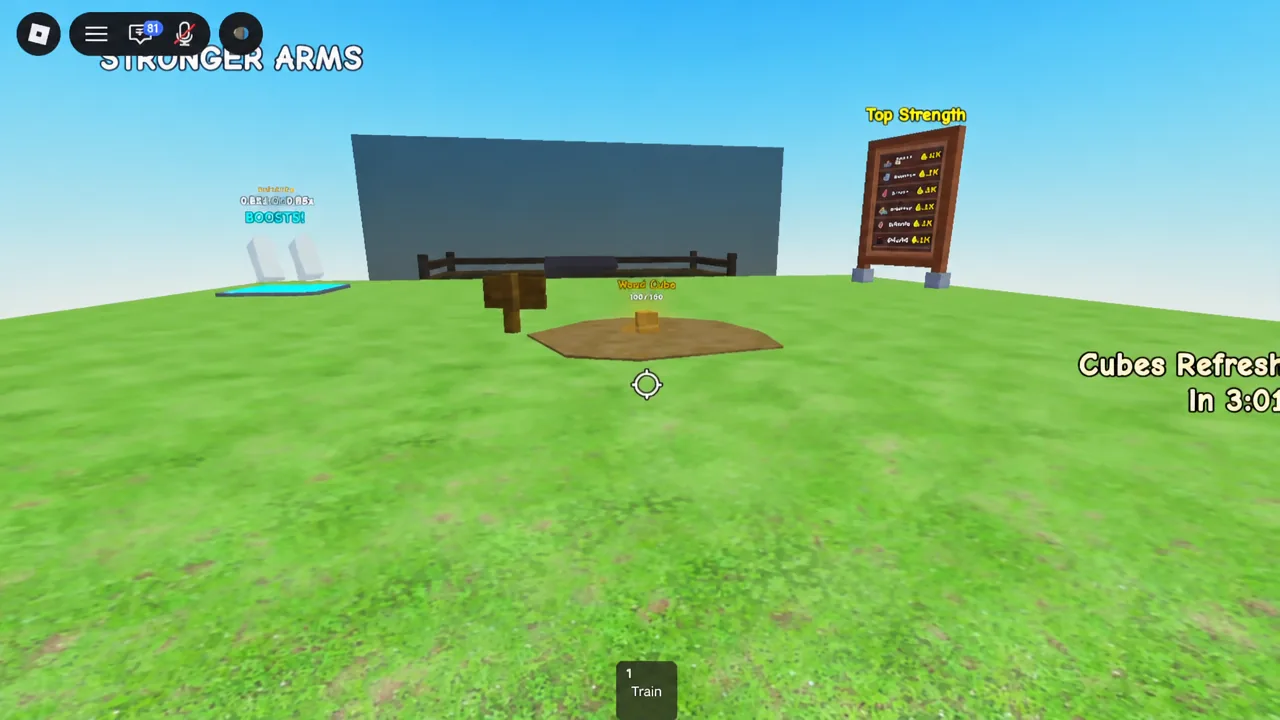
If the cube visibly wobbles but never rises, your Strength is short of what that cube wants. There is no trick around it, and no amount of extra clicking fixes it. Go back to the pad, train, and return.
Early cube weights and Strength requirements
Each cube displays its own weight and a Recommended Strength value when you approach it. Payouts scale with weight, so heavier cubes are always the better Cash target once you can actually move them. These are the first four on the route, from the grass terrain out into sand and ice.
| Cube | Weight | Recommended Strength |
|---|---|---|
| Wood Cube | 2.1kg | 6 |
| Stone Cube | 6.6kg | 61 |
| Cooper Cube | 21kg | 206 |
| Ice Cube | 66.2kg | 582 |
Note: exact weights and thresholds have shifted between updates, so treat the number printed on the cube in front of you as the one that counts. The shape of the curve does not change, though. The jump from the Wood Cube to the Stone Cube is the first real wall, and clearing it comfortably usually means training well past the minimum rather than scraping in.
Buying better arms to speed up push-ups
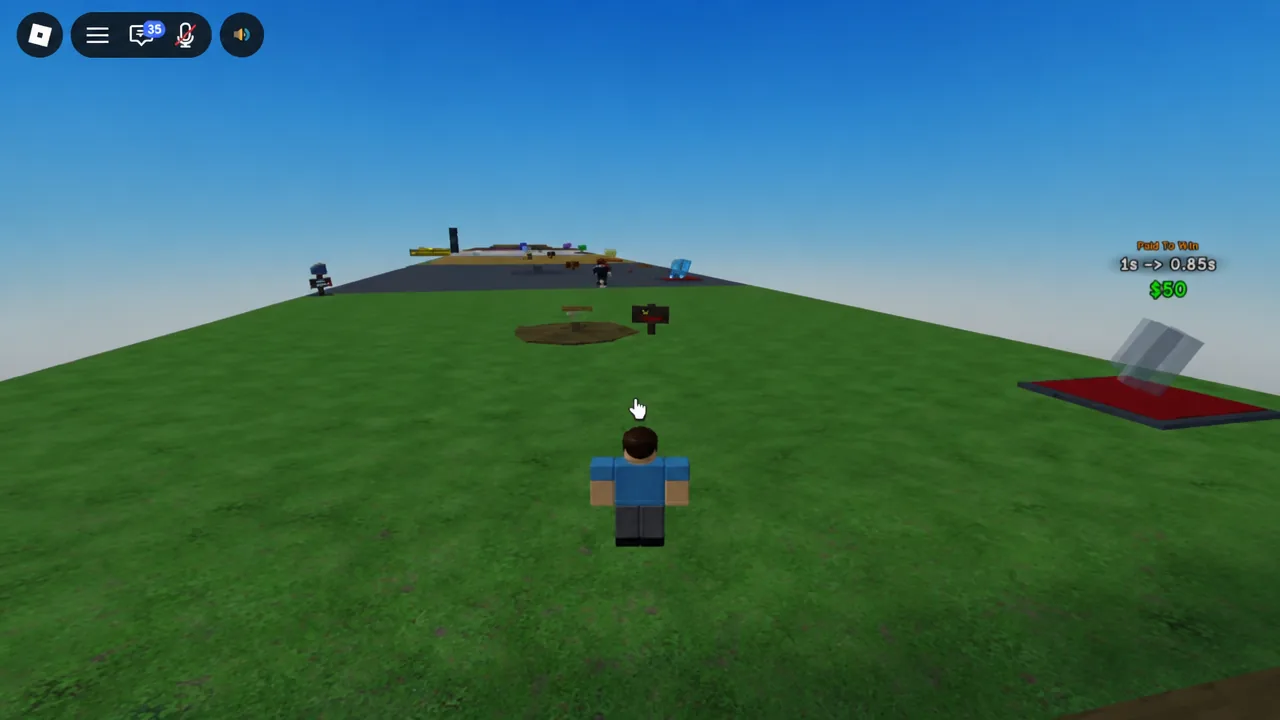
Arm upgrades sit on marked pads, with the first one near spawn and more spread across every section of the map. Each pad prints its price and shows your current time next to the time you would get after buying, written as something like “0.85s -> 0.72s”. Stand on the pad and use the interact prompt to purchase.
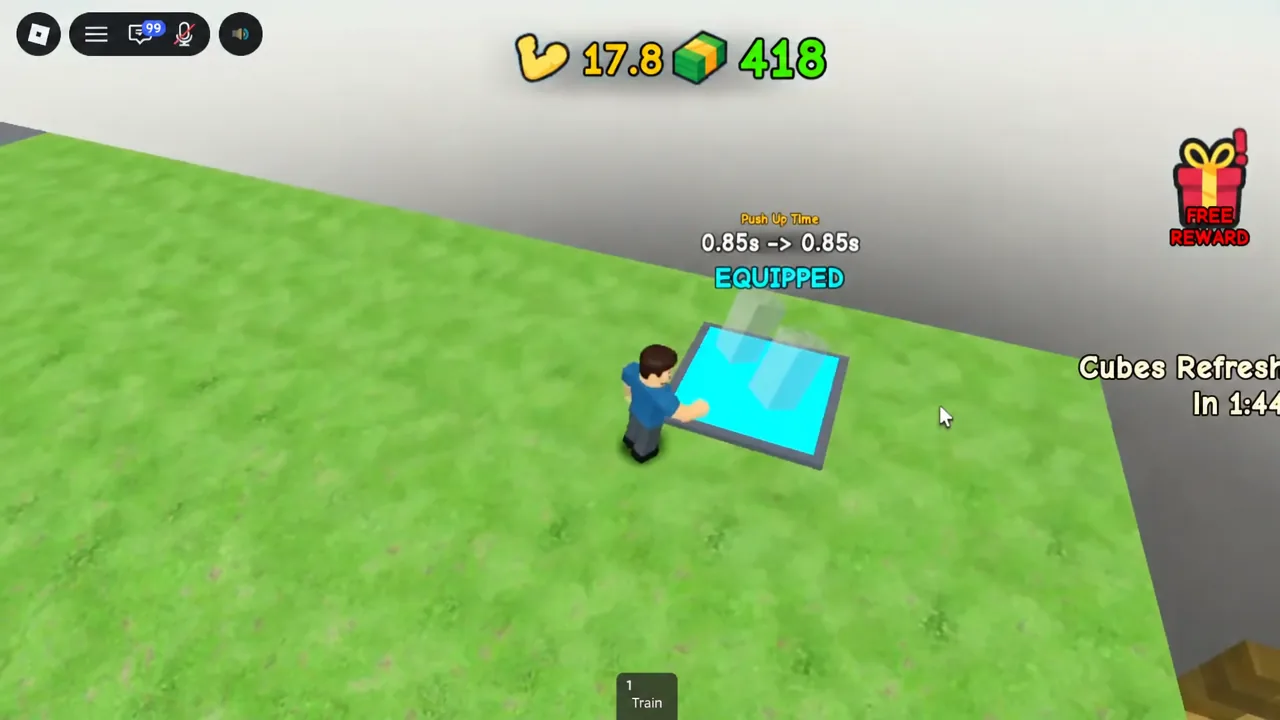
The purchase is permanent and the new time applies right away, so the verification is easy. If your training timer has not dropped, the buy did not go through. Some pads on the map improve movement speed instead of training speed, and those are worth grabbing too once the route gets long.
Tip: buy the arm that unblocks the next thing you are trying to do rather than whatever you can currently afford. If your Strength is climbing fine but slowly, a faster arm helps. If reps are already quick and the numbers are still small, you need a material instead.
Rolling arm materials at the chest
The first Arm Materials Chest unlocks at 20 Strength and sits on a wooden deck a short walk from spawn, under a “Roll for Arms Material” label. Rolling costs Cash, and the price is printed on the machine, with later stations charging more than the first.
Each roll resolves into one material with a rarity label and a Strength multiplier, and the roll menu lists the percentage chance for every outcome before you commit. Sand Material, for example, is a Common result that applies a 1.5x multiplier. That multiplier stacks on top of your equipped arm rather than replacing it, so a good material and a fast arm work together.
There is also a direct buy option on some materials, which is the safer play when you just need a specific multiplier now and do not want to gamble Cash on the odds.
Free Cash from the group reward
A pop-up offers $2,500 in Cash for completing three tasks: liking the experience, joining the developer’s Roblox group, and inviting three friends. That amount is significant early, since it covers several arm upgrades before you have farmed anywhere near that much from lifts. Membership is checked on the Freaky Strong! community page, and the CLAIM button unlocks once all three conditions are met.
Working your way across the map
The map is a linear route out from spawn, moving from grass into sand and ice terrain, with training pads, upgrade pads and chests placed along the way. When you need to get back to the start, use the on-screen SPAWN button instead of walking the whole route in reverse.
Overtraining is not wasted here. There is no rebirth system pulling your stats back, so a long session on the training pad can let you skip a cube tier entirely and jump straight to a heavier payout. That is often faster than grinding Cash on a cube you have already outgrown.
Server size caps at 10 players, and nothing in the loop requires spending Robux, so the whole route is clearable on training and Cash alone.
The final cube on the map asks for 1.3 billion Strength, which means every meaningful upgrade pad bought and a genuinely strong set of materials behind your push-ups. Getting there is a matter of repeating the same four moves in the right order. Train, test the cube in front of you, buy the upgrade that fixes whatever is slowing you down, then walk further out.