Classes in Zombie Rush Survival decide what you can drop on the ground during a run. Each one comes with three deployables — a turret, a barrier or trap, and a throwable or ability — and you unlock them by spending Credits at the Classes shop. Six are available in total, and the price gap between the cheapest and the most expensive is 350,000 Credits, so picking the wrong one first costs you hours of grinding.
Quick answer: Save for Demolitionist at 400,000 Credits as your long-term unlock. If you want something usable sooner, Trapper at 200,000 Credits gives the most crowd control per Credit, and Medic at 50,000 Credits is the cheapest pick that still changes how a squad performs.
Class costs and roles in Zombie Rush Survival
| Class | Cost | What it does |
|---|---|---|
| Rookie | Free (starter) | Basic defense, blocking, and one explosive |
| Medic | 50,000 Credits | Healing, team buffs, knockback |
| Recon | 100,000 Credits | Long-range damage, marking, stealth |
| Trapper | 200,000 Credits | Electric, spike, and frost traps |
| Pyro | 300,000 Credits | Fire damage at chokepoints |
| Demolitionist | 400,000 Credits | Explosive crowd control |
Buy order: which class to unlock first
Price and power line up closely here, so the shop reads almost like a ladder. Demolitionist is the strongest single purchase because every piece of its kit hits groups rather than individual zombies, which is exactly what breaks down during heavy waves. Pyro follows, then Trapper.
Recon and Medic are not weak — they are simply cheaper and more situational. Both do their best work when other players are around to benefit from the damage marking or the healing. If you play solo most of the time, skipping them and banking Credits toward Demolitionist is the more efficient path.
The crowd control classes: Demolitionist, Pyro, and Trapper
Demolitionist (400,000 Credits)
The Mortar Turret lobs explosive shots into packed lanes, charging up a double shot and running on a long cooldown, so placement matters more than spam. The Exploding Barricade blocks like a normal wall and pulls zombie aggro, then detonates for heavy damage once its health runs out. Lure Bomb is the timed piece — it drags zombies into a cluster before exploding, which turns a spread-out wave into one clean kill zone.
Pyro (300,000 Credits)
Pyro is built for narrow lanes. The Flame Turret is short-range and burns whatever bunches up in front of it, the Flame Barricade damages zombies every time they hit it, and the Molotov Barrel leaves a burning patch on the ground for a short window. In an open area the range limits show quickly, but at a doorway or staircase the whole kit stacks damage on the same crowd.
Trapper (200,000 Credits)
Trapper is the balanced middle option. Tesla chains lightning across several zombies at once, the Spike Trap is reusable and slows anything crossing its tile, and the Frost Mine is a one-time charge that freezes and knocks back everything nearby. The slow and freeze effects buy time rather than just dealing damage, which makes it the most forgiving of the three when a wave gets ahead of you.
Recon and Medic: the cheaper support picks
Recon (100,000 Credits)
The Sniper Turret fires slower, heavier shots that punch through lined-up zombies, so it pays off when enemies funnel into a straight path. Recon Tower scans and marks nearby zombies to take extra damage, which boosts everyone shooting at them, not just you. Ghost hides nearby players and deployables from zombies, giving you a window to rebuild or reposition.
Medic (50,000 Credits)
Medic is the cheapest unlock and the most team-dependent one. Pulse Turret knocks zombies back with burst shots instead of killing them outright, Buff Barricade raises nearby players’ damage and movement speed while it holds, and the Healing Station restores players and repairs regular deployables over time. That repair effect is the reason to bring one in a squad — turrets and barricades that would normally be lost get topped back up between pushes.
What the free Rookie class covers
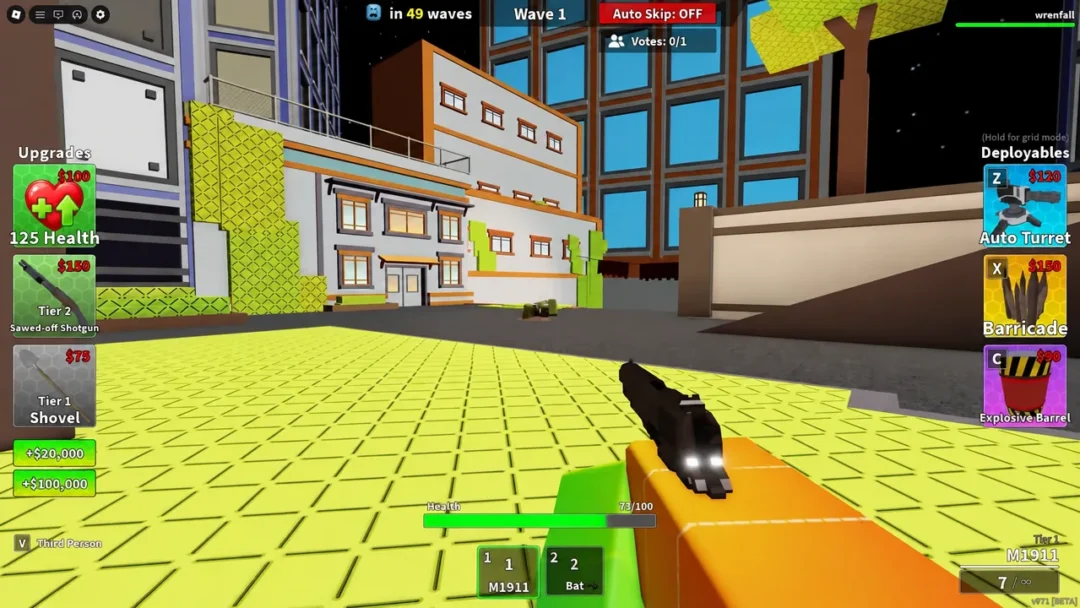
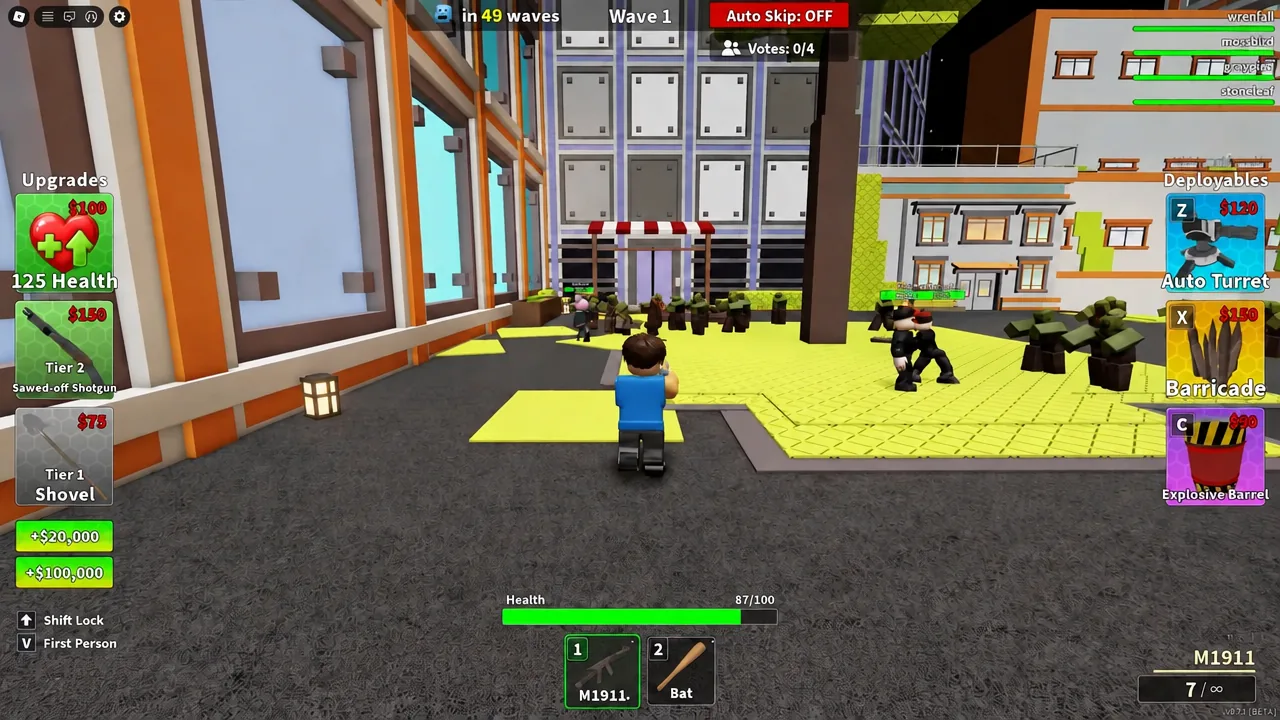
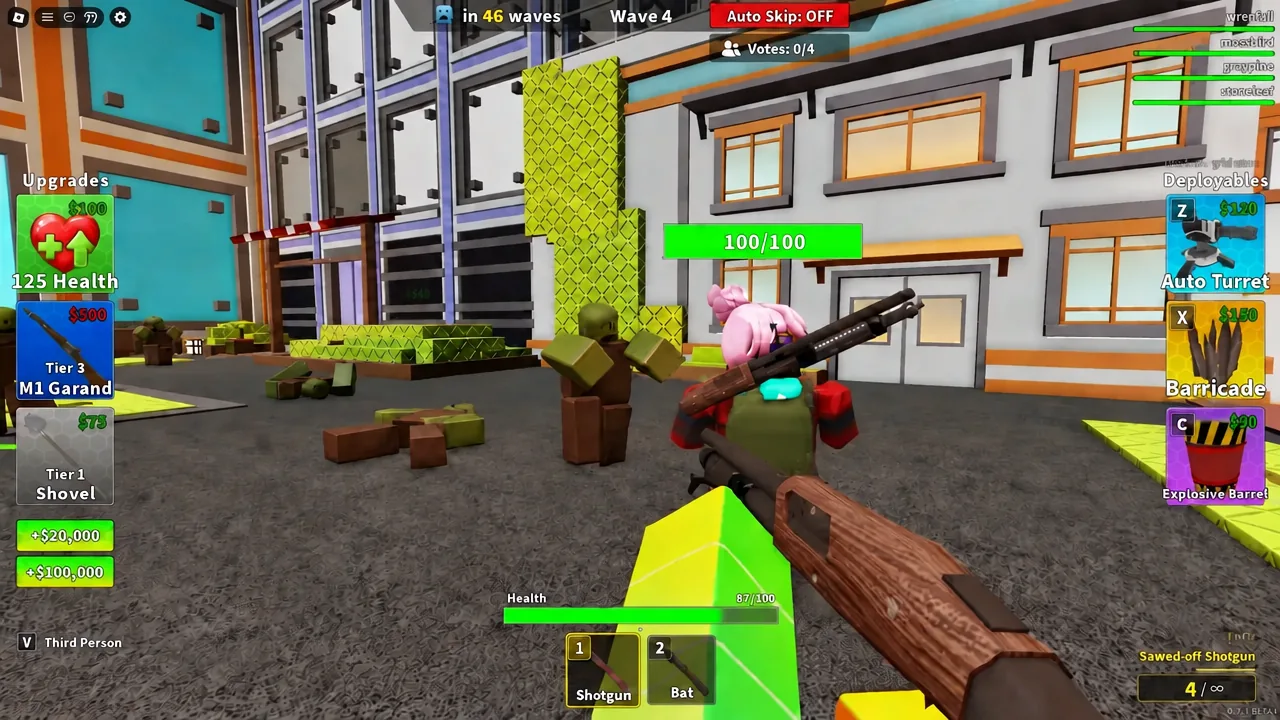
Rookie is what every account starts with and it costs nothing. The Auto Turret is a small sentry that fires rapidly at whatever wanders close, the Barricade is a plain wall that stalls zombies, and the Explosive Barrel is fragile but blasts a wide area when it breaks. There is no healing, no slow, and no marking, so the kit runs out of answers as zombie density climbs — treat it as the tool you farm Credits with, not the one you push deep waves with.
Class deployables are separate from weapon upgrades
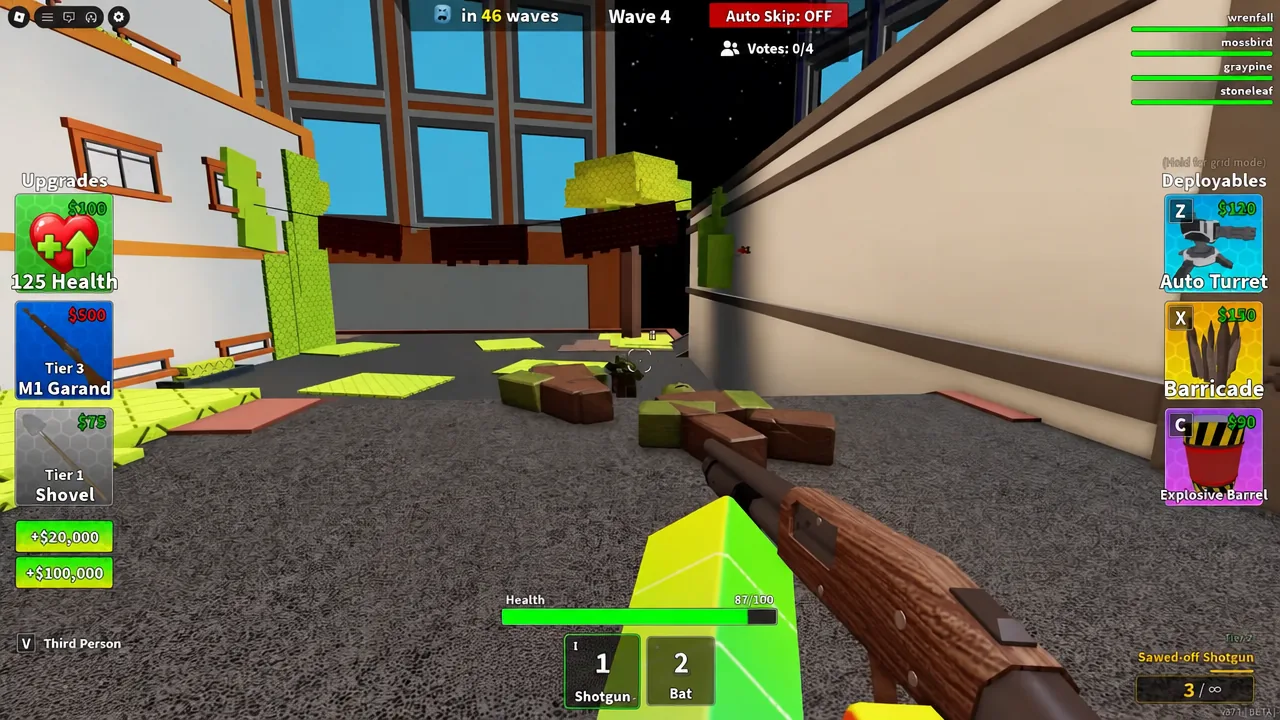
A class only changes what you can place on the ground. Your gun is handled separately through the Upgrades panel during a run, alongside the Deployables button, so buying an expensive class does not automatically improve your damage output.
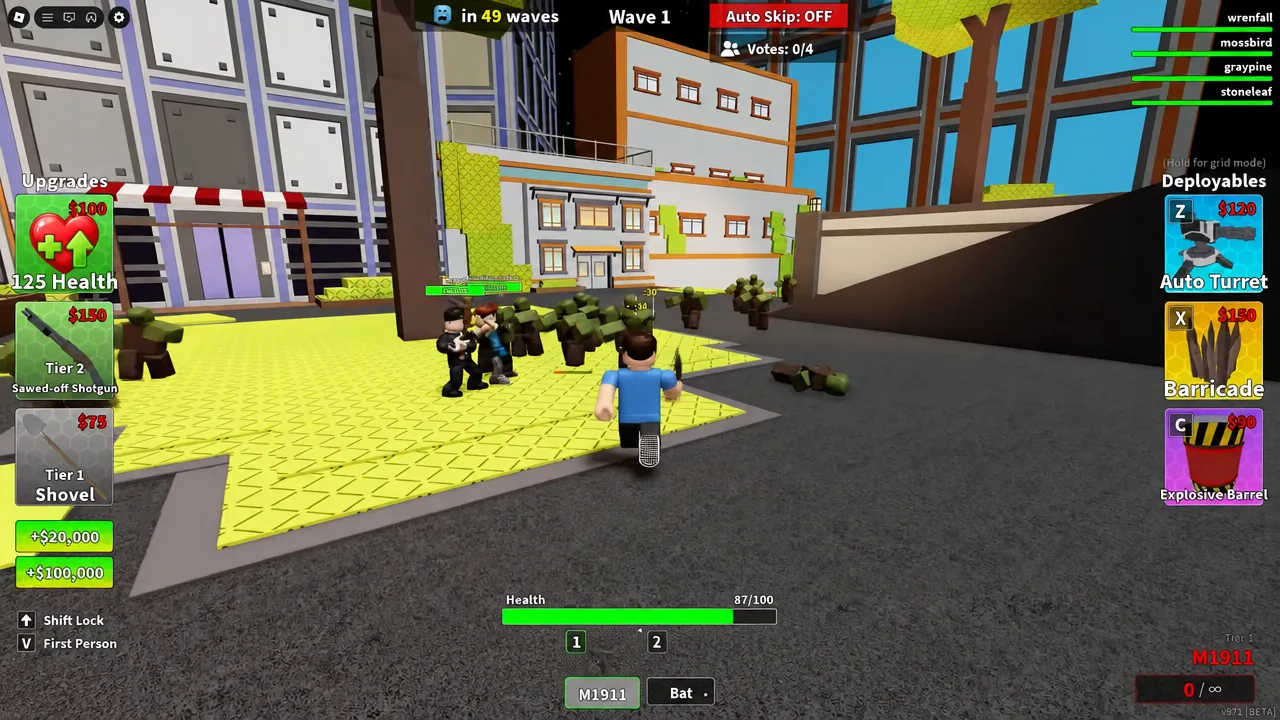
Weapons move up in tiers as you spend inside the run. The Sawed-off Shotgun sits at Tier 2, giving you a close-range option once the early waves stop being manageable with a pistol.
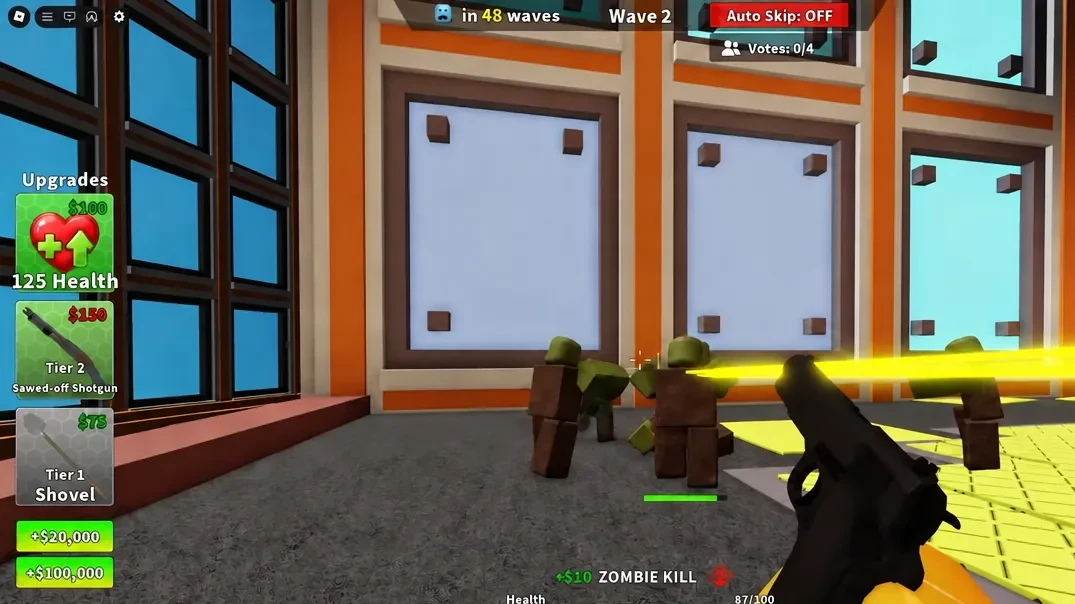
Tier 3 brings the M1 Garand, which is worth buying before you commit Credits to extra deployables in the same run.
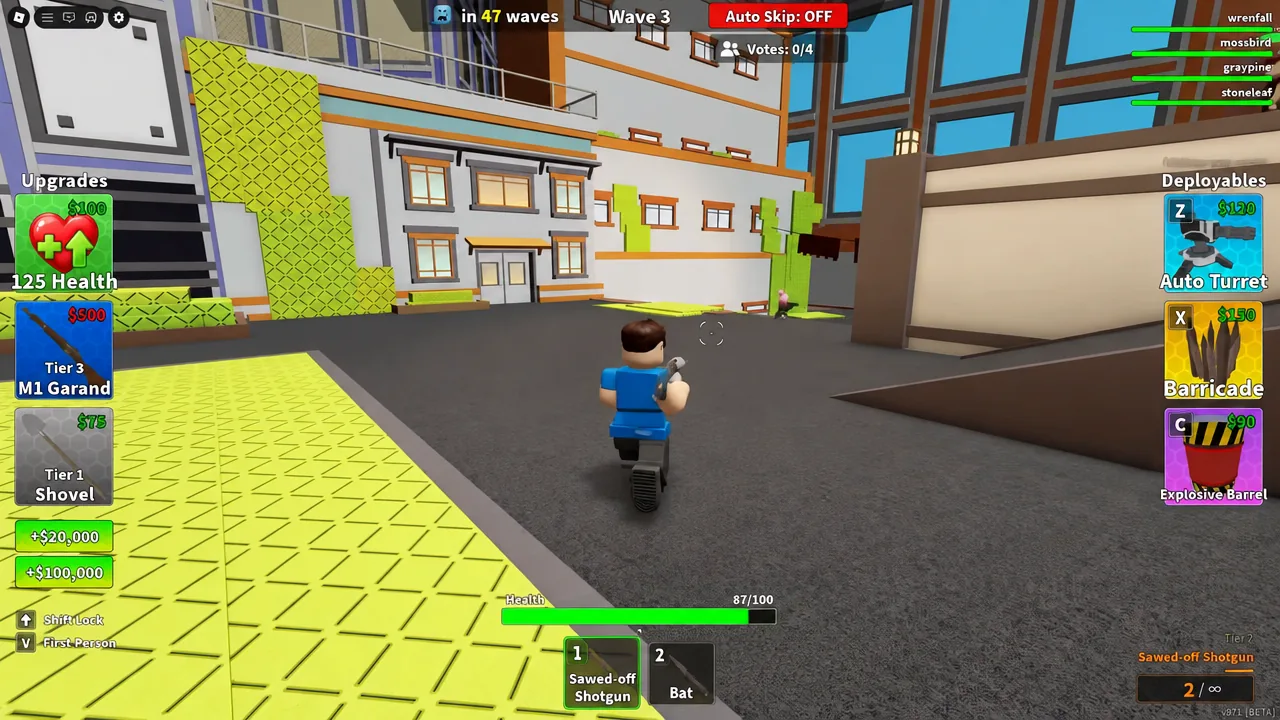
Tip: leave Auto Skip off while you are still learning a new class. The break between waves is when you place and reposition your deployables, and skipping it early removes that window.
How to buy and equip a class
You will know it worked once the run begins. Open the Deployables panel in the first wave and the three tools listed on that class card should be the ones available. If you still see the Auto Turret, Barricade, and Explosive Barrel, you are on Rookie and the new class was never equipped.
The short version: for anyone weighing the grind: Demolitionist is the target, Pyro and Trapper are the strong intermediate stops, and the two cheap classes make more sense as squad roles than as solo upgrades. Whichever one you pick, the deployables only matter as much as where you put them, so scout your chokepoints before the wave counter climbs.