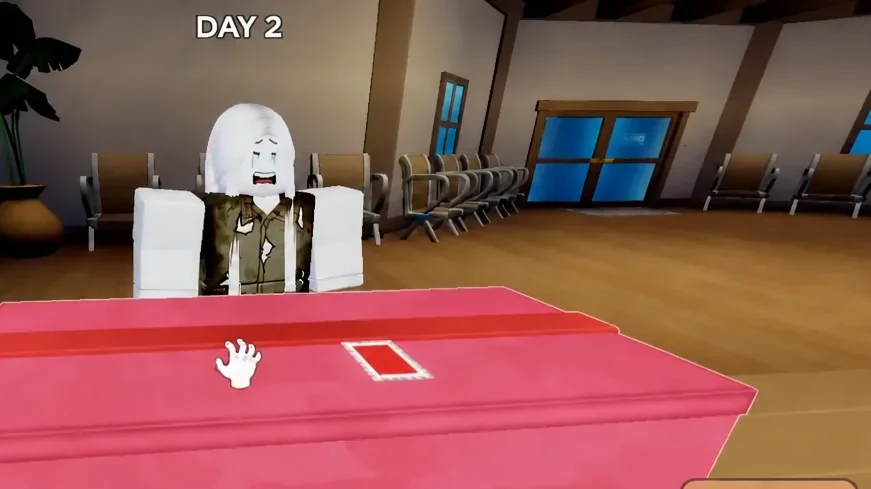
Lost Mail puts you behind the counter of a mail warehouse that gets stranger every night. The job itself is simple, and it stays simple for the first few days: a customer walks up, asks for their package, and you find the box with their name on it. Everything else in the game builds on top of that one action.
Quick answer: Pick up a box, rotate it with right-click to read the name label, then hand it to the customer whose name matches exactly. Serve every customer to close out the day.
Lost Mail setup: difficulty, party size, and platforms
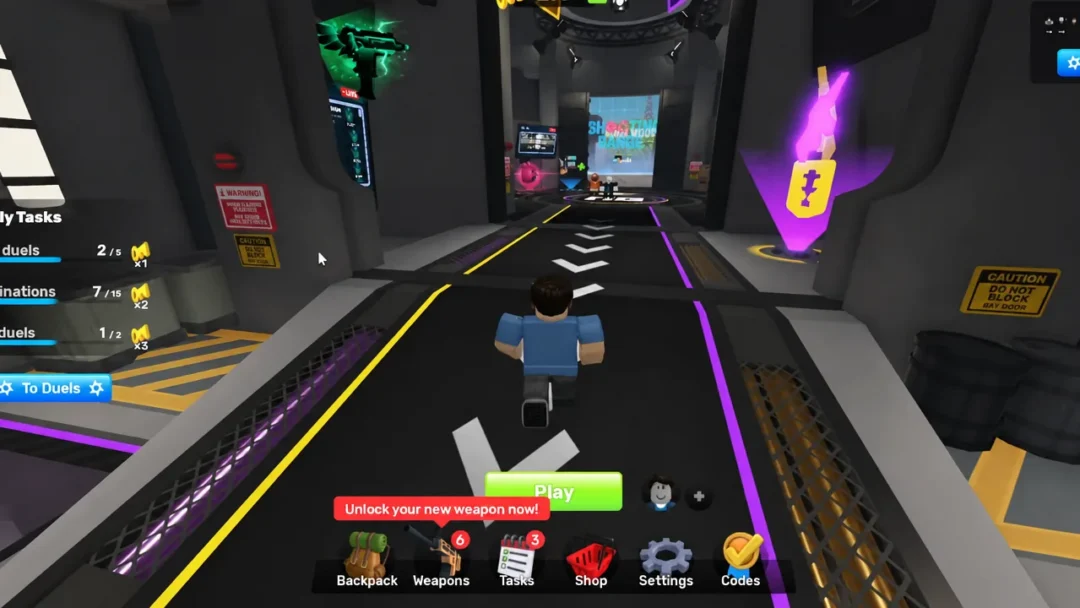
The lobby holds two menus worth opening before you queue. The Index tracks what you have seen in-game, split between Anomalies and NPCs, with an anomaly counter that starts at 0/10. The Shop sits next to it. Once you are ready, pick a queue and a difficulty, then start.
- Solo play is fully supported, and Easy difficulty allows parties of up to four.
- Servers hold 20 players in the lobby area.
- The game runs on mobile, tablet, PC, and console.
- The loading screen shows the internal name “Mail Game” by Goody Foody — that is normal, not a wrong server.
You can start a session from the Lost Mail experience page on Roblox.
How to deliver a package on Day 1
Day 1 is a guided tutorial run. You spawn in the warehouse, the Warehouse Director walks you through three prompts, and the yellow arrows on the floor point at the box a customer has asked for. Follow the sequence below and the day takes only a couple of minutes.
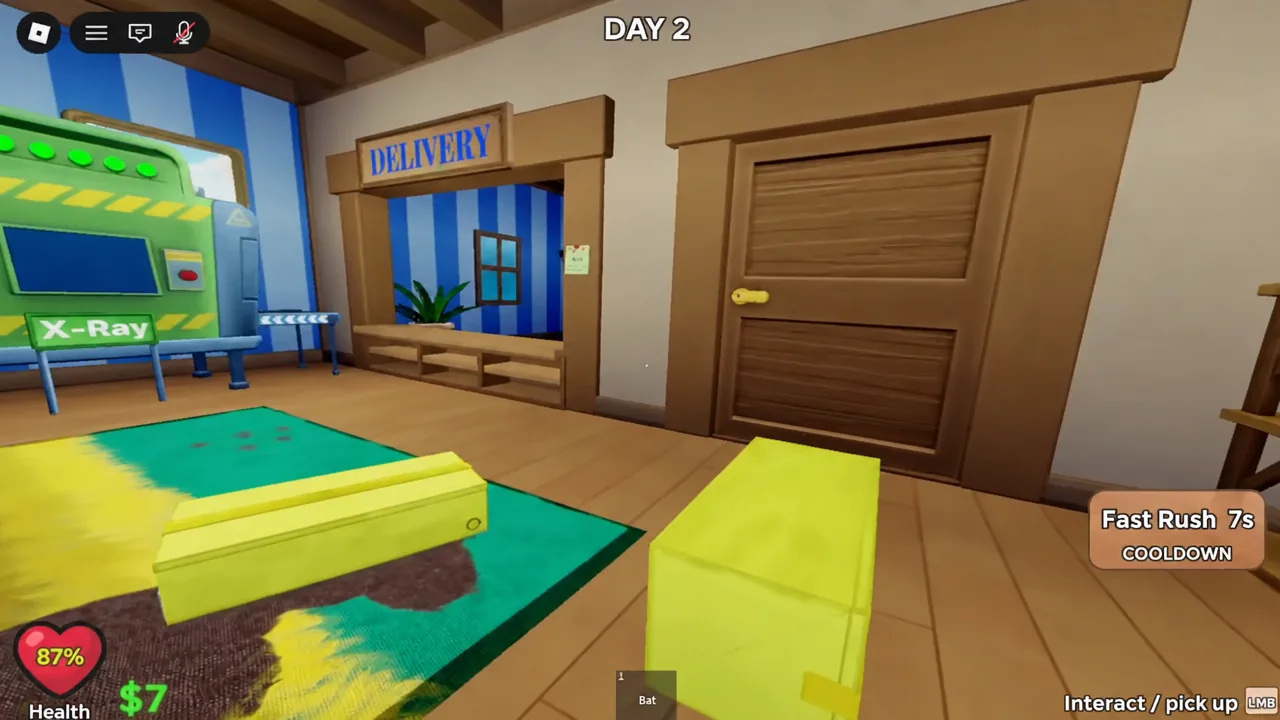
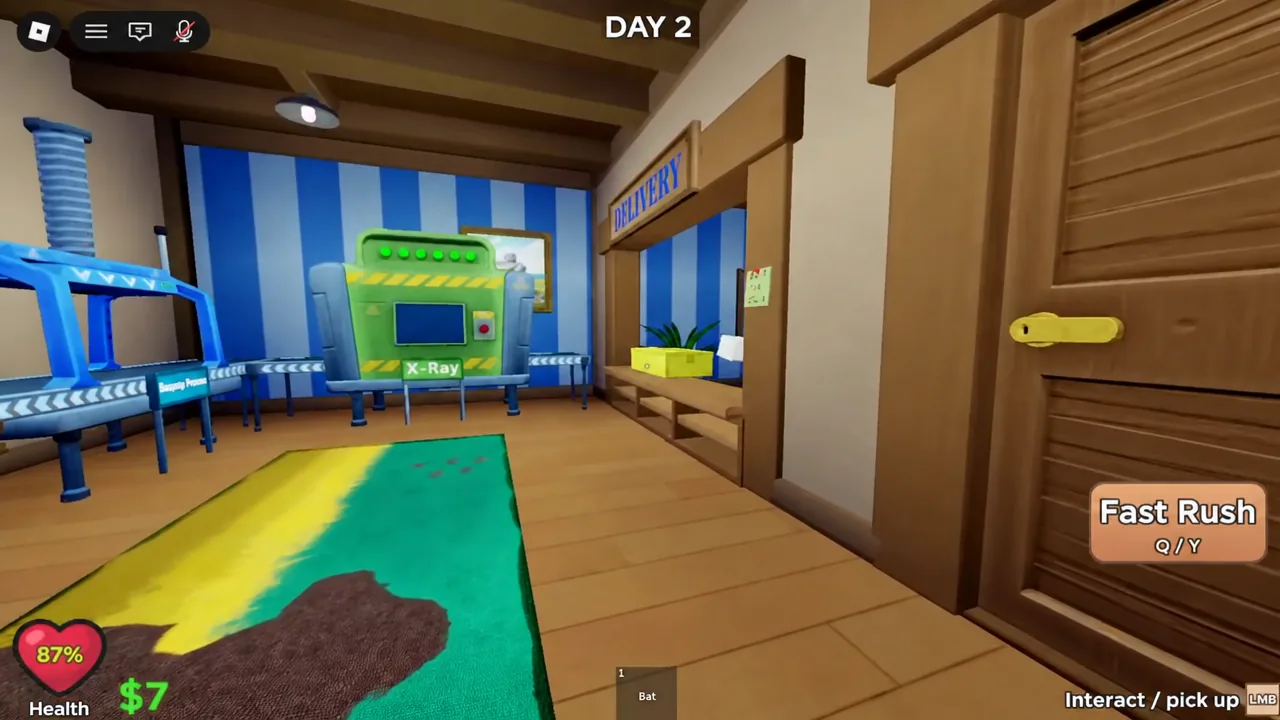
Fast Rush and the controls you use every shift
There are only a handful of inputs to remember, and most of a run is spent cycling through them.
| Action | Input | Notes |
|---|---|---|
| Pick up / interact | Left-click | Hand icon confirms range |
| Rotate a held box | Right-click | Needed to read the label |
| Fast Rush | Q (prompt shows Q/Y) | 30-second cooldown |
Fast Rush is a short speed boost, not a permanent sprint. It matters most when several customers are queued at once and the correct box sits at the far end of the warehouse. Because the cooldown is 30 seconds, save it for the long return trip rather than burning it on the walk out.
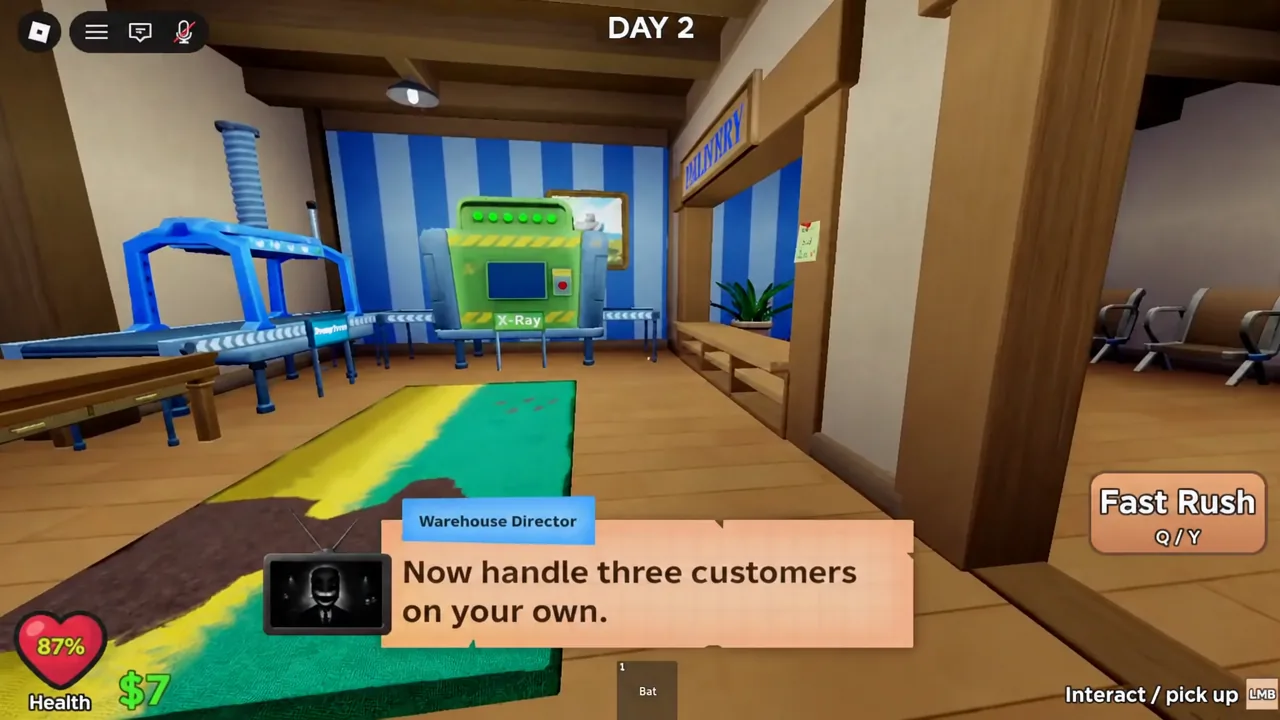
Label traps: why similar names cost you a failed mail
The shelves deliberately stock names that look alike at a glance. A single request for Grace Davis can sit next to a box for a different Grace, and the only difference is the last initial. Check the initial before you commit to carrying a box back.
| Customer asks for | Correct label | Lookalike on the shelf |
|---|---|---|
| Grace Davis | GRACE D | GRACE Y |
| Charlotte Wilson | CHARLOTTE W | AMELIA C, MIA S, SOPHIA J |
Let the yellow arrow narrow the search area, then still rotate the box and read the initial. The arrow gets you to the right shelf, but the label is what confirms the match.
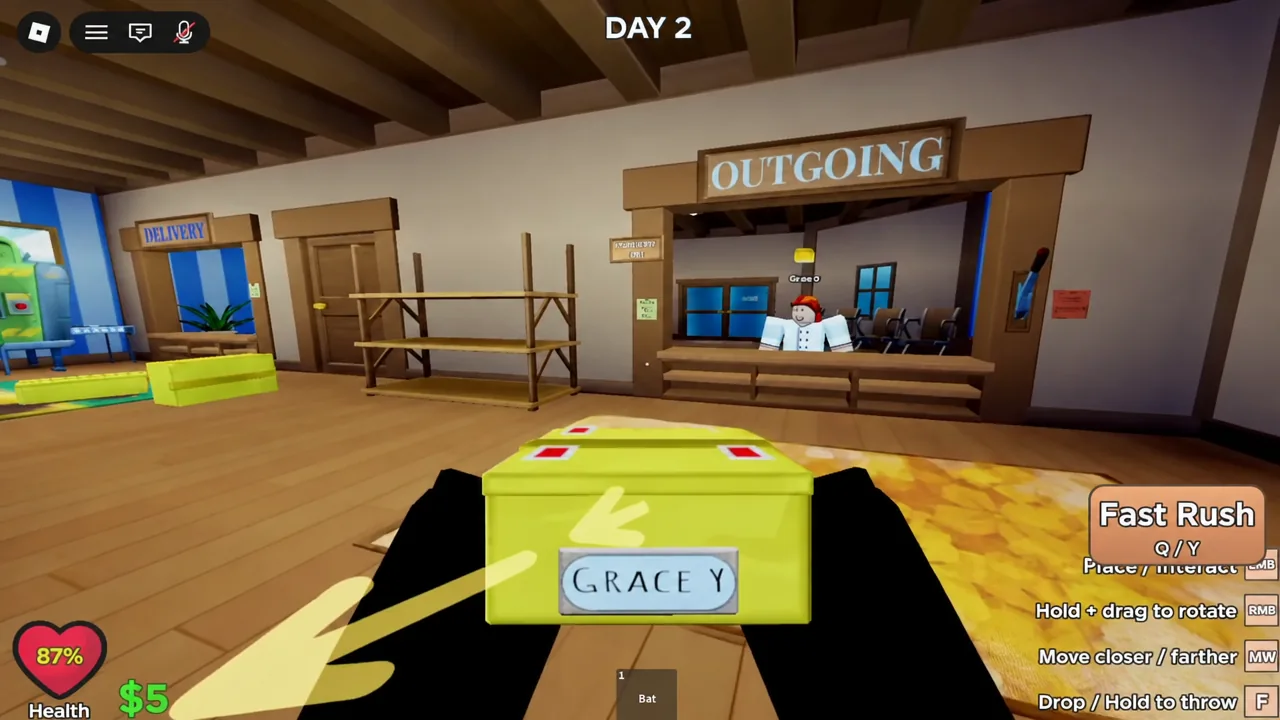
Outgoing mail: X-Ray, ACCEPT, and DECLINE
Not every customer is collecting something. Some arrive with mail they want to send, and those packages go through inspection instead of delivery. Anything suspicious can be run through the X-Ray, after which you either ACCEPT the parcel or DECLINE it. Some packages are dangerous, so the decision is not cosmetic — your rating depends on calling them correctly.
Shift Report: how to confirm the day counted
When the last customer is served, the day ends and a Shift Report screen takes over. That screen is your confirmation that the day was completed rather than failed, and it is where your cash payout appears. A clean tutorial day reads Warehouse Performance: Amazing 100% and pays out $50.
| Shift Report line | What it counts |
|---|---|
| Mails sent | Packages you handed over |
| Customers | Total served that day |
| Deaths | Times you went down |
| Failed mails | Wrong or missed deliveries |
| Warehouse Performance | Overall rating percentage |
Reaching the end of the first day also awards the “You Reached Day 1” badge on your Roblox profile, which is a second way to verify the run registered. A later badge, “You Reached Day 5”, marks the point where most players stop treating the job as a tutorial.
Spending your first cash at Jerry’s shop on Day 2
Day 2 opens with access to a vendor named Jerry, whose storefront is labelled STOLEN GOODS and whose greeting is “Welcome to Jerry’s definitely legitimate shop! Please ignore the tail.” His stock is the game’s upgrade path, funded entirely by shift payouts.
| Item | Price | Purpose |
|---|---|---|
| Stamp Booster | $20 | Upgrade, levels 0/5 |
| Flashlight | $25 | Light for darker days |
| Bandage | $50 | Basic healing |
| Medkit | $100 | Stronger healing |
With a $50 Day 1 payout, the realistic openers are the Stamp Booster or the Flashlight. The Stamp Booster is the only item that upgrades across five levels, so early investment there compounds; the Flashlight becomes relevant once the nights stop being well lit. Healing items are worth holding off on until you actually start taking damage.
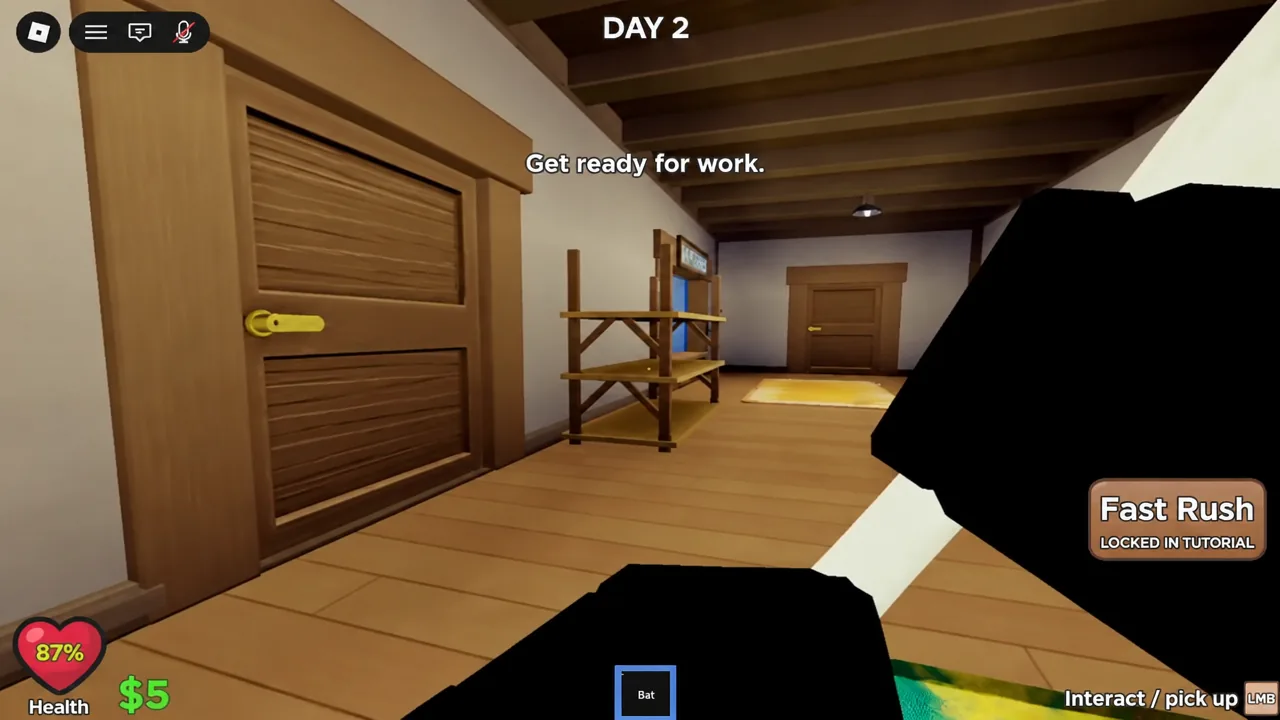
From there the loop stays the same while the surroundings shift. Days get stranger, anomalies begin appearing for the Index to track, and the rating you protect on Day 1 is the same rating that decides how long you last later on. Ring the bell, read the label, and keep the failed mails at zero.