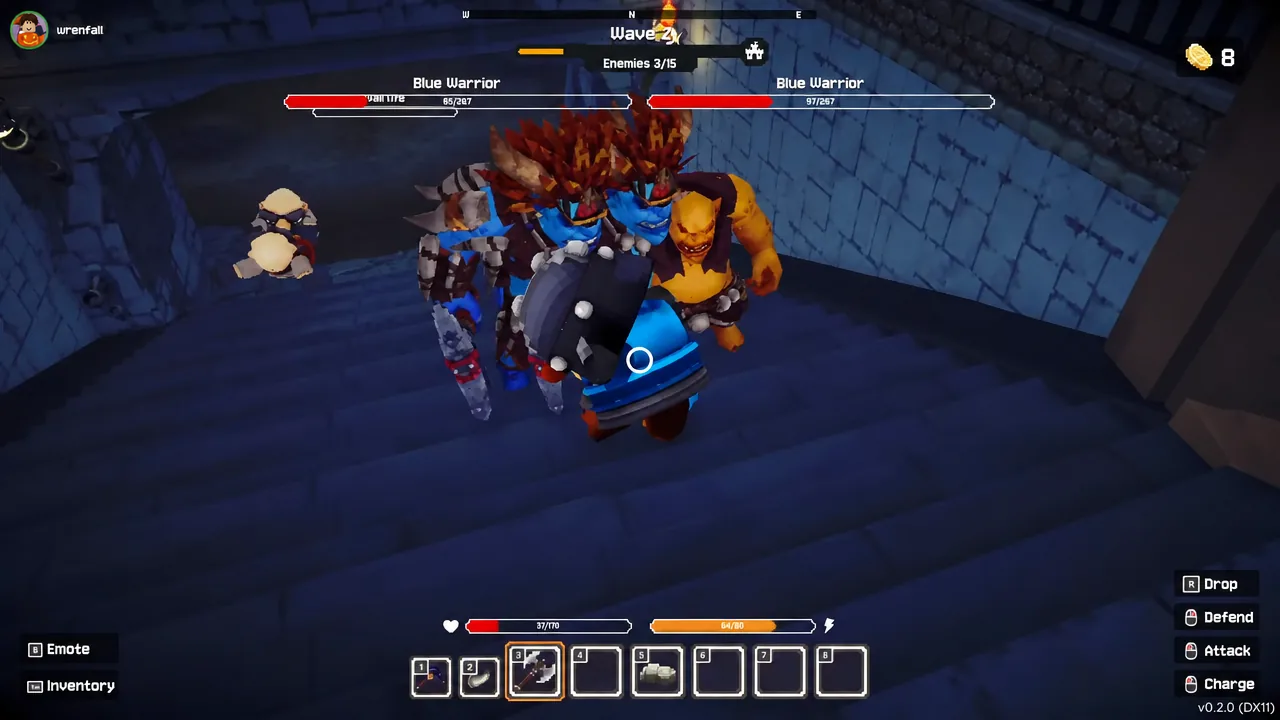
Stonewards puts up to four dwarves inside a stronghold that is about to be overrun and asks them to do two jobs on a timer. One is combat: hold the gate, keep the horde off the King, and fall back when the walls break. The other is mining: sprint into the caves the second a wave dies, haul back stone, wood, and iron, then convert it into upgrades before the horn sounds again. The first-person co-op roguelite defense game from Banana Tiger Studio has been in Early Access on Steam since August 11, 2026 at $9.99.
Quick answer: A mission alternates between defending the gate and mining between waves. Resources become blacksmith upgrades and crafted items. If the King falls, the run is over.
How a Stonewards run is structured
The host picks a map and a difficulty tier from the lobby. Bastion, described in-game as a fortified stronghold, is the starting map, and difficulty runs across Tier 1, Tier 2, and Tier 3. Once everyone loads in, the King delivers a short briefing and the first wave begins.
Brave ally, thank you for coming! The enemy is marching toward our bastion. Prepare yourself, protect your king, defend our walls, and let no creature breach our gates!
From there the loop repeats. Enemies march on the gate, you fight them at the walls, and when they push through you regroup around the King. Clear the wave and you get a bonus card pick, then the caves open up again for mining until a warning announces the next attack. Waves scale steadily — orcs and melee warriors early, mixed hordes with archers later — and a four-player crew that keeps stalling on upgrades tends to hit a wall somewhere around the eighth wave on Tier 1.
Sessions are capped at four players and you cannot join a mission already in progress.
Stonewards classes and how to unlock them
There are eight dwarves, and only two are available immediately. The Miner carries both a melee weapon and a bow, which makes it the flexible pick for a first run because it can dig fast and still contribute at the gate. The Warrior is slower but swings an axe for heavy melee damage. Class also gates equipment: a staff pulled out of a cave chest is unusable if your dwarf cannot wield it.
| Dwarf | How to unlock |
|---|---|
| Miner | Available from the start |
| Warrior | Available from the start |
| Archer | Complete Map Bastion in difficulty Tier 1 |
| Rogue | Complete Map Dungeon in difficulty Tier 1 |
| Artificer | Kill 1500 enemies |
| Mage | Kill 150 Ogres |
| Healer | Collect 2 lore pages |
| Hunter | Complete Map Bastion in difficulty Tier 2 |
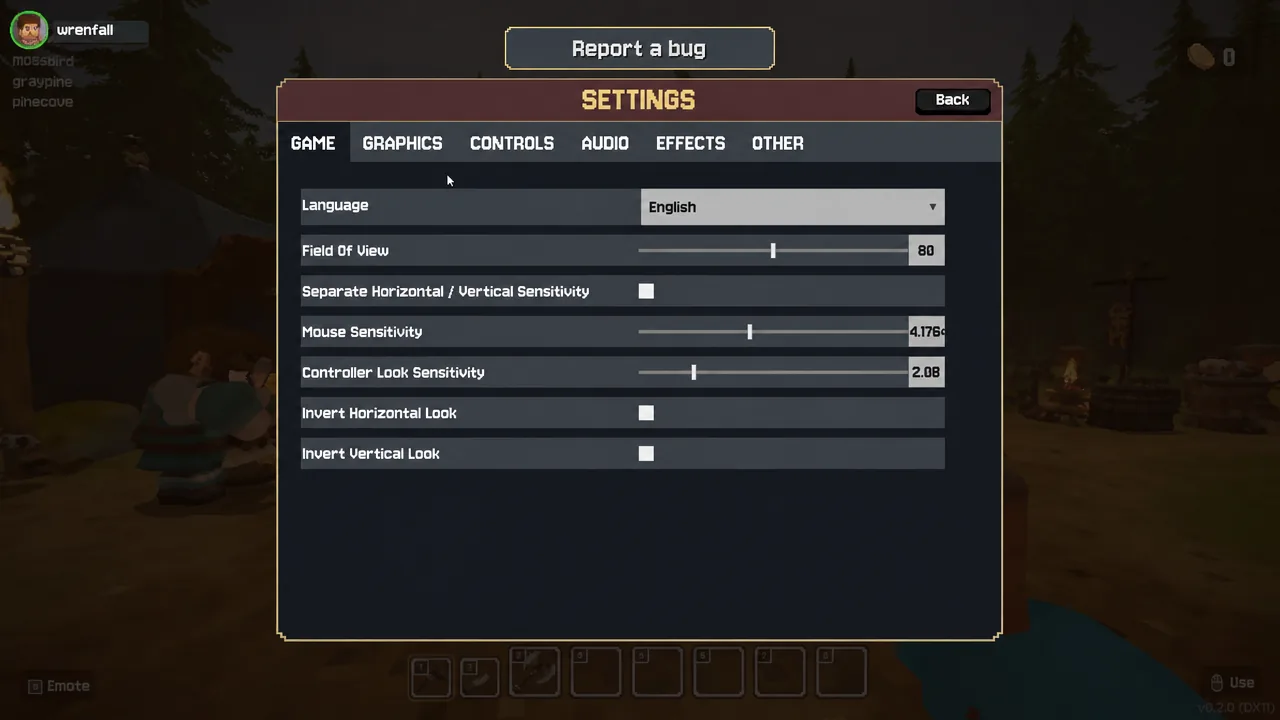
The Character Screen lists the mission each locked dwarf needs, a change added in Hotfix 0.1.6. The lobby itself is where you handle everything before launching: a campfire, training dummies, the leaderboard, the meta shop, and the settings menu, which splits across GAME, GRAPHICS, CONTROLS, AUDIO, EFFECTS, and OTHER tabs.
The mining phase: resources, chests, and Dig Strength
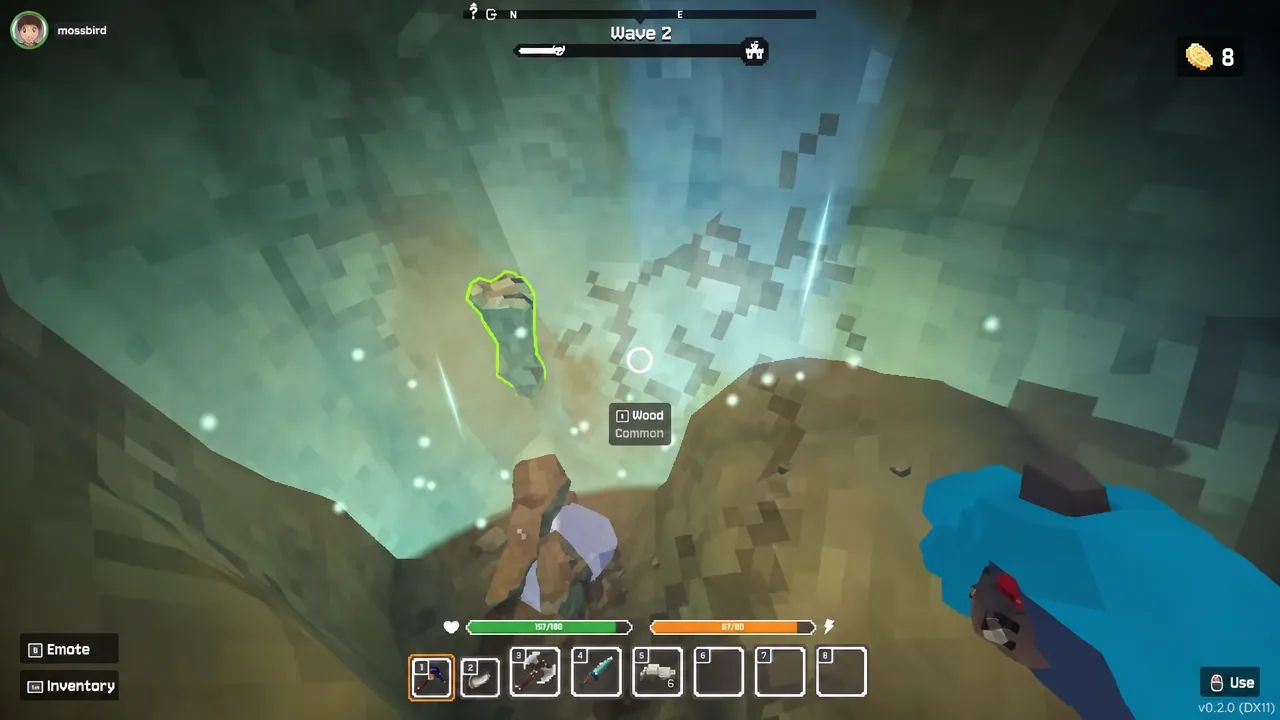
Mining is not optional downtime. The caves are procedurally generated and hold stone, wood, and iron, and everything you swing at feeds directly into what the forge can do for the rest of the run. Iron is the one to prioritise when you want the blacksmith running hotter, since mining it raises the forge’s temperature and pushes it toward the next level.
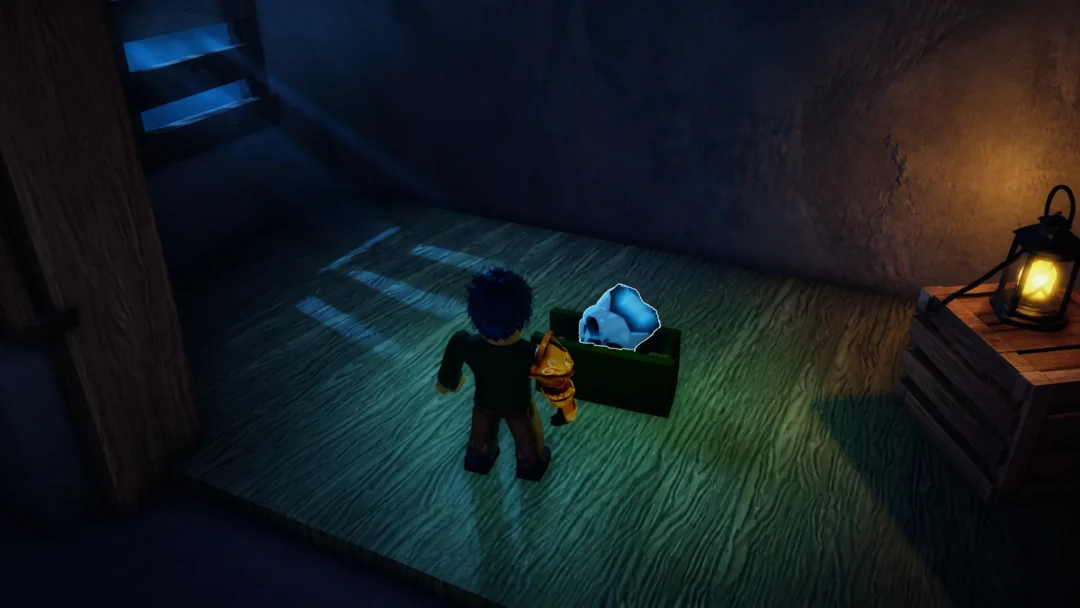
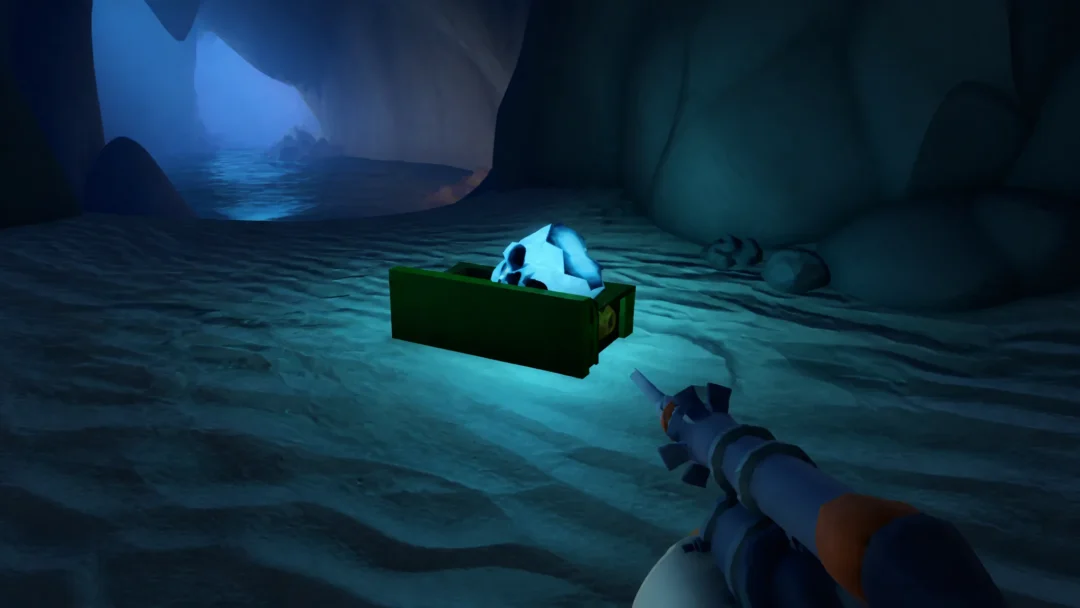
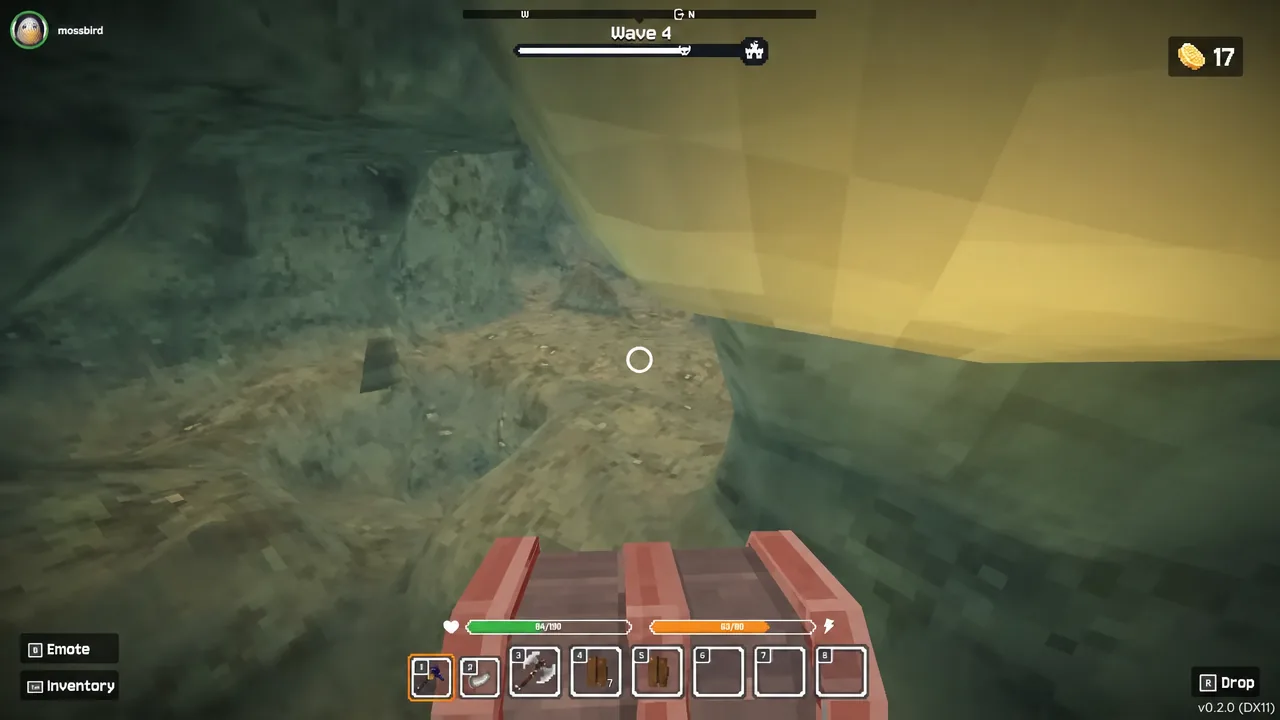
Digging deeper is where the run actually accelerates. Tunnels open into hidden caves with treasure chests, and opening one offers a stat upgrade — Player Attack and Team Max Health both show up in that pool — alongside weapon finds like a large axe that immediately changes how much a single dwarf contributes at the gate. Lore pages are also hidden in the caves, and collecting two of them unlocks the Healer.
Leave the wall the moment the wave breaks. Mining time is the only resource that does not carry over, and Hotfix 0.1.7 raised the gold you earn from digging so it pays out comparably to fighting.
Blacksmith upgrades and offering items at the forge
The blacksmith converts hauled resources into permanent stat gains for the run. You offer materials at the forge, and each purchase presents a Choose One Upgrade screen with a small selection from the pool. Every pick pushes the forge’s level up, and Hotfix 0.1.5 raised the Blacksmith level cap from 101 to 999, so there is no practical ceiling inside a single mission.
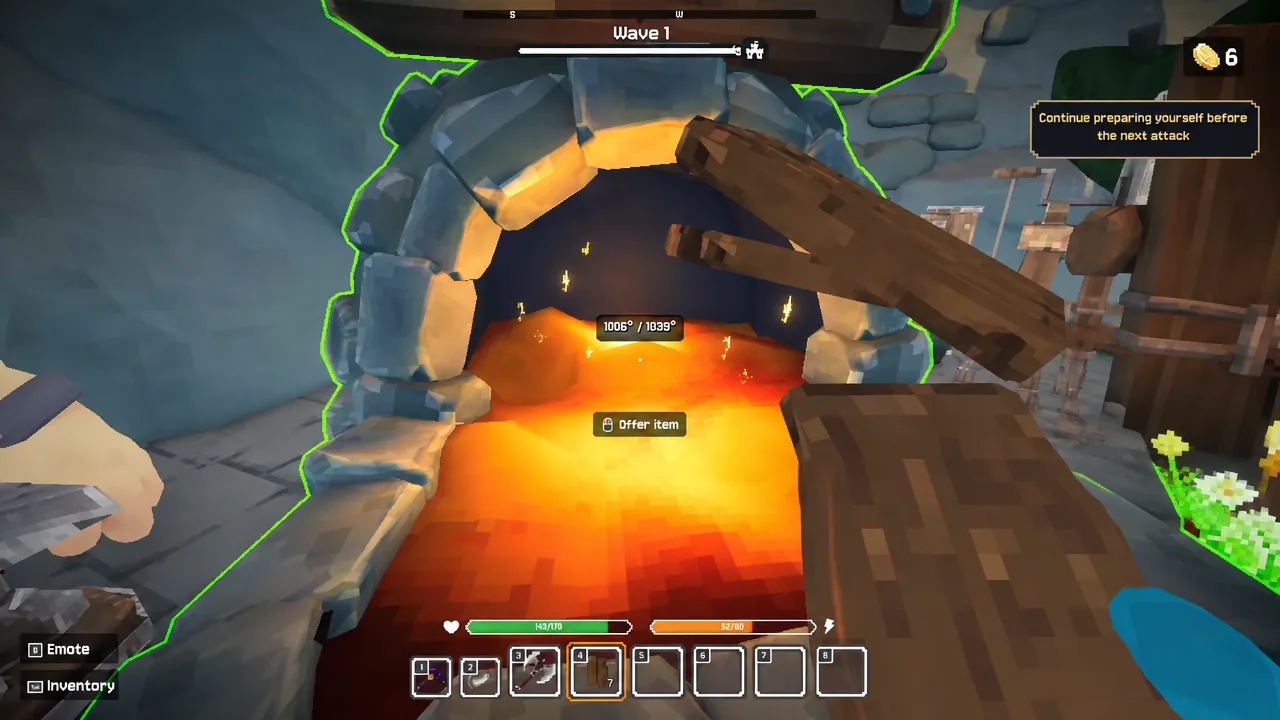
The upgrades on offer split cleanly between fighting and digging, which is the core tension of the whole game. These are the options that appear at the blacksmith:
- Max Health
- Player Attack
- Critical Rate
- Critical Heals
- Dig Strength
- Move Speed
- Sprint Speed
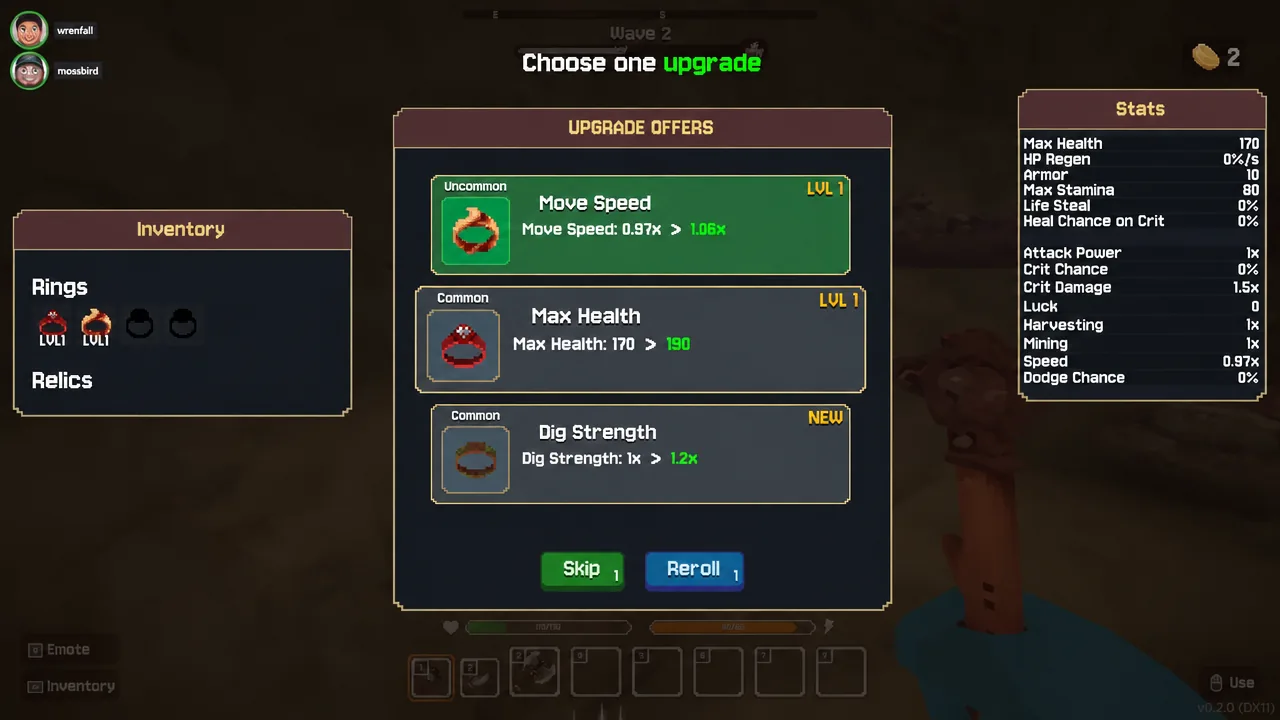
Dig Strength is the quiet compounding pick, since faster mining means more resources per gap between waves, which means more upgrades later. Move Speed and Sprint Speed matter for the same reason — they shorten the trip between the gate and the ore. In multiplayer, upgrade picks now run on a 60-second timer so one indecisive player cannot hold the squad hostage.
Crafting Camp and Recycling Camp items
Two stations sit near the forge. The Crafting Camp sells consumables and throwables for the next fight, while the Recycling Camp turns tools you are no longer using back into resources — a useful dump for leftovers right before a wave starts. The crafting menu covers healing, ammunition, and area control:
- Healing Drink and Max Potion
- Arrow Quiver
- Fireball Parchment, Ice Stone Parchment, Slow area Parchment
- Speed Brew and Shadow Brew
- Sign
Bonus cards after each cleared wave
Clearing a wave hands the team a bonus card choice, and this is the roguelite layer that shapes a run’s identity. The pool includes Sticky Stairs, Potion of Energy, Reckless Stance, Trebuchet, Perilous Bounty, and Blood Pact. Trebuchet is the standout for defense because it plants a siege weapon you can fire into the approaching horde, and stacking it across multiple waves gives the crew real firepower at the gate.
Since Hotfix 0.1.8, multiplayer sessions stay paused between waves until someone presses Continue, so the card pick and the resupply trip no longer happen against an invisible clock.
Reviving downed dwarves at the campfire
Death is not a run-ender for individuals, but recovery costs time. A downed teammate leaves a body, and a surviving dwarf has to physically carry it back to the campfire and drop it on the designated rug to bring them back. The campfire doubles as a healing spot between waves, so it is worth standing near it while the team decides on upgrades.
Know where the campfire sits before anyone goes down. Carrying a body across the stronghold mid-wave usually means two dwarves are out of the fight instead of one.
Losing a run: defeat screen, rewards, and the meta shop
If the horde overwhelms the King, the mission ends and a defeat screen shows the run’s final stats, including the wave you reached. You are not walking away empty-handed — the screen offers a reward to claim, and those rewards feed the persistent layer rather than the run you just lost. Tomes and rings both drop here, with examples such as Tome – Freezing Chance and Ring – Dodge Chance.
Back in the lobby, the shop spends that progress across four tabs — General, Characters, Tomes, and Rings. The General tab covers run-wide modifiers like Team Max Health, Max Mana, Damage Against Nearby Enemies, Damage Against High HP, Enemy Drop Item, and Gold coin gains, plus structural perks such as an additional reroll option, an additional skip option, and an additional ring slot. Those slots and rerolls are what make later Tier attempts survivable.
The game remains in Early Access with 20 achievements and support for solo play as well as online co-op, and Banana Tiger Studio has shipped frequent hotfixes since launch. If you want to try the loop yourself, it is available on the Stonewards Steam store page for Windows.