Gaming Guide

Crimson Desert: Dormant Roars Quest Walkthrough

Every objective for the Wyvernflames faction quest, the Wyvern's Cradle blockade, and the Balthazar fight at Fort Windridge.

Every objective for the Wyvernflames faction quest, the Wyvern’s Cradle blockade, and the Balthazar fight at Fort Windridge.

Dormant Roars is a faction quest in the Wyvernflames questline, tied to the Ironwheel of Dewhaven. The setup is blunt: Wyvernflame troops have taken over the wyvern nests, and the only way to push them out is to kill every soldier holding each site until the blockade meter empties.

Quick answer: Wipe out the Wyvernflame enemies around Wyvern’s Cradle, Desolate Wyvern Nest, and Forgotten Wyvern Nest. The quest closes once all three nests are liberated for the Greymanes.


Dormant Roars objectives and faction details

All three objectives are field combat. There are no dialogue steps, no fetch items, and no puzzles — just three occupied locations that each need to be cleared.

DetailValue
QuestlineThe Wyvernflames
FactionIronwheel of Dewhaven
TypeField / faction quest
Objective 1Defeat the enemies around the Wyvern’s Cradle
Objective 2Defeat the enemies around Desolate Wyvern Nest
Objective 3Defeat the enemies around Forgotten Wyvern Nest

On completion, the game states plainly that the Wyvernflames occupying the wyvern nests have been defeated. Each cleared site also flips to the Greymanes, which is the message you are watching for after every fight.


Before you go: level and loadout

Kliff can handle this stretch comfortably around level 37, and the run through the nests plus the fort will push him toward level 40. A spear-and-shield setup works well here because the Wyvernflame soldiers come in packs and like to surround you.

Assign a healing item such as Meliara’s Lesser Elixir from the Function menu before you start, so you are not digging through menus mid-fight.
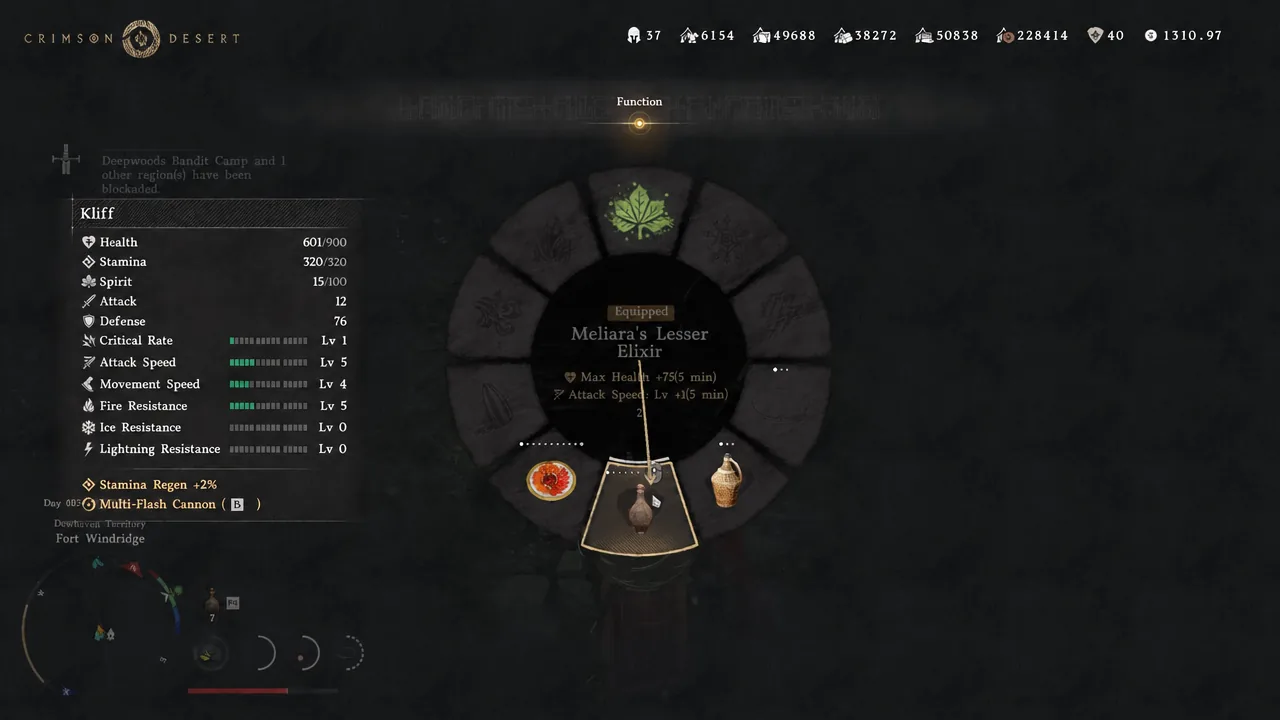
Function menu open in Crimson Desert with Meliara's Lesser Elixir highlighted for equipping
The Function menu, where Meliara’s Lesser Elixir is selected and equipped. Image: Pearl Abyss

How to clear the wyvern nests and drop the blockade
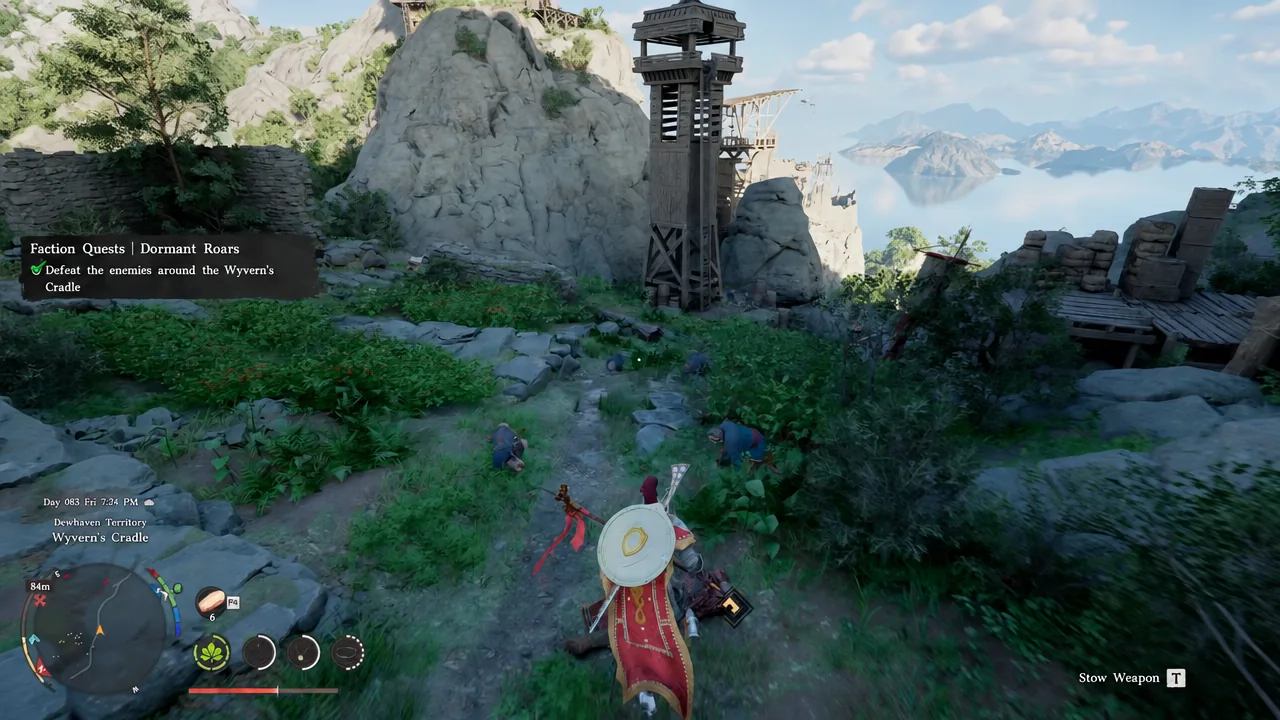
Open the map and track the Wyvernflames questline. The occupied nests show a “Blockaded – The Wyvernflames” tag, and red markers on the minimap point at the enemy groups you still need to kill.
Enter Wyvern’s Cradle and start clearing the ruins. Enemies are scattered in small clusters rather than one big arena fight, so the blockade percentage ticks down gradually as you work through the area.
Re-open the map whenever the fighting stops. Stragglers hide at the edges of the ruins, and the blockade will not hit zero while even one group is alive.
Kill the last defenders to trigger the on-screen line “Wyvern’s Cradle was liberated by the Greymanes.” That confirmation is your proof the first objective is done.
Dormant Roars quest tracker showing the Wyvern's Cradle objective marked complete
The Dormant Roars tracker with the Wyvern’s Cradle objective ticked off. Image: Pearl Abyss
Repeat the same routine at Desolate Wyvern Nest and Forgotten Wyvern Nest. The pattern does not change — clear every marked group, watch the blockade drain, and wait for the liberation message before moving on.

Fort Windridge: opening the gate and beating Balthazar

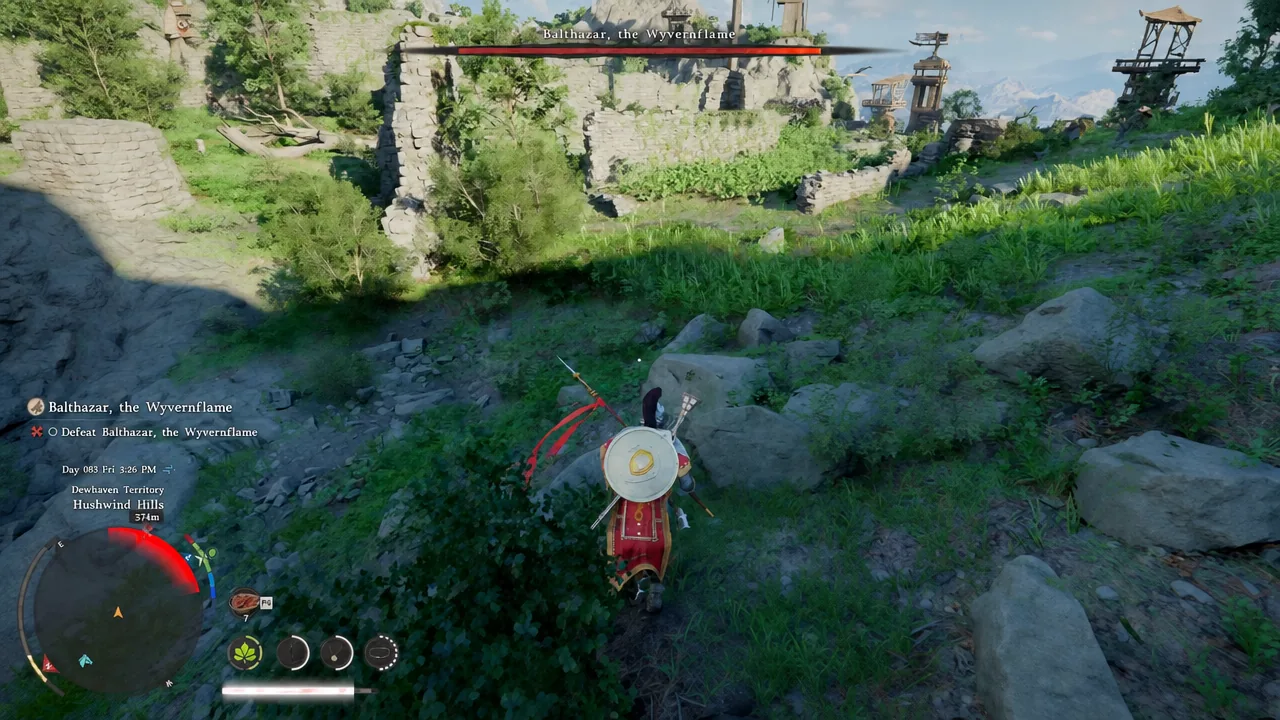
Pushing the Wyvernflames out of the nests leads straight into the faction’s stronghold. Fort Windridge sits at the bottom of the Howling Precipice path and is held by the same faction, with Balthazar, the Wyvernflame in charge.
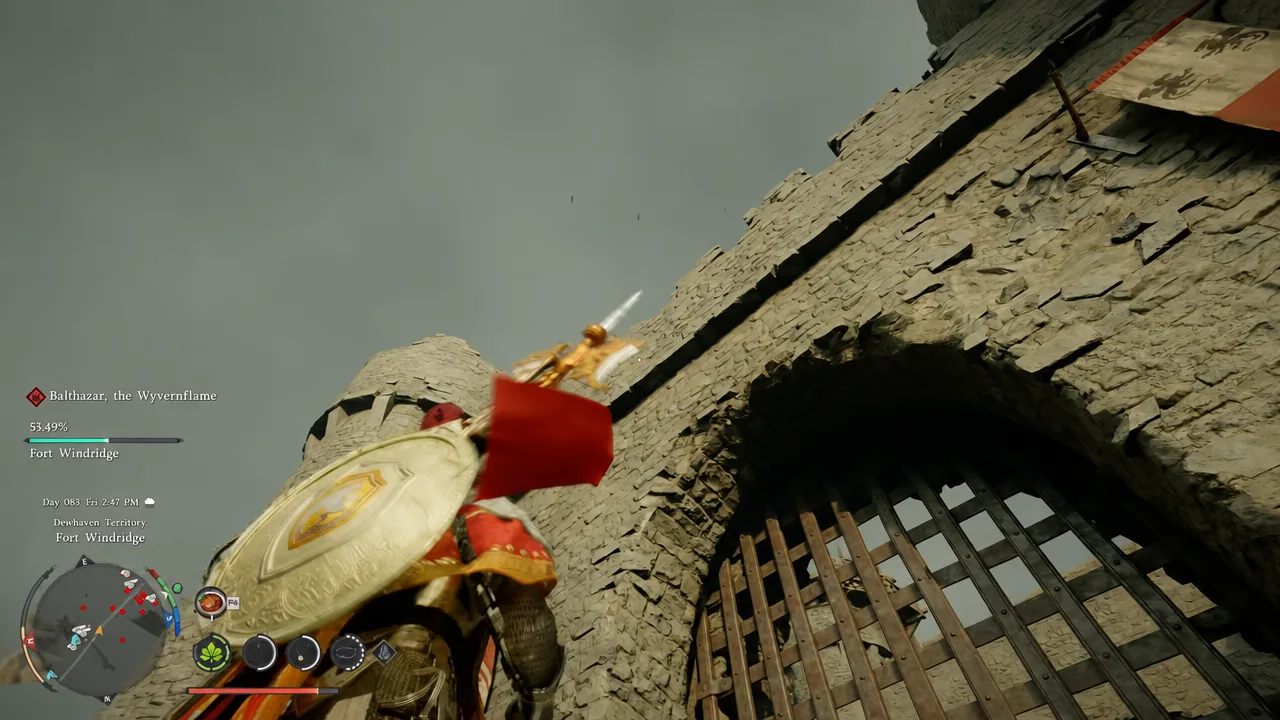
Follow Howling Precipice down to the fort entrance. The gate is barred, so your first job is getting inside rather than picking a fight at the door.
Kliff approaching the barred main gate of Fort Windridge with the location name on screen
Arriving at the barred main gate of Fort Windridge. Image: Pearl Abyss
Use the grappling hook to scale the fort wall. Fire hazards are placed on the bridge and inside the courtyard, so keep moving instead of standing and trading blows.
Find the hand crank on the wall and operate it to open the main gate, then drop back into the courtyard and clear out the remaining soldiers.
Climb the ladder to the upper battlements. Balthazar drops off his wyvern here and the fight starts immediately, so top up your health before you go up.
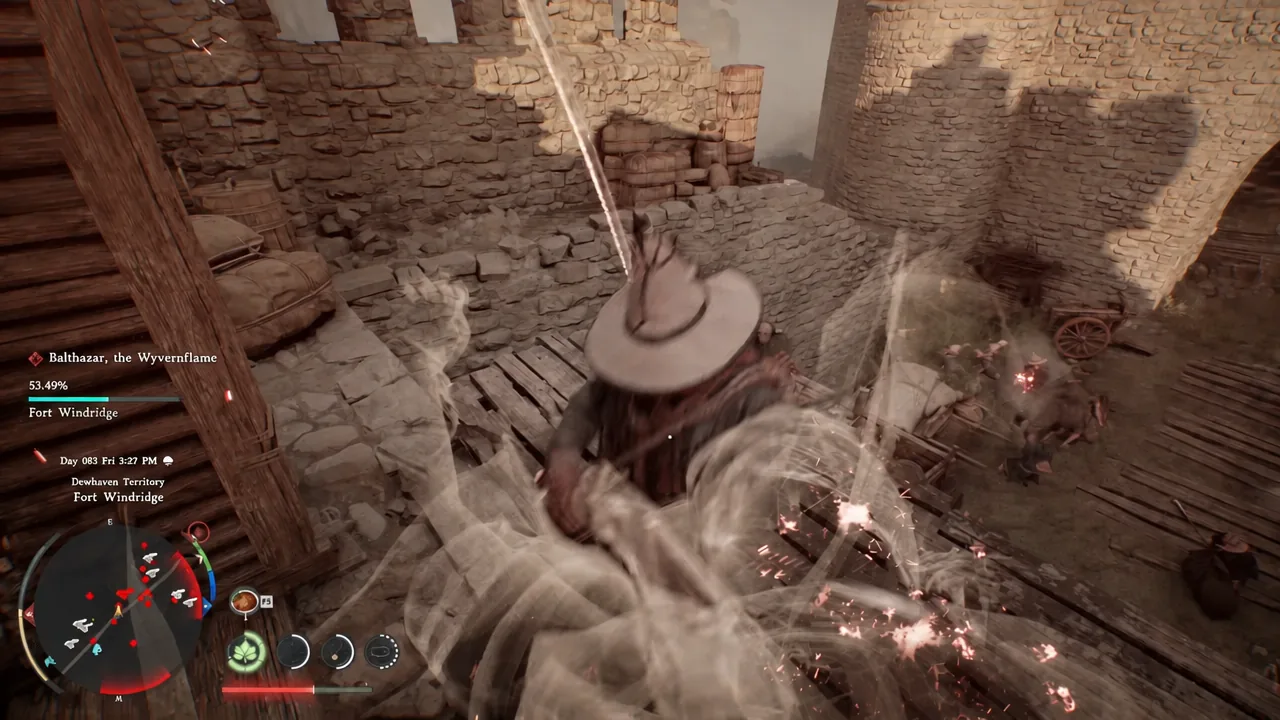
Punish him with melee combos between his attacks. He mixes fire strikes, gunfire, and explosives, and he is aggressive enough that greedy combos will get you hit.
Kliff landing a melee hit on Balthazar, the Wyvernflame on the Fort Windridge battlements
Trading melee hits with Balthazar, the Wyvernflame on the fort battlements. Image: Pearl Abyss
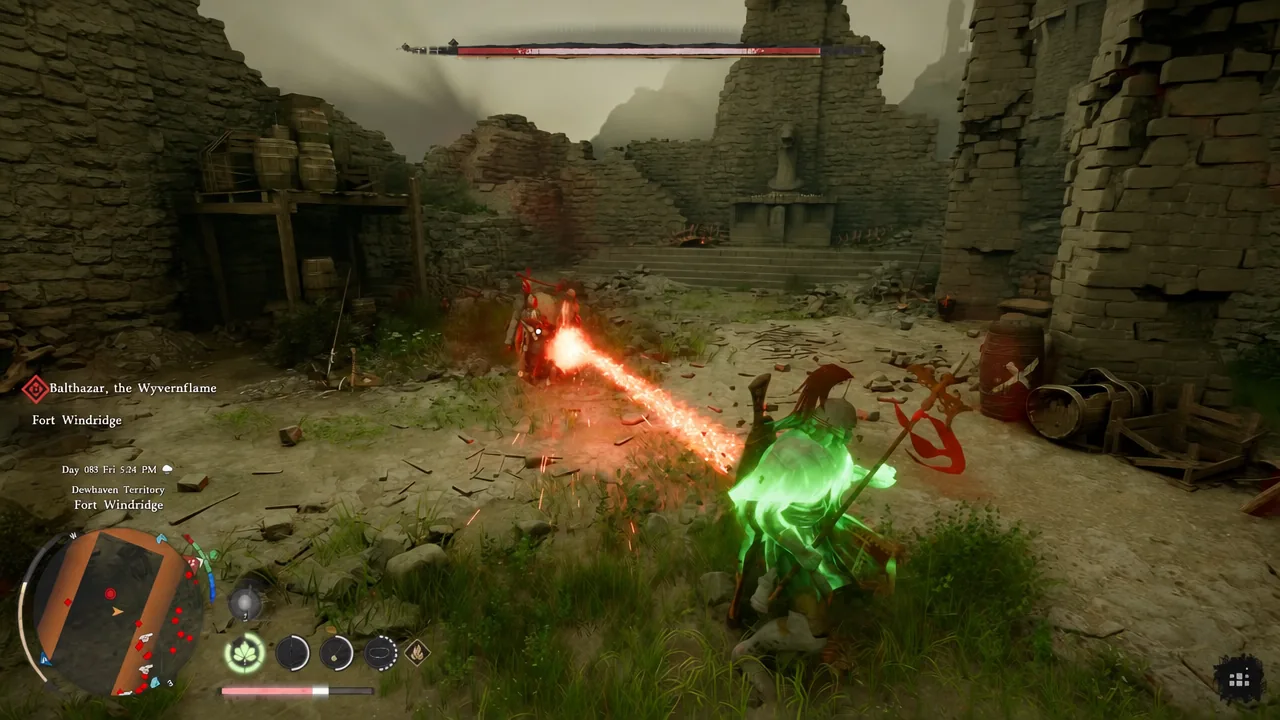
Dodge every attack that telegraphs with a red glow. That tell covers his heaviest swings and his cannon shots, and it is the single reliable read in the fight.
Glowing beam attack connecting with Balthazar during the boss fight at Fort Windridge
Hitting Balthazar with a charged attack during the battlements duel. Image: Pearl Abyss

Rewards and how to confirm the quest is complete

Balthazar drops the Wyvern Blaster when he goes down. Do not leave straight away — an altar sits at the back of the arena, and interacting with it hands over the Abyss Artifact.

  • Wyvern Blaster — dropped by Balthazar, the Wyvernflame
  • Abyss Artifact — collected from the altar behind the boss arena
  • Fort Windridge and five other regions switch to liberated status

Verification is straightforward. Each nest posts its own “was liberated by the Greymanes” message as you finish it, and the Dormant Roars entry ticks off its three objectives one at a time in the quest log. After Balthazar, a cutscene of Fort Windridge plays and the notice “Fort Windridge and 5 other regional have been liberated” appears on screen.

If the quest still shows an outstanding objective, the blockade at one of the nests has not reached zero. Return to that site, check the map for red enemy markers, and finish off whatever is still standing.