The third stretch of Marvel’s Wolverine runs from the escape out of the Trask refinery to a quiet night at Logan’s cabin in Canada, and it puts one hard stop in the middle of it. Leech locks himself in a room at the Essex Institute and refuses to open up until you answer a password built out of the drawings he scattered around the building. Everything else in this stretch is combat or conversation. The door is the only real puzzle.
Quick answer: Collect all four of Leech’s drawings around the Essex Institute, go back to his door, and give the password “A PURR-fect storm?” to get inside.
Leech’s door password and all four drawing locations (Strays)
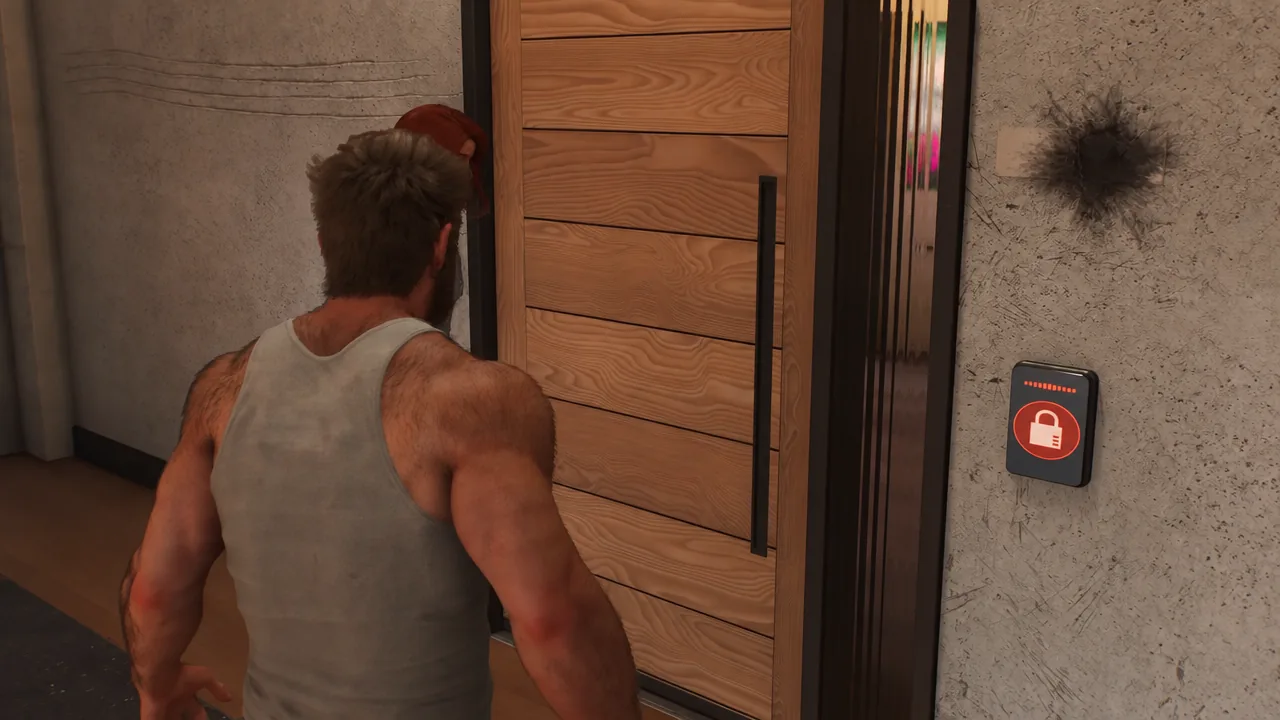
The password prompt appears the first time you walk up to Leech’s room during the Strays mission. Leech will not budge until the objective to find his drawings is complete, so the door itself is not the puzzle — the four pictures are. Each one carries a piece of the answer, and the game only lets you say the full line once you have all of them.
| Drawing | Where it is | What it shows |
|---|---|---|
| First | Armory hall, near the wooden supply chest | A storm cloud marked “A+” |
| Second | Library floor | A wave, captioned “nine lives for the Seven Seas” |
| Third | Desk in the main study area | Another of Leech’s sketches |
| Fourth | Table further along the Institute | A pirate ship named “The Clawed Barnacle” |
Put the pieces together and the joke writes itself. The storm cloud graded “A+” gives you the storm and the grade, and the cat reference buried in “nine lives” turns it into a pun. The line Logan says at the door is “A PURR-fect storm?”
Open the wooden chest in the armory hall while you are there. It holds crafting materials and sits right next to the first drawing.
How to track the drawings with Logan’s senses
Upgrades, chests and the audio log inside the Essex Institute
The Institute is the calm pocket of this chapter, and it is the best time to spend what you have earned. The Adaptations menu handles Logan’s passive perks through a DNA-style tree, with options such as Healing Dangerously, Barrage Recharge, Combo Ender Recharge and Tough Skinned. Techniques are separate and cover active moves like Savage Sprinter, Jump Strike and Knee Breaker, bought with Technique Points as you level up.
- Material chests sit in the armory hall and outside near the cabin route later on.
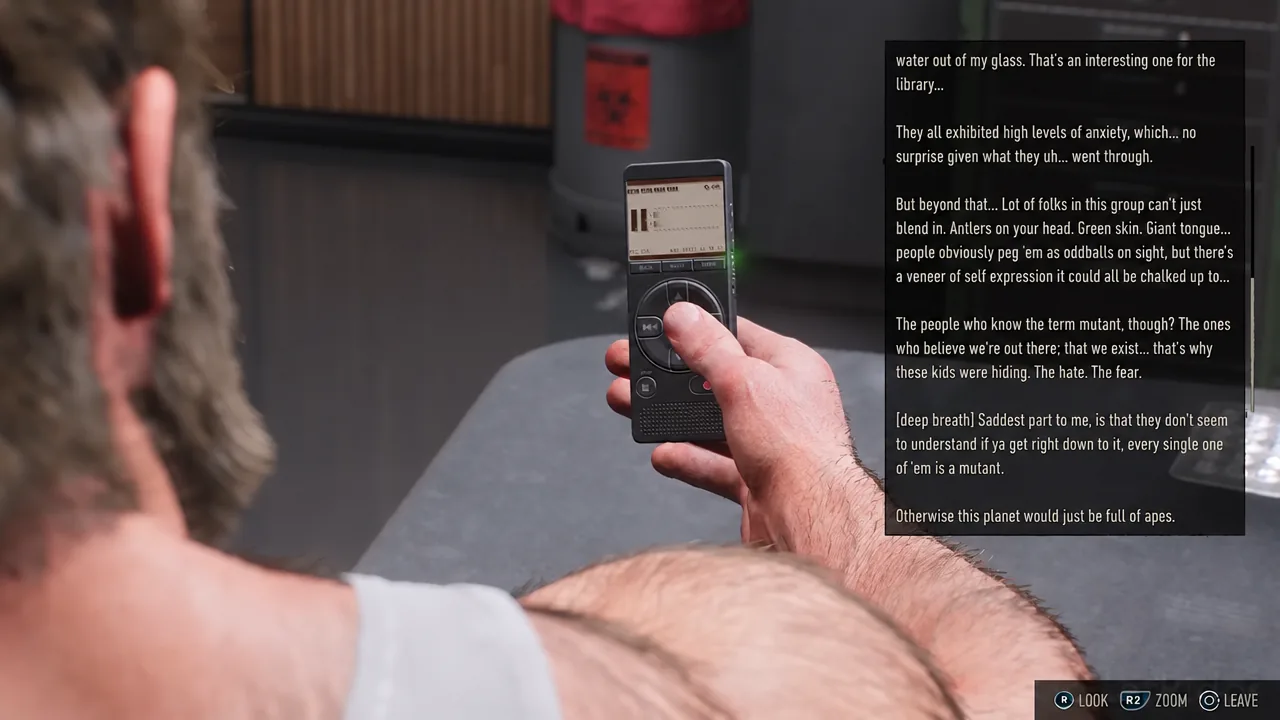
- Walter’s laboratory holds an audio recorder with a log about mutant test subjects.
- A framed photo of Raven and Tyger and a portrait of Nathaniel Essex and his late wife are both inspectable.
- Wall signs read “AUT PAX AUT BELLUM” and “DAMNANT QUOD NON INTELLEGUNT”.
- Toad, Callisto and Nature Girl all have optional conversations once the drawings are done.
Suits unlock as you go and can be swapped from the Gear menu. By this point the list includes Future Past, Weapon X, Ablation, Gold Standard, Old Man Logan and Ultimate Red. They are cosmetic swaps, so pick whichever you like before heading out.
Escaping the Trask refinery with Jean Grey
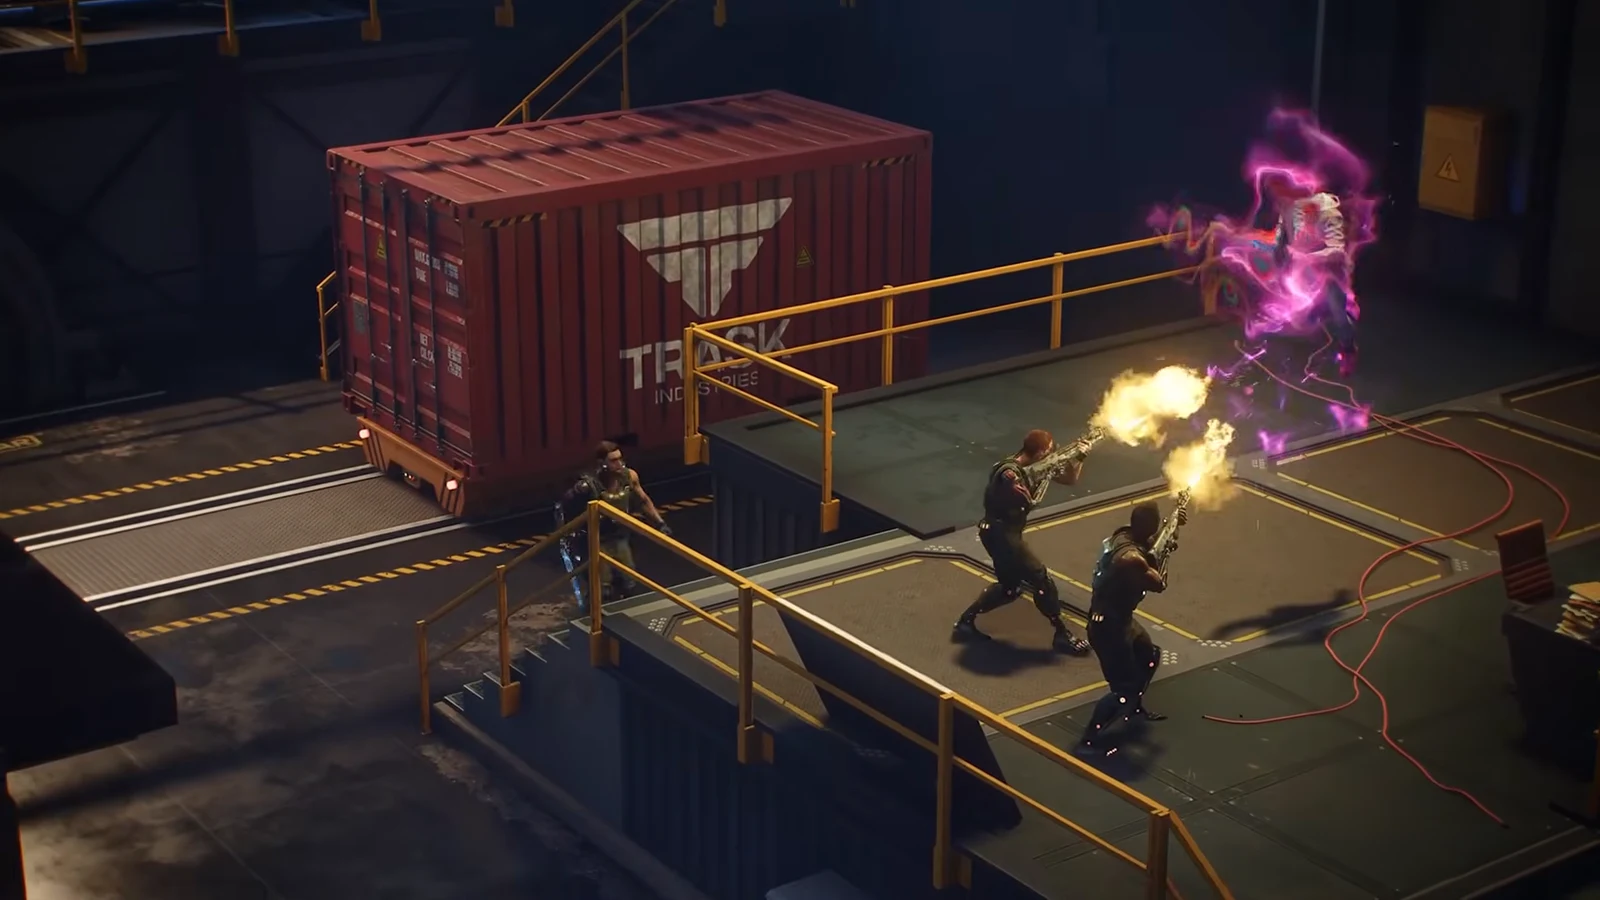
Before any of the Institute material, Logan and Jean have to cut their way out of the Trask facility. The captured mutants are held in metal cages, and Jean tears them open with telekinesis once the Reavers around them are down. A heavily armoured Reaver Crusher drops in during this fight and soaks far more punishment than the standard troops, so keep moving and use parries rather than trading hits.

The inner lab is where the escape actually turns. Smashing the yellow control console shuts down the robotic arms on the assembly line, and destroying a second console kills the weapons on the huge Sentinel head looming over the room. In between you climb and swing across pipes and platforms suspended above molten metal. Skullbuster ambushes Logan on a walkway near the end, and Jean finishes him by hurling him into the molten pool below. The Sentinel head detonates, Logan carries Jean clear, and a long corridor brawl leads to the exit door.
From there the aircraft flies over the snowy Yukon and lands at the hidden Essex Institute, with an injured Callisto wheeled off on a gurney and Nathaniel Essex welcoming the group inside.
After the password: Walter’s lab and the dampening device
Opening Leech’s door leads straight into the chapter’s turn. Down in the laboratory, Walter switches on an ancient device that releases a green mist designed to suppress mutant powers. Logan’s healing factor cuts out, and the field drags him into a memory of slaughtering soldiers in a dark hallway. He snaps out of it, confronts Walter and Essex, and decides to leave.
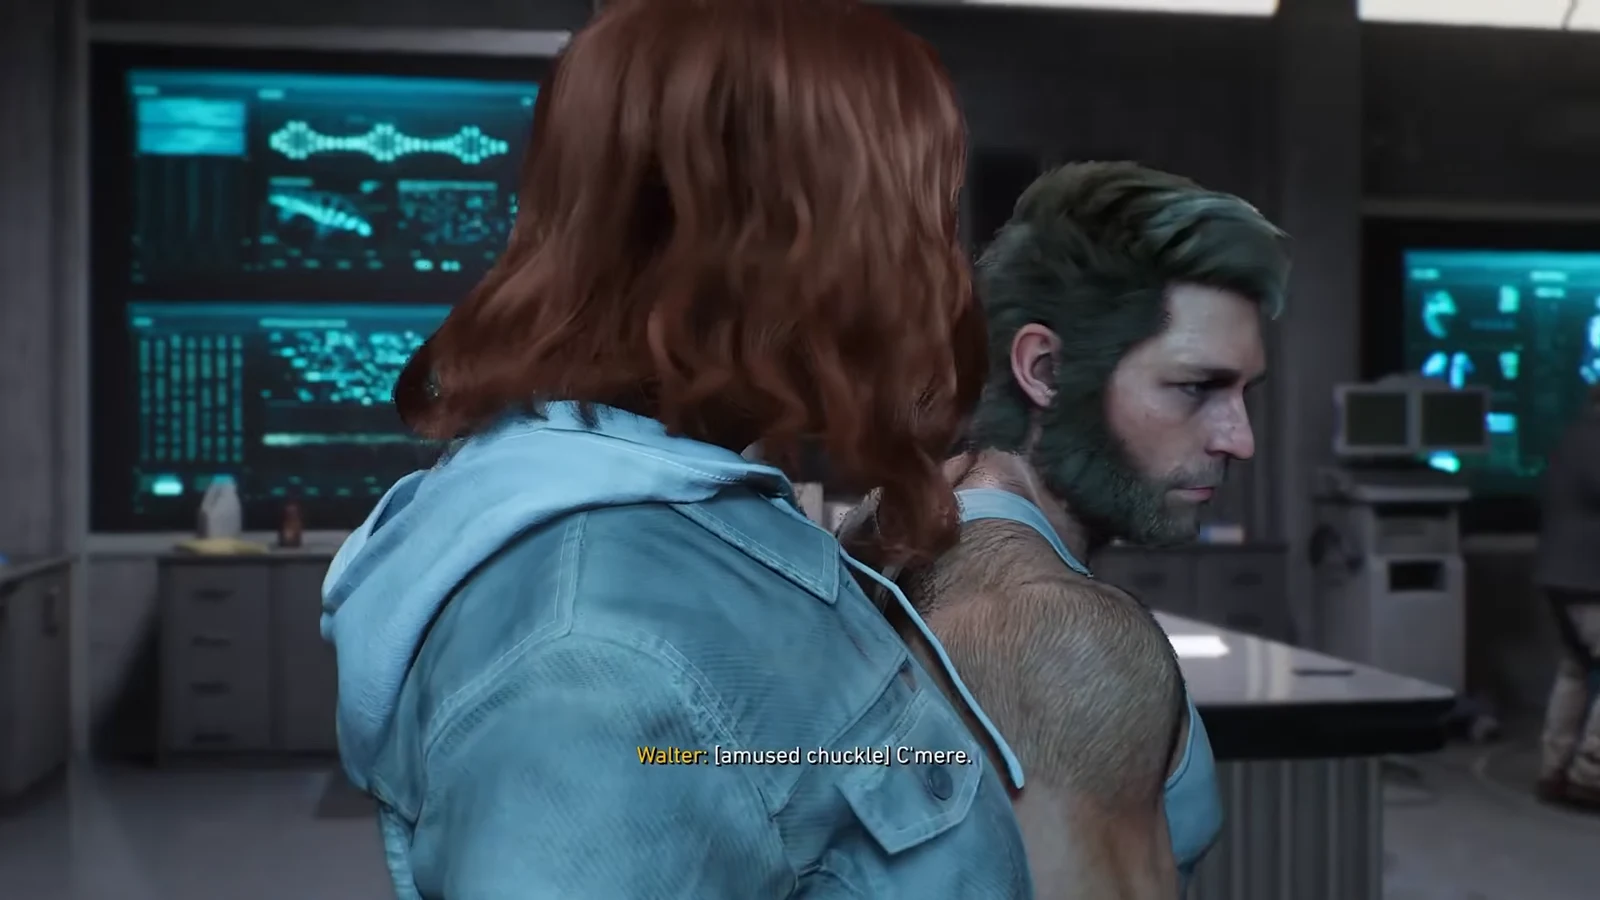
There is one thing to do before you go. Logan shows Leech the mountains through the window and gives him a pair of green headphones as a birthday present. Hang on to that detail, because those headphones turn up again later.
Something Much Stronger: the cabin in Canada
The Canada stretch opens with a walk through snowy forest, a target board to inspect, a freezing river to wade across and a rock wall to climb with your claws. Partway along you find a wolf pinned inside a cage of roots. Interact with it to cut it free, then follow the wolf tracks in the snow if you lose the path to the cabin. There is a black chest to loot just before you reach the door.
Inside, the objective is to find a bottle of whiskey, and the trick is to follow the scent points rather than hunting cupboards at random. The bookshelf turns up nothing useful, the kitchen cabinet has sake and a note pinned from May 1999, and the actual bottle is locked in the footlocker. Find the footlocker key first, then open it. You can also light the fireplace, inspect a carved wooden wolverine on the workbench and switch on the radio for a weather forecast.
The quiet does not last. Trask aircraft bomb the cabin while Logan and Jean are talking by the fire, and the fight restarts immediately in the burning wreckage.
Jean lifts a burning log off Logan to get him up, and from there you clear Trask soldiers through the ruins, including another Reaver Crusher and a final wave alongside Jean. Watch for the suppressor mines the hunters leave in the snow and use the trees and long grass to move between groups if you would rather not take every fight head-on. When the last enemy drops, Jean checks the wreckage and finds Leech gone — Trask took him, which sets the hunt for the rest of the chapter.