Sinitzyn “Sin” Komarek is the armored Rasonian commander waiting at the far end of Sector 3 in Examination. He carries an RPD in his first phase and a sledgehammer in his second, he has 4,000 HP, and he halves every point of damage you deal to him. He also spawns exactly once per server and never comes back, so a botched attempt means waiting for a fresh match.
Quick answer: Fight your way to Subsector-3 at the end of Sector 3, drop him to half health from cover, then plant C4 on him while he is kneeling and stunned. The charge kills him outright.
Where SIN spawns in Examination
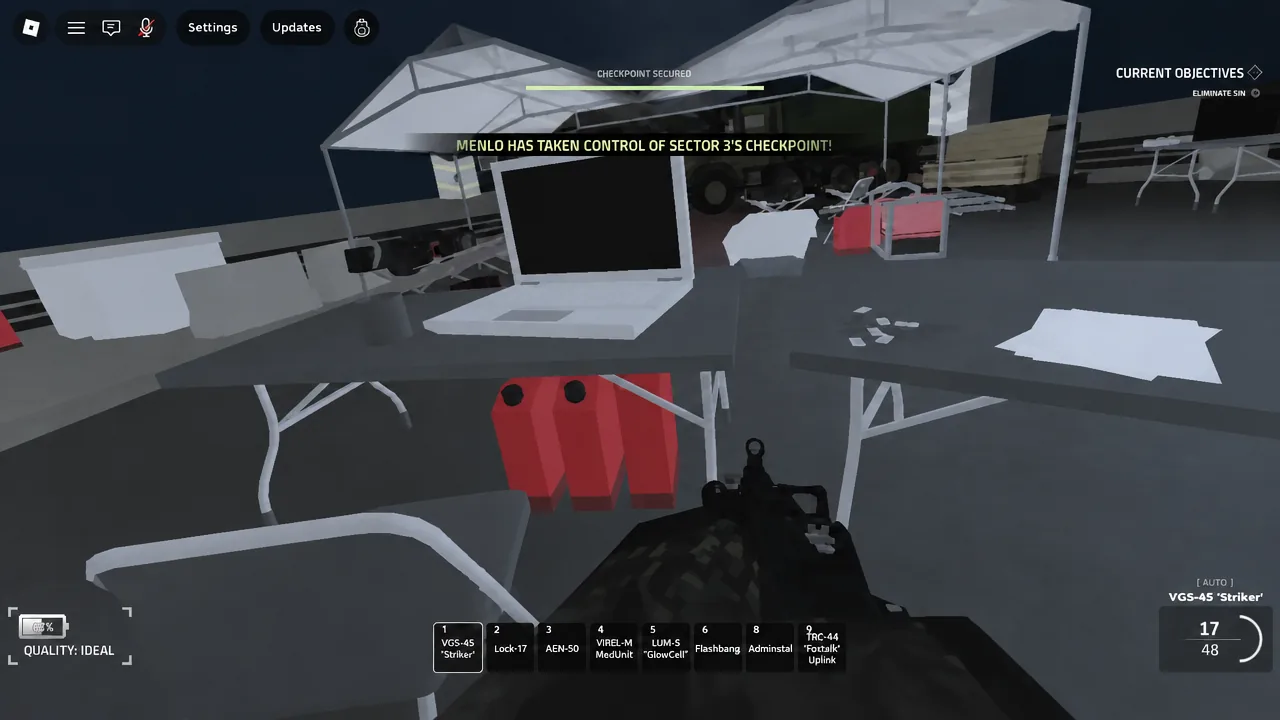
Sin patrols the tail end of Sector 3, inside Subsector-3, and the actual fight plays out in the warehouse area past the Menlo checkpoint. He does not wander into earlier sectors and he will not respawn after dying. He also drops no loot, so the kill itself (and the badge that comes with it) is the reward.
His terror radius is 85 studs, but unlike the other bosses it does not distort your vision. The practical tell is audio: once he is within roughly 45 studs, his combat theme starts playing. If you hear it and cannot see him, he is already closing.
Sin attacks infected too, and his machine gun does ten times its normal damage to them. Letting him thin out a room of mutants before you engage is not a bad trade.
Class and gear to bring
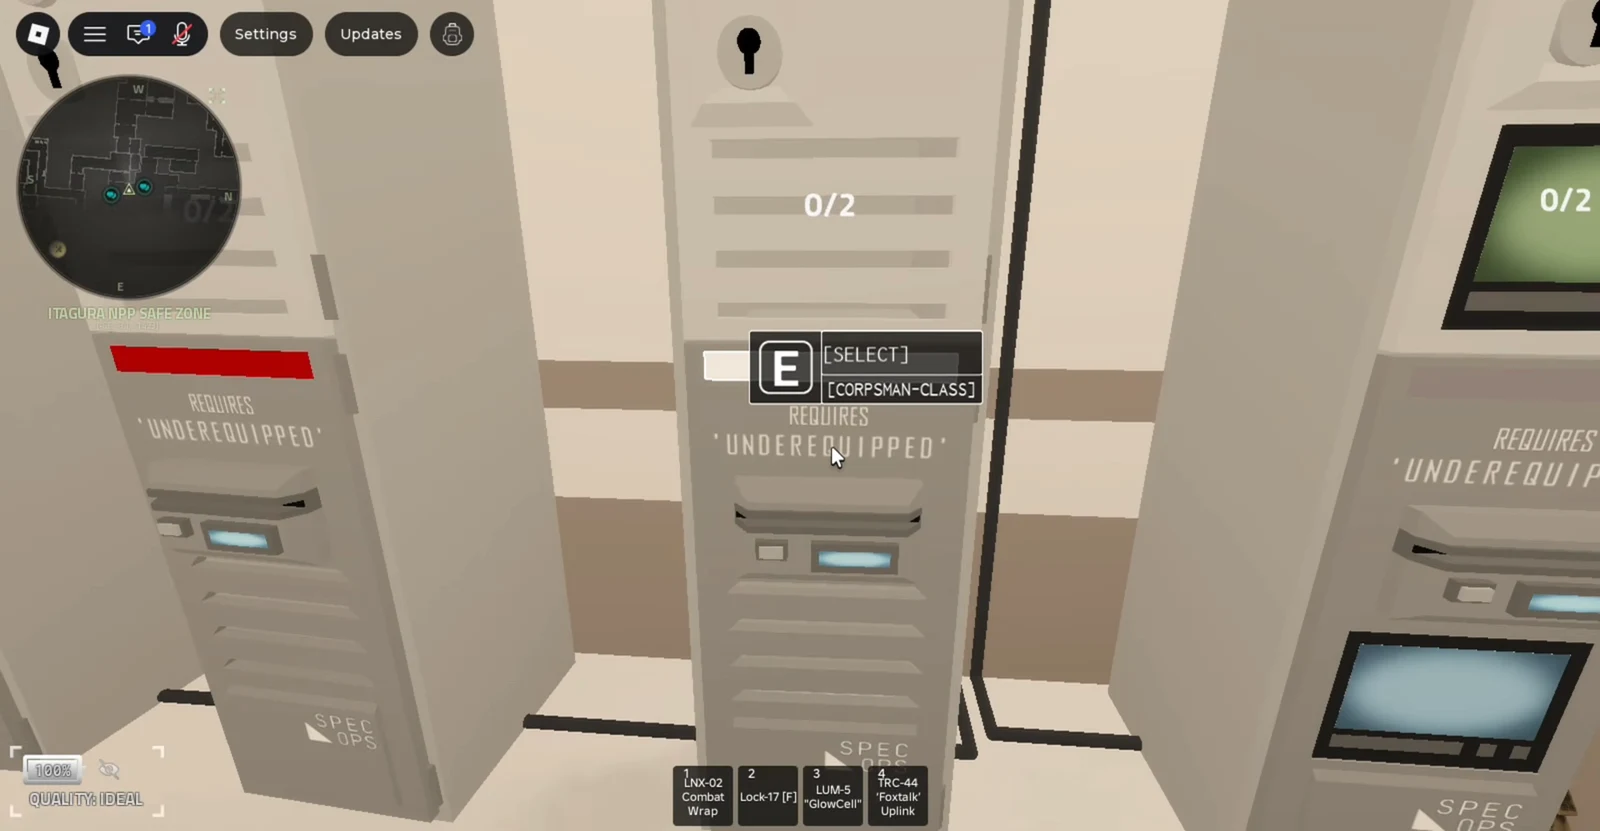
Pick your class at the locker before you leave the safe zone. Corpsman, Pointman and Operator all hold up well on the run to Sector 3 because of their sustain and firepower. Standard is the one to skip for this route.
- Spare C4 — the fastest and most reliable way to finish him.
- A rifle with range. The AEN-50 is available in a Sector 3 weapon container.
- Medkits, topped up at the checkpoint lockers before you walk into the warehouse.
- A Leader-class squadmate, if you have one, for the close-quarters QTE described further down.
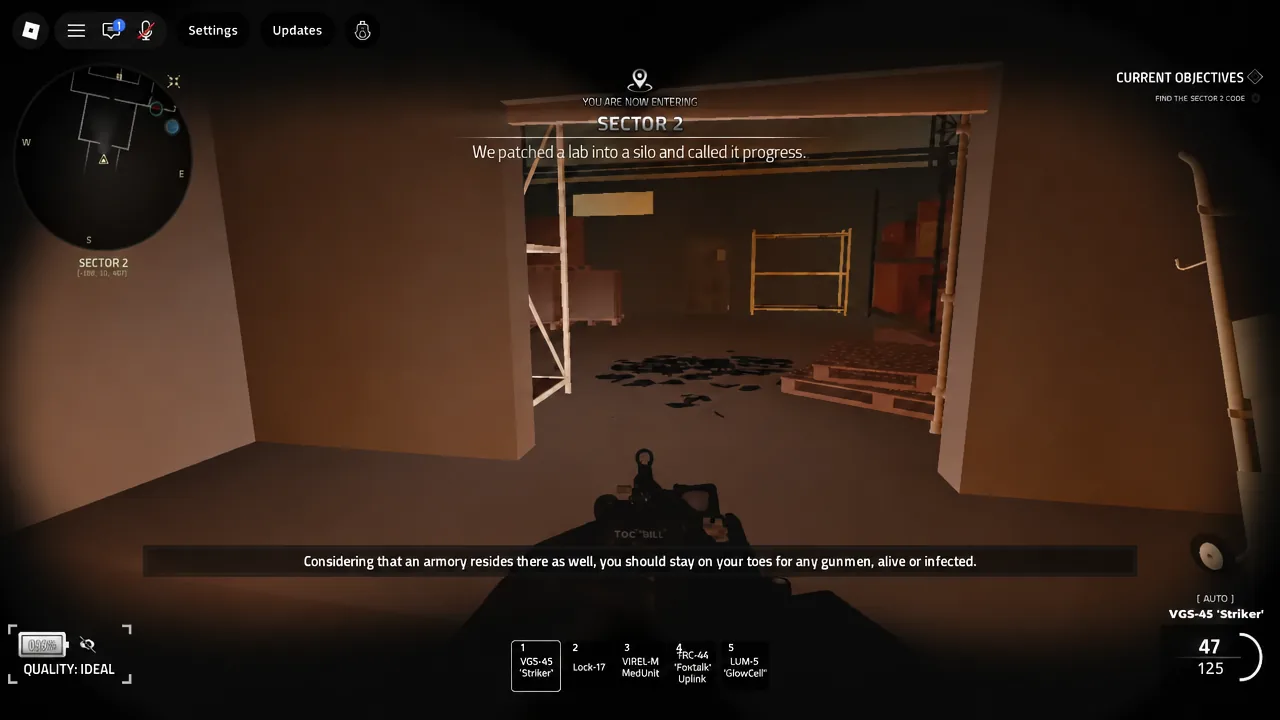
Route to Sector 3: generators, keycard and caches
SIN boss fight stats: Phase 1 and Phase 2
Sin flips into his second phase after losing half of his 4,000 HP. His helmet shatters and falls off, he throws the RPD away, and he commits to the sledgehammer. He does not regenerate health at any point.
| Attribute | Phase 1 | Phase 2 |
|---|---|---|
| Weapon | RPD, up to 600 RPM | Sledgehammer |
| Damage per hit | 10 (20 headshot) | 22 |
| Walk speed | 4 studs/s | 8 studs/s |
| Charge speed | 35 studs/s | 24 studs/s |
| Execution threshold | Under 50 HP | Under 35 HP |
| Headshots | Blocked by helmet | Effective |
In phase one he strafes side to side while firing and slowly walks you down. Get within about 15 studs and he lowers the RPD, sprints at you and kicks — that kick is what triggers an execution if you are below the threshold. In phase two he simply runs at you and swings. The hammer has a visible windup, but the hit itself cannot be dodged.
Reported figures for the kick and the hammer vary between game versions, and the fight has been repeatedly retuned since release — treat the numbers above as a floor, not a ceiling, and keep more health in reserve than you think you need.
Immunities and damage resistance
A lot of standard tools simply do not work on him, which is why the fight drags on if you improvise. Here is what bounces off.
| Attribute | Effect |
|---|---|
| Damage resistance | Halves all incoming damage |
| Stagger immunity | Gunfire never staggers him |
| Bash immunity | No damage, and reflects 5 damage back |
| Taser immunity | TASC-10 darts cannot connect |
| Axe immunity | Takes nothing from the Axe or its reskins |
| Flash resistance | Flashbang and Deadbolt stuns halved |
| RIF Commander | Opens doors; nearby RIF units follow him |
The helmet is the important one in phase one. It cannot be penetrated by firearms, so headshots are wasted ammunition until it comes off. Shoot his arms and legs instead while you chip toward the halfway mark.
How to kill SIN with C4
This is the clean finish. Once he is in phase two, dealing 400 or more damage makes him kneel and stay stunned for three seconds. He is invulnerable during that window, so do not waste bullets on it — walk up and plant your C4 on him instead. The stun has a 30-second cooldown, so if you miss the window you have to earn another one.
How to kill SIN without C4
If you have no explosives, the fight becomes an attrition loop built around elevation and choke points. Both approaches work; pick the one that matches the warehouse layout you spawn into.
The stacked-crate camping spot
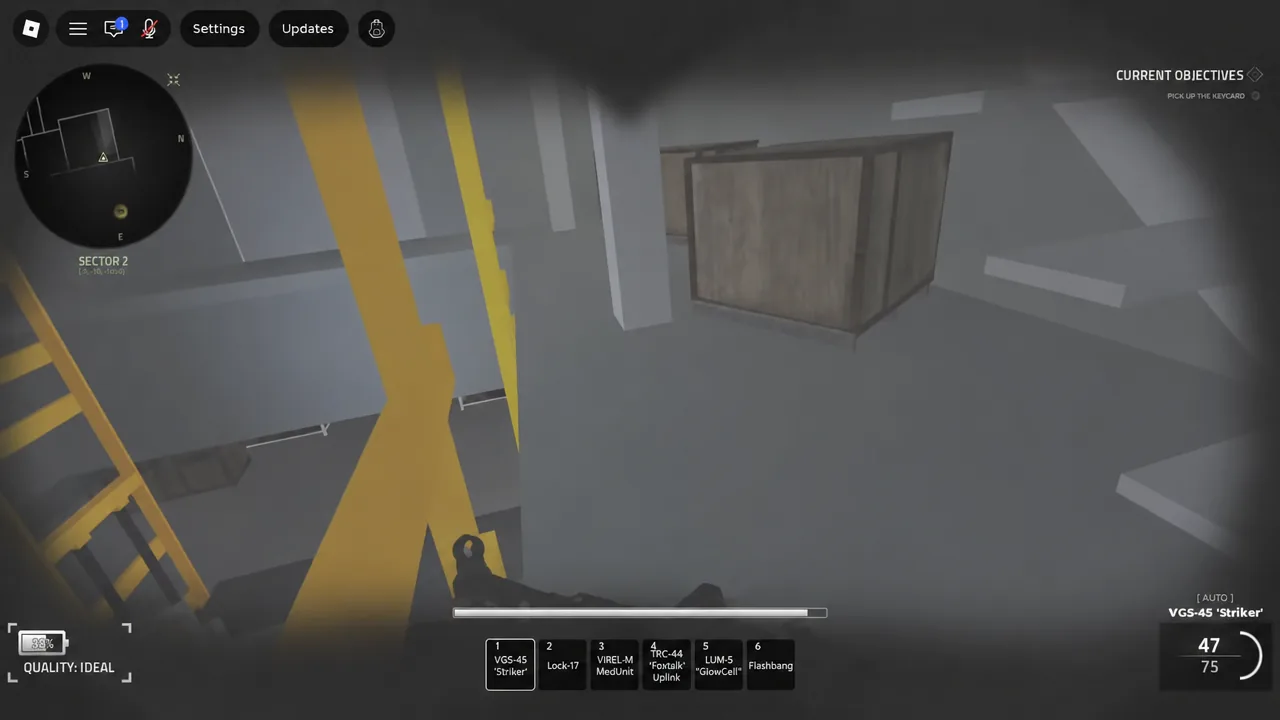
Clear the regular enemies in the warehouse first, then climb onto the stacked storage containers and shelving before Sin notices you. Practice the climb while the room is quiet, because you will also use it to leave. Once you are up, fire a shot toward the lower level to pull him over, and duck back behind the edge.
From there it is a rhythm. Pop out, shoot his arms, and drop back into cover. If he loses interest and starts walking away, expose yourself briefly to re-aggro him, then hide again. When the helmet comes off, switch to headshots and repeat until he stops getting back up.
The stairwell choke point
The stairwell leading into the warehouse works as a funnel. Take cover on the stairs, fire through the upper doorway, and back off whenever he commits to a charge. Because he slows down slightly after landing a hammer swing, there is a short window to retreat after each hit. Backpedalling while shooting is the whole fight in phase two.
Every execution he lands heals him for a meaningful amount, so a squadmate going down close to him actively undoes your damage. Keep everyone above the execution thresholds.
The Leader class QTE
If Sin tries to execute a player running the Leader class, the fight branches into a quick-time event instead of a death. Prompts appear on screen and you have to hit them. Miss one, and Sin crushes the Leader’s head in a special animation. Win, and he releases you and walks off to retrieve his sledgehammer.
Both outcomes buy your squad time, because Sin drops the hammer and has to pick it back up. He is invulnerable during that walk but noticeably slow, giving you a handful of seconds to heal and reposition. No other class, Commander included, can trigger this.
The QTE runs on a roughly two-minute cooldown per player. Inside that cooldown, Sin just kills that Leader outright instead of clashing. A different Leader in the squad can trigger it again immediately, though, so staggering Leaders across a team keeps the reset available.
Confirming the kill
Sin stays down for good once he dies — no revive, no respawn, no second attempt in that server. You will get radio confirmation from TOC Bill once the warehouse is clear, and the badge unlocks on the spot.
Credit is not shared, which matters in a squad. Whoever detonates the C4, or whoever lands the final shot after his repeated stuns, gets the kill and the achievement. Everyone else who poured damage into him for ten minutes gets nothing on the scoreboard, so decide before the fight who is carrying the charge.