The Spiral Abyss has rotated into its second phase for version 7.0, and the enemy roster now leans hard on Snezhnaya foes such as the Battle-Hardened Chimeric Burrowbeast, Volkodlak and Wild Hunt units, the Battle-Hardened Domovoy Sculptor, and the Battle-Hardened Lightkeeper. The buffs point you toward Swirl, Stellar Swirl, and Electro-based reactions, so a few specific team shapes clear Floors 11 and 12 far faster than brute force.
Quick answer: Floor 11 wants Anemo units first half and Electro units second half. Floor 12 wants Stellar-Swirl or Cryo/Anemo teams first half, then Electro-Charged or Lunar-Charged teams second half.
Current blessing and floor buffs
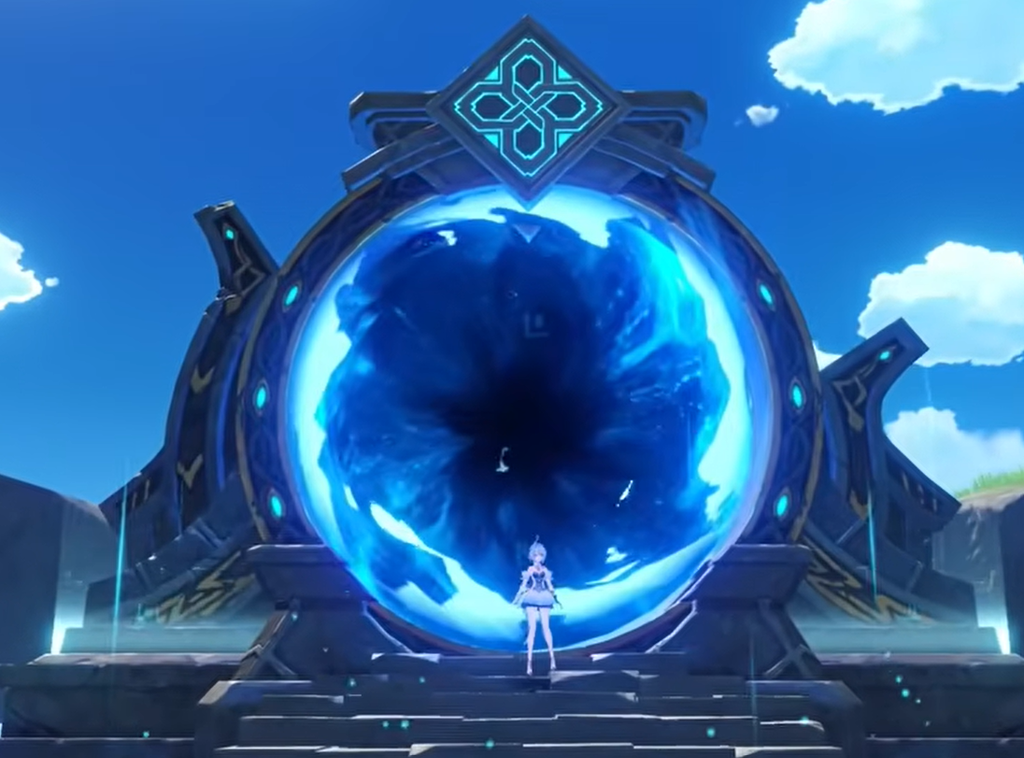
The active Blessing of the Abyssal Moon is Ice-Surging Moon. When a character deals Swirl or Stellar Swirl damage, a shockwave triggers at the target’s position and deals True damage. This can happen once every 4 seconds. That single condition is why Anemo carries, and the new Stellar Swirl playstyle, get so much value this cycle.
The Ley Line Disorders stack on top of that blessing. Each floor changes its buff at the halfway point, so you can bring two different teams per floor to match both halves.
| Floor | First half | Second half |
|---|---|---|
| Floor 11 | +60% Anemo DMG | +60% Electro DMG |
| Floor 12 | Swirl +200%, Stellar Swirl +75% | Electro-Charged +200%, Lunar-Charged +75% |
Enemies scale to Lv. 88 to Lv. 92 on Floor 11 and Lv. 95 to Lv. 100 on Floor 12. The blessing and enemy lineup stay in place until the next reset on October 16, 2026 at 04:00 server time.
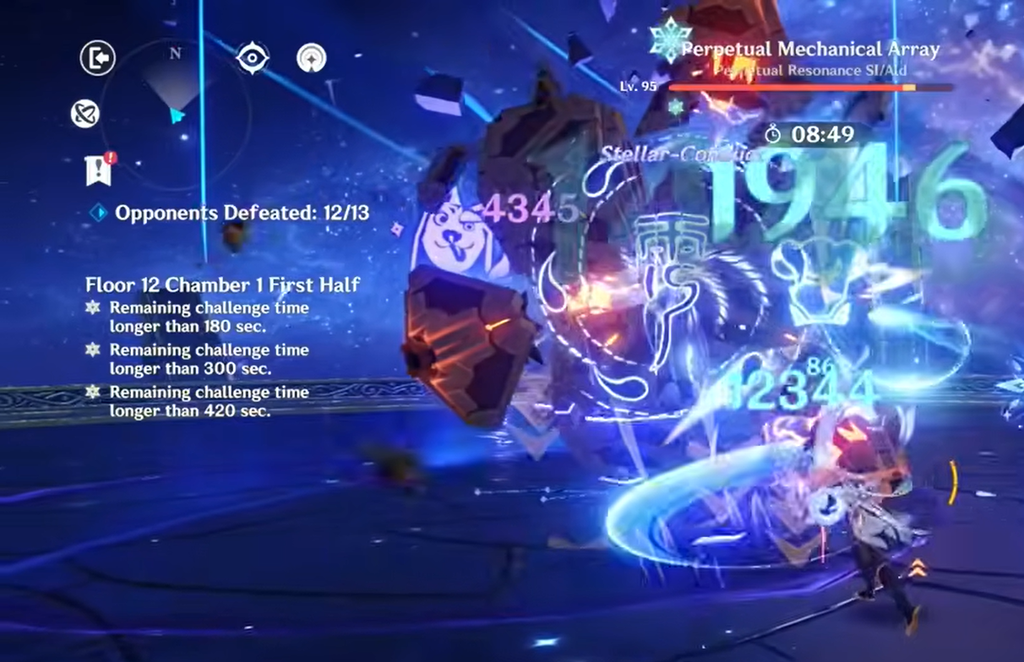
Floor 11 best teams
First half (Anemo)
- Yumemizuki Mizuki + Odette + Cryo Traveler + Faruzan
- Varka + Nicole + Durin + Prune
- Venti + Durin + Faruzan + Bennett
- Wanderer + Zhongli + Faruzan + Bennett
Chamber 1 is a monolith defense with multiple enemy waves that keep spawning. A crowd-control unit like Venti helps you group them, but it is not required. A well-built damage dealer riding the Anemo bonus can clear the waves comfortably. Chambers 2 and 3 have no gimmick to trigger here, so just take enemies down normally.
Second half (Electro)
- Flins + Columbina + Ineffa + Sucrose
- Cyno + Yae Miko + Odette + Nicole
- Varesa + Iansan + Chevreuse + Nicole
- Sandrone + Yae Miko + Odette + Alyosha
This half is the harder one. The monolith chamber spawns groups of tanky enemies that cannot be grouped, so it works as a straight damage check. You need well-built carries and supports to keep the monolith’s HP high enough for all three stars.
If the Landcruiser enemies are overwhelming the monolith, slot in Ororon, Lynette, or Amber and use their Skills or Bursts to taunt enemies and pull fire away from the objective.
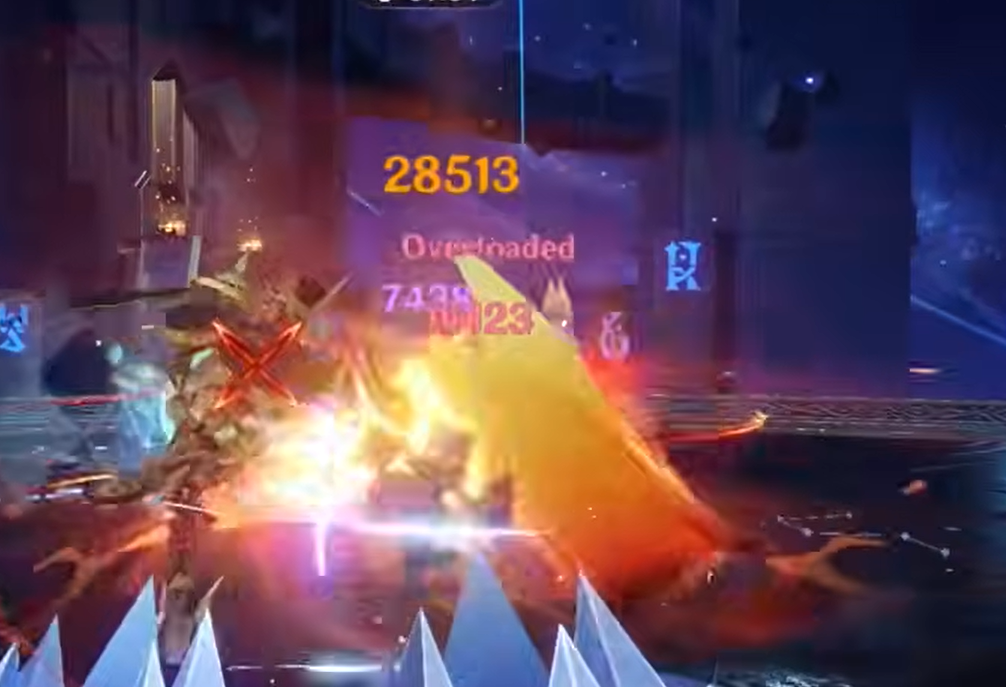
Floor 12 best teams
First half (Swirl and Stellar Swirl)
- Yumemizuki Mizuki + Odette + Cryo Traveler + Faruzan
- Sandrone + Odette + Yae Miko + Alyosha
- Cryo Traveler + Odette + Yae Miko + Sucrose
- Varka + Odette + Escoffier + Prune
The Battle-Hardened Chimeric Burrowbeast in Chamber 1 has a gauge you fill to force it into a larger, more vulnerable state. The gauge climbs on its own at a slow pace, but hitting the boss with Electro fills it much faster. In Chambers 2 and 3, the Immortal Construct and the Battle-Hardened Domovoy Sculptor both need Stellar Glimmer application, from Stellar Conduct or Stellar Swirl, to interrupt their mechanics. A Cryo plus Anemo pairing covers both requirements while feeding the Ley Line buff.
Second half (Electro-Charged and Lunar-Charged)
- Flins + Columbina + Ineffa + Sucrose
- Neuvillette + Furina + Kazuha + Fischl
- Varesa + Columbina + Ineffa + Xilonen
- Flins + Aino + Sucrose + Kuki Shinobu
This half brings out the Battle-Hardened Lightkeeper and Wilderness Exiles. Both are handled best with at least two Nod-Krai units that can damage the boss while also filling its second HP bar at the same time. The shield the Lightkeeper deploys in Chamber 1 breaks quickly to Lunar-Charged or Electro-Charged reactions, which is exactly what the second-half buff rewards.
Confirming a full clear
You know a floor is done when each chamber shows its star count on the results screen. A complete run of Floor 11 or Floor 12 awards all nine stars, and the Star Bounty pays out 60,000 Mora and 200 Primogems per floor once you reach the full nine. Because the game keeps only your best attempt in each chamber, you can swap teams between the first and second halves without losing progress, so match each half to the buff it favors and retry individual chambers as needed.