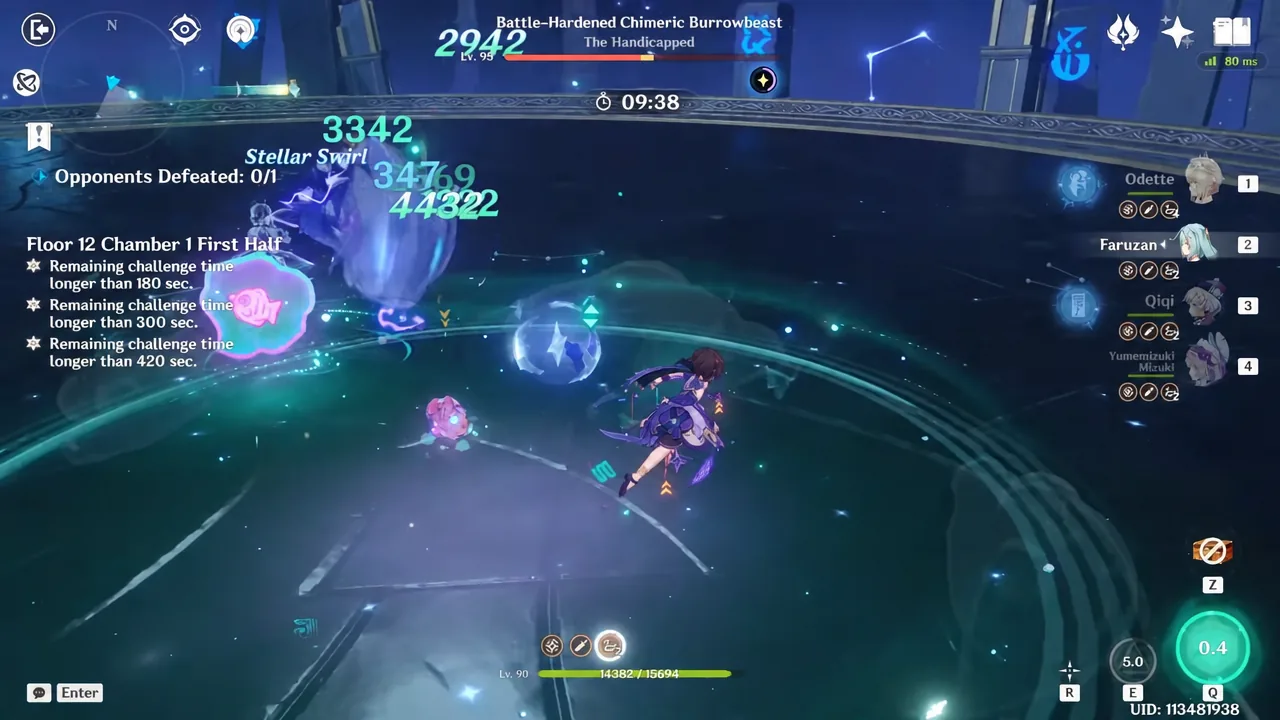
Floor 12’s first half in Version 7.1 is built around one reaction. The Ley Line Disorder inflates Swirl damage by 200% and Stellar Swirl damage by 75%, and the floor blessing fires a free True DMG shockwave every time either reaction lands. Yumemizuki Mizuki, an Anemo catalyst driver who stays on field and triggers Swirl over and over, is the character that turns both of those into a clear.
Quick answer: Put Mizuki on field with Odette or the Cryo Traveler as the Stellar Linchpin, add an Anemo or Cryo support, and keep a Stellar Swirl reaction going at all times to hold the disorder and blessing bonuses.
Mizuki Stellar Swirl team for the Floor 12 first half
The first half’s team template is loose. You need one Stellar Linchpin character, one Anemo or Cryo unit, and two flexible slots. Mizuki cannot create Stellar Swirl on her own, so the linchpin slot is mandatory: as of Version 7.0 that means Odette or the Cryo Traveler, who convert Cryo Swirl into Stellar Swirl inside a Polestar Field. Mizuki then drives the reaction while Cryo is applied from off field.
| Team | Driver | Linchpin / Cryo | Flex slots |
|---|---|---|---|
| Mizuki core | Mizuki | Odette | Cryo Traveler, Sucrose |
| Free-to-play | Mizuki | Cryo Traveler | Sucrose, Diona |
| Healer variant | Mizuki | Odette | Qiqi, Sucrose or Faruzan |
Stellar-Conduct is the other option for this half, since the first-half enemies are vulnerable to Stellar-Glimmer damage in general rather than to Swirl specifically. Sandrone with Odette, Qiqi and Yae Miko, or Wriothesley with Nicole, Odette and Yae Miko both work without touching the disorder at all. If you own Mizuki, the disorder makes the Swirl route the higher ceiling.
Mizuki’s Stellar Swirl build: weapons, artifacts and stat targets
Standard Swirl cannot crit. Stellar Swirl can, and that single difference rewrites her build. A pure Elemental Mastery Mizuki underperforms here; you want EM plus real CRIT ratios.
| Slot | Pick | Target |
|---|---|---|
| Artifacts | Scarlet Proof (4-piece) | +16% CRIT Rate, +40% Stellar Swirl DMG for 10s |
| Sands / Goblet | Elemental Mastery | 950–1050 EM on screen |
| Circlet | CRIT Rate or CRIT DMG | 70–85% CR, 200–225% CD |
| Weapon | Sunny Morning Sleep-In | 265 EM substat, EM buff on Stellar Swirl |
| Free weapon | Echoes of the Heart (R5) | 120 EM on reaction, +32% Stellar Glimmer DMG |
Scarlet Proof‘s CRIT Rate bonus is what lets you run a CRIT DMG circlet without falling short on rate. Double Cryo resonance adds another 15% CRIT Rate, so check your on-field numbers with the team assembled before committing to a circlet. Viridescent Venerer is her weakest set in this team; hand it to Sucrose or Faruzan for the resistance shred instead.
For talents, the Elemental Skill comes first. Dreamdrifter grants the party a Swirl and Stellar Swirl damage bonus that scales off her EM, worth 4.5% per 100 EM at level 10, so push it to 9 or 10. Burst goes to 8 or 9, and Normal Attack can stay at 6 or lower. Dawning Frost at high refinement, A Thousand Floating Dreams and Sacrificial Fragments are all reasonable stand-ins if you lack the signature.
Only build enough Energy Recharge to cast her Burst comfortably. Over-investing there costs you EM and CRIT, which are the two stats the disorder actually multiplies.
Constellations are a bonus, not a requirement. C2 lowers nearby enemy Pyro, Hydro, Cryo, Electro and Anemo RES by 20% and converts her EM into elemental damage bonus for the party, making it the strongest team-wide stop. C6 lets nearby party members’ Swirl damage crit and converts her excess EM above 500 into up to 20% CRIT Rate and 80% CRIT DMG for herself, which fits the CRIT-focused build directly. C1 and C4 are smaller.
Filling the last two slots
Sucrose is the cheapest upgrade in the team. She stacks Elemental Mastery on Mizuki and Odette, which both scale directly off it, and she can hold 4-piece Viridescent Venerer for the Anemo resistance shred. Qiqi covers the sustain slot while also buffing Stellar Swirl reactions from her own kit, and at C6 she is comfortable for the whole first half. Diona is the substitute if Qiqi is missing, with C6 Diona amplifying the reaction and handing out an EM buff.

Faruzan is the other common pick over Sucrose. A high Energy Recharge Faruzan running R5 Elegy for the End and 4-piece Viridescent Venerer keeps her Anemo buff and the resistance shred online, and Elegy’s EM bonus feeds Mizuki’s reaction damage at the same time.

Floor 12 Ley Line Disorder and the Ice-Surging Moon blessing
| Rule | Effect |
|---|---|
| Disorder, first half | Swirl DMG +200%, Stellar Swirl DMG +75% |
| Disorder, second half | Electro-Charged DMG +200%, Lunar-Charged DMG +75% |
| Floor blessing | Swirl or Stellar Swirl DMG unleashes a True DMG shockwave, once every 4s |
| Enemy level | Lv. 95 – Lv. 100 |
The blessing shockwave has a 4-second cooldown, so it favors steady reaction uptime over one huge burst window. Mizuki’s Dreamdrifter state suits that shape, because she triggers reactions continuously while Cryo is reapplied from off field rather than in a single spike.
First half chambers: enemies and what actually breaks them
Chamber 1: Bandersnatch
One opponent, and it is gated behind a Fury gauge. The Bandersnatch fills Fury on its own over time, at which point it grows and becomes vulnerable, but Electro damage speeds that up considerably. A Stellar Swirl team can swirl the Electro on the field and push Electro damage back into it, cutting the wait. A Stellar-Conduct team does the same thing without any setup.
Chamber 2: Immortal Construct
The Immortal Construct regenerates shields to keep itself alive, and the counter is Stellar-Glimmer damage — the umbrella that both Stellar Swirl and Stellar-Conduct fall under. The moment it starts generating a shield, get your linchpin’s field down and start triggering reactions. Dragging the fight out is how you lose stars here, not enemy damage.
Chamber 3: Churin
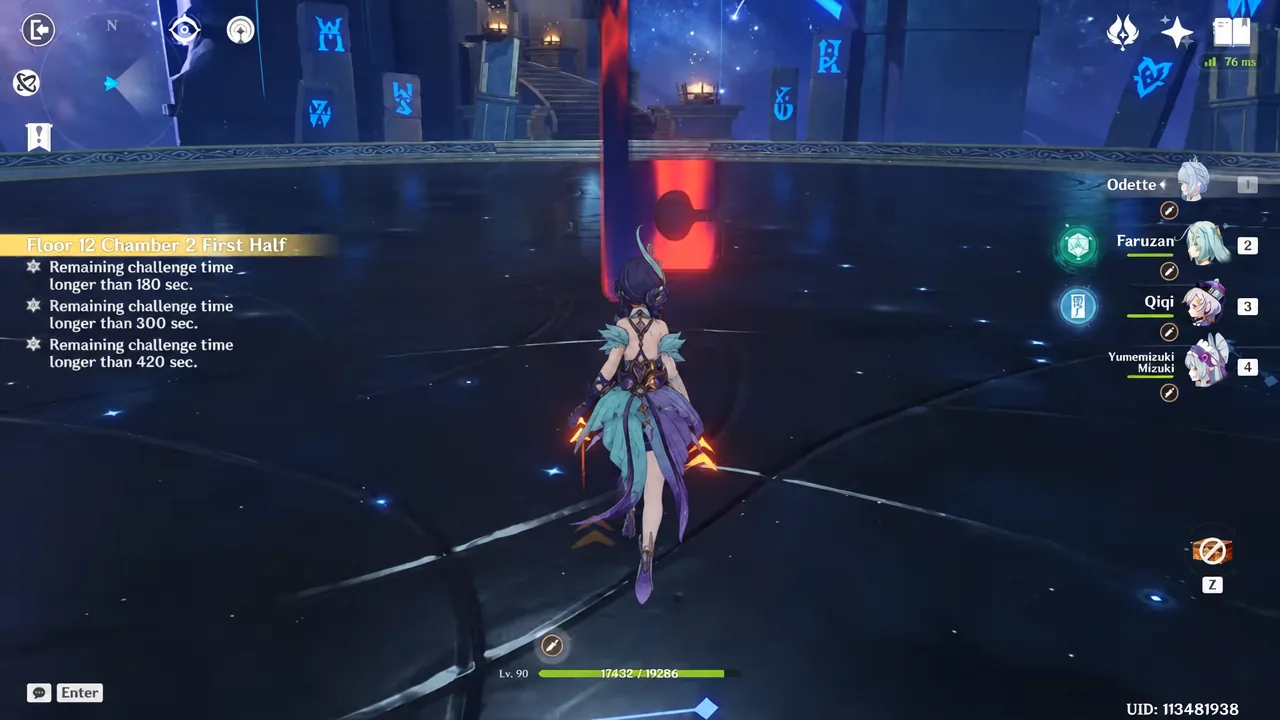
Churin summons Jack Frost statues the instant the fight begins, and those statues can one-shot your active character if you stand near them. Ranged damage is strongly favored. With a Mizuki Stellar Swirl team, keep moving in circles and hold distance so the statues cannot line you up while she stays in Dreamdrifter. Stellar-Conduct teams trivialize this fight, Sandrone especially.
Do not treat Churin’s statues as background clutter. Losing the active character to one is the most likely reason a run with a fully built team still drops below the three-star time.
What the second half needs instead
The Stellar Swirl team does not carry over. The second half’s disorder boosts Electro-Charged by 200% and Lunar-Charged by 75%, and the enemies are built to match. Chamber 1 sends nine Wilderness Exiles before Raskolnikov, whose self-regenerating shields are shut off by Electro-Charged or Lunar-Charged, so have your reaction ready as the ninth Exile dies. Chamber 2 opens with four Fishers of Hidden Depths, then the Lord of the Hidden Depths: Whisperer of Nightmares, whose shield requires Lunar DMG to break.
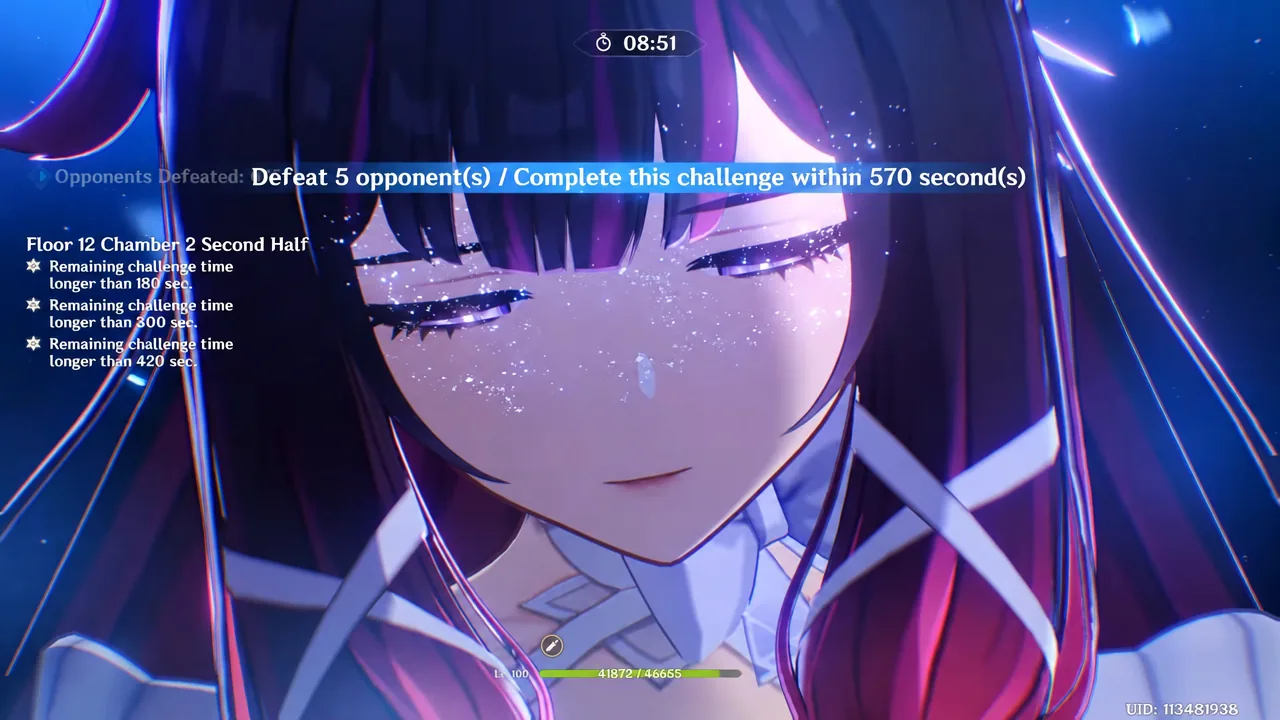
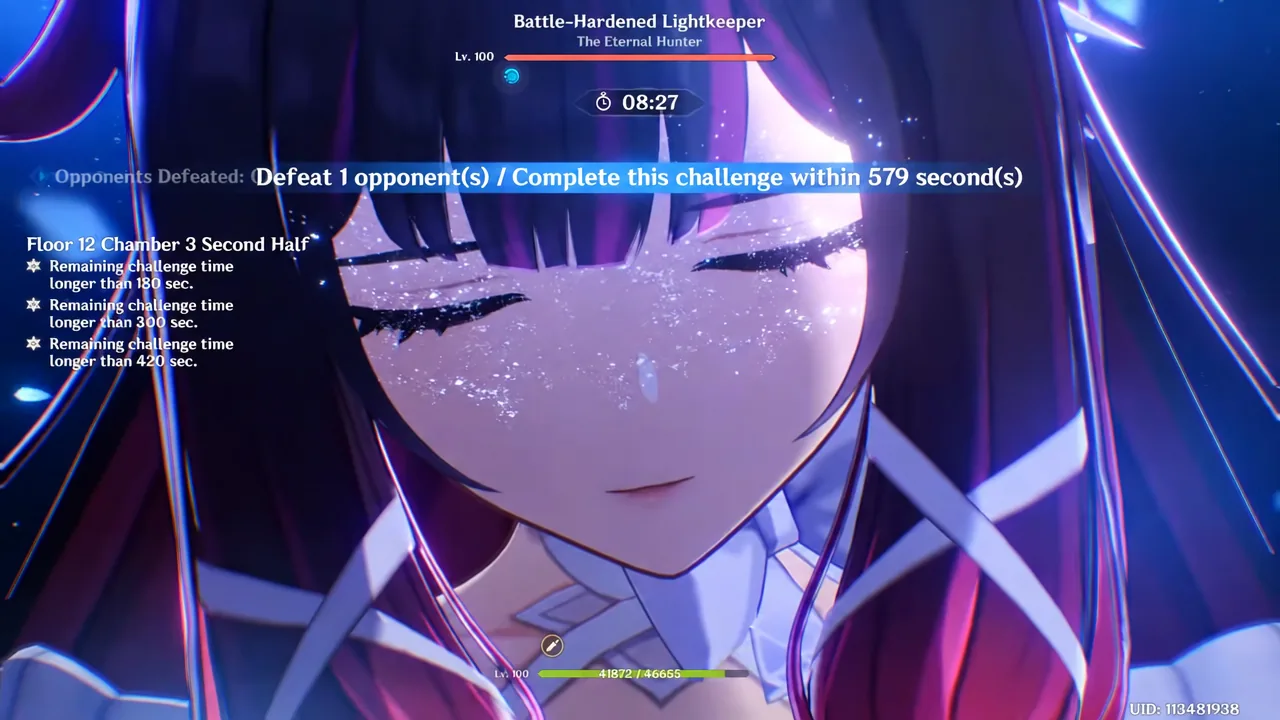
Chamber 3 ends on Sigurd. Dodge his Electro lunges, keep applying Lunar DMG, and unload once he drops into the Grave Stricken state, since he stays stationary for a few seconds. Flins, Columbina, Ineffa and Ororon, or Nefer with Lauma, Columbina and Shinobu, cover this half comfortably.
Star thresholds and Floor 12 rewards
Every chamber on Floor 12 scores on remaining time, not on style. The thresholds are identical across all three.
| Stars | Requirement |
|---|---|
| ★ | More than 180s remaining |
| ★★ | More than 300s remaining |
| ★★★ | More than 420s remaining |
Clearing a chamber for the first time pays 25,000 Mora, three Adventurer’s Experience, two Hero’s Wit and six Mystic Enhancement Ore, plus a Domain Reliquary — Tier II for Chambers 1 and 2, and Tier I for Chamber 3. That first-time bounty only lands once.
You know the floor is finished when the results screen reads 9/9 stars and the star bounty pays out 60,000 Mora and 200 Primogems. Floor rewards add one Domain Reliquary — Tier I and two Tier II on top. The Ice-Surging Moon blessing is scheduled to reset on 2026/10/16 at 4:00 server time, so any Stellar Swirl setup you gear for this half has a fixed shelf life on Floor 12.