The Spiral Abyss rotation that went live on October 16 keeps Floor 12 split into two reaction families, and every boss in the lineup hides behind a shield or a gauge that only the right reaction clears quickly. It is also fully beatable without a single limited five-star. A nine-star run of all three chambers goes the distance with four-star characters and four-star weapons, using a Stellar-reaction core for the first halves and a Cryo-heavy core for the second halves.
Quick answer: Clear all 9 stars with four-star units by running a Stellar-reaction team in each first half and a Cryo-focused team in each second half, finishing both halves of every chamber with more than 420 seconds remaining.
Floor 12 rules and reactions this rotation
The Ley Line Disorder points you straight at what each half wants. The first half boosts Stellar Glimmer reaction damage, so Stellar-Swirl and Stellar-Conduct teams fit naturally. The second half hands every party member a flat Cryo bonus, which makes Freeze, Melt, and Stellar-Conduct cores strong even when they do not line up with the exact reaction.
| Rule | Effect |
|---|---|
| First-half disorder | Stellar Glimmer reaction DMG +75% |
| Second-half disorder | Every party member receives a 75% Cryo DMG Bonus. |
| Stardread Moon blessing | True DMG shockwave on Superconduct, Stellar-Conduct, Cryo Swirl, Stellar Swirl, Frozen, or Shatter, once every 2s |
| Three-star timing | More than 420 seconds remaining in each chamber |
The Blessing of the Abyssal Moon fires a True damage shockwave whenever you trigger one of its listed reactions, capped at one hit every two seconds. Ordinary Cryo Swirl and Frozen count, so a Cryo core keeps it active without extra effort. This rotation and its enemy lineup stay in place until the reset on 2026/11/16 at 4:00 server time.
The four-star teams that go 9 stars
The run uses two rotating cores rather than six separate teams. The first halves lean on Stellar and elemental reaction setups led by on-field damage dealers, while the second halves repeat a Cryo Traveler shell that keeps Freeze and Superconduct running against shielded targets.
| Chamber | First half team | Second half team |
|---|---|---|
| 1 | Gaming, Rosaria, Iansan, Chevreuse | Cryo Traveler, Sucrose, Alyosha, Xingqiu |
| 2 | Bennett, Fischl, Xingqiu, Rosaria | Cryo Traveler, Sucrose, Alyosha, Barbara |
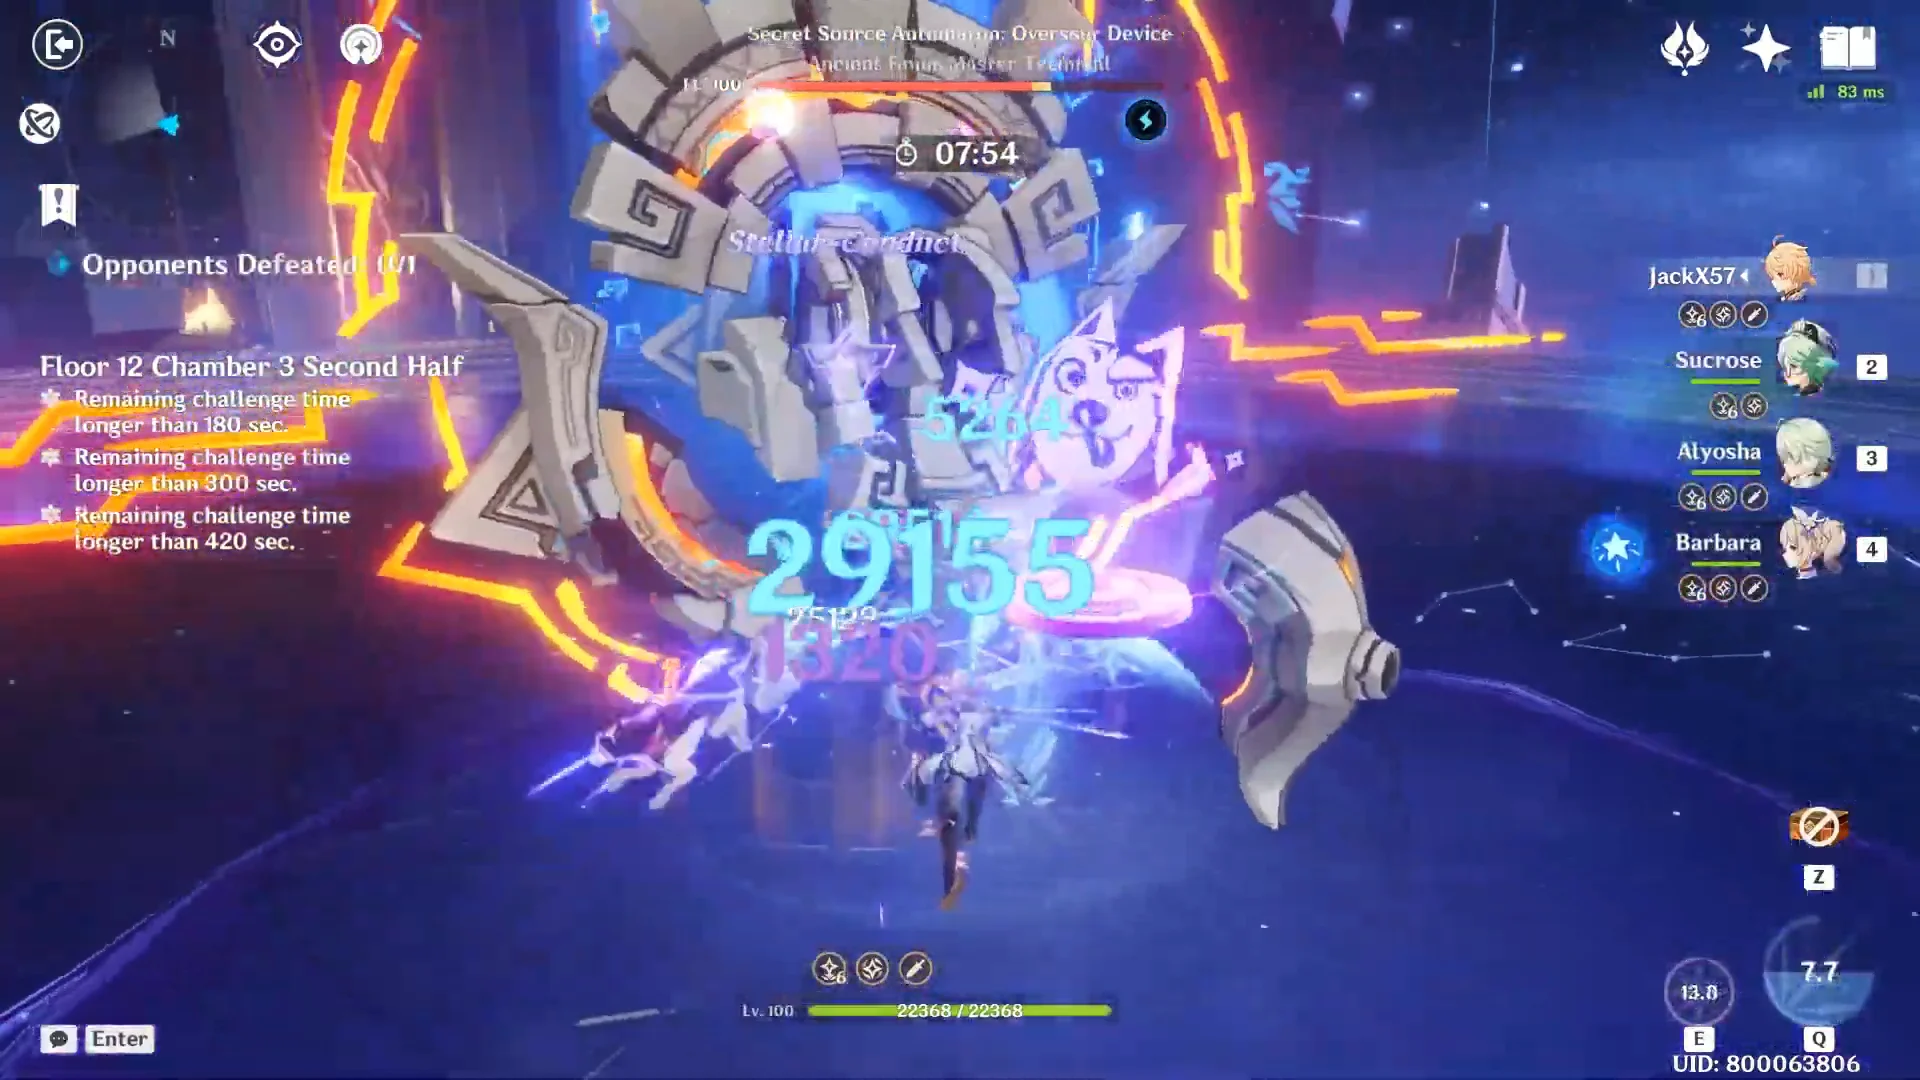
| 3 | Bennett, Fischl, Xingqiu, Rosaria | Cryo Traveler, Sucrose, Alyosha, Barbara |
The Bennett, Fischl, Xingqiu, and Rosaria group handles both the Radiant Moonfly and the Chimeric Winged Lion first halves, triggering Overloaded, Electro-Charged, Melt, and Vaporize as needed. The second-half shell swaps between Xingqiu and Barbara for Hydro application, with Sucrose shredding resistance and Alyosha adding Electro for Superconduct.
Enemy lineup and what each boss demands
| Chamber | First half | Second half |
|---|---|---|
| 1 · Lv. 95 | Battle-Hardened Chimeric Vokodlak Archer | Iniquitous Baptist, then Shadowy Husk: Standard Bearer and Defender |
| 2 · Lv. 98 | Radiant Moonfly | Battle-Hardened Elite Treasure Hoarder |
| 3 · Lv. 100 | Chimeric Winged Lion | Secret Source Automaton: Overseer Device |
Chamber 1: Vokodlak Archer and the Iniquitous Baptist
The Vokodlak Archer builds its attacks around Hindering Roots on the field. Target the roots as they spawn to shut down its offense, after which it becomes a straight damage check that a Pyro-driven team burns through comfortably.
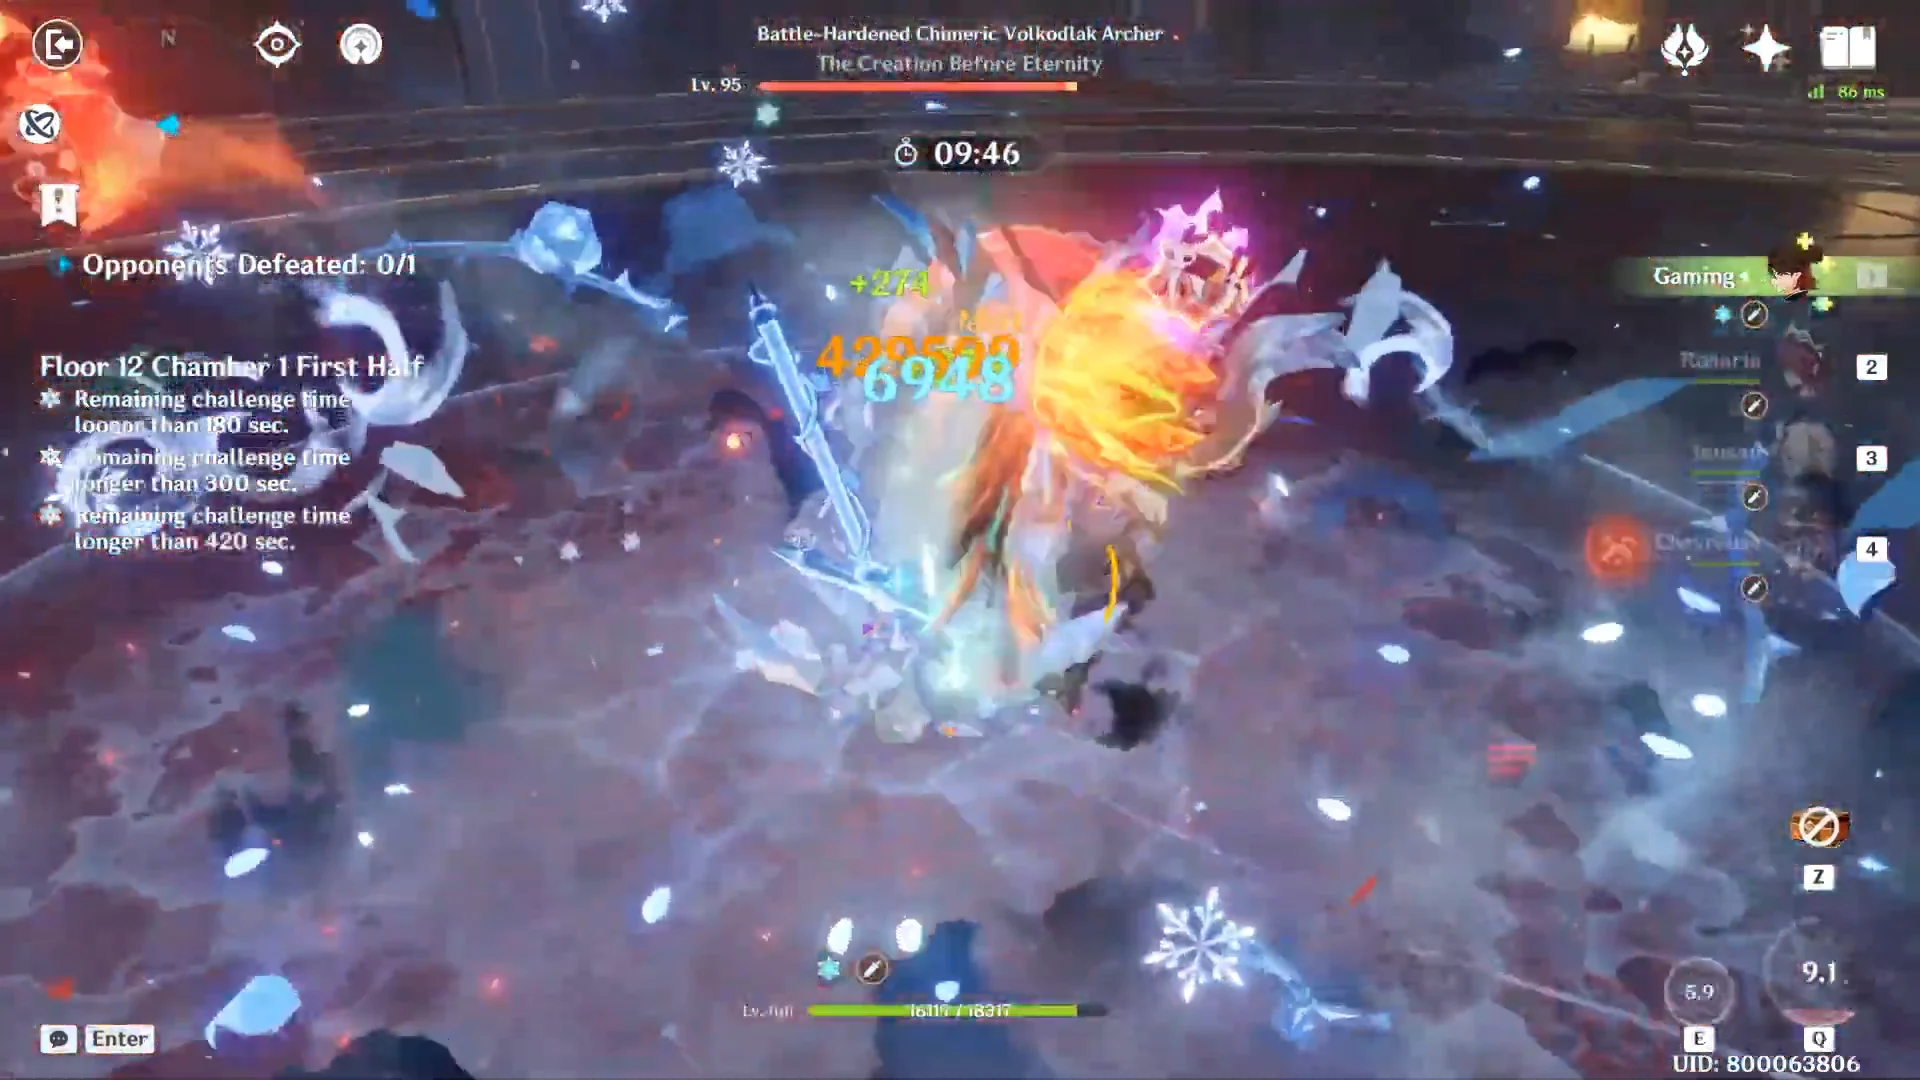
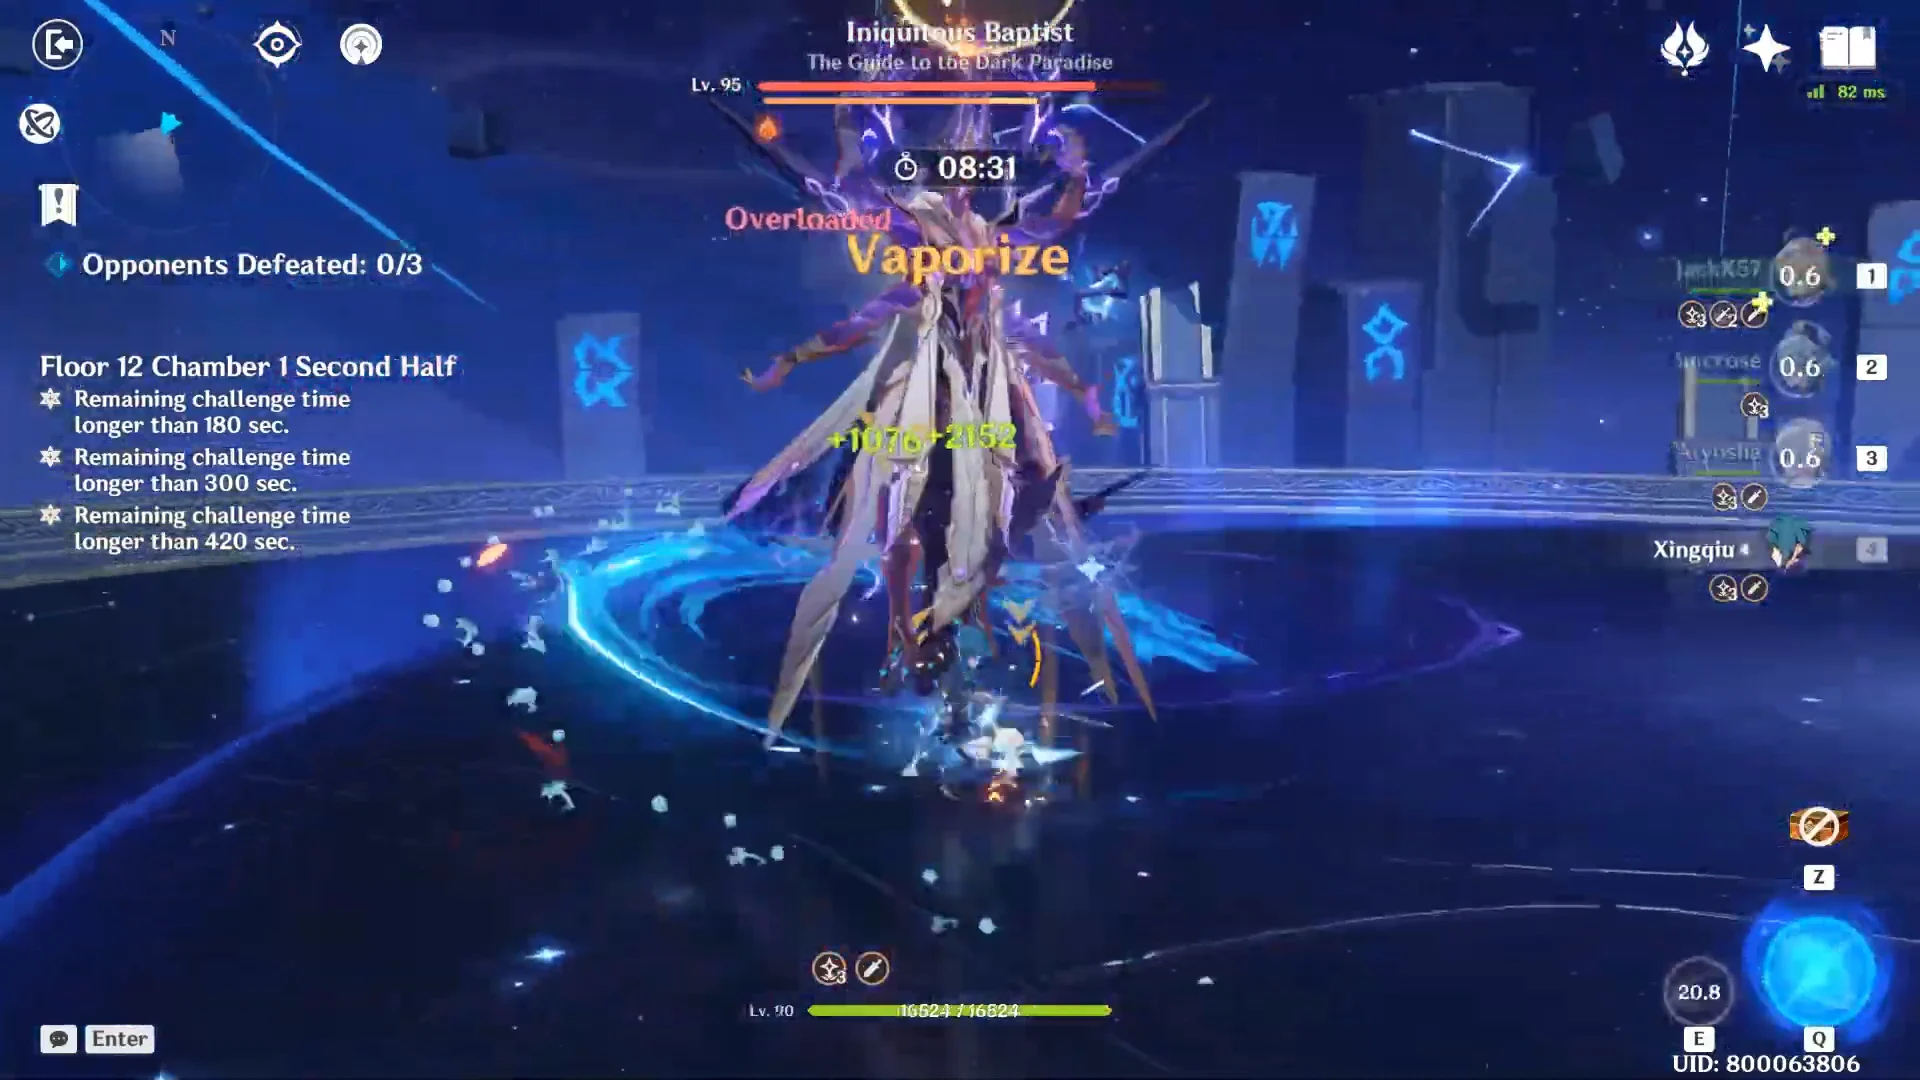
The second half brings the Iniquitous Baptist, which cycles an Electro shield, then Hydro, then Pyro in that order. Keeping Cryo and one more element active breaks each shield, so a Freeze or Stellar-Conduct setup covers the full rotation. Push hard during the gap after the third shield to finish it before the cycle resets, then clear the Shadowy Husk wave by focusing the Defender while the Standard Bearer sticks to you.
Chamber 2: Radiant Moonfly and the Elite Treasure Hoarder
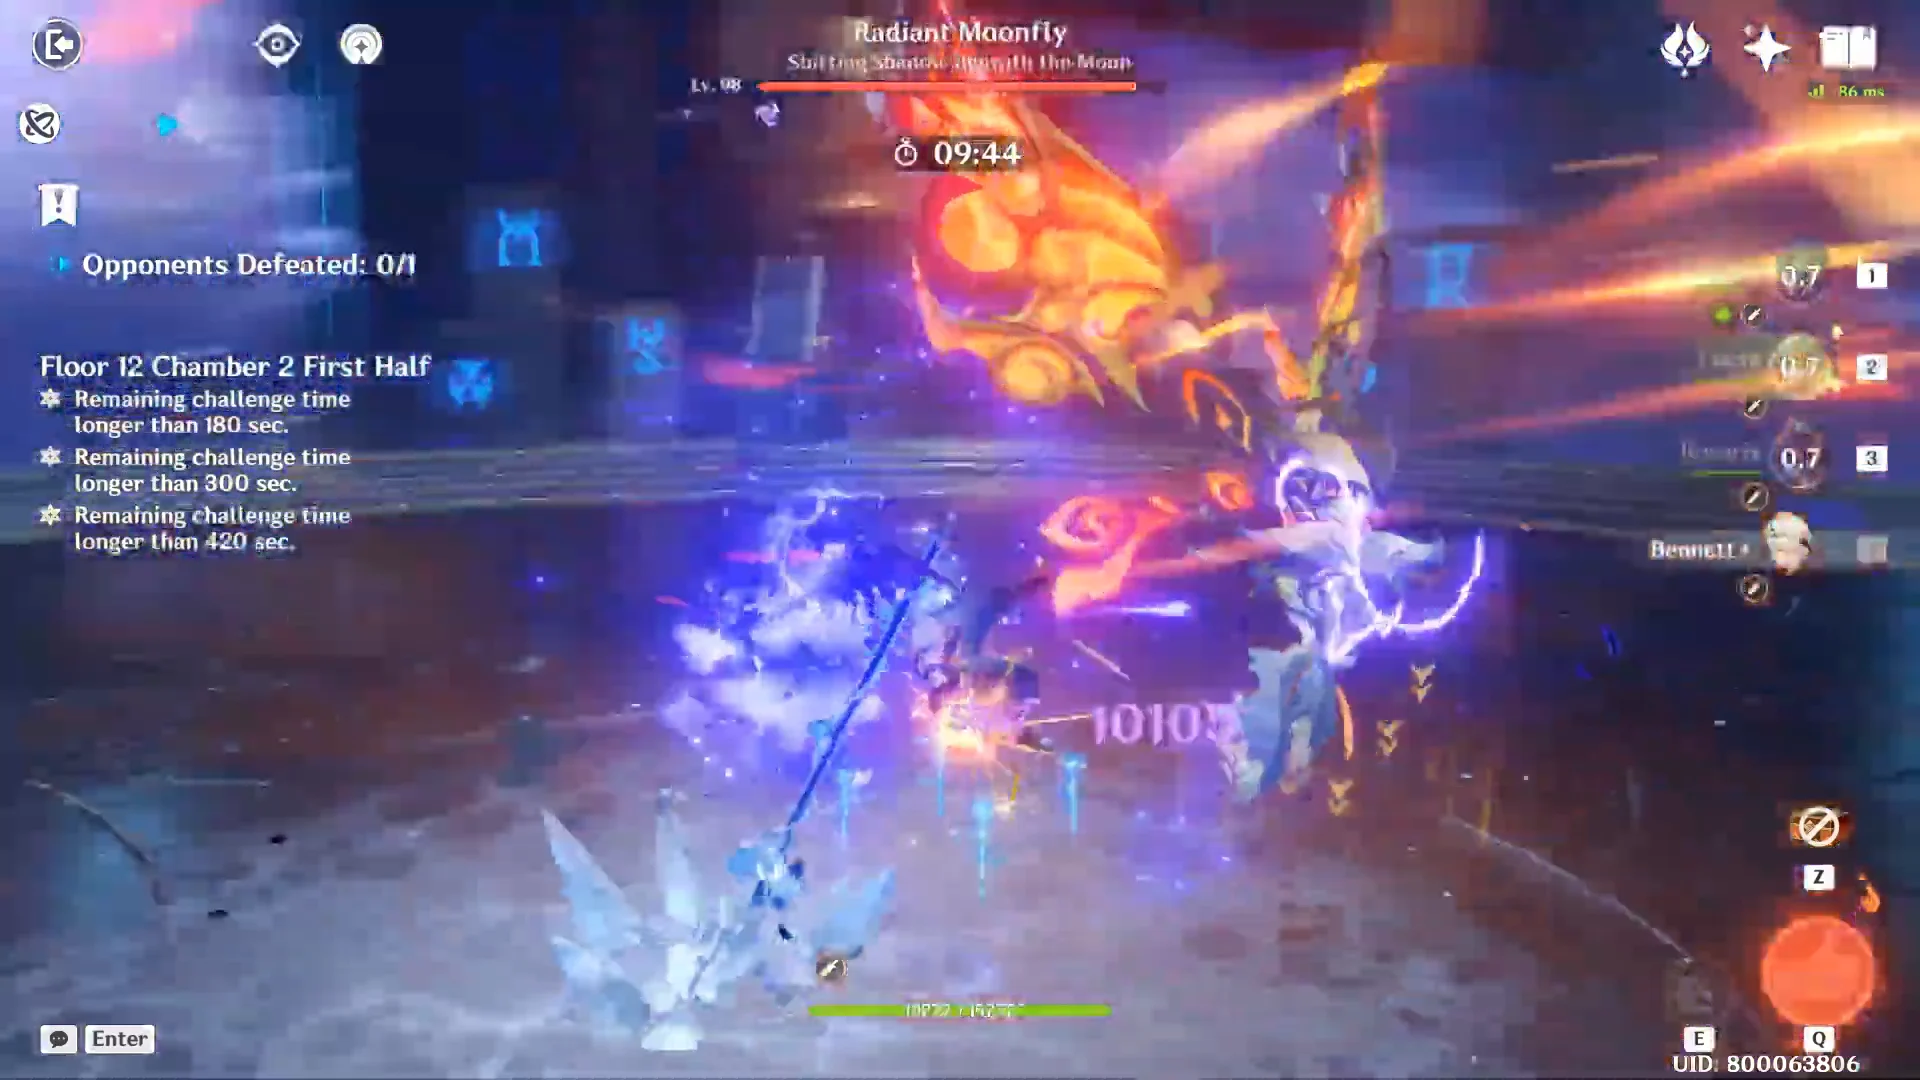
Nearly any element works against the Radiant Moonfly, but its Radiant Cocoon makes healing necessary. Heal affected characters until they’re back at full health, and avoid relying on Pyro or Dendro damage. After countering the first Cocoon, you usually have enough time to defeat the Moonfly before it creates another.
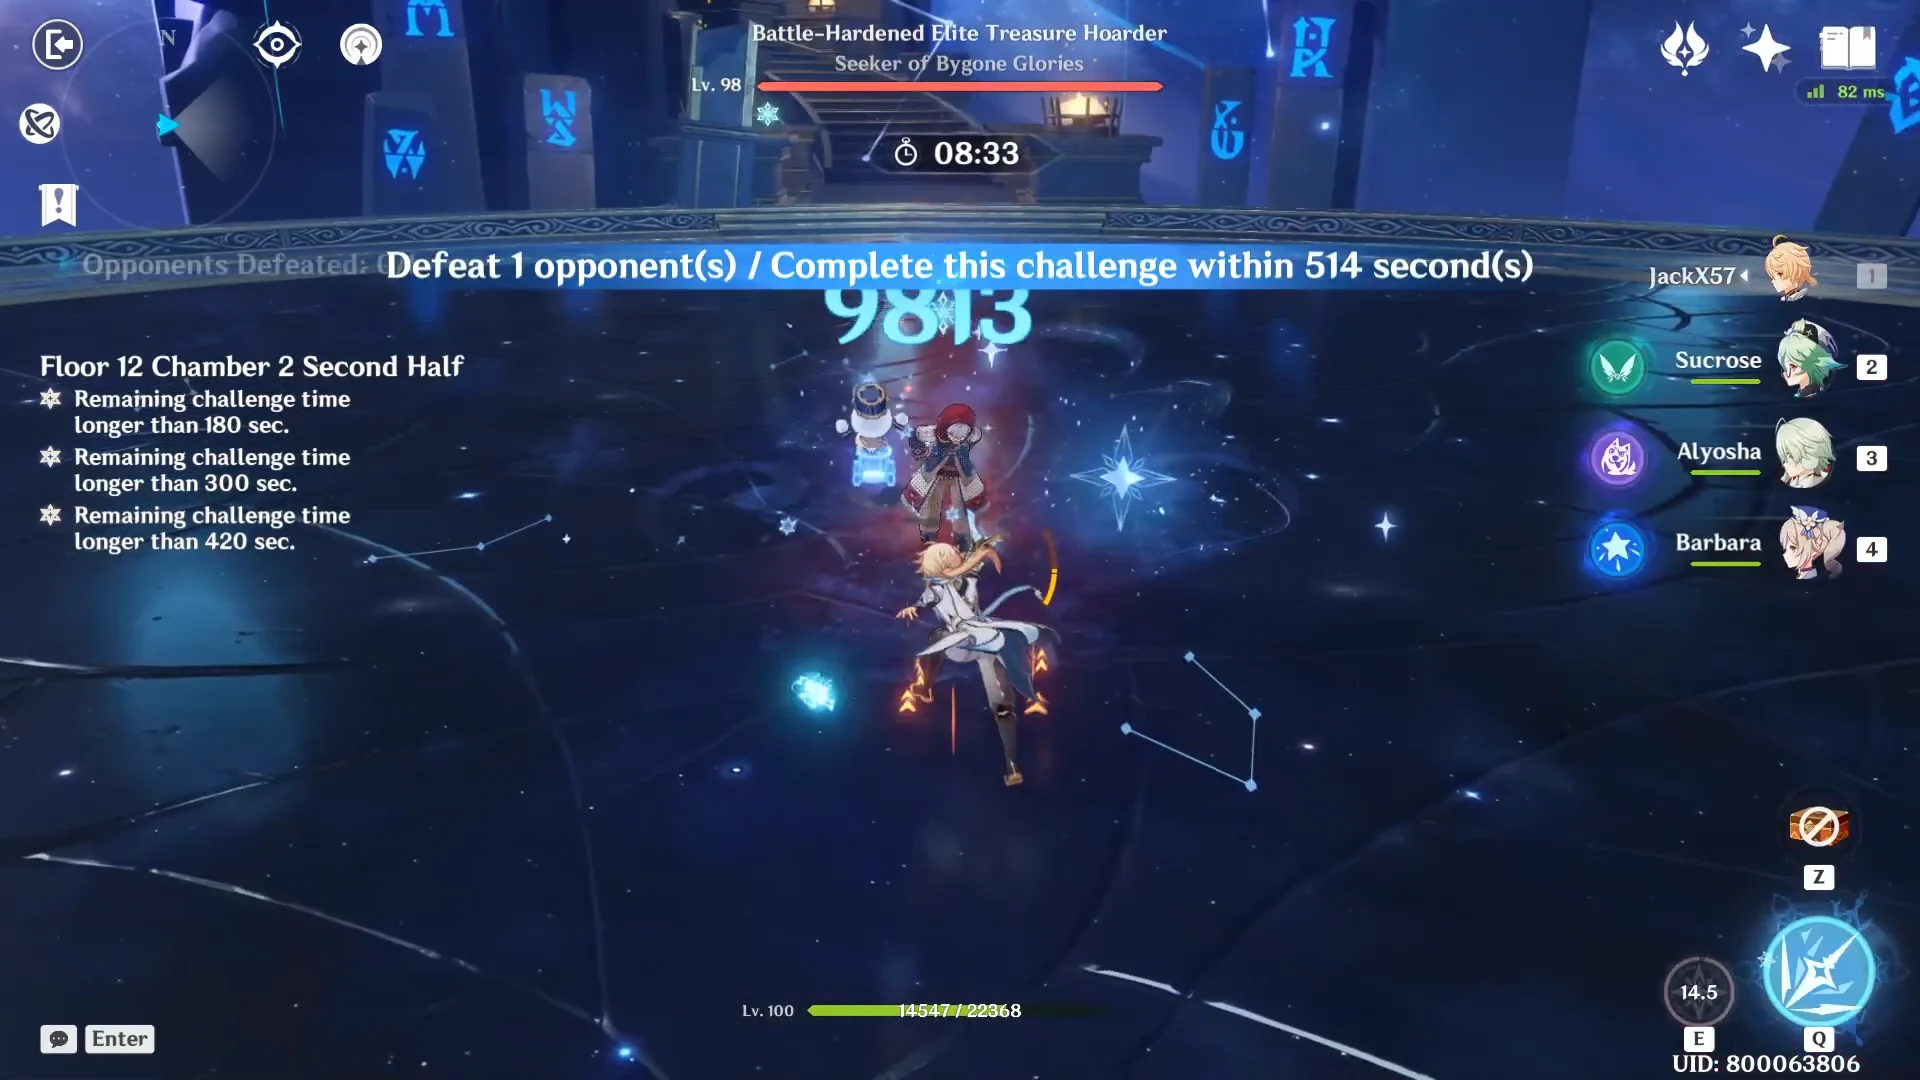
The Elite Treasure Hoarder tries to attach Battle Armor partway through the fight. Trigger Frozen on its body during the preparation window, or use Overloaded to break the armor and stop it from latching on. A Freeze core locks it in place for this.
Chamber 3: Chimeric Winged Lion and the Overseer Device
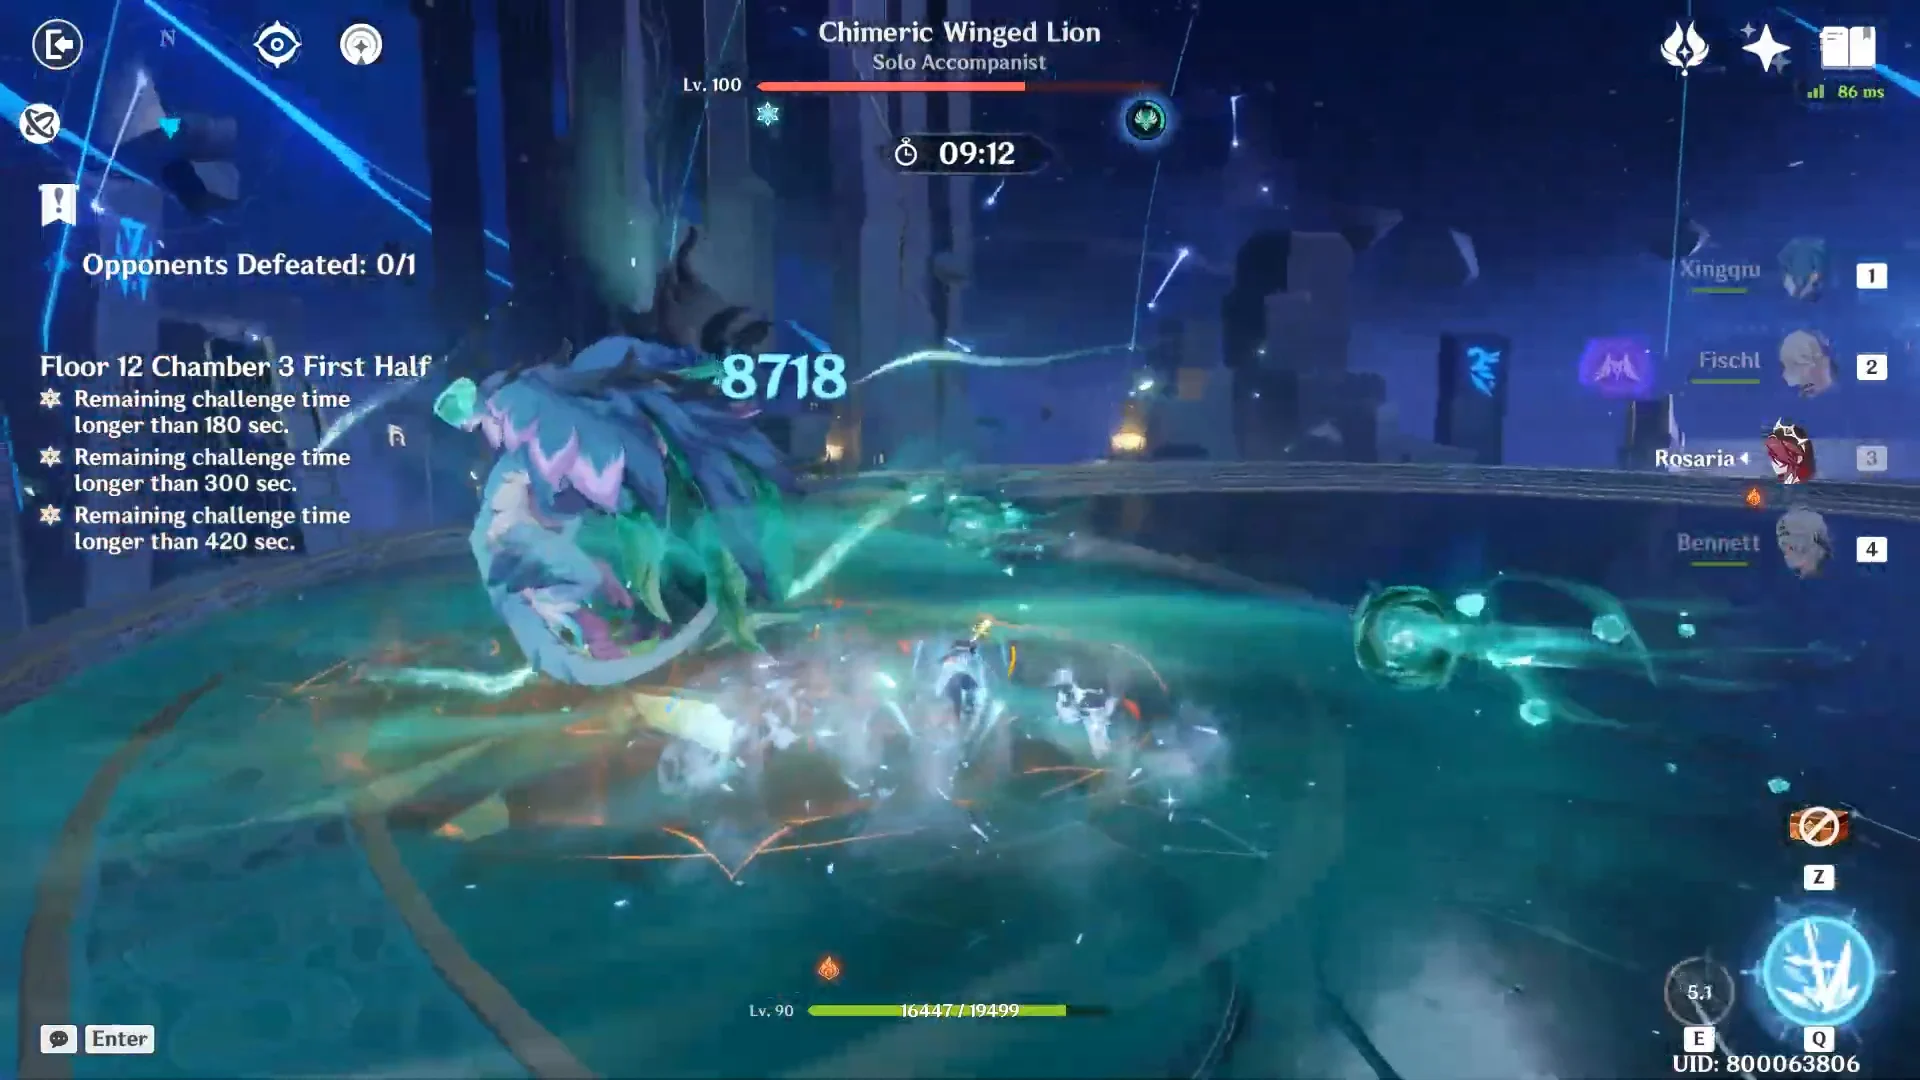
The Chimeric Winged Lion opens with an Electro ward that has to come down first, so throw every element at it to break the shield. During its charging phase, hit the Anemo Orbs with Pyro, Hydro, Cryo, or Electro to interrupt the process. Once it stops repositioning, the rest is a damage check.
The Overseer Device slows its Flow Momentum buildup based on how often it takes Cryo damage, not how much. Consistent Cryo application keeps its momentum low and holds its resistances down, letting you focus on damage. The Cryo Traveler shell is built exactly for that.
The four-star weapons and builds behind the clear
Every weapon in the run is a four-star, mostly battle-pass, craftable, or standard-banner gear at high refinement. None of the signature five-star bows, catalysts, or polearms appear.
| Character | Weapon | Artifact set |
|---|---|---|
| Gaming | Tidal Shadow R5 | Crimson Witch of Flames |
| Bennett | Festering Desire R5 | Crimson Witch of Flames |
| Fischl | Alley Hunter R5 | Golden Troupe |
| Xingqiu | Sacrificial Sword R5 | Echoes / Nighttime Whispers |
| Rosaria | Favonius Lance R5 | Noblesse Oblige |
| Cryo Traveler | Exaiphanes Blade R3 | Disenchantment in Deep Shadow |
| Sucrose | Favonius Codex R5 | Viridescent Venerer |
| Alyosha | Favonius Lance R5 | Heart of the Furnace |
| Barbara | Thrilling Tales of Dragon Slayers R5 | Tenacity of the Millelith |
| Iansan | Favonius Lance R5 | Scroll of the Hero of Cinder City |
| Chevreuse | Favonius Lance R5 | Scroll of the Hero of Cinder City |
The heavy use of Favonius weapons across Rosaria, Alyosha, Iansan, Chevreuse, and both supports keeps energy flowing so bursts stay available every rotation, which matters far more here than squeezing out extra attack.
Rewards and confirming all 9 stars
Each chamber awards three stars when you leave more than 420 seconds on the clock, two stars above 300 seconds, and one star above 180 seconds. A full nine-star Floor 12 clear pays out 200 Primogems and 60,000 Mora, plus one Domain Reliquary – Tier I and two Domain Reliquary – Tier II from the floor rewards.
Each chamber’s Chamber’s Bounty is awarded only on its first clear, so it won’t appear again if you replay the same rotation. Floor 12 is complete when the Challenge Ended screen comes up after Chamber 3 and the results show 9/9 stars. If you fall short in a chamber on this rotation, it’s almost always because a boss gauge or shield went unattended for too long, rather than insufficient damage.