Lind is the boss of Prologue: Descent Chapter 2, The Ruined Land, in Fire Emblem: Fortune’s Weave. The encounter triggers when your three-unit party crosses Dagsion’s courtyard, passes the city gate marker, and steps onto Alcineus Span, where Lind stops you and declares his loyalty to Balor. It is an early fight with a full tutorial load, but it can still go badly if you charge forward into the purple flames.
Quick answer: Pull south out of the Underworld Inferno tiles on turn one, fight from the green healing terrain, kill Cai, Dietrich, Theodora, and Leda, then burn Lind down with Hong Hua once he enters your range.
How the Lind fight starts in Alcineus Span
Before the battle, the route runs through the courtyard in Dagsion toward the gate marker. You can inspect the statue of The White-Maned Demon on the way, which pulls up lore text on Bertrand and the Heroic Games. It changes nothing mechanically, so skip it if you only want the clear.
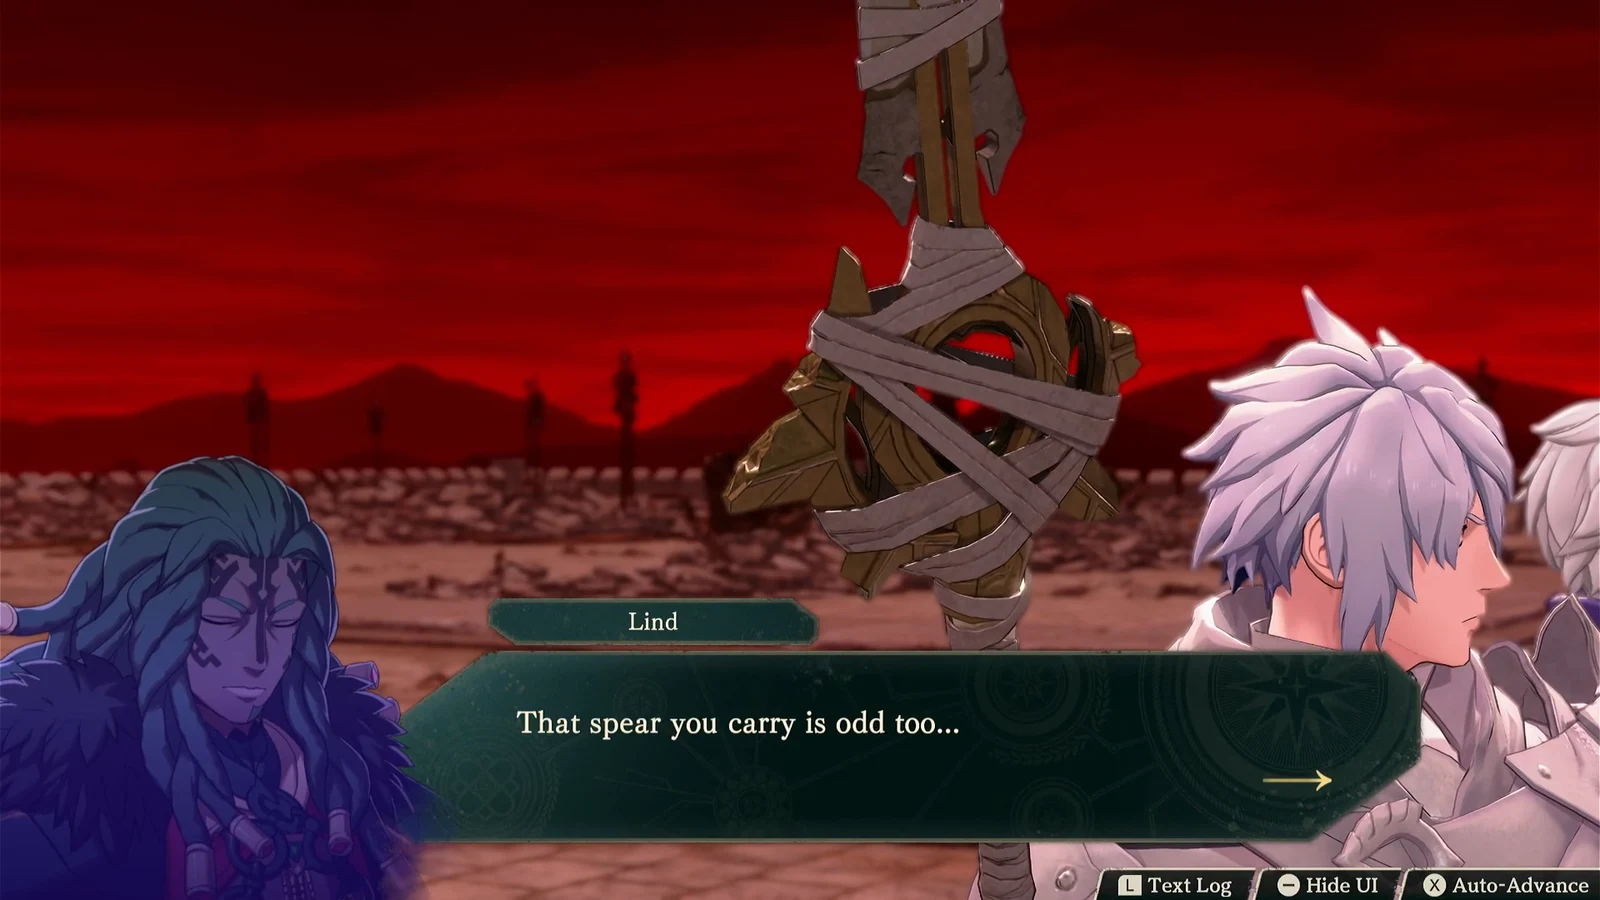
The cutscene at Alcineus Span gives your avatar a dialogue choice between Stare Lind down and I’m no one. Either reply leads to the same place: Lind notices the unusual spear your avatar is carrying, and the chapter card for Battle vs. Lind appears with the victory and defeat conditions listed before the first turn.
You go in with three units. The avatar — named Eshmel by default — fights as a Guardian with the lance The Nameless, Hong Hua handles offense with fire magic, and Troy is your only source of healing.
Underworld Inferno: Surviving the opening turn
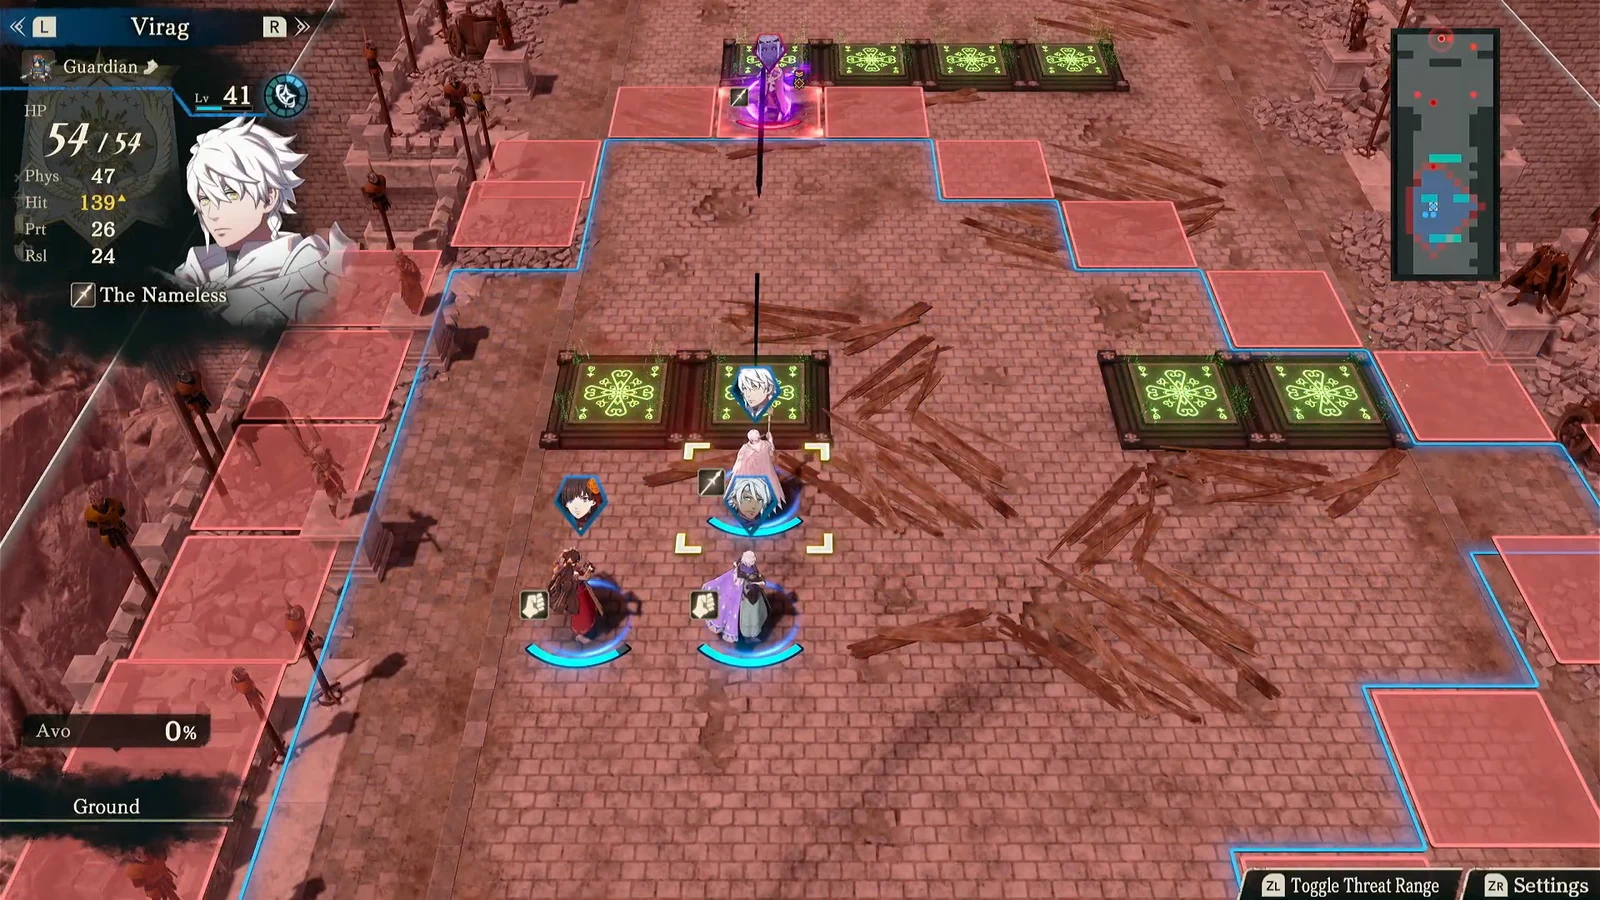
Lind opens by activating Underworld Inferno, which sets rows of grid tiles alight with purple flames and damages every party member standing in them. This is not a one-off hit you can tank through, so the first move of the fight is retreat, not attack.
On turn one, pull the whole party south and out of the burning tiles. Troy heals the avatar, Hong Hua can top herself off with a Vulnerary, and the fight effectively resets in a safer part of the map. The game backs this up with tutorial pop-ups for Recovery Magic, Unit Stats, and Target Line Colors, and the target line colors panel is the one worth reading, since it tells you which enemies can reach your units next turn.
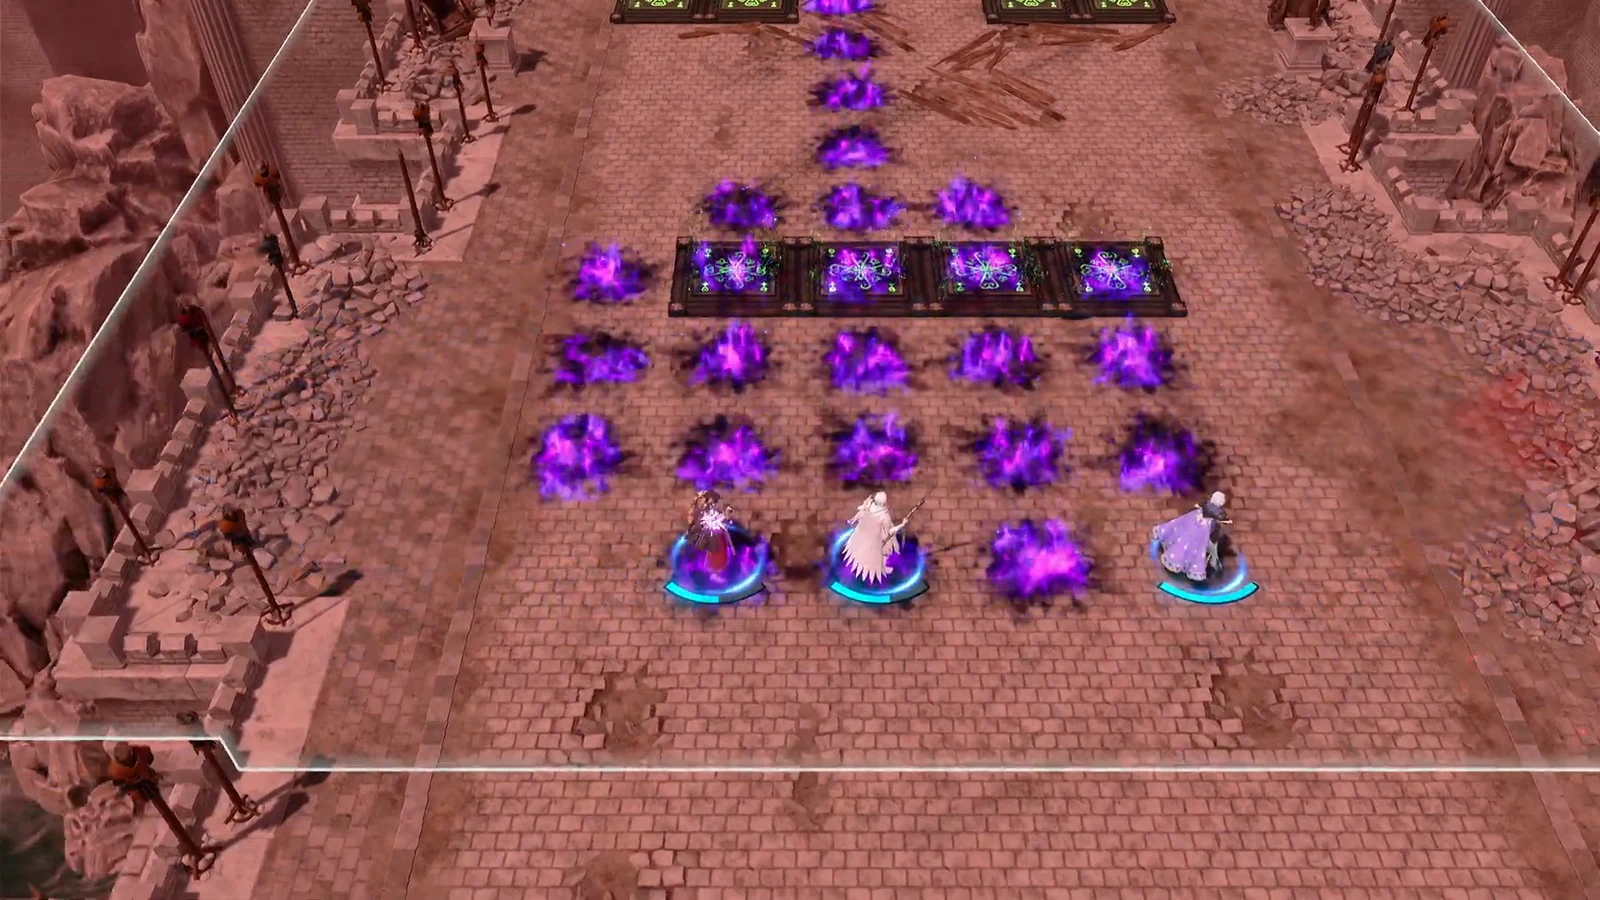
Troy is the only healer on the field. If he is stranded in the flames, the rest of the fight gets much harder, so move him out first.
Fight from the healing tiles
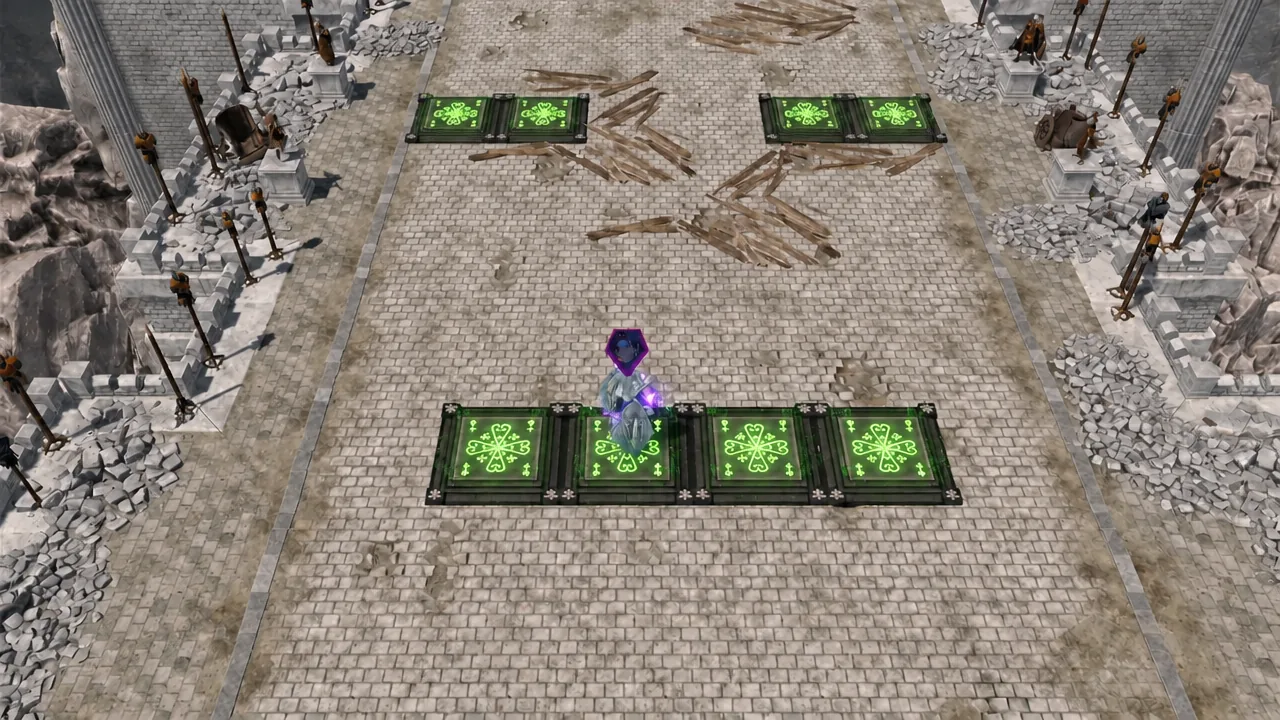
Troy spots green rune-marked tiles on the map, which triggers the Special Terrain tutorial. These tiles restore HP at the start of a unit’s turn, and they are the anchor for the entire middle of the battle. Rather than pushing toward Lind, hold this ground and let the enemy come to you.
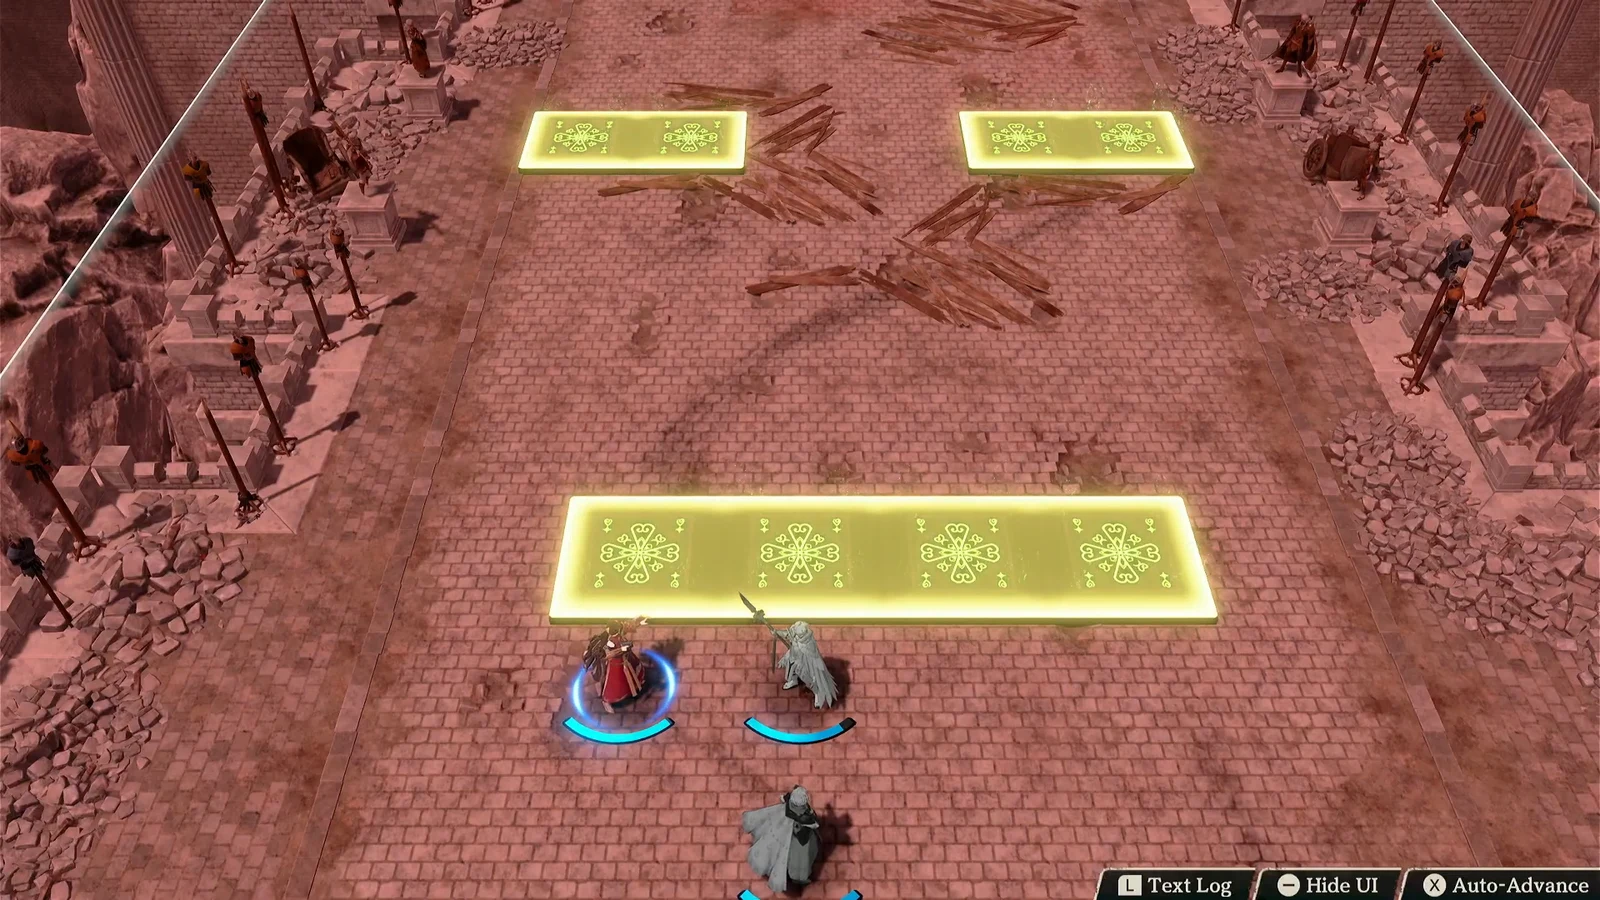
The tiles work for the enemy too. Dietrich moves onto one during his approach, which is worth knowing before you count on a one-turn kill against him.
Kill order for Cai, Dietrich, Theodora, and Leda
Lind sends his allies in staggered waves rather than all at once, so the fight is a series of two-on-one trades. The avatar softens each target with Tempest Spear and Hong Hua finishes with fire magic. Check the red threat zones before committing anyone.
| Enemy | How they approach | What finishes them |
|---|---|---|
| Cai | Rides in first on horseback | Tempest Spear, then Salamander+3 |
| Dietrich | Teleports in, stands on a heal tile | Tempest Spear plus Salamander+3 |
| Theodora | Charges the front line | Bolganone |
| Leda | Hangs back, buffs with Song of Icewater | Tempest Spear |
| Underworld Soldiers | Stream in between waves | Purifying Flash |
Cai arrives first and is the cleanest kill in the battle. Dietrich teleports rather than walking, so he can close distance faster than his listed movement suggests. He gets a line of dialogue, swings at Hong Hua, and can miss if she dodges — Troy patches her up, and the avatar and Hong Hua combine to remove him.
Leda is the priority target of the second pair. Song of Icewater buffs her allies, so leaving her alive makes Theodora‘s charge hit harder. In practice Theodora reaches you first and goes down to Bolganone, after which Leda falls to Tempest Spear.
Underworld Soldiers keep trickling in throughout. The avatar’s Purifying Flash Blaze Art clears clusters of them at once and is the fastest way to stop the chip damage, with a level-up as a bonus.
Defeating Lind and confirming the clear
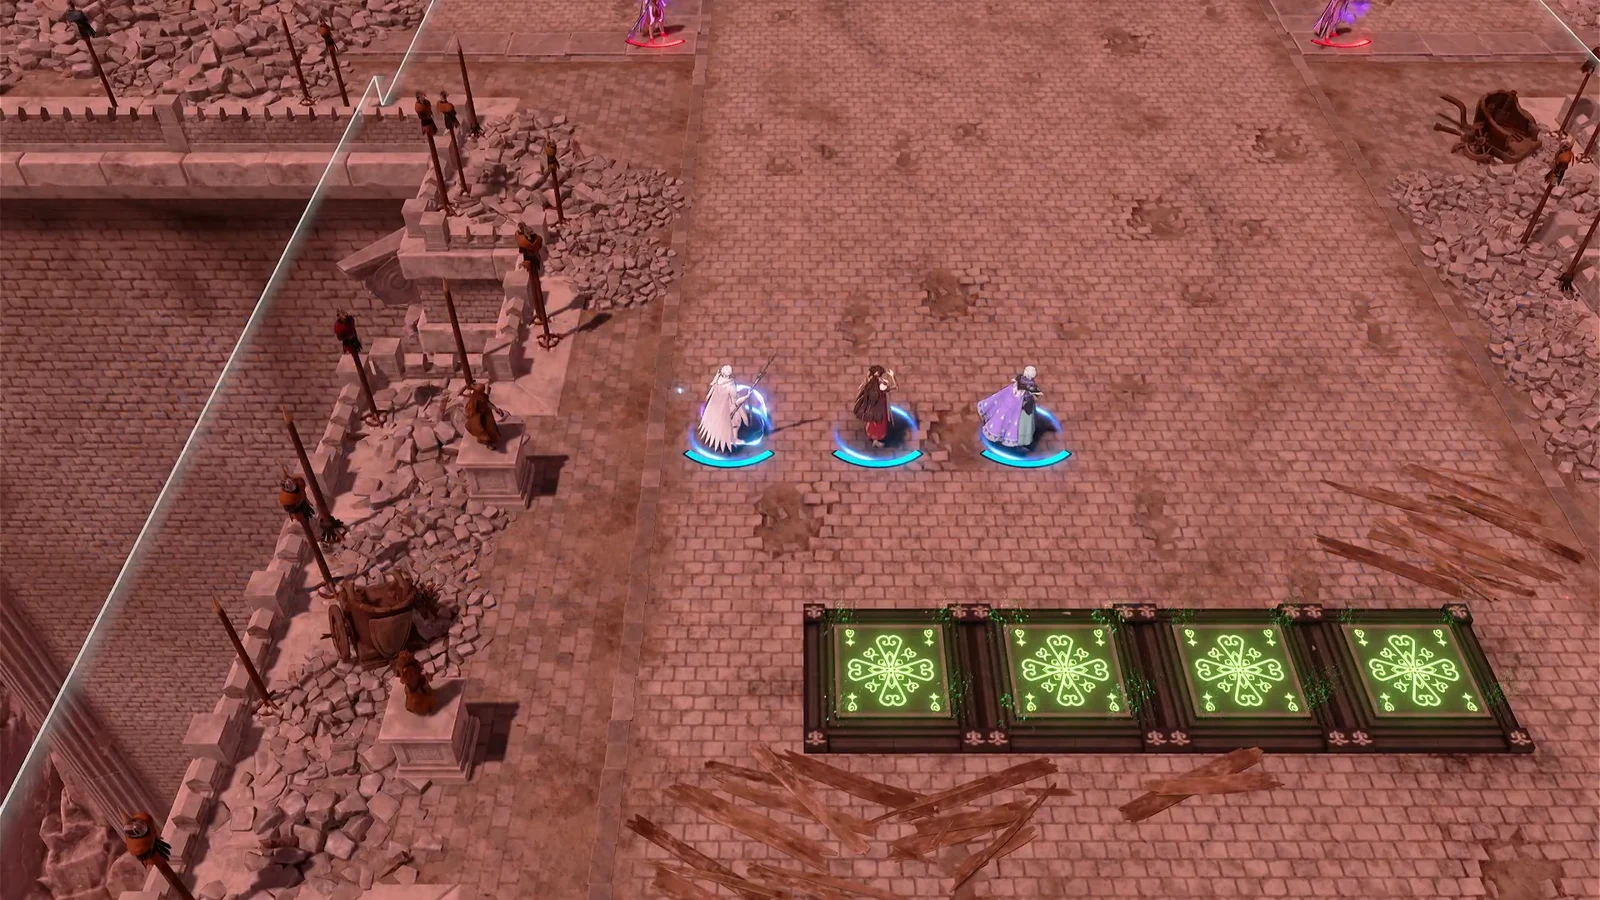
Lind stays out of reach while his allies fight. Once they are gone he closes in himself, lands a hit on Hong Hua, and then steps inside your attack range. That is your opening.
Hong Hua does the work here. Salamander+3 followed by the Compressed Laser Combat Art takes Lind’s HP to zero in short order. Keep Troy adjacent so a bad exchange does not cost you a unit at the last moment.
You know it worked when the Stage Clear banner appears with the MVP readout and turn count — a standard finish lands around 14 turns, with Hong Hua as MVP if she landed the killing blow.
What happens in the cutscenes after Lind falls
The battle is not the end of the scene. Lind drops to his knees and taunts the party about the gate guardian waiting in Dagsion and the extent of Balor’s power. He then tries a surprise attack, blowing up the archway above the party.
Fortuna, the Goddess of Fate, intervenes with divine power to shield the group and pull them clear. The chapter closes on a conversation where Troy and Hong Hua question her about the rescue and about the journey ahead, which sets up the next leg of the Prologue. None of this is affected by your earlier dialogue choice or by how long the fight took.