Winning a match in WARDOGS has almost nothing to do with your kill count. Three factions of 33 players fight over a single moving Control Zone, and the faction with the most bodies standing inside it banks points. Rack up thirty kills and you can still lose if nobody from your side is holding the circle. The trick is understanding exactly how points are scored and how to bend the map in your favor.
Quick answer: Reach 100 points before the other two factions by keeping more of your players inside the Control Zone each cycle. Players in the smaller Hot Zone count double, so contest it first.
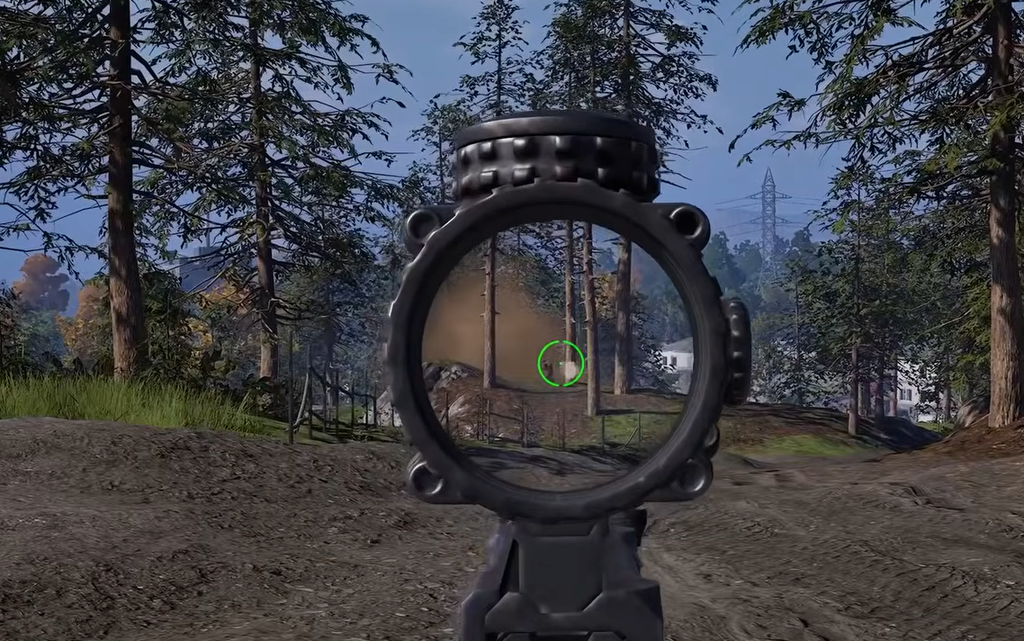
How scoring works in WARDOGS
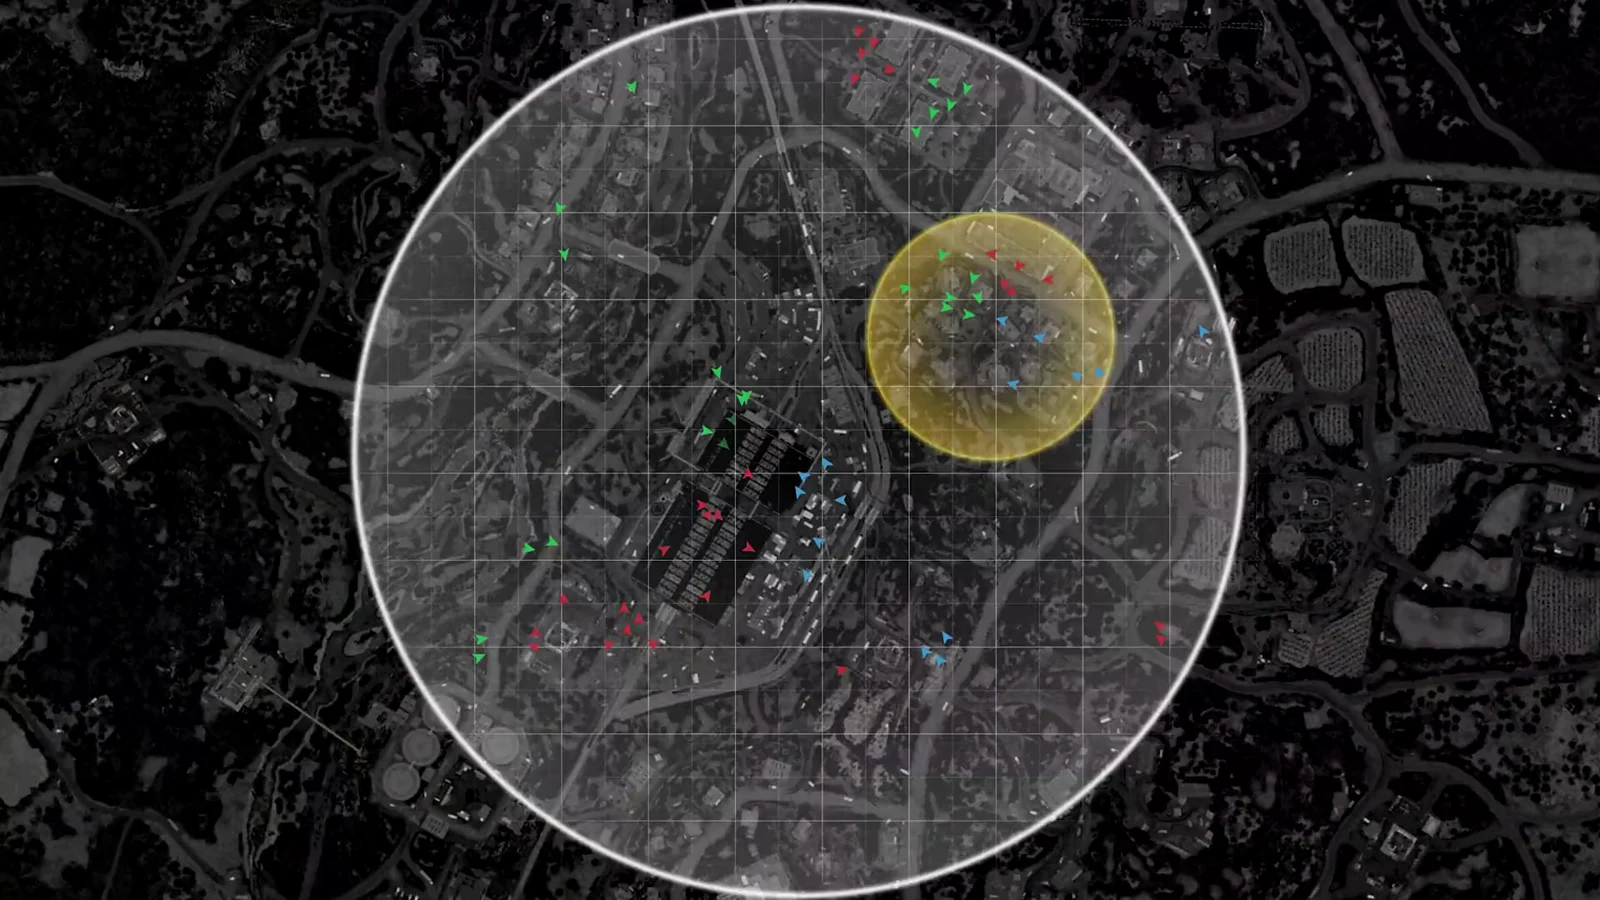
Every match drops up to around 100 players, split across three factions, onto a 256km² map. Your faction is locked for the whole match and never changes. Somewhere on that map sits the Control Zone, a roughly 2x2km circle that shifts position rather than staying put.
Each scoring cycle, the game counts how many players from each faction are standing inside the Control Zone. Whichever faction has the most earns one point for that cycle. Points keep stacking until one faction hits 100 and takes the match. That’s the entire win condition, so time spent dead or wandering the map is time you’re not contributing to the count.
The three factions are fixed by color: Manticore is green, Valkyra is red, and Lonestar is blue. Enemies always show in their faction color, and vehicle brand names are just vendor flavor — every faction can buy the same full roster back at HQ.
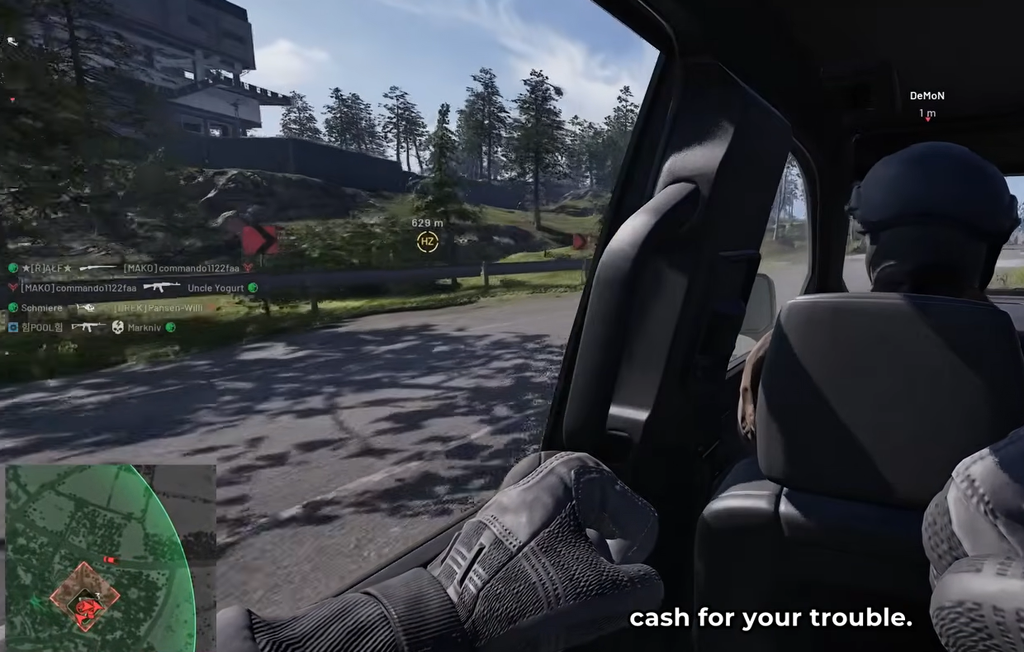
Why the Hot Zone decides fights
Inside the Control Zone is a smaller, moving yellow circle called the Hot Zone. Every player standing in it counts as two players toward the scoring count. That means a squad packed into the Hot Zone can out-score an enemy that technically has more bodies spread across the wider circle.
The Hot Zone also pays double. Kills, revives, and heals inside it earn noticeably more cash than the same actions anywhere else, which matters because cash carries between matches and buys better gear. The catch is that the Hot Zone drifts constantly and every faction wants it, so a solo push rarely holds. Bring a full squad and treat taking the Hot Zone as your top priority — nothing swings control faster.
Turtling never wins, even if your FOB happens to sit inside the zone. The counter to losing the zone is to keep moving with the Hot Zone, not to dig into one fixed spot.
Two ways to pull the Hot Zone to you
You don’t have to chase the Hot Zone forever. There are two methods to drag it onto ground your faction already controls, which lets you fight from a fortified position instead of a random field.
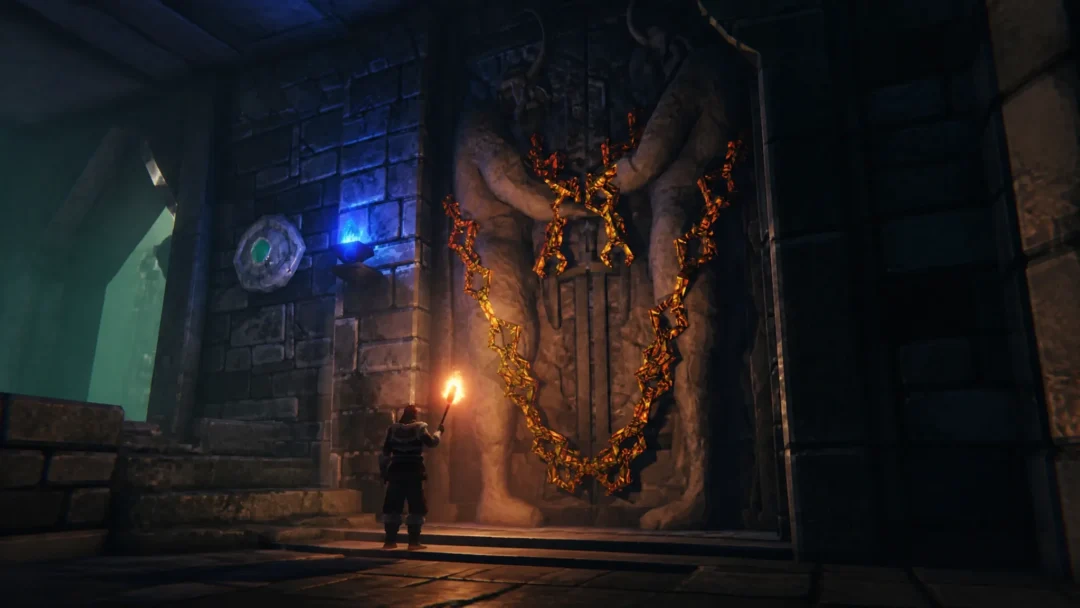
Method 1: The four-tower code
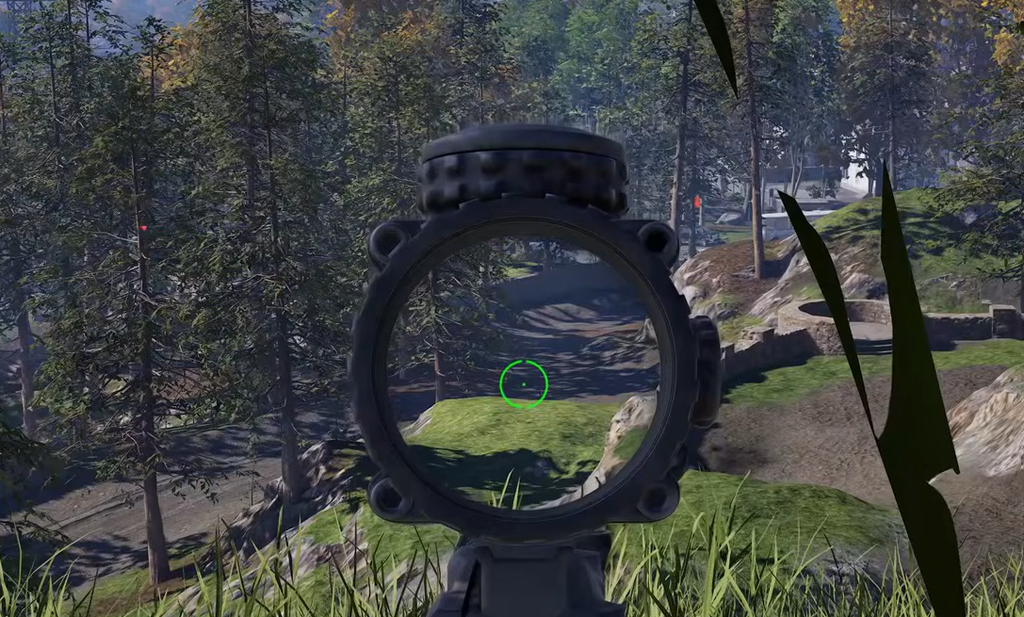
Method 2: The FOB drill
Building and using your FOB
A Forward Operating Base costs $7,500 to field, and placing one pays out $1,000. Destroying an enemy FOB is worth $5,000. The FOB itself scores no points, but it gives your faction spawn access, defensive walls, and room for mortars and anti-air that can deny enemy helicopters. Its shared Build, Fuel, Ammo, and Mechanical Supplies cost teammates nothing to draw from.
The FOB is a logistics and building hub only. It never offers a respawn. Dying sends you back to HQ, or to the APC once your faction reaches 20 points and the APC is sitting inside the Control Zone.
Building rewards the whole group. Every hammer hit pays $1, the marked hit pays $6, and completing a structure pays $15 — and those payouts are per person, so a squad all swinging on one wall each bank the full amount rather than splitting one reward.
Roles that win matches without kills
You don’t need to be a sharp shooter to carry your faction. Your overall level is the sum of six separate class tracks, and several of them level almost entirely through helping teammates. Play solo and kill-focused and you only ever develop the Assault track while the rest sit stalled.
- Support levels from building and repairing FOBs, towers, and vehicles the whole faction uses.
- Medic levels from healing and reviving, actions that only happen when a teammate needed you.
- Driver and Pilot level from ferrying players to the zone — the delivery is the whole job.
- Recon levels from spot assists, earning XP and cash when a teammate kills a target you called out.
Logistics is the most overlooked job right now. Before you drop supplies, open the map and hover over your FOB icon to see exactly what it needs. Don’t dump a pallet of something the base is already stocked with — bring the resource that’s actually short. Mechanical Supplies, for example, repair vehicles but only work inside a FOB’s radius, and a Mechanical Supply Pallet is destroyed by high-speed impacts, so land deliveries gently rather than free-falling them in.
Why teamplay pays better than solo kills
Everyone starts their WARDOGS career with $10,000, and cash carries from match to match. Because every teamplay action rewards money, coordinated play out-earns lone-wolfing, and the money then buys the gear that helps you hold the zone. Here’s how the main payouts stack up.
| Action | Payout |
|---|---|
| Zone occupation (normal) | $160 per cycle |
| Zone occupation (Hot Zone) | $320 per cycle |
| Transport a teammate | $300–$450, plus $500 if they survive |
| Bandage heal | $400 |
| Revive | $100–$900 |
| Kill confirmed | $1,500–$2,000 |
| Vehicle destroyed | $3,000–$4,688 |
The biggest single payouts still favor coordination. A confirmed kill lands easier with a Recon spotter calling the target, and a vehicle drops faster when a squad focuses it together. Even reviving is never wasted — it pays real Medic income and keeps a body on the field instead of sending them the long way back to HQ.
Staying alive to keep the count up
A downed player gets a long bleedout window on purpose, so a teammate can revive them before it expires. Getting picked up keeps your gear, keeps you in the fight, and keeps your faction’s zone count from dropping. Let the timer run out and you’re sent all the way back to HQ, off the field far longer than a revive would have cost. You can even offer cash to nudge a nearby player into reviving you.
Squads have no size limit, and squad radio is separate from proximity voice chat specifically so you can coordinate over the noise. The single most reliable habit is to read what your faction is short on and fill that gap. If everyone is pushing the front and nobody is hauling supplies, run supplies. If the FOB needs walls, grab a hammer.
You’ll know it’s working when your faction’s point total ticks up each cycle and, eventually, the match ends on your victory screen at 100. A few players moving with the zone and covering each other’s roles will almost always beat a bigger group running in every direction.