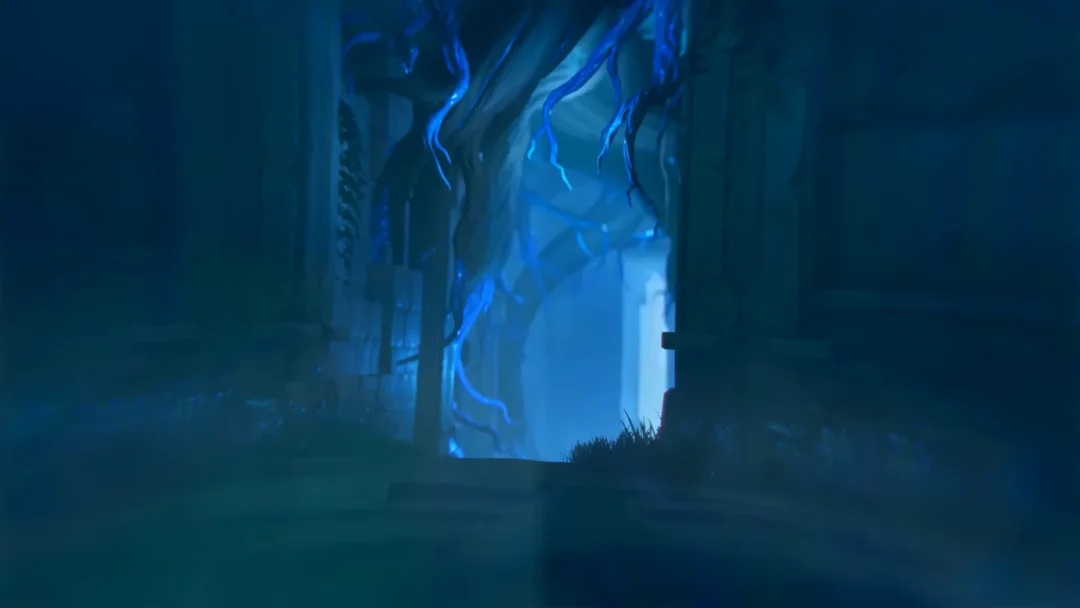
Frigid Waters is a solo sanctum tucked into a cave on the western side of Beast Fang Ridge, and it runs entirely on one idea: trial Fenrier turns marked water into solid ice, and you move those blocks onto pressure switches. Three optional chests sit off the main path, and every one of them needs an ice block or an ice staircase to reach.
Quick answer: Twine with trial Fenrier, freeze marked water into blocks, then untwine and use Grab to drop blocks on switches. Open all 3 chests before restoring the Vein.
Frigid Waters location and entry requirements
The entrance sits west of Beast Fang Ridge at coordinates -1413, 1398, inside a cave. You can reach it through an opening in the rock face, or through a second cave mouth that is sealed by ice you have to melt first. Beast Fang Ridge itself is part of the Breezy Plains region and covers levels 30 to 35.
| Check | Value |
|---|---|
| Area | Beast Fang Ridge (Breezy Plains) |
| Players | 1, solo |
| Optional chests | 3 |
| Trial Aniimo |  Fenrier (supplied inside) Fenrier (supplied inside) |
You do not need an Ice Aniimo of your own. Fenrier is handed to you at a statue a short way into the room, and the freezing interaction only exists while you are twined with it. Interacting with the purple cube outside activates the sanctum as a transport destination, then a second interaction opens the challenge screen and starts the run.
How the ice blocks work in Frigid Waters
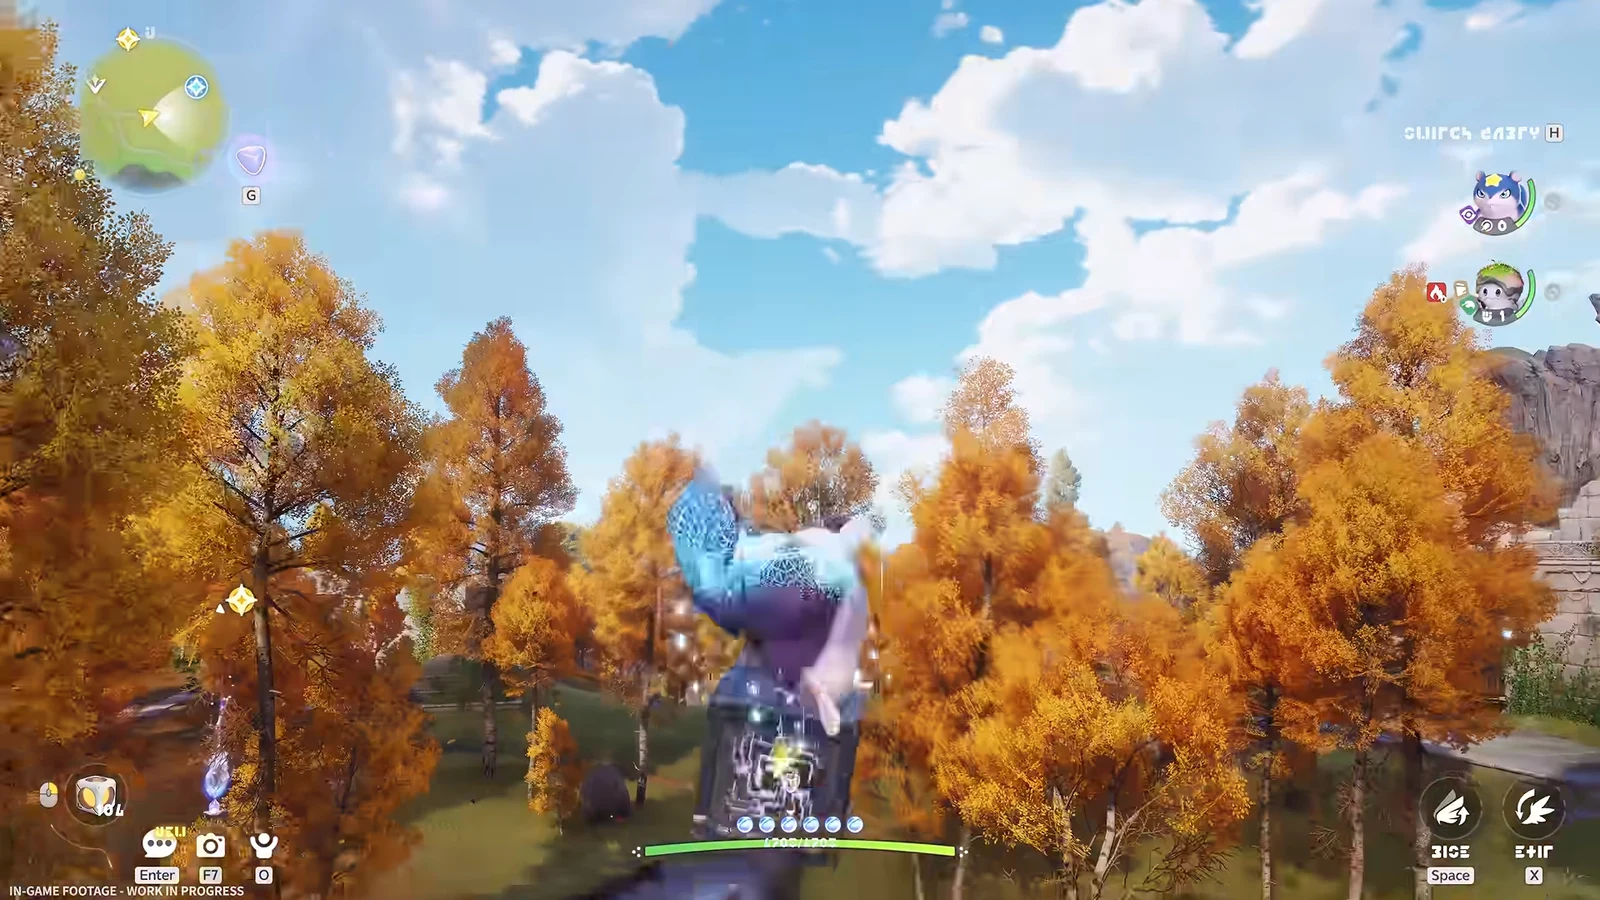
Two separate abilities carry the whole room, and the puzzles fail when you try to use the wrong one. Freezing is a Fenrier action; carrying is a Pathfinder action.
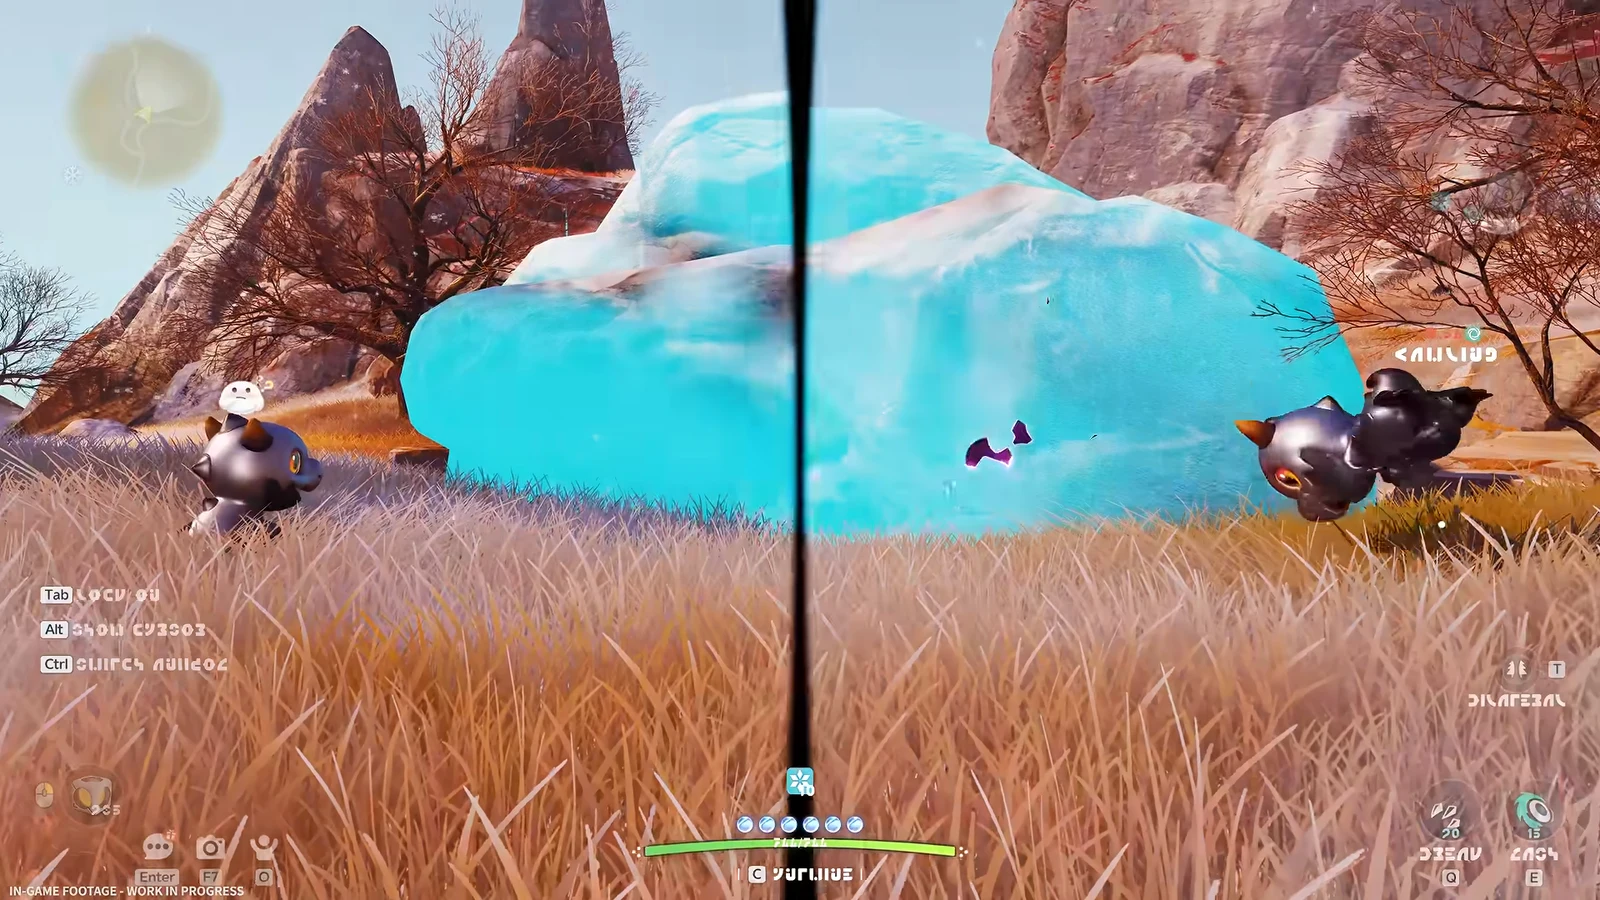
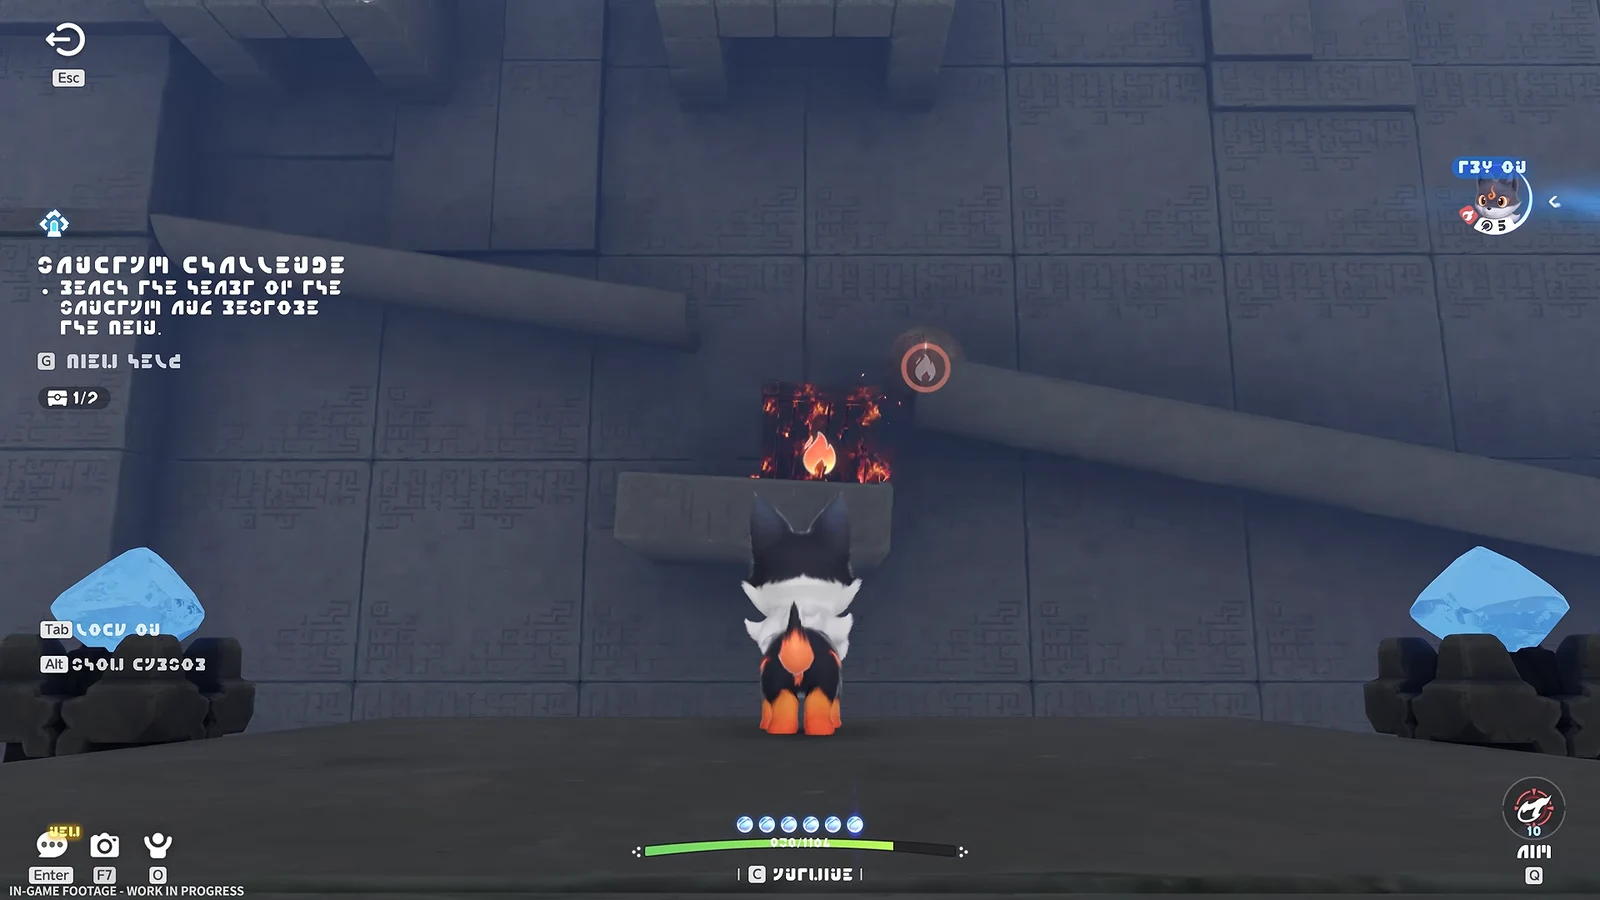
- Twined with Fenrier, use its skill on marked water to generate ice you can walk on or pick up.
- Untwine first, then use Grab to lift and drag a floating block. You cannot carry it in Fenrier form.
- A block is a single whole object. It does not break into smaller pieces.
- Floating ice melts on its own over time, so cross or place it promptly.
- If a block vanishes, return to dry ground, wait for the skill to come back up, and freeze the same water again.
Ice melts much faster near the flame jets in the middle of the sanctum. Plan that carry before you freeze the water, then move without stopping.
Frigid Waters walkthrough
All 3 chest locations and contents
Every chest here is the same grade, so the only difference between them is the rare held item inside. Each one pays Glimmers x10, Sparkling Crystal x10 and Credits x10000 on top of the item listed below.
| Chest | Where it sits | Held item |
|---|---|---|
| 1 | Raised pillar left of the first crossing | Heartseeker Pendant x1 |
| 2 | Far ledge past the two raised gates | Lightning Needle x1 |
| 3 | Shelf above the balance platforms | Echoing Grimoire x1 |
Check the objective counter reads 3/3 before you touch the Vein. Restoring it closes out the challenge, and it is not worth gambling on a return trip for a chest you walked past.
Checkpoints, hazards and clear rewards
Nothing in Frigid Waters kills you on contact and no seal runs on a timer, so there is no pressure beyond the melting ice. You start on the entry pad at the west end of the flooded hall, and three more checkpoints light as you walk the route: one on the bank past the Fenrier statue, one on the basin floor below the eastern lip, and one on the ledge above the final chamber. Each triggers simply by crossing the line, not by interacting with anything. The only real hazards are the paired flame jets near the barred slot, which fire in short bursts with no gap between them.
The first clear pays Lumin Amber x1 and 500 EXP, matching every other sanctum in the game. Repeat visits keep the transport destination on your map but hand out nothing further, so there is no reason to grind the room once it is done. Clears do count toward the Sanctum Delver milestones at 3, 5, 10 and 15 rooms.
You will know it worked when the completion loading screen appears and the entrance stays listed as an activated transport point. If you are cross-referencing an older checklist, Frigid Waters was called Water to Ice during the closed beta and shows up as Frozen Crossing in some earlier community notes.