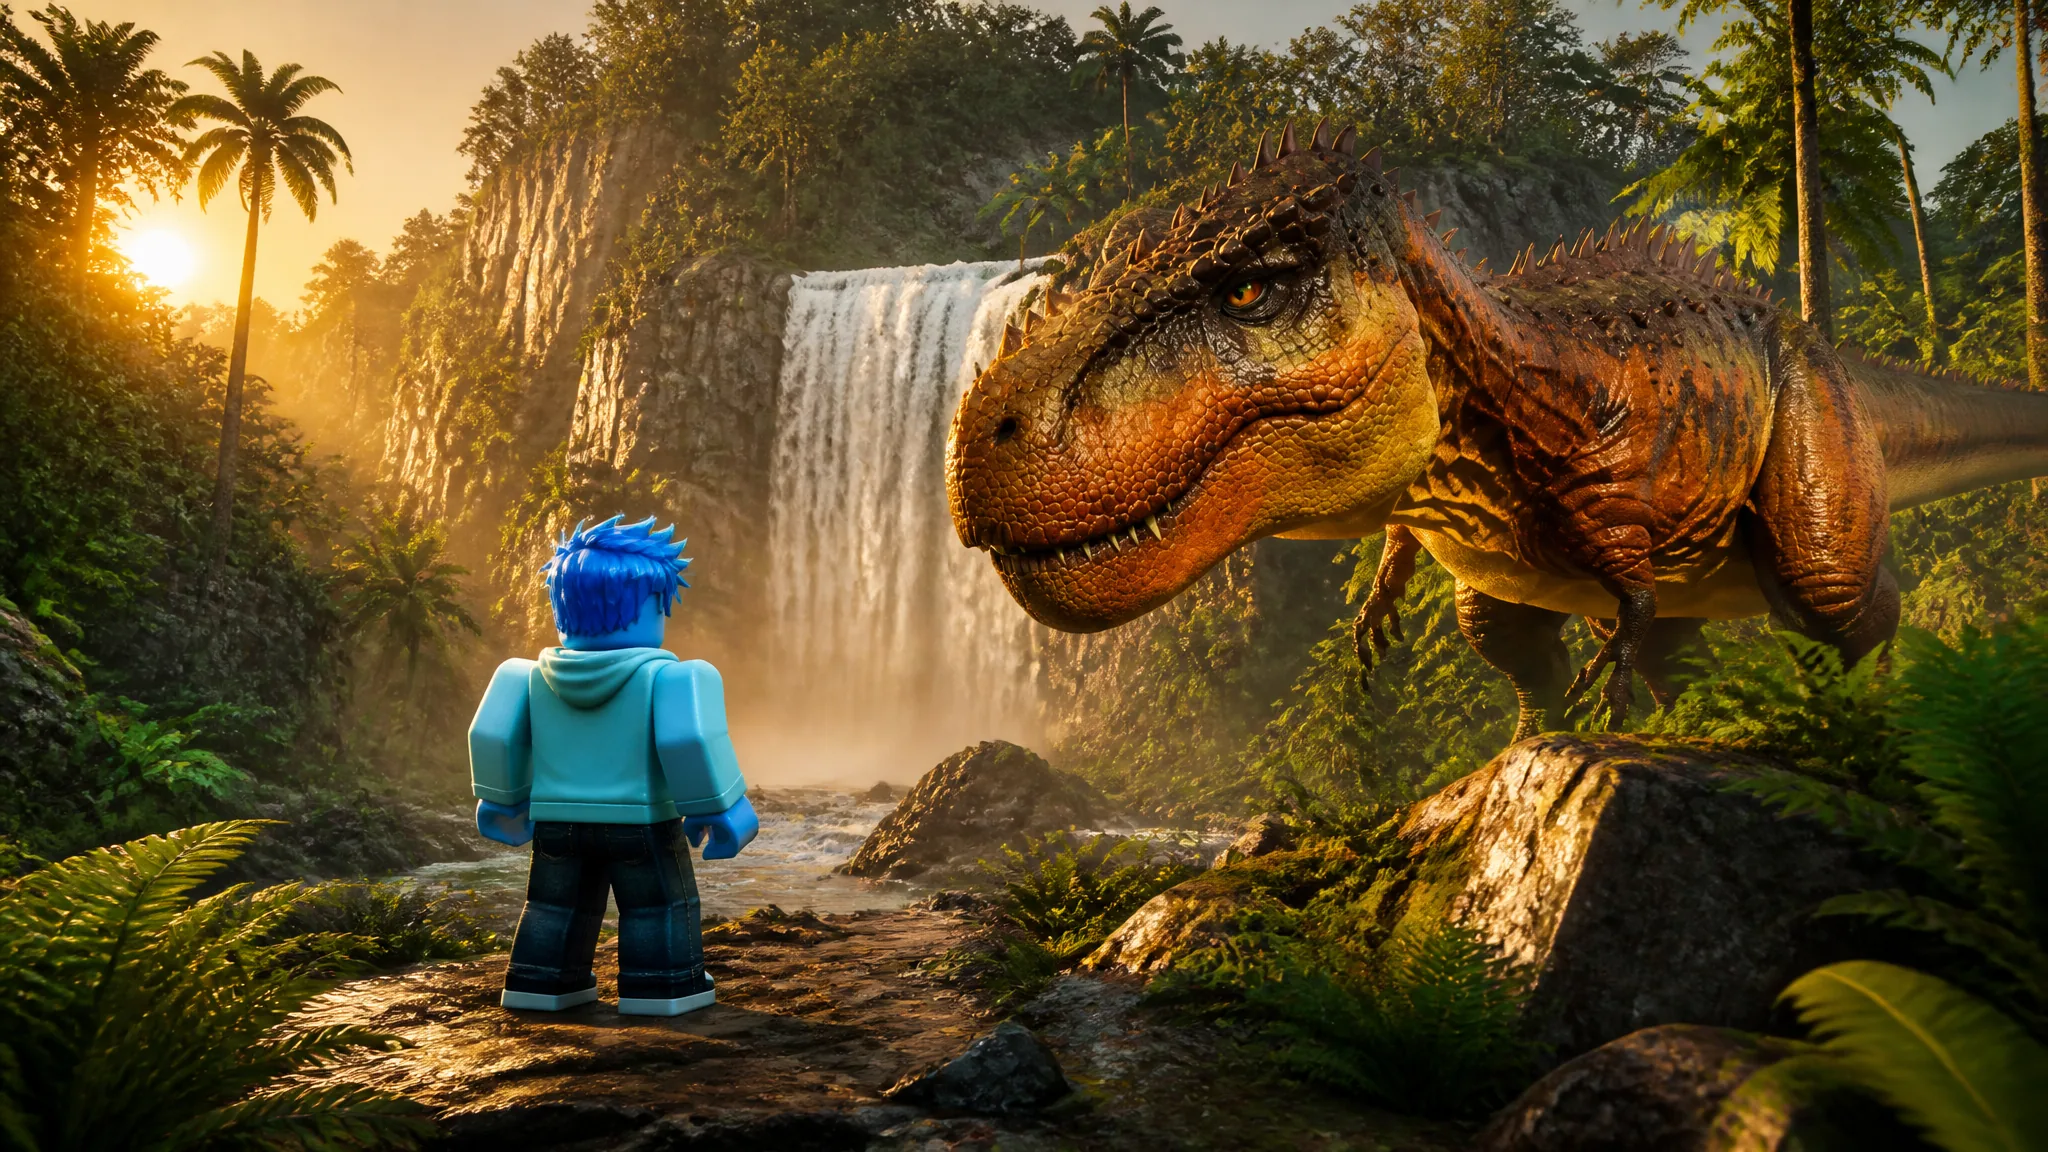
Be Dino drops you into a prehistoric arena as a small, hungry dinosaur and gives you one job: get bigger than everything else on the map. You forage, you hunt, and you run from anything with a larger number floating over it. Every run ends the same two ways — you either grow into a threat, or something else eats you and takes your progress.
Quick answer: Enter the green portal from the lobby, eat food and smaller dinosaurs to raise your Size counter, and keep away from any dinosaur showing a higher Size than yours.
The Be Dino run loop: Lobby, portal, and Size
Everything starts in the grassy lobby. This is where you equip a dinosaur, claim rewards, and open the shop. Nothing can hurt you here, so treat it as your staging area rather than part of the run.
You can climb from nothing to well past 60K in a single uninterrupted run if you avoid the giants. You’ll know your run is going well when the Size readout keeps ticking up and other players start actively avoiding you instead of chasing you.
What happens when a bigger dinosaur eats you
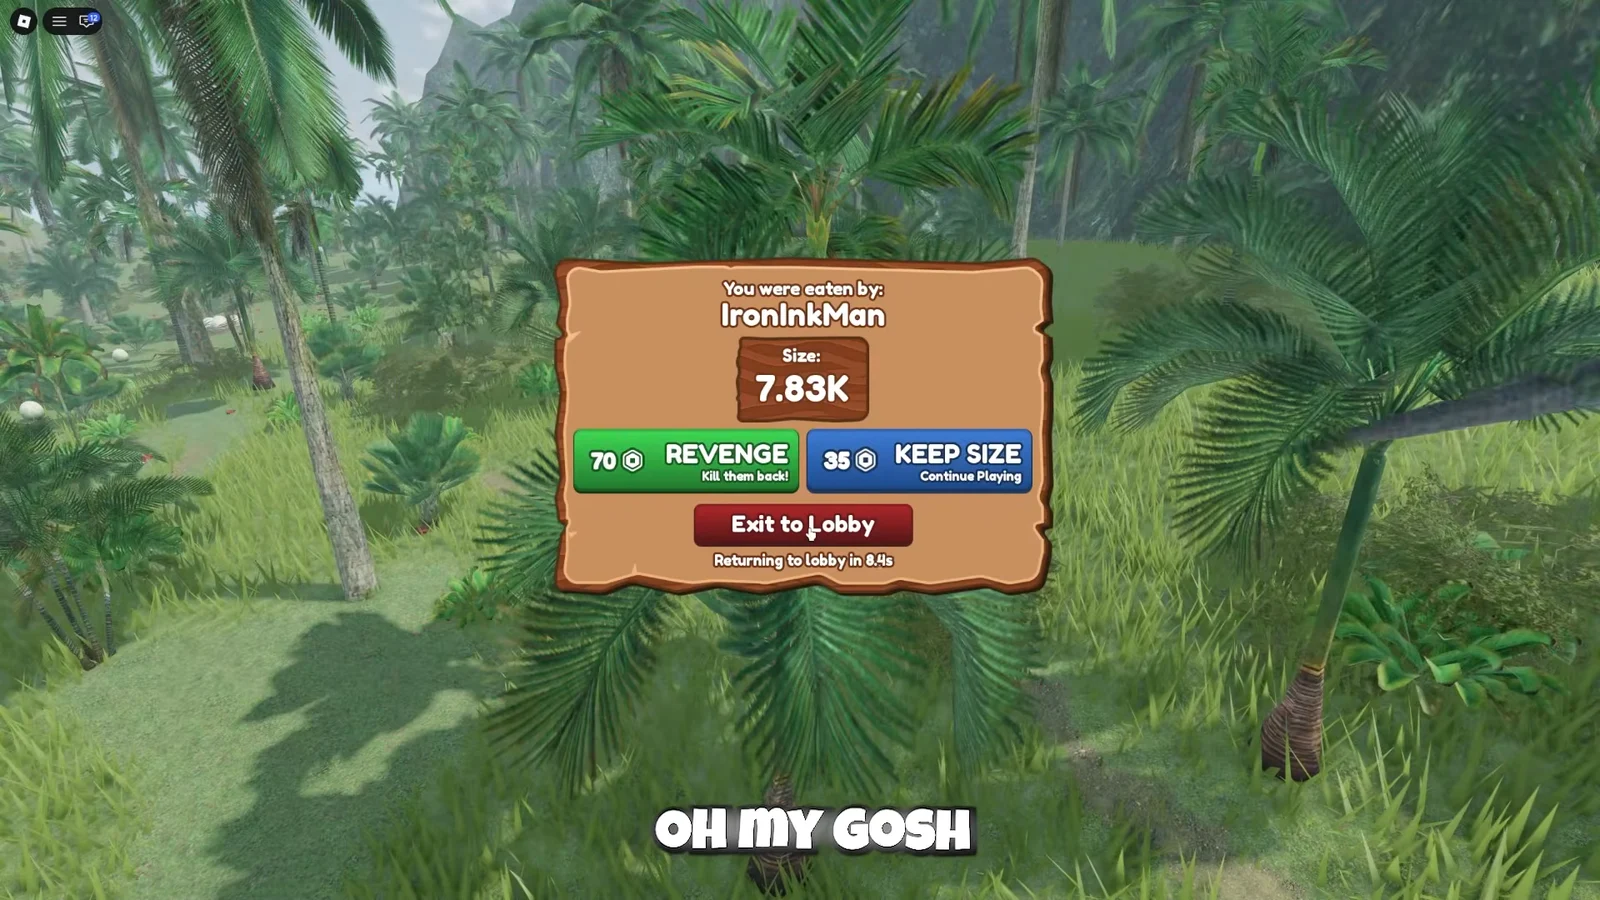
Size is the only thing that matters in a fight. A dinosaur sitting at 7.83K will end a run that’s barely off the ground, and the game tells you exactly who did it with a “You were eaten by” message and the attacker’s name. Red damage indicators flash before that point, which is your cue to break off and run.
After you die, the game offers two paid options. Both cost Gems, and both are optional — you can always decline and restart from zero.
| Option | Cost | Effect |
|---|---|---|
| REVENGE | 70 Gems | Go back after the dinosaur that killed you |
| KEEP SIZE | 35 Gems | Restart without losing your accumulated Size |
KEEP SIZE is the cheaper of the two and protects the thing that’s hardest to rebuild. If you die deep into a long run, it’s usually the better use of your Gems.
Dino cards, rarities, and the Dinodex
Your collection is built from dinosaur cards, sorted into Common, Uncommon, Rare, and Epic. The card you equip determines the species you control and its exact look, from a dark green striped Gladejaw Tarbosaurus to the horned, near-black Dread Carnotaurus at Epic rarity. Discovering new species also fills out your Dinodex.
Most of the roster is made up of Base variants, covering everything from small raptors and Compsognathus-scale sprinters up to Spinosaurus, Giganotosaurus, and several T-Rex variants. On top of that sit themed versions that sit outside the Base naming, including:
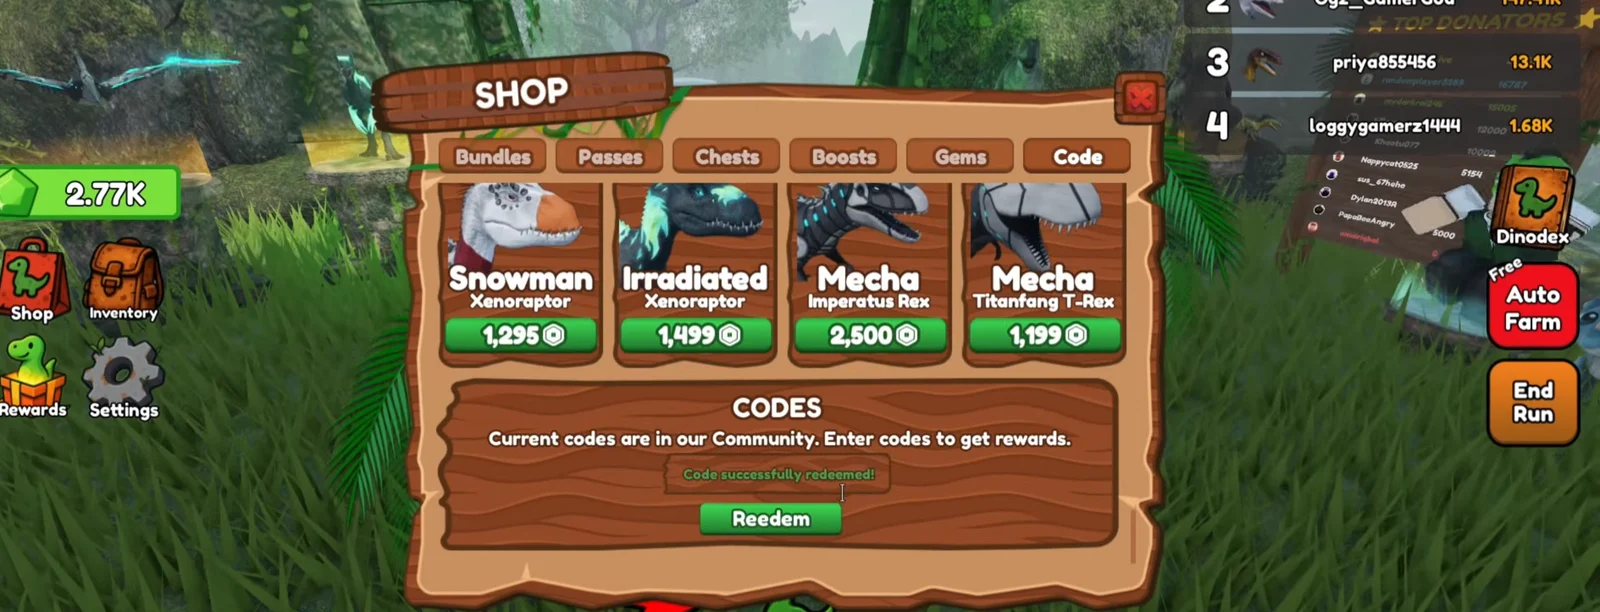
- Mecha Pteranodon
- Spectral Imperatus Rex
- Frozen Mosasaurus
- Undead Dread Gigantosaurus
Swapping your active dinosaur
Daily rewards, Gems, and XP boosts
The Rewards menu in the lobby runs on a day-by-day ladder, and each day you log in unlocks the next tier. Payouts across the first few days include Gems, XP Boosts, and dinosaur cards — a Solarjaw Tarbosaurus turns up as one of the early card rewards. Days stack, so you can claim several at once if you have unclaimed ones waiting.
Gems are the practical currency here. They’re what fund KEEP SIZE and REVENGE after a bad death, which makes the daily claim worth a few seconds before every session.
Relics, Fossils, and Ambers in your inventory
Open the inventory in the lobby and you’ll find three separate collectible categories: Relics, Fossils, and Ambers. They come in tiers and carry modifiers, with XP and Luck being the two you’ll see most often — a Tier 1 Medium XP Fossil and a Tier 1 Small Luck Amber are typical examples of what lands in there.
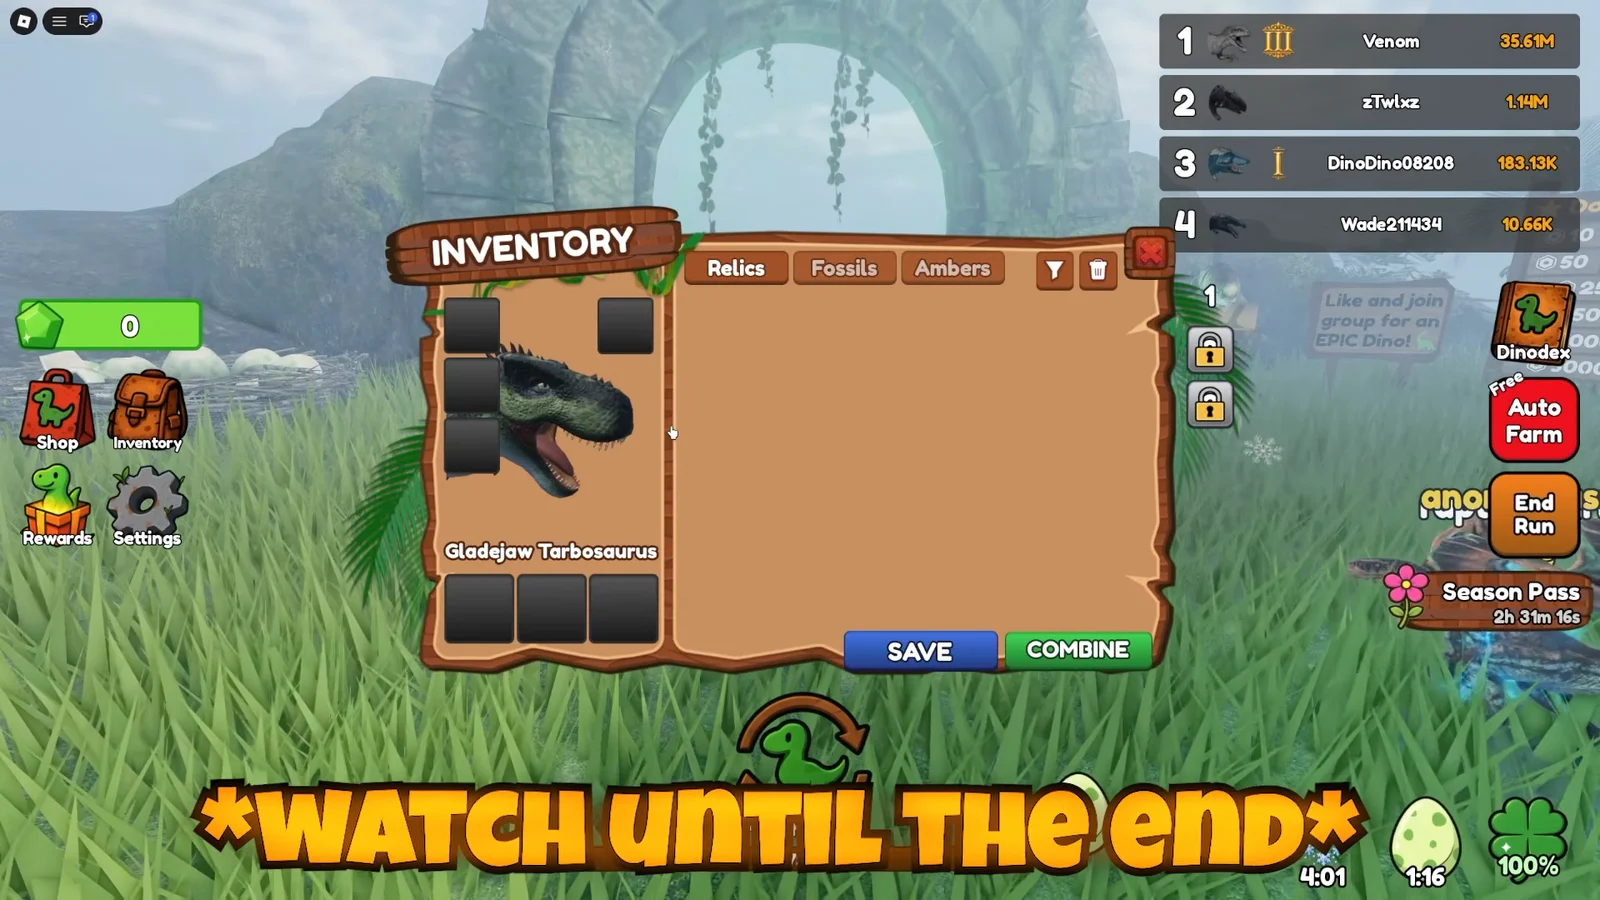
These aren’t consumed during a run the way food is. They accumulate from rewards and redemptions, so there’s no reason to hold back on claiming them.
Biomes: Jungle and Tundra
The main world is split into distinct regions rather than one flat arena. The jungle is the default starting area — dense, green, and where most of the traffic sits, which means both more food and more predators. Cross far enough and the terrain turns to snow as you enter the Tundra.
Moving between biomes is a legitimate survival tactic. If a Spinosaurus or T-Rex has parked itself in the middle of your feeding ground, relocating is usually faster than waiting them out.
Codes
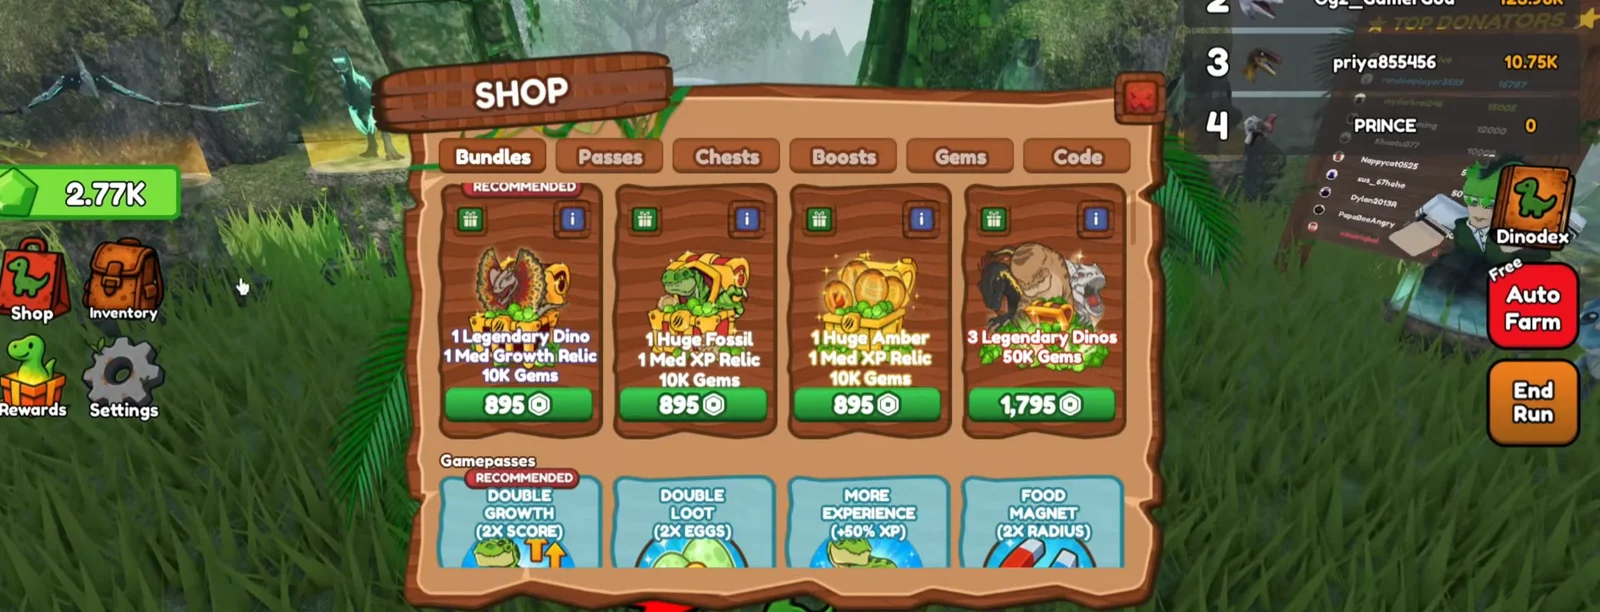
Currently active: AERIAL, WEATHER, HUGE150K, and AMBER. Open the Shop on the left of the screen, click the Code tab, type the code into the Enter… box, and press the green Redeem button — rewards appear instantly, and anything no longer valid returns a “Code has expired” message.
The fastest way to improve is to stop treating early Size as something to protect. Push hard in the first minute, eat everything in reach, and once you clear the lower end of the pack, the map flips from a chase into a hunt.