


Every run in Survive The Swarm follows the same rhythm: pick a class, clear waves, feed level-ups into two weapons until one of them evolves, kill the area boss, then get out with your Gold before the ghosts take it. FAKT’s Roblox survival RPG is still in beta with weekly updates, so the fastest way to make progress is to learn the loop rather than chase a single overpowered item.
Quick answer: Take Engineer for solo runs or Healer in co-op, start Campaign on Emerald Glade at Easy difficulty, max two matching weapons to trigger an evolution, then enter the extraction portal once ghosts appear.
Best starter classes: Engineer, Healer, and Rogue
The Select a class menu is the first real decision, and only a handful of options matter early. Engineer is the strongest pick for solo campaign clears. Healer is the one you want somebody running the moment you group up. Rogue is the free option that costs nothing to test.
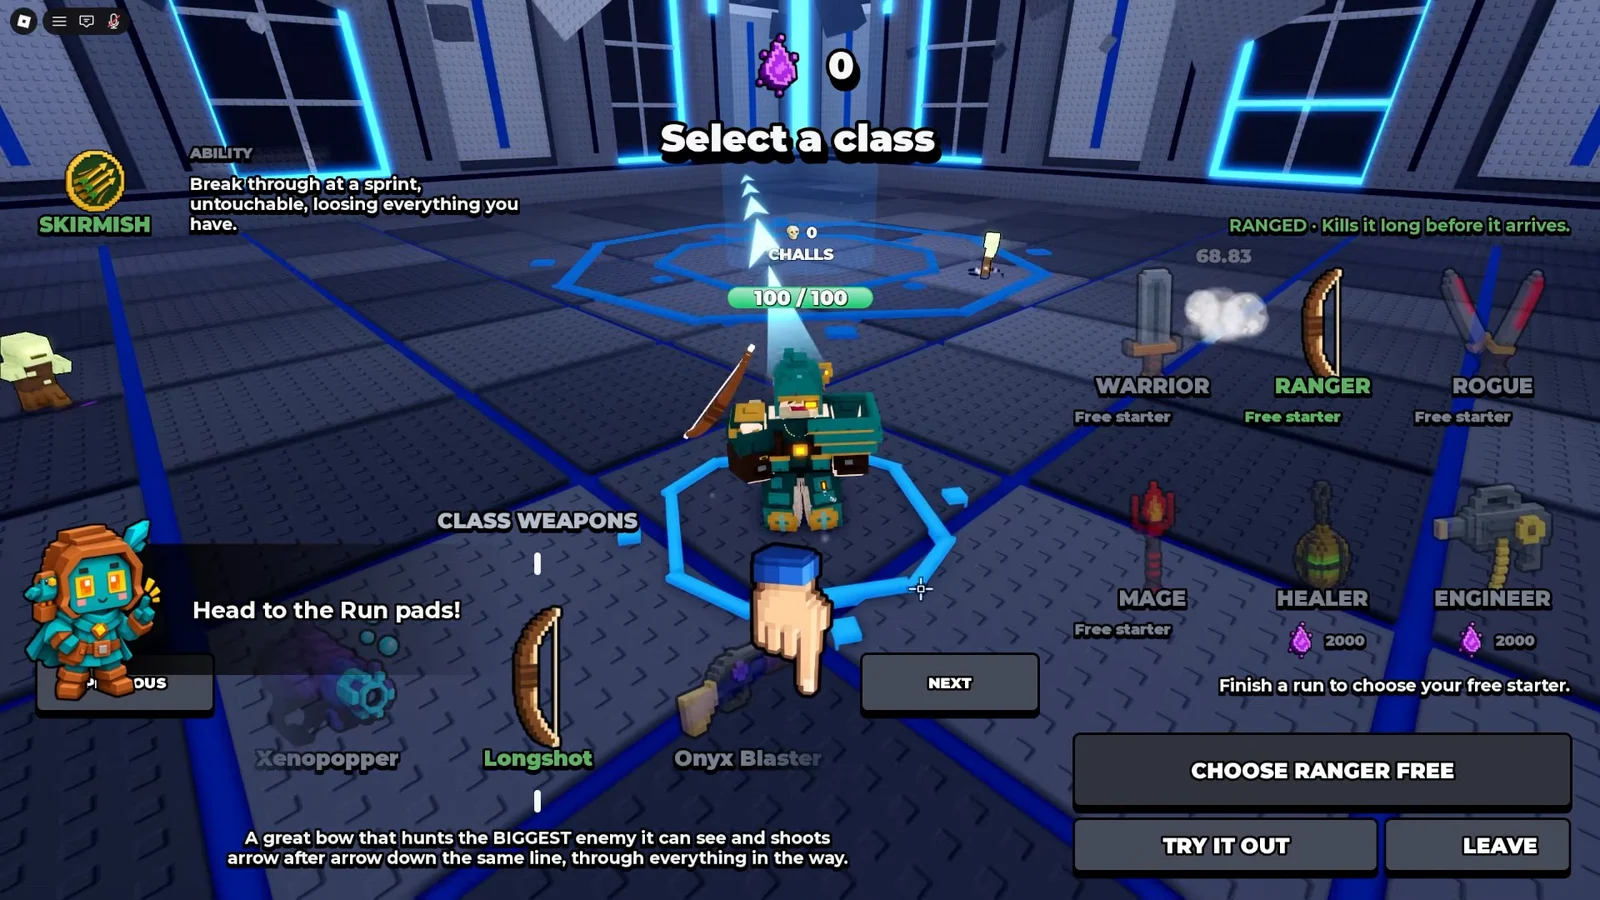
| Class | Role | Pick it when |
|---|---|---|
| Engineer | All-round power | Solo campaign runs |
| Healer | Sustain for the team | Co-op survival |
| Rogue | Shiv, Shadow Step | You have not spent Essence yet |
Engineer is the safest investment for a first serious push, since it holds up across normal campaign maps without needing an exact gear setup. Healer earns its slot in a group, where keeping bodies alive matters more than one player’s damage. Rogue arrives free with Shiv and Shadow Step, which is enough mobility to learn how swarms funnel toward you.
Read the class description in-game before spending Essence. Balance shifts with the weekly beta patches, so a bonus listed in an older ranking may no longer match the live numbers.
Claim your Quests rewards before the first run
The Quests menu quietly stacks up completed starter tasks, and the rewards sit there until you claim them. Early entries like First Blades pay out coins and materials that fund your first weapon unlocks, so open the menu and empty it before you queue into anything. It is worth checking again after every few runs, because the same tasks keep feeding free resources into your upgrade budget.
Weapon leveling and how evolutions like Arrowgeddon trigger
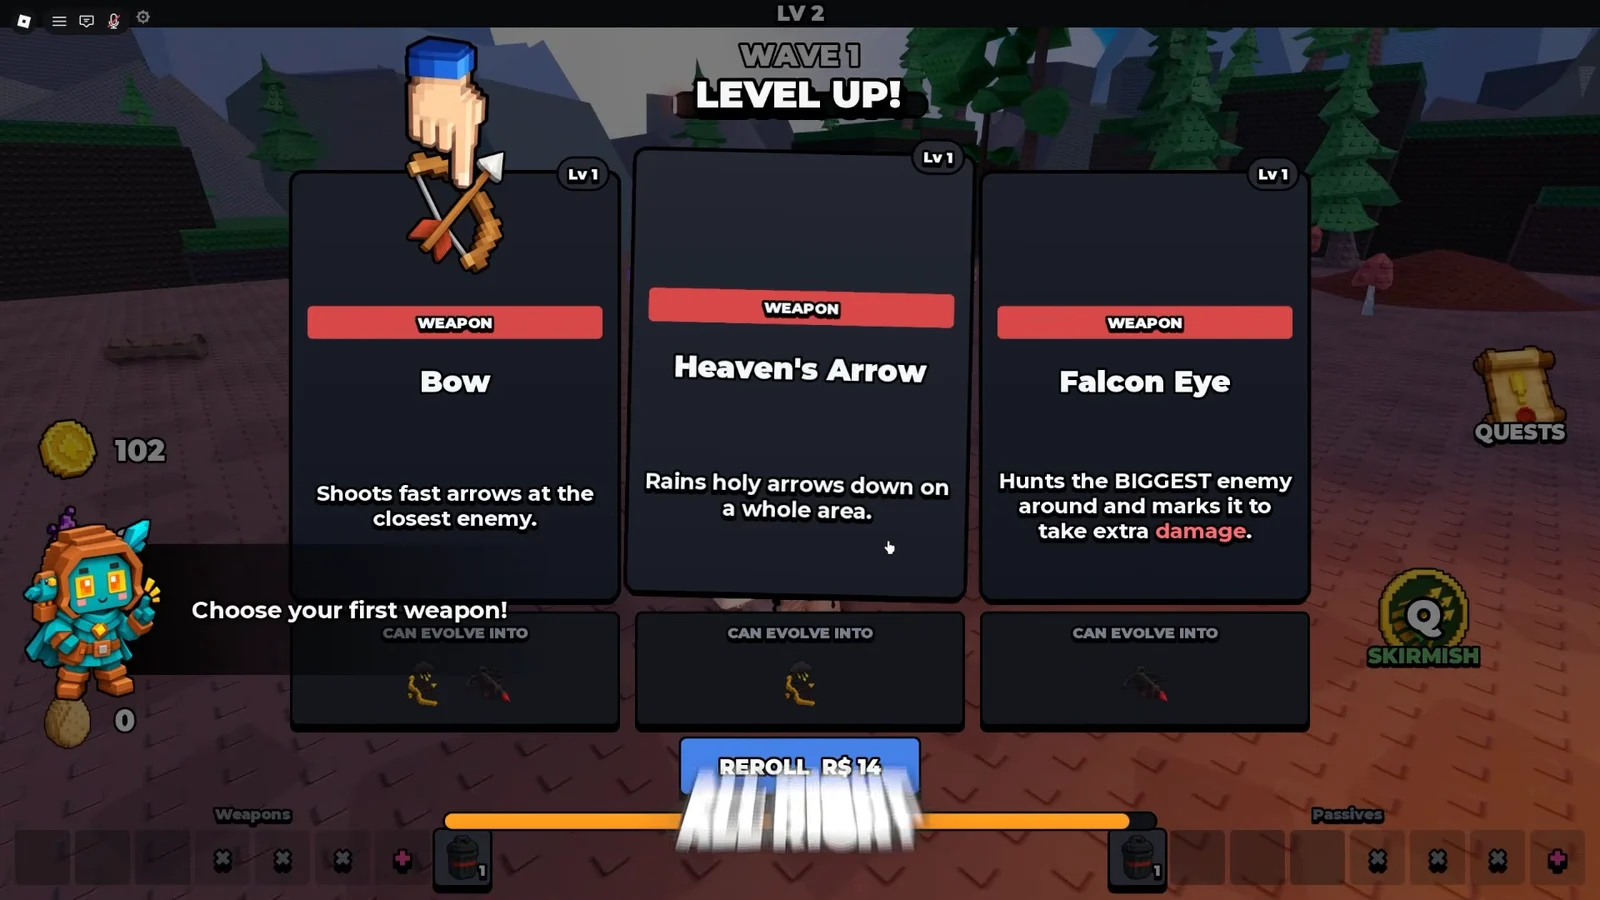
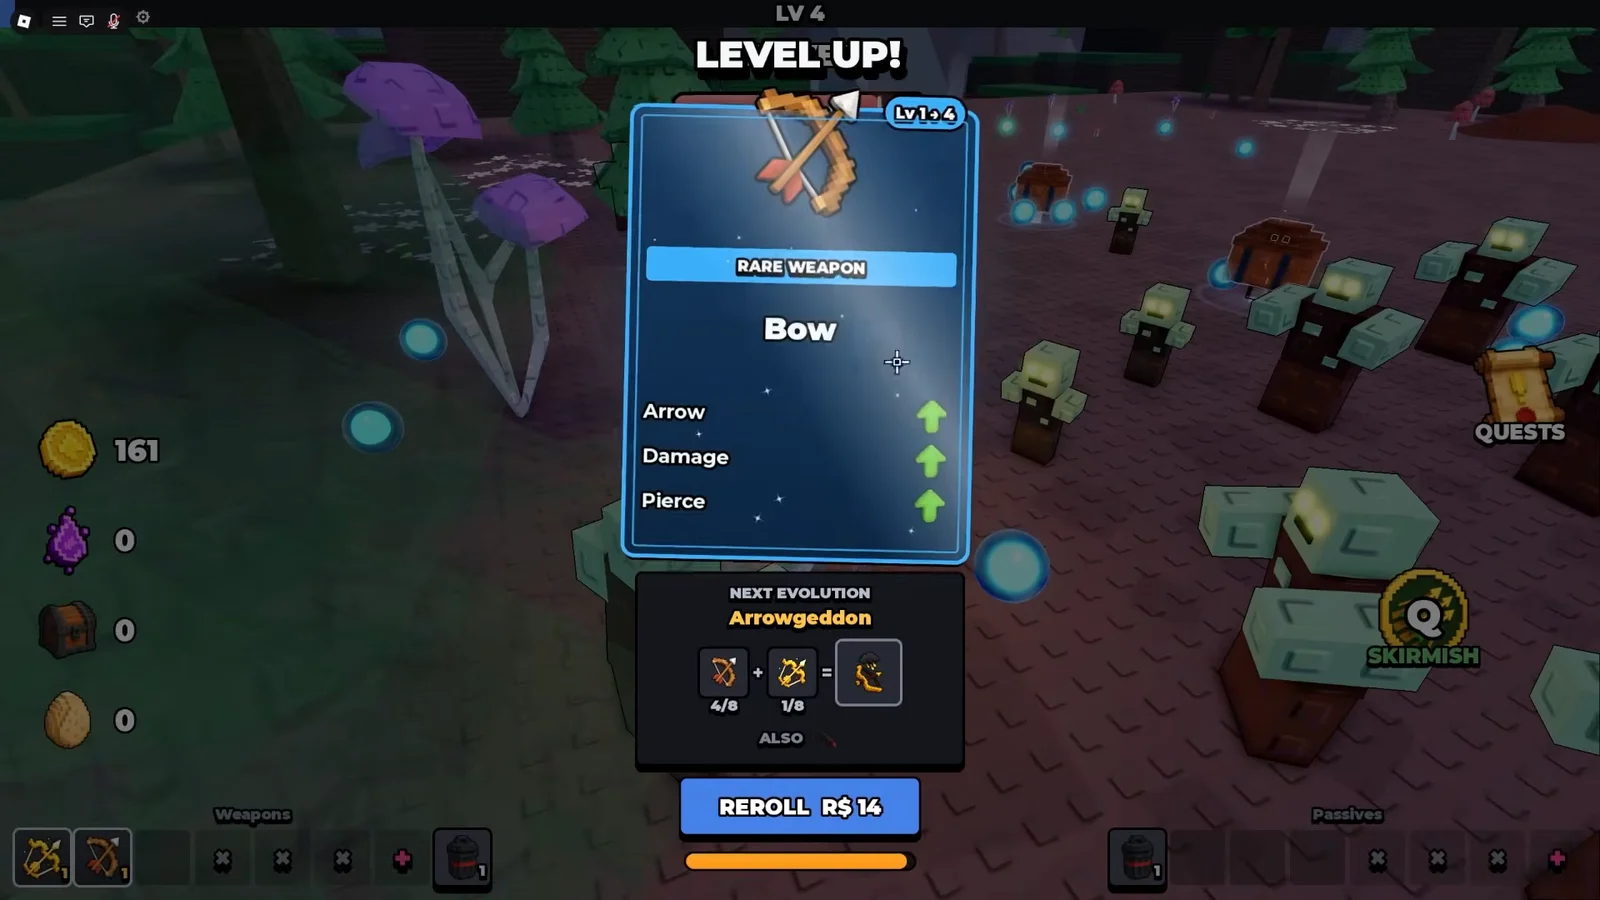
Weapons and Gear are the backbone of a run. You pick them up from level-up offers, then push a compatible pair toward maximum level to unlock an evolution that changes how the run feels. The Heaven’s Arrow and Bow combination is a clean example, since it ends in an area-damage evolution that handles dense packs on its own.
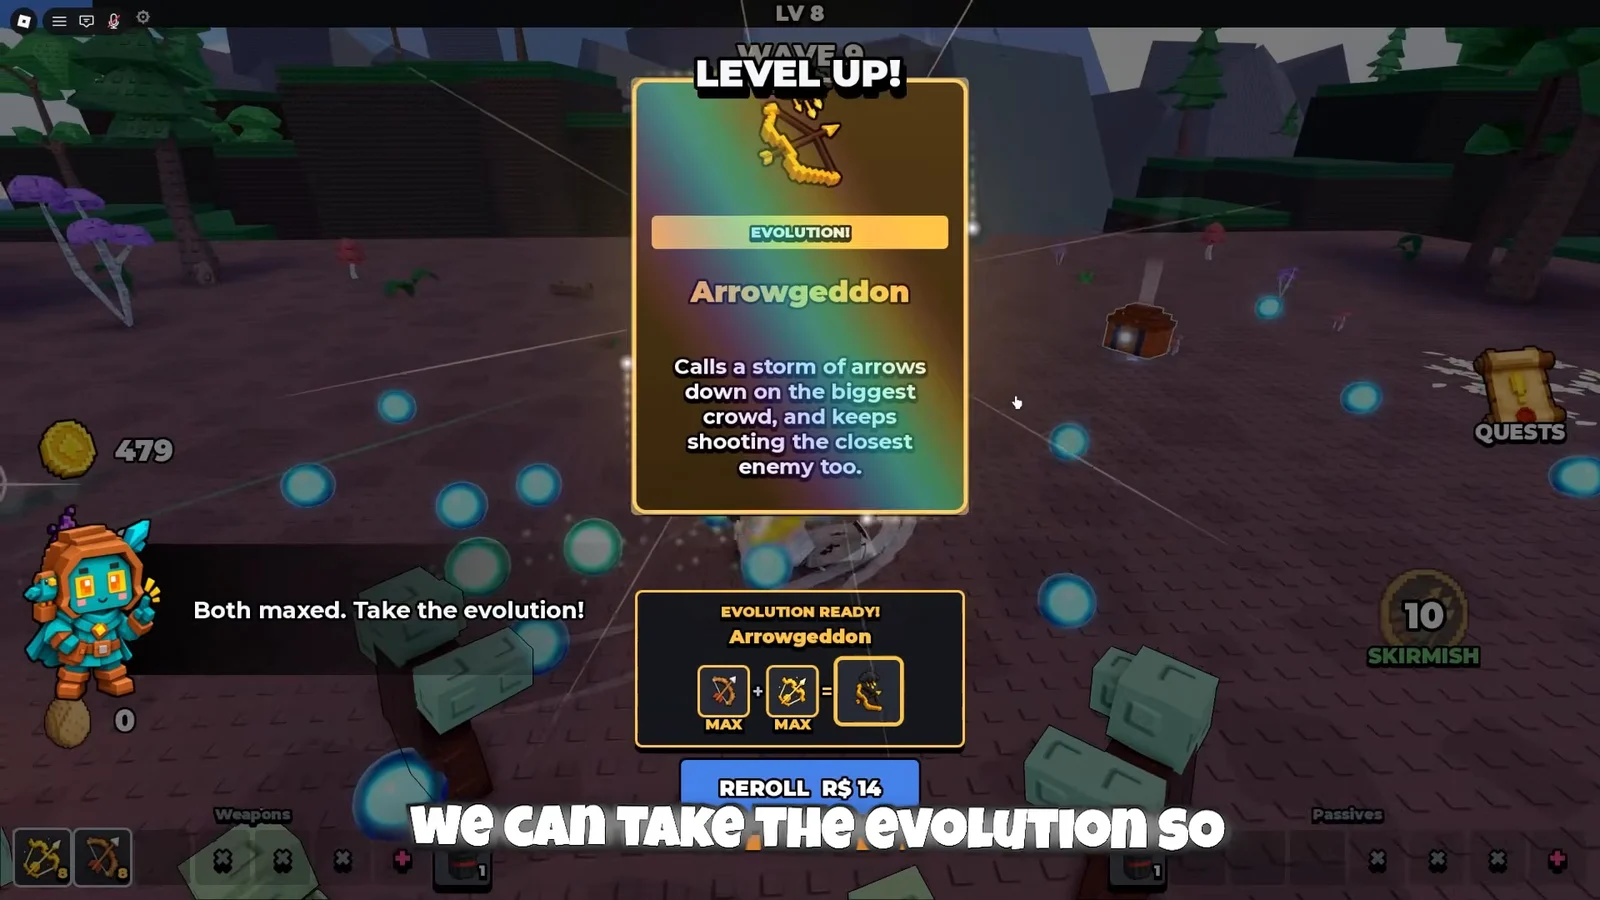
Use your movement ability as an escape tool rather than an opener. Skirmish pulls you out of a closing ring of enemies, which is exactly the situation that ends runs before the boss even spawns.
The Understudy boss fight
The Understudy shows up as the area boss on Emerald Glade, and it telegraphs ground attacks you can simply walk out of. Keep moving through those markers and let your evolved weapon chew through the mobs still spawning around the arena. The fight resolves once the boss drops and the remaining ghost mobs are cleared, at which point loot drops on the floor for you to pick up.
Bank your Gold: the extraction portal and the ghosts
Gold is only yours once it is banked. The longer you survive, the more you earn, but the ghosts arrive to push you out, and dying with an unbanked pile means losing all of it. Find the portal and step in.
You will know it worked because the run ends, you are returned to the lobby, and the Gold and drops are added to your account rather than wiped. Treat every extra wave after the ghosts appear as a bet against that total.
Greed is the intended trap here. If your build is not clearing comfortably when the ghosts spawn, take the portal immediately.
Upgrades menu: which skill tree nodes to buy first
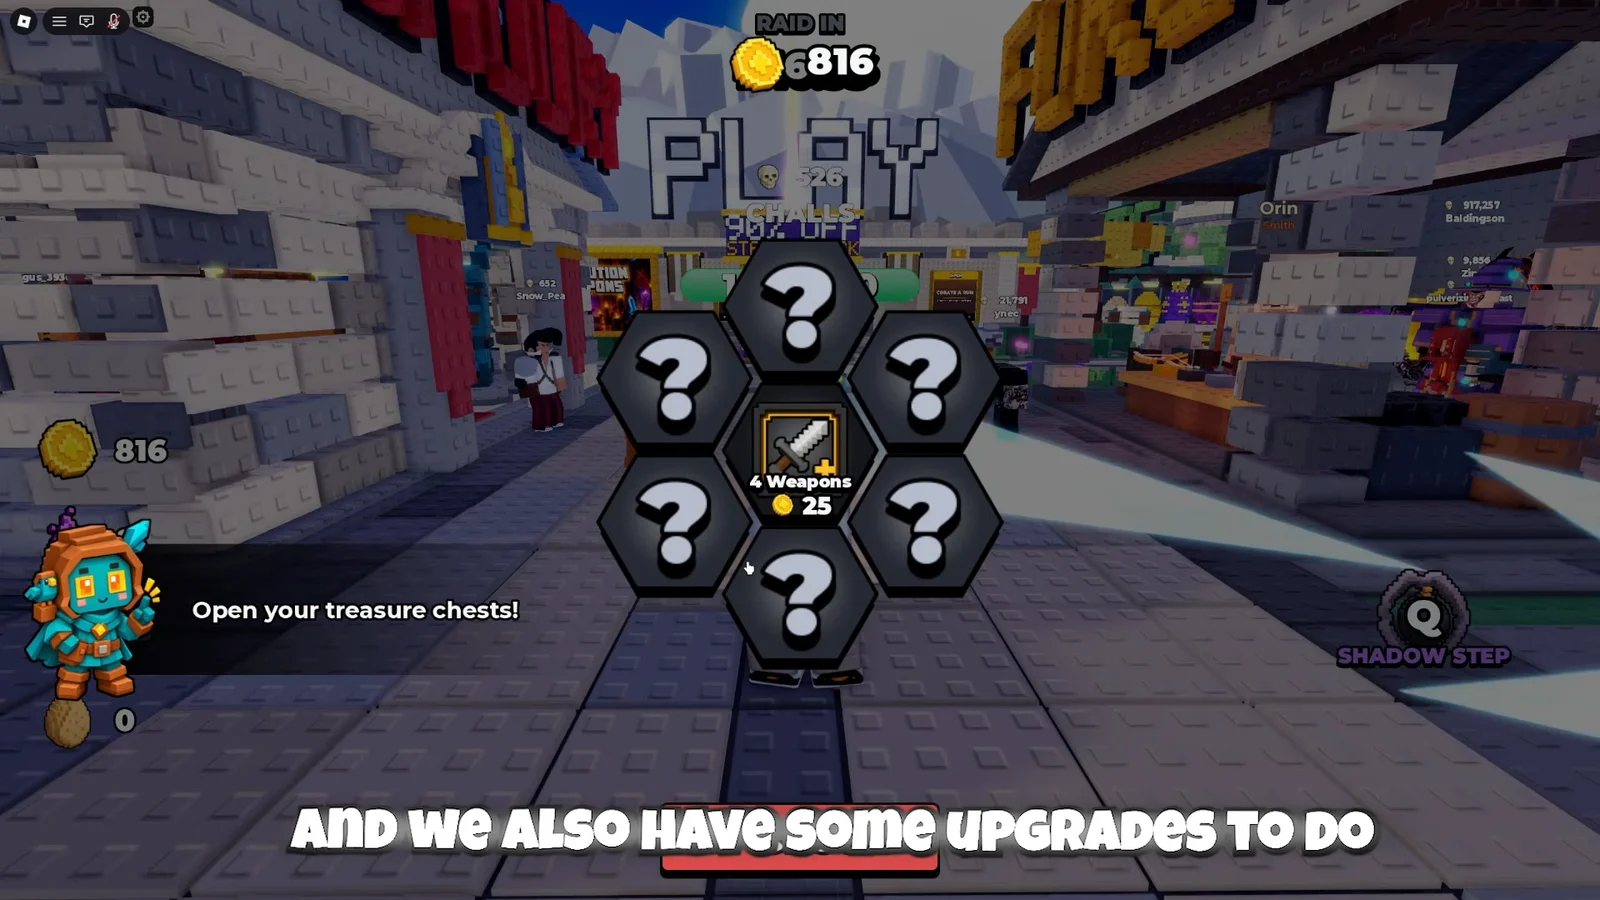
The Upgrades menu holds permanent nodes that carry across runs, and the opening purchase is not a damage stat. Buy the slot expansion first so your builds can actually reach an evolution, then take the economy nodes that compound over every future run.
| Node | Priority | Effect |
|---|---|---|
| 4 Weapons slot | First | Extra weapon slot per run |
| +25% Daily Gold | High | Larger daily Gold payout |
| Free Reroll | High | Reroll a level-up offer |
| +8% Egg Find | Next | Better egg drop rate |
Free Reroll is the most underrated of the four. Evolutions require specific pairings, and a single reroll is often the difference between a maxed combo and a run full of filler picks.
Crates, Rawhide armor, and equipping gear at Orin
Crates come in rarities, and the common and rare ones already hand out usable weapons, passives, and armor pieces such as Rawhide. Opening them is only half the job. Nothing you pull is active until you take it to Orin the smith and equip it, so make that a habit after every crate batch.

Codes for free Gold and Essence
Codes are redeemed in the in-game Store, and the code field becomes available after you finish the tutorial. Three strings have circulated with Gold and Essence attached, though codes expire and rewards can be adjusted between patches.
| Code | Reported reward |
|---|---|
CLASSES | 308.25k Gold, 25 Essence |
LAUNCH | 15.41k Gold, 25 Essence |
UPDATE | Reward unlisted |
A working code posts a reward confirmation and your Gold or Essence total updates immediately. New codes are handed out through the developer’s Discord rather than the game page, which is where to look once these stop redeeming.
Where progression goes next: Gauntlet and Infinite Dungeons
Campaign maps eventually point you at the Gauntlet, a continuous 20-map run that rewards a build capable of staying consistent across dozens of encounters rather than spiking once. It is worth upgrading weapons and Gear before committing, and it is friendlier in co-op, since every map you clear together counts for everyone in the group on servers of up to 30 players.
Introduced in the September 3 update, Infinite Dungeons represent the game’s deepest challenge. Advance until your build can go no farther, gathering Mythical Crystals to put toward forging Mythical Gear. Since beta balance changes weekly, check the current in-game description for any class or weapon before spending resources on it.





