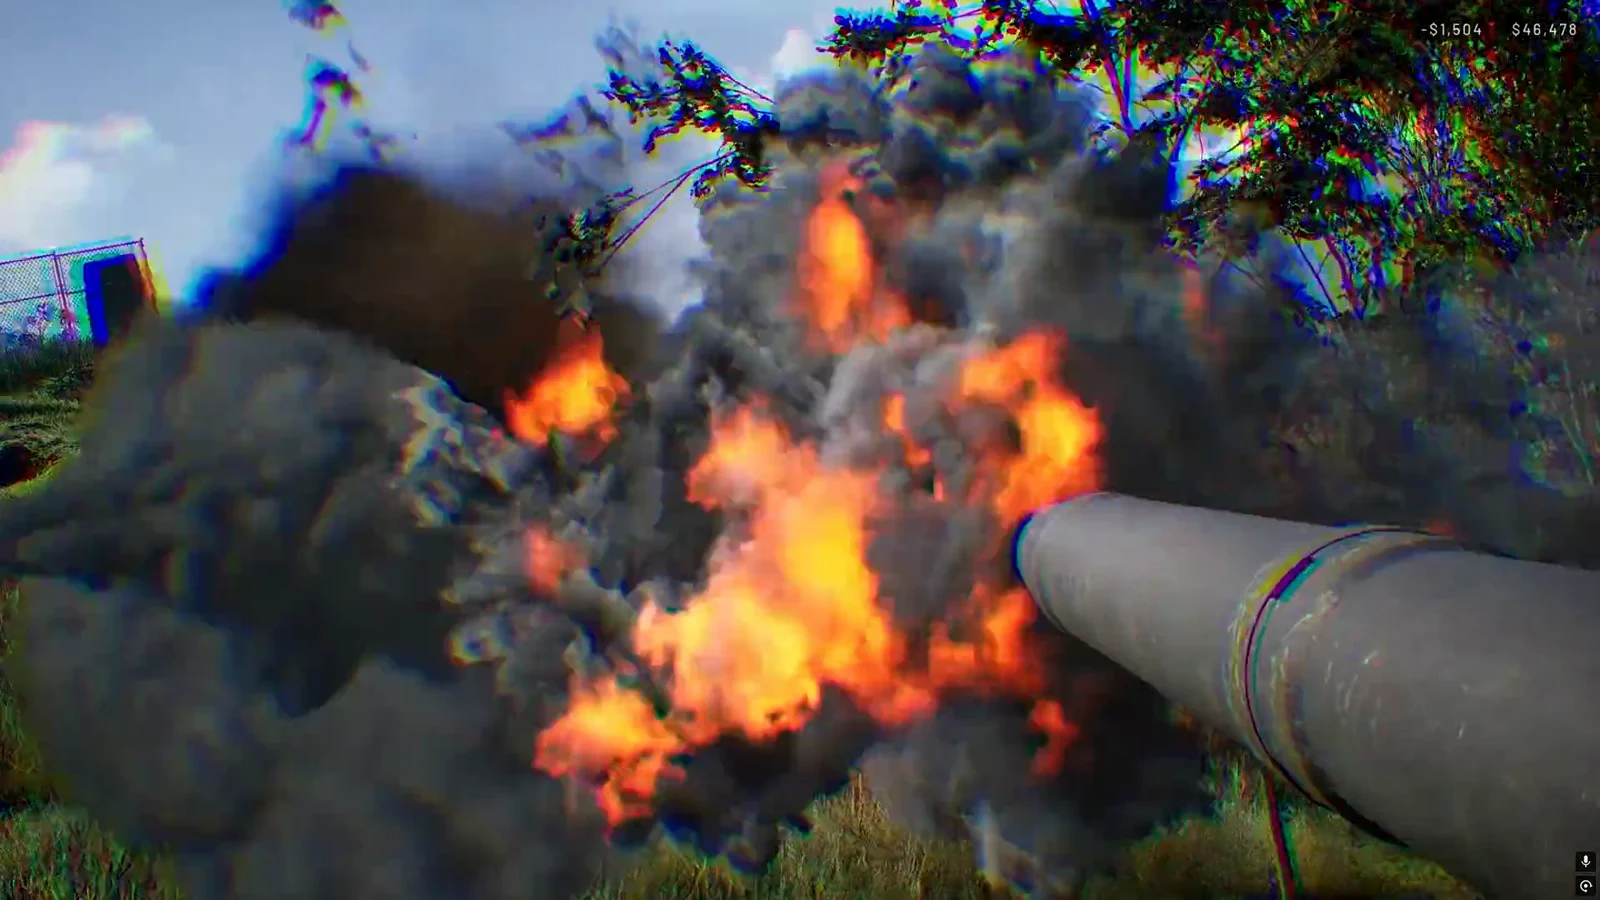
A solo mortar position in WARDOGS is a small walled compound built around a Forward Operating Base, with an L81 Mortar sitting in the middle of it. Done properly, it lets one player drop shells on enemy towers, vehicles and supply crates from several hundred metres away without ever entering a direct firefight. Done badly, it is a box with a door in it and a sniper looking at you.
Quick answer: Drive a Ural loaded with a FOB, ammo pallets and a Large Hammer to within 600 m of the target, ring the site with four-high HESCO barriers and no door, then build the L81 Mortar inside.
Gear and costs for a solo mortar loadout
You cannot pick a FOB back up or rotate it once it is down, so everything the position needs has to arrive with you on the first trip. The core shopping list is short.
| Item | Price | Weight | Unlock |
|---|---|---|---|
 Forward Operating Base Forward Operating Base | $7,500 | 6.5 kg | — |
| Large Hammer | $2,400 | 3.18 kg | Support level 8 ($75,000) |
 Large Backpack Large Backpack | $2,400 | 1.5 kg | Wardog level 55 ($100,000) |
| Build Supplies | $10 | 0.02 kg | — |
| STANAG 20 RND Magazine | $10 | 0.31 kg | — |
| STANAG 60 RND Magazine | $180 | 1.01 kg | Assault level 30 ($25,000) |
The Large Hammer is the one item you cannot substitute. It is the only hammer that can build every buildable in the game, and it builds fastest; the Medium Hammer costs $800 and unlocks at Support level 3, but it is limited to large and basic pieces. Pair it with a rifle and a couple of magazines for self-defence. Pre-loaded 60-round STANAG variants run $270 for FMJ Tracer, $330 for Hollow Point Tracer and $420 for Armor Piercing Tracer.
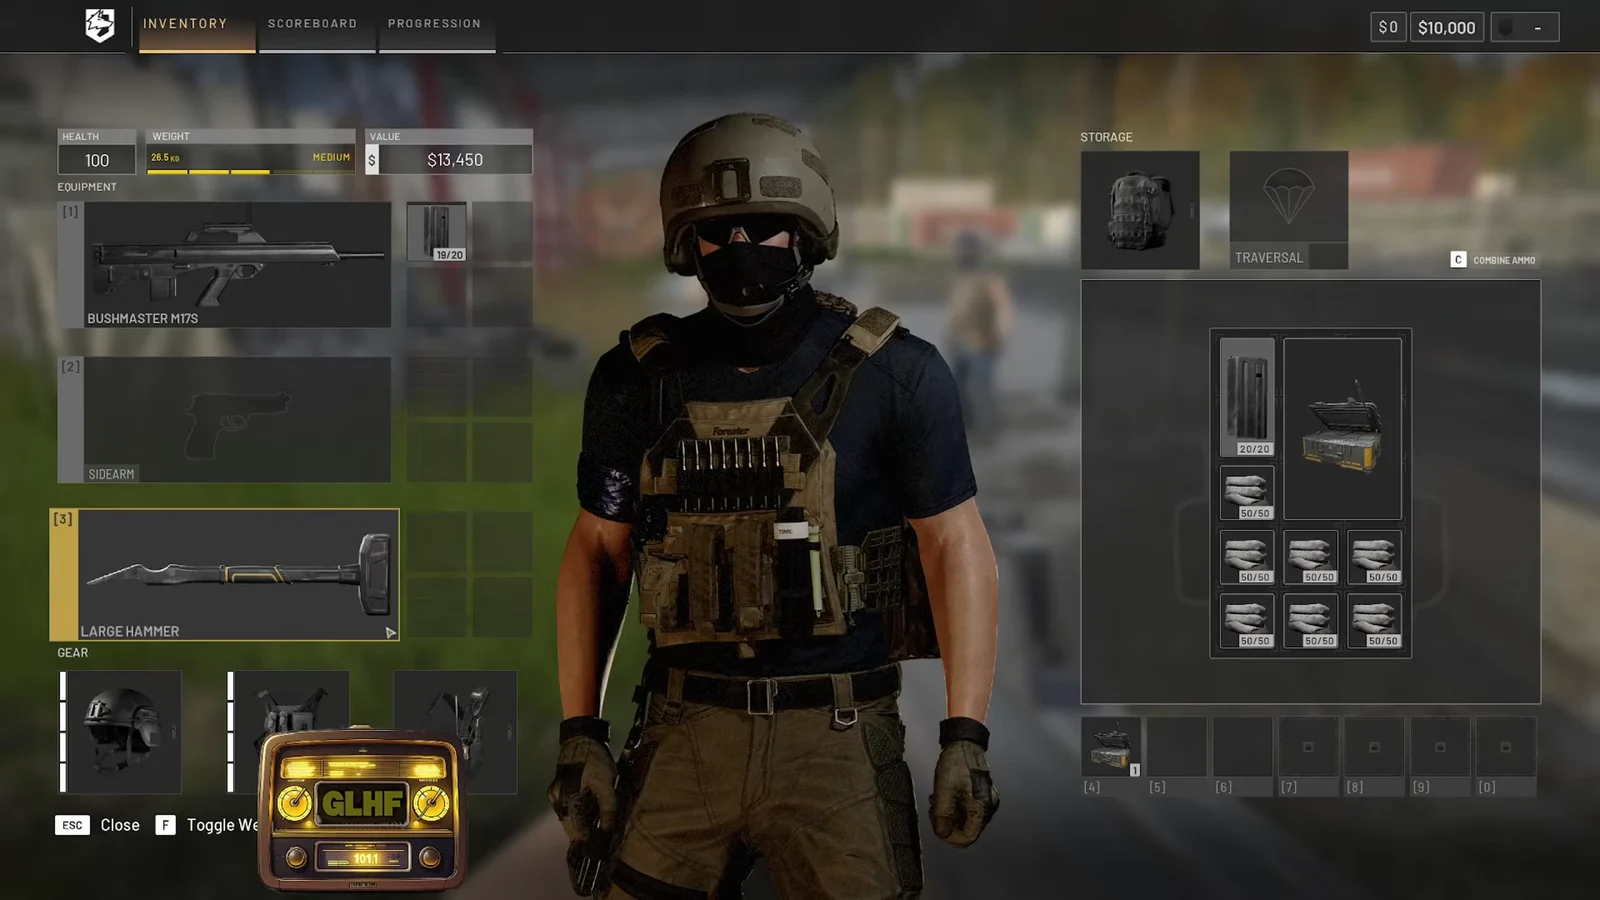
Carrying capacity matters more than it looks. The FOB alone weighs 6.5 kg and will not fit in a small starter backpack, which is what strands most first-time mortar players at the vendor. The Large Backpack gives a 6×4 grid for 24 slots, enough to carry the FOB plus building stock in one go.
From the Garage Vendor’s Logistics tab, buy a Ural truck for $5,000 and load it with two ammo supply pallets and at least one build supply pallet. A build supply pallet costs $400 for 1,800 supplies, which is the cheapest building stock in the game by a wide margin.
Choosing the firing site and hauling the kit
The L81 Mortar covers roughly 80 m to 684 m and fires 120x800mm rounds, so a site around 600 m from the objective keeps you comfortably inside the envelope while leaving room for the target area to shift. There is also a minimum-range dead zone immediately around the tube where shells always land short, which means anything that gets close to your walls cannot be answered with the mortar.
Flat ground is the other requirement. HESCO barriers snap square against the FOB, and uneven terrain leaves gaps at the base of the wall line. Tuck the site behind a ridge, a treeline or a row of buildings so scouts cannot see the FOB turret from the road.
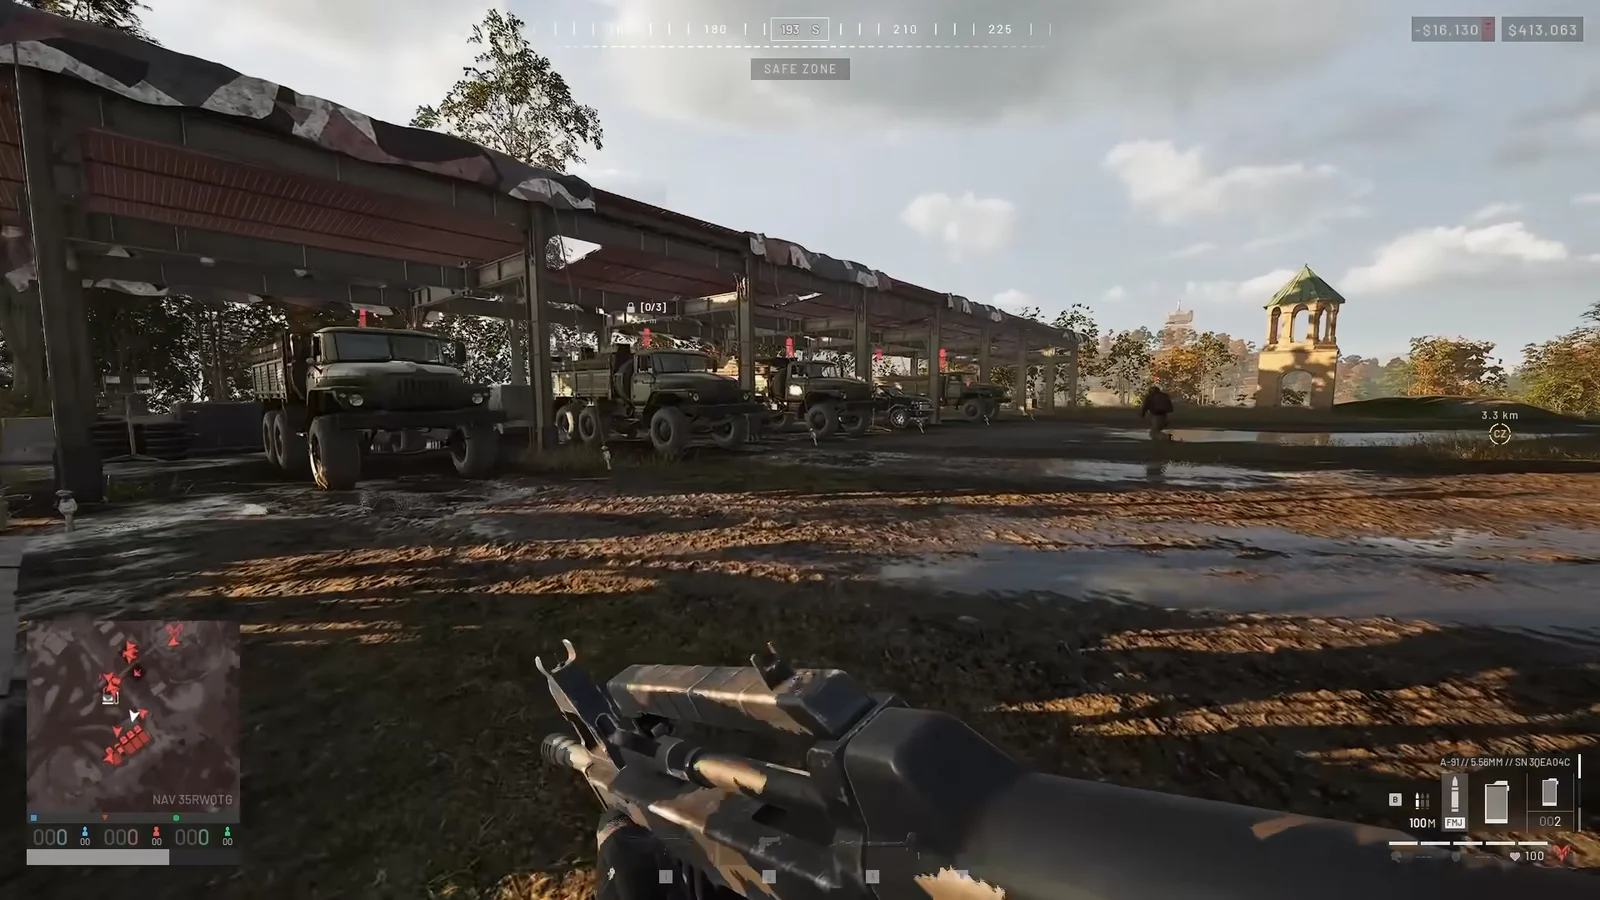
Park the truck inside or right against the finished compound. Ammo pallets left next to the mortar let you top up without walking away and losing build progress.
Deploying the FOB and unloading supplies
Mortar shells draw from that same local ammo stock rather than being bought separately, so the FOB is both your building bank and your magazine.
HESCO wall layout for a wide firing arc
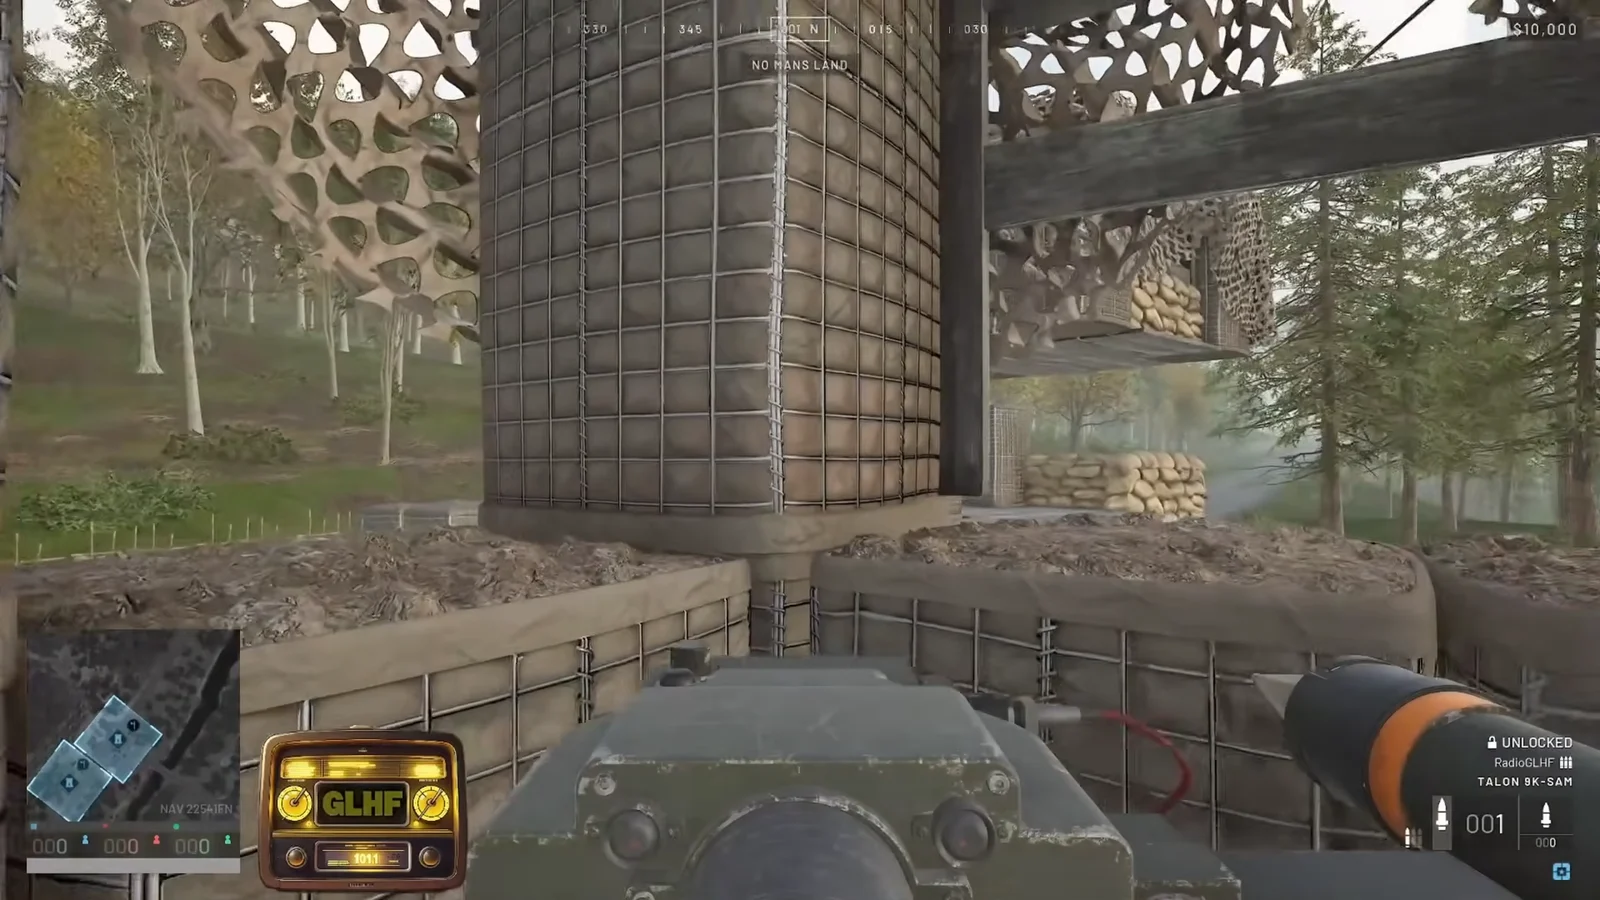
The wall line does two jobs at once. It has to stop rifle fire from every direction a player is likely to approach from, and it has to sit low enough on the firing side that your shells clear it. The answer is a fan rather than a box: run the barriers tight around the rear and flanks, then curve them away on the side you are shooting over. Laid out this way, the position keeps well over 210 degrees of open arc for the tube.
Align the first ghost against the flat edge of the FOB with snapping on. Every barrier after that snaps off the previous one, which keeps the angles square and stops gaps appearing halfway round.
- Stack HESCO barriers four blocks high so nobody can shoot or climb over the line.
- A four-block barrier costs 46 supplies, cheaper and faster than equivalent large blocks.
- Skip doors entirely. A door is 14 supplies and a permanent weak point in an otherwise solid wall.
- Avoid Bremer walls and green doors for the perimeter, which are breached far more easily than HESCO.
- Seal yourself in and tear down a single wall section later if you need to leave or deal with an intruder.
Do not build the pit higher than it needs to be. Raising the mortar too far, or roofing it over, shortens the range you can actually reach and puts your head above the wall line for snipers.
Building the L81 Mortar
The mortar costs 91 supplies and finishes as a tube in a sandbagged pit. If the placement is wrong, pressing V dismantles it, but you get none of the materials back, so check your arcs before you commit.
Ranging and firing without a spotter
The mortar UI gives you three readouts. Range sits on the left panel, elevation in mils on the right — higher mil values mean shorter distance — and a compass runs along the top. W, A, S and D traverse and elevate the tube, and zooming with the mouse makes those adjustments finer.
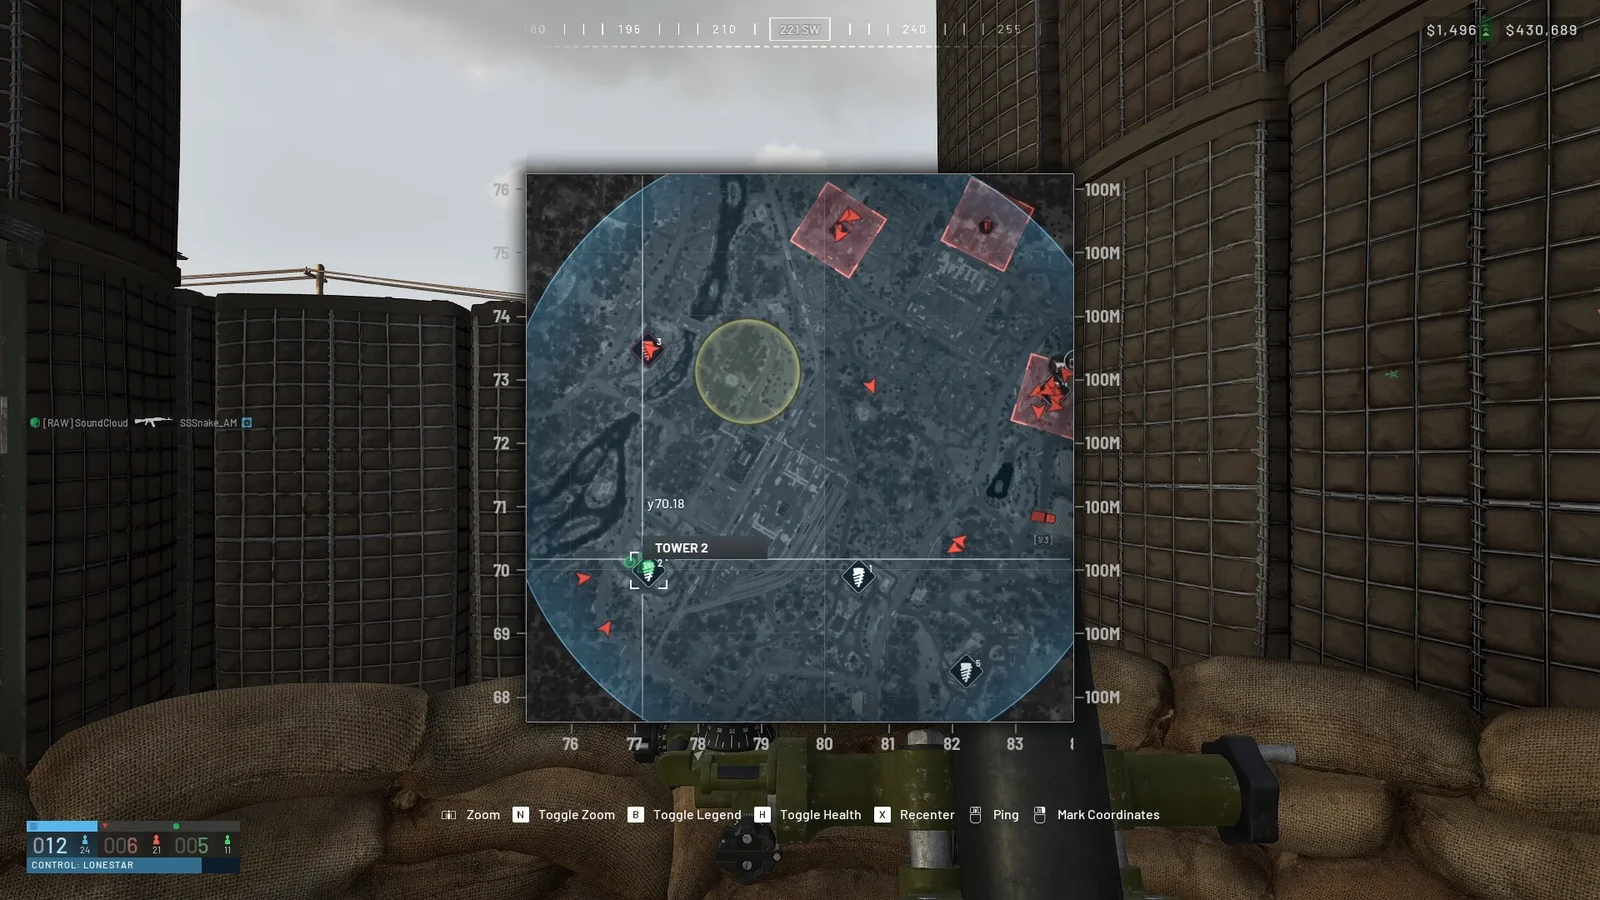
To pick a target, open the map and middle-click the spot to ping it. The ping shows up on the mortar’s compass, so you can swing onto the bearing first and worry about range second. Hovering over enemy markers on the map also prints range (RNG) and elevation above sea level (ASL) in small text next to the marker.
If you prefer to work it out from grid coordinates, subtract the mortar’s X and Y from the target’s X and Y, multiply each difference by 100, then take the square root of the squares added together. With a target at X 95.55 / Y 106.36 and the tube at X 96.67 / Y 109.11, that resolves to 112 and 275, giving a distance just under 297 m.
ΔX = (95.55 - 96.67) × 100 = 112
ΔY = (106.36 - 109.11) × 100 = 275
range = √(112² + 275²) ≈ 297 m
The sight assumes flat ground, so any height difference between you and the target will land the first shell long or short. Fire a single registration round, follow it on the projectile camera, correct from the impact, and only then send a full salvo. Guessing your way in with full salvos works eventually but burns through shells for nothing.
Confirming the position works
Two checks tell you the pit is finished and usable. First, every build outline reads 100 percent and the mortar appears as a finished tube inside its sandbag ring rather than a plank ghost. Second, mount the tube and swing it through the full arc you intend to use, firing a shell at each extreme. If a round clips a barrier instead of arcing away, that wall section is too tall for the platform height and needs to come down a block.
After that, the position pays for itself quickly. Rounds on vehicles, supply crates and clustered infantry around contested towers generate steady cash, and a single good match from a well-sited pit can clear the cost of the truck, the FOB and the hammer several times over. The one thing the mortar cannot protect you from is a player walking through the wall line, so keep an eye on the compound floor between salvos.