Project Slayers 2 drops you into Windy Peak with a bad sword, a clan you probably didn’t want, and no clear idea which of the dozens of NPCs matter. Almost all of them don’t. The route from level 1 to a finished Demon Slayer runs through roughly six quest givers, two level gates, and one long grind under a waterfall.
Quick answer: Grind Krue’s bandit quests to level 10, Tom’s bear quests to 26, unlock a Breathing style at level 25, then run Chaka and Wagwan quests until level 60 and clear Final Selection.
Project Slayers 2 release status, platforms, and launch content
The game went live on September 18th at 4:00 PM EST, following an early access window that opened on September 11th for creators and testers. It is playable on mobile and console alongside PC, so you can carry a character across devices.
Launch content covers eight Breathing styles and nine Blood Demon Arts. Hybrids are not in the game and are not planned for the foreseeable future. If you played the original Project Slayers, your gamepasses do not carry over, though Kamado clan owners from the first game receive an appreciation perk.
The developers are aiming for small updates every two to three weeks and larger ones every two to three months, so trainer costs and drop rates are worth re-checking in-game before a long farm.
Level route from Windy Peak to Final Selection
Every meaningful early milestone is gated by level, and the quests unlock in a fixed order. Use this as your checklist rather than wandering into new regions and getting flattened.
| Level | Objective | Quest giver / place |
|---|---|---|
| 1–6 | Defeat 3 Bandits, repeat | Krue, Windy Peak |
| 7–10 | Mini boss Zuko | Krue, Windy Peak |
| 10–17 | Drive the bears back | Tom, Bamboo Grove |
| 18–25 | Fell the Mother Bear | Tom, Bamboo Grove |
| 25 | Breathing trainer questline | Varies by style |
| 26–33 | Kaiden’s subordinates | Chaka, cliff above the village |
| 34–40 | Kaiden | Chaka |
| 40–60 | Guards and Hoyuzo | Wagwan, waterfall cave |
| 45 (60 ideal) | Final Selection | Far west of the map |
Busier servers pay out more EXP from mobs and quest turn-ins, and setting your spawn to the Bamboo Grove point nearest your grind saves several minutes per death.
Windy Peak starter quests and the Book of Guidance
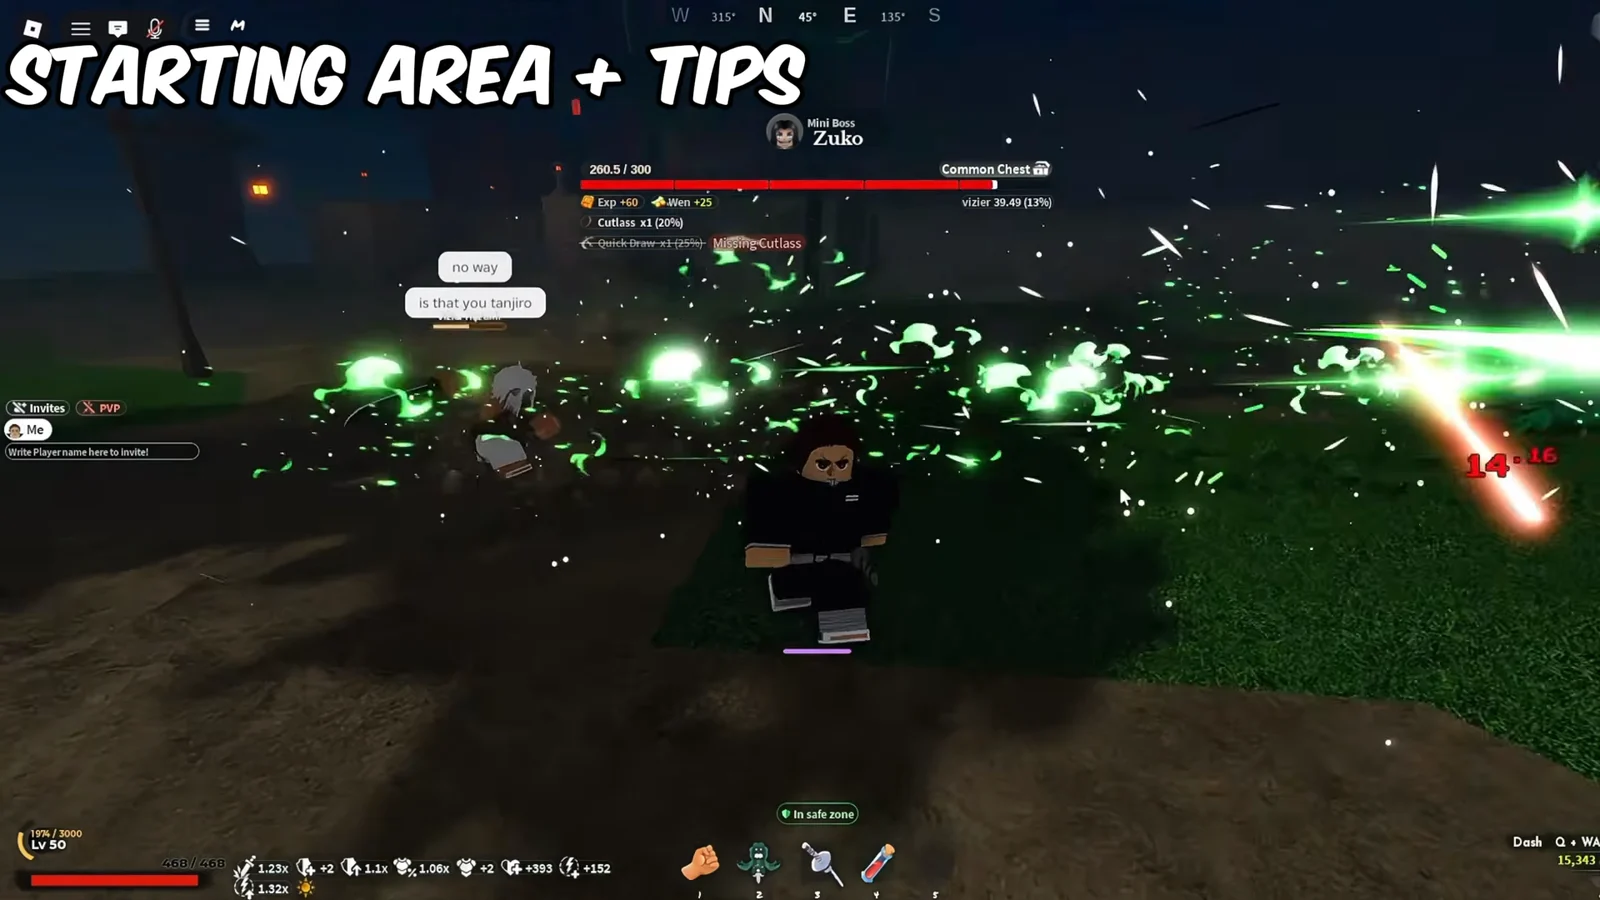
Krue is the first NPC that matters. His three-bandit quest is repeatable and carries you to level 7, at which point he offers the Bandit Boss Zuko, who drops the Cutlass. Before that fight, buy a weapon from Raze. The Regular Katana runs 500 Wen and the Fancy Katana 1,500 Wen.
Inside the village, Kona’s Recover the Lost Pages quest is the one you cannot skip. Finding all five scattered pages rewards the Book of Guidance, which permanently points you at your next progression quest. The world is confusing with it and genuinely painful without it.
The rest of the village quests are quick EXP and worth one pass each:
- Identify the bandit spies among the civilians — their names contain dashes or stars.
- Deliver MoldySugar’s package.
- Take Lucy’s quest, which sends you to the hunter Tom in Bamboo Grove.
- Speak to Kazu, carry his notes to Noote, then climb to Chaka on the cliff to unlock the level 26+ chain.
Bamboo Grove bear quests for levels 10 to 26
Tom sits down in Bamboo Grove and hands out the most efficient mid-teens grind in the game. His first task has you beat four bear cubs and bring back cooked bear meat; from level 18 he unlocks the Mother Bear hunt. Repeating both takes you to 26 without ever fighting anything that can one-shot you.
Skill tree: unlock Double Jump and Wall Climb first
Skill points are spent across a node network covering Body, Weapons, Clan and Breathing progression. Double Jump and Wall Climb are mandatory, not optional — several trainer routes and the Final Selection parkour simply cannot be completed without them. Buy movement before damage.
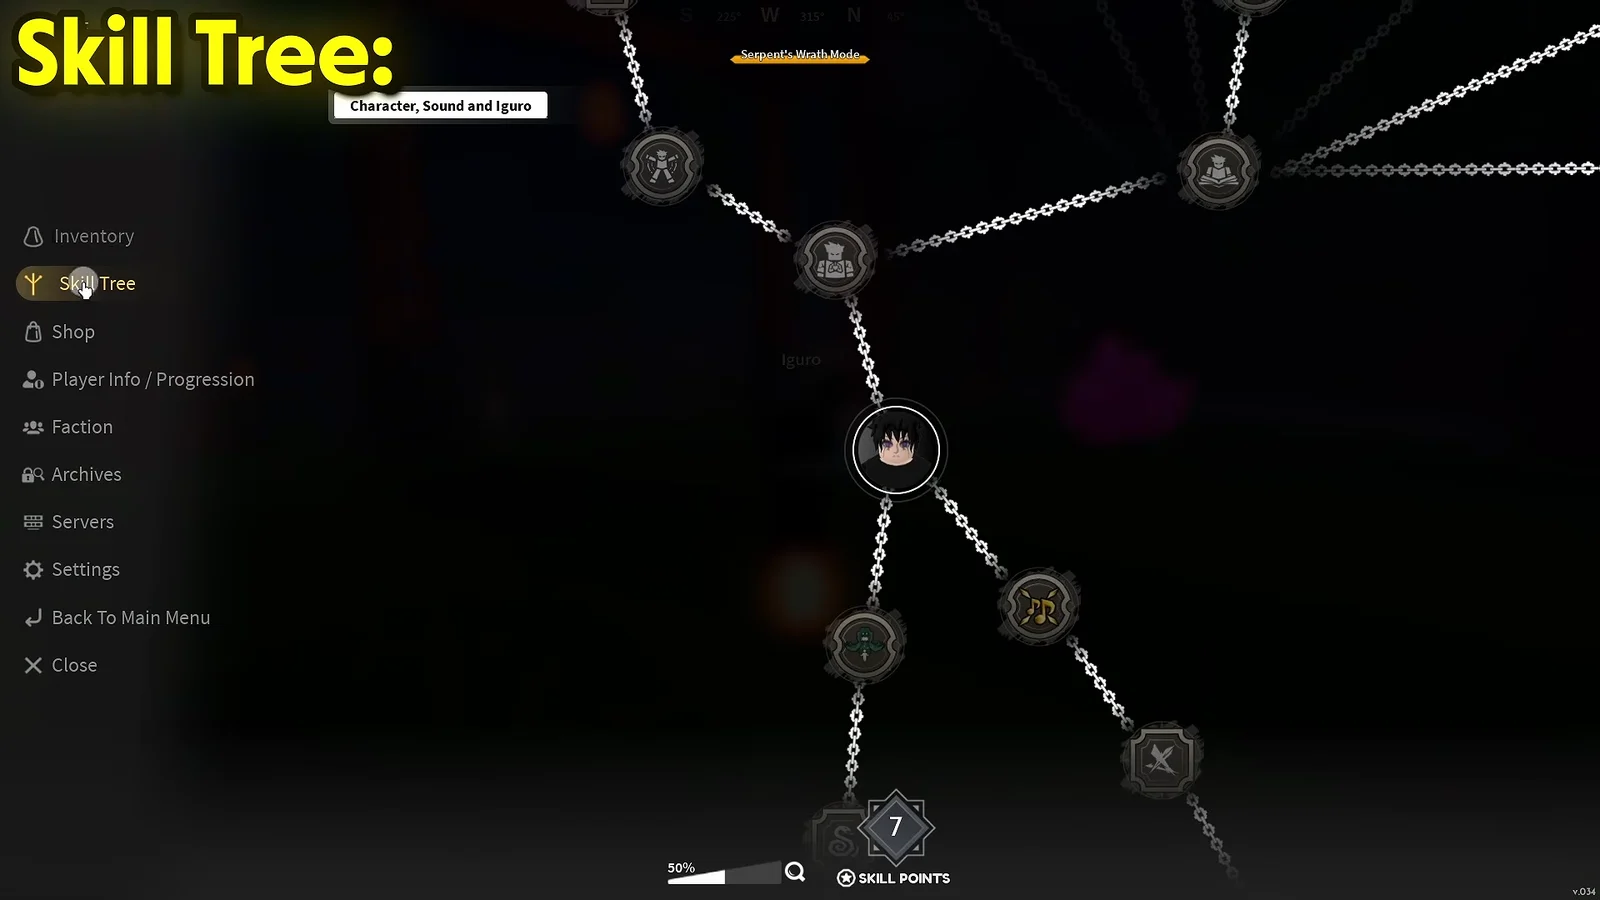
After movement, spend against whatever is currently killing you. Dying mid-fight means health and block points; running out of steam mid-combo means stamina. Mastery is tracked separately from your character level, so levelling alone will not finish a moveset — you have to actually use the weapon and style you want to develop.

Resets and boosts are sold in the Shop for Robux or Ore, and the Titles menu is worth a look once you have a few achievements — unlocked titles grant flat damage, health and speed buffs. The inventory also separates stat-bearing gear from Equip Vanity mode, so you can wear cosmetics without losing your stats.
Clans and reroll rates
Clans roll at character creation and grant passive effects plus active skills. Spins are bought with Robux or Ore. Rarity runs from Common up through Supreme, but a high tier is not a playstyle — a clan whose effects you can actually land beats a rare one you cannot.
| Tier | Examples |
|---|---|
| Supreme | Kamado, Agatsuma |
| Mythic | Tomioka, Hashibira |
| Legendary | Shinazugawa, Kocho |
| Rare | Ubuyashiki, Urokodaki |
| Uncommon | Nakahara, Takada |
Pair the clan with the style you intend to run. Agatsuma gives +20% Thunder Damage Factor, Rengoku suits Flame, and Urokodaki or Sabito suit Water and sword-heavy play. Iguro and Soyama are solid general slayer picks, Kamado leans toward the demon path, and Ubuyashiki’s progression utility helps while you are still grinding drops.
Rerolling replaces the clan you already have. Note down your current passives and skills before confirming, because a spin cannot be undone.
Breathing styles at level 25: trainers, Wen, and materials
Breathing styles become available through trainer questlines at level 25. The styles are Water, Thunder, and Flame. They also include Wind, Stone, and Insect, followed by Sound and Serpent. Every trainer requires Wen and materials, with different quantities for each, so choose your style before farming resources.
| Style | Trainer and route | Cost |
|---|---|---|
| Water | Urokodaki, underwater cave near Bamboo Grove | 5,000 Wen, 30 Demon Horns |
| Flame | Rengu, across the big bridge from Mistfall Village | 10 Demon Horns |
| Serpent | Obari, cliff north above Windy Peak | 20 Demon Horns, 5 Beast Cores |
| Sound | Iceveil Valley snow field (needs Wall Climb) | Read in-game dialogue |
| Insect | Outside Butterfly Estate, from Mistfall Harbor | Read in-game dialogue |
Other trainers, including Nezuko, Rengoku, Sabito and Gyomei, appear as icons on the map. Zoom in on the map screen to find them, along with fast travel points and the red objective markers for quests at your level.
Where to farm Demon Horns
Demon Horns drop from demons in Iceveil Valley, the snowy region past Chaka. The most efficient spot is the cave below Mother Bear, which is packed with low-tier demons you can clear in bulk rather than trading hits with the high-level ones out in the open snow.
Where to farm Beast Cores
Beast Cores only come from Beast Demons, and those only spawn at night. Wait for dark and sweep the area around the village gate at Mistfall Harbor. If the server is in daytime, this farm simply does not exist yet — go do quests instead of hunting.
Levels 26 to 60: Chaka, Kaiden, and Wagwan
Chaka’s chain starts with Kaiden’s Subordinates at 26 and opens the Kaiden fight at 34 — he drops the Claws weapon. From 40, move to Wagwan, the NPC in the cave under the waterfall below the bear area. His Guards quest and the Hoyuzo sickle boss at 50 are the fastest repeatable EXP before endgame.
Technically Final Selection opens at 45. Solo, that is a bad idea. Grinding Wagwan’s quests to level 60 is the difference between clearing the event and repeatedly respawning at the gate.
As you progress, Grove Raiders and the Raid Captain near Obari unlock World Events and Raid Chests, both of which contain rare loot. After nightfall, Kuro the Black Merchant can be found by the torii gate; his stock includes lanterns, necklaces, cloaks, and masks.
Final Selection: entry requirements and quest order
Final Selection sits in the far west of the world map. The route runs from Windy Peak, past the Butterfly Estate, then down the canyon walls to the gate. Entry is on a timer — you have to be standing inside the waiting gate before the countdown reaches zero, or you wait for the next cycle.
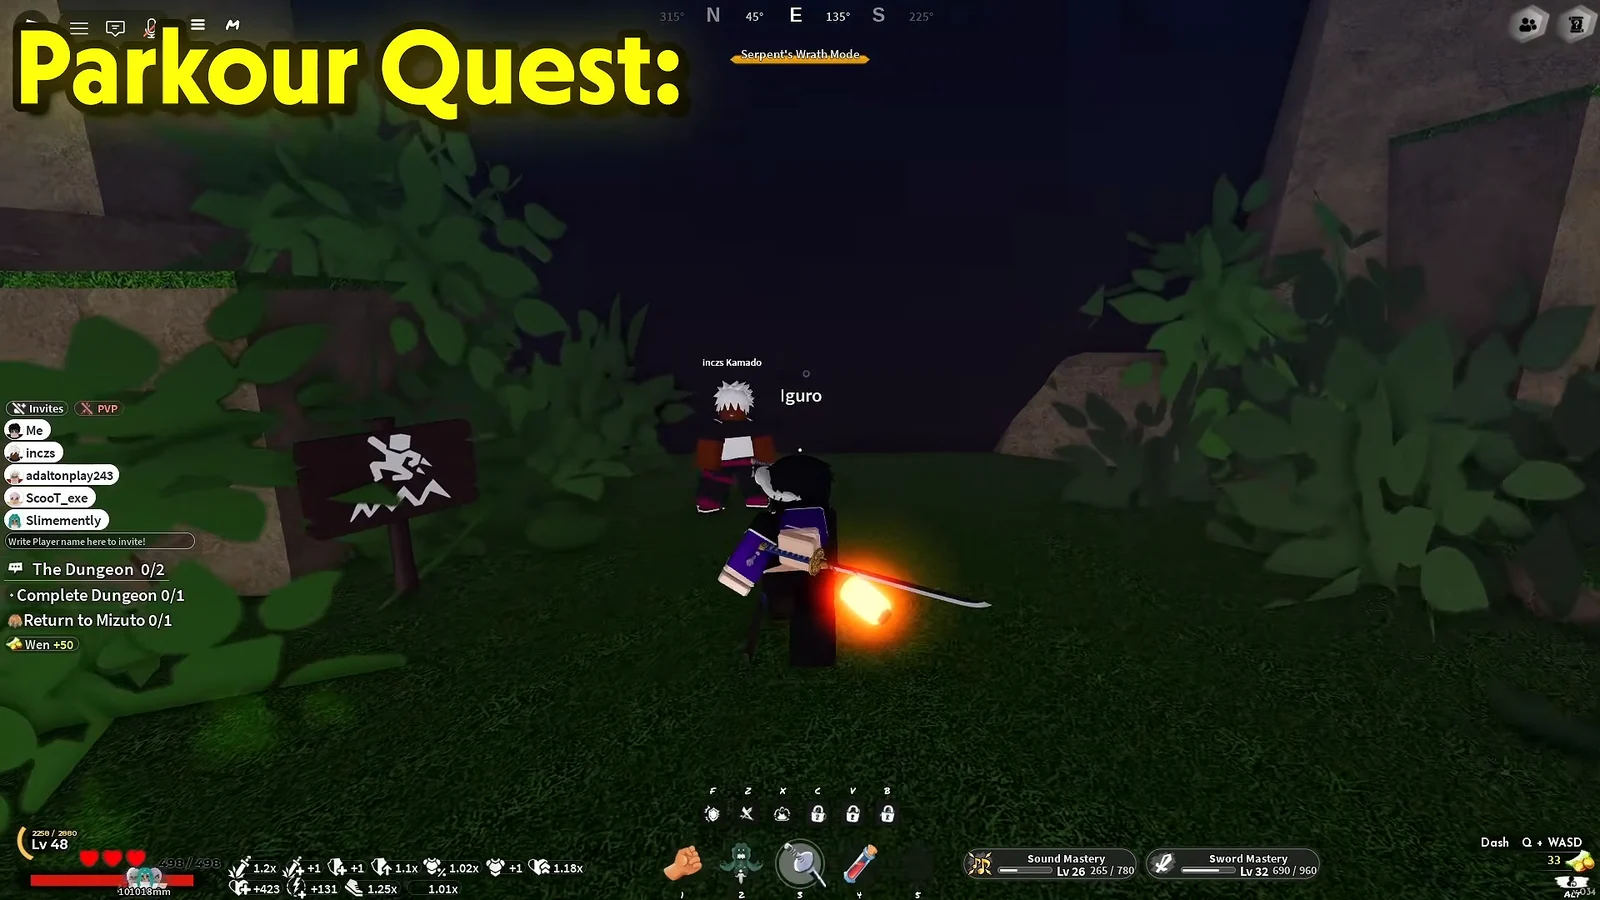
You will know it worked when the reward chest opens and hands you the Stylish Haori. Talking to The Sisters afterwards grants the Slayer Uniform and a Wen payout, and passing the final exam dialogue also awards a Crude Iron Ingot.
How to become a demon: reputation, Muzan, and Spider Lilies
The demon route runs the opposite direction. Kill civilians or Demon Slayers until your reputation drops into deep negatives — -40 is the threshold, and -50 is comfortably past it. Then find Muzan, who spawns at night in town, near the snowy bridge, in Snow Village in Iceveil Valley, or at Hidden Mist Village.
Muzan’s questline requires Spider Lilies. In Bamboo Grove, red and blue varieties appear around the waterfall and the bear quest area. A dependable red spawn is on the grassy ledge beside the water pool close to the Water Trainer.
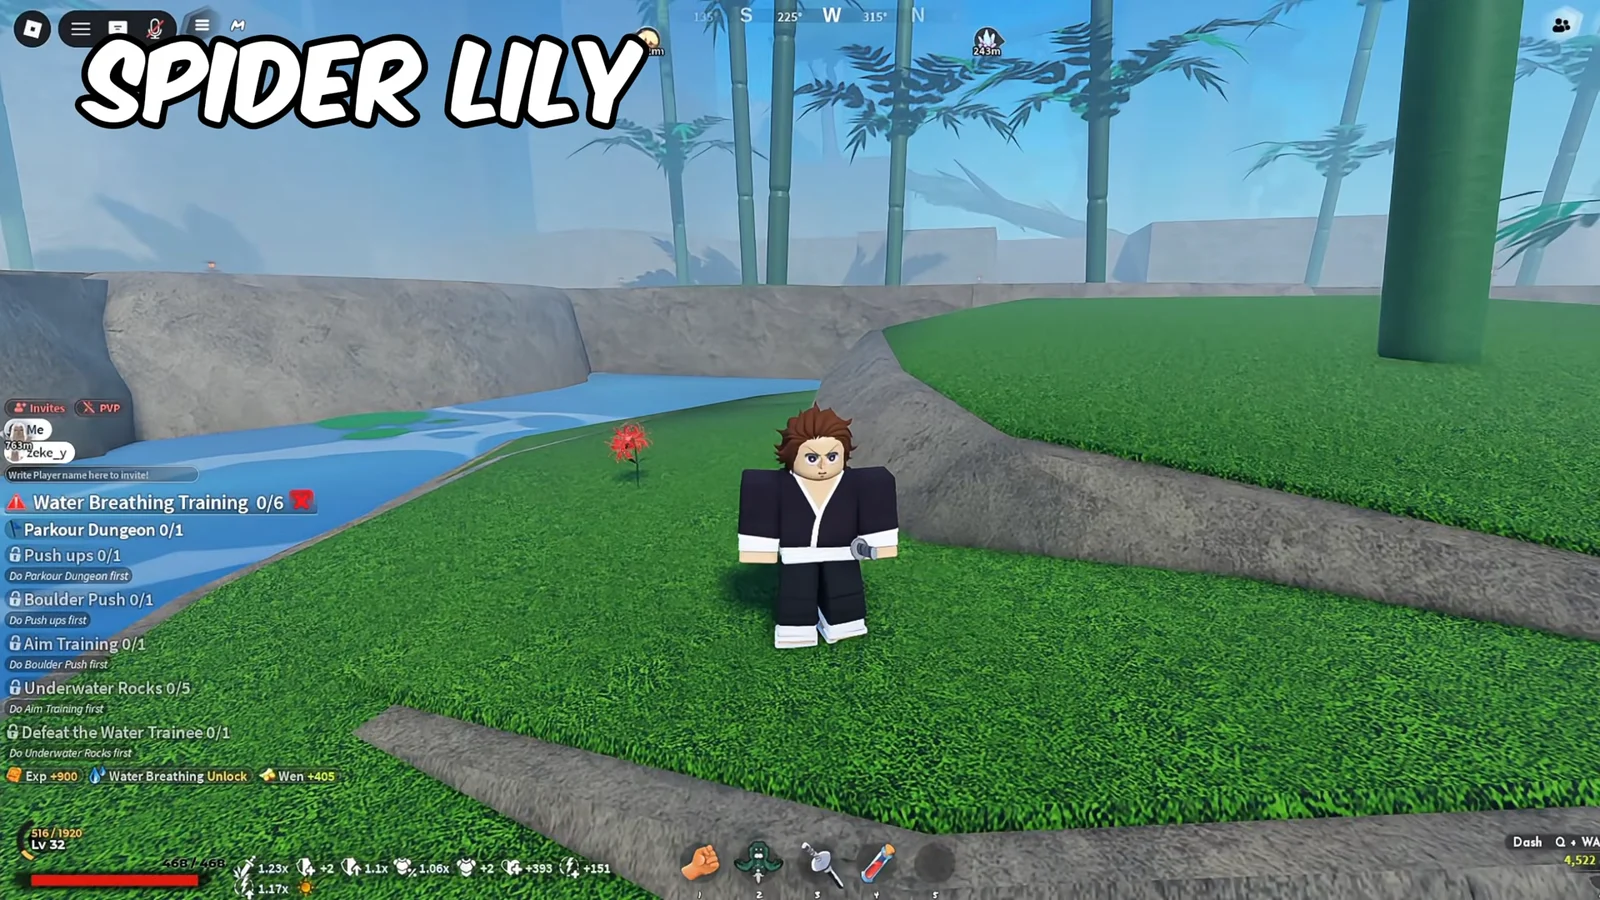
Your Slayer or Demon standing is tracked in the Player Info and Progression tab, which is also where Faction creation lives.
After Final Selection: bounties, blacksmiths, and world bosses
Equip the Kasugai Crow from your inventory as soon as you finish. It feeds you automatic bounty quests, which stack neatly with repeat runs of Wagwan’s waterfall cave guards for endgame EXP.
Everything else worth doing clusters in Hidden Mist Village and the snow:
- Blacksmith Togane upgrades weapons, crafts the Shotgun, and unlocks the Ouwigahara portal quest.
- Yagane’s armory forges the Enryu, Shinkage and Tengoku Katanas from Crude Iron Ingots.
- The purple Ouwigahara minigame portal sits past Rengoku, along the high bridge beyond the torii gates.
- The Shotgun Schematic is a 5% drop from the Lost Slayer in the Final Selection underwater cave.
- The Yeti Demon world boss spawns in the snowy arena; the Ice Heart comes from Kuro, raid chests or dungeons.
Fishing is its own small chain at Mistfall Harbor. Get the permit from Dock Master Sofen, collect the stamp from the building nearby, buy a rod from Fisherman Jeso, then play the bar minigame at the docks. Wild horses can also be tamed with the interact prompt for 15,000 cash, which makes crossing the map and hauling loot to merchants far less tedious.
None of this requires rare rolls or perfect execution — it requires doing the quests in order and not spending your Wen on a trainer you have not decided to visit yet. Pick a style, farm only its materials, and the level gates take care of themselves.