


A Last Request is a short level 8 quest in the Skyborne starting region of WoW Forever, and it hands you no quest giver to talk to — just a body on the road. The whole thing runs on a tight loop: pick up a note, raid a watchtower for two personal keepsakes, kill whoever is standing on the roof, then carry it all back to the village.
Quick answer: Accept it from the corpse in Shen’dar Highlands, loot the Bloody Note, take two keepsakes from bodies inside West Pylon Watchtower, kill the boss on the top platform, then turn in at Shen’dar Village.
A Last Request quest details
| Detail | Value |
|---|---|
| Quest level | 8 |
| Zone | Shen’dar Highlands |
| Quest start | Corpse on the road, marked with a yellow exclamation point |
| Objective location | West Pylon Watchtower |
| Objectives | Bloody Note, two keepsakes, one boss kill |
| Turn-in | NPC inside Shen’dar Village |
Everything sits inside one small stretch of road. The watchtower is west of the quest start, and the village turn-in is a short run back east, with Falaath Village visible on the map between the two.
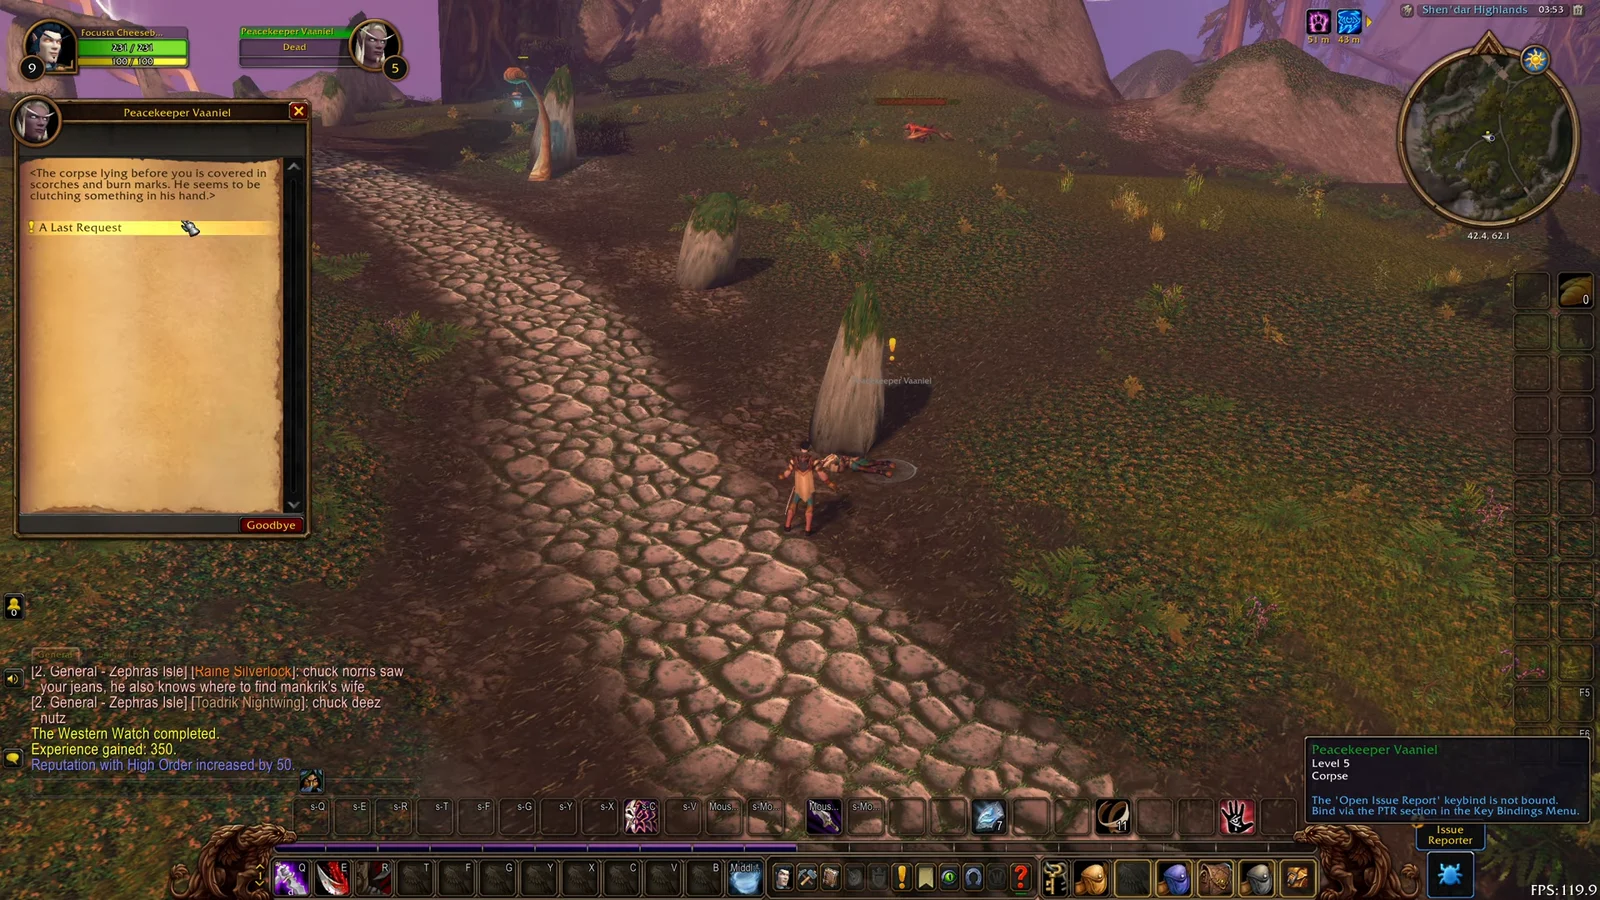
Where A Last Request starts in Shen’dar Highlands
Open your map and look along the stone path running through Shen’dar Highlands. The quest marker sits directly on the road rather than at a quest hub, which is why plenty of players run straight past it on the way to the next camp.

West Pylon Watchtower: both ground floor pickups
Follow the path west to West Pylon Watchtower. Entering the ground floor also discovers the sub-zone, so you will see the location name appear on screen when you step inside.
Check your quest tracker before you start climbing. Both keepsakes must show as collected, otherwise you will have to run back down the ramp after the boss fight.
Killing the boss on top of West Pylon Watchtower
The last objective is a named enemy standing on the open platform at the very top. A spiral ramp runs up the inside of the tower, so there is no jumping puzzle involved — just a climb.
Your objective tracker flips to 1/1 the moment the boss dies. Loot the body before you drop the group — there is a chance at a regular loot roll on top of the quest credit.
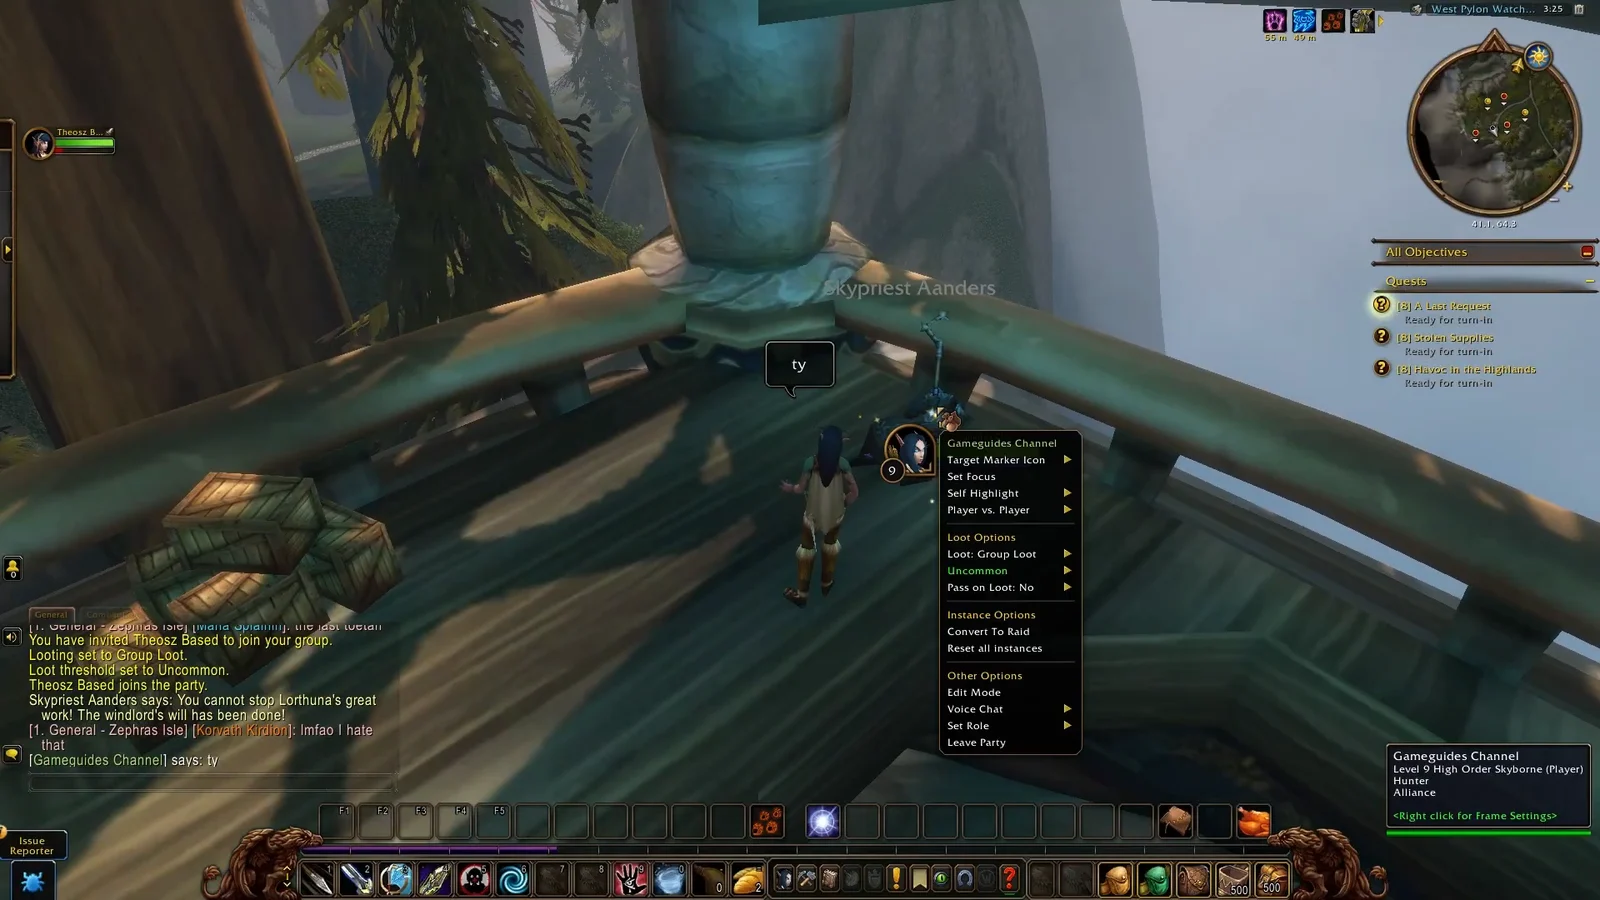
You do not have to walk back down the ramp. Jumping off the top deck works if you have a slow fall effect available, and it drops you straight onto the road heading east.
Where to turn in A Last Request in Shen’dar Village
The turn-in NPC is not standing outside on the road. Open the Map & Quest Log and the marker points at Shen’dar Village, but you need to go through the doorway of the main structure and out toward the balcony to actually find the NPC.
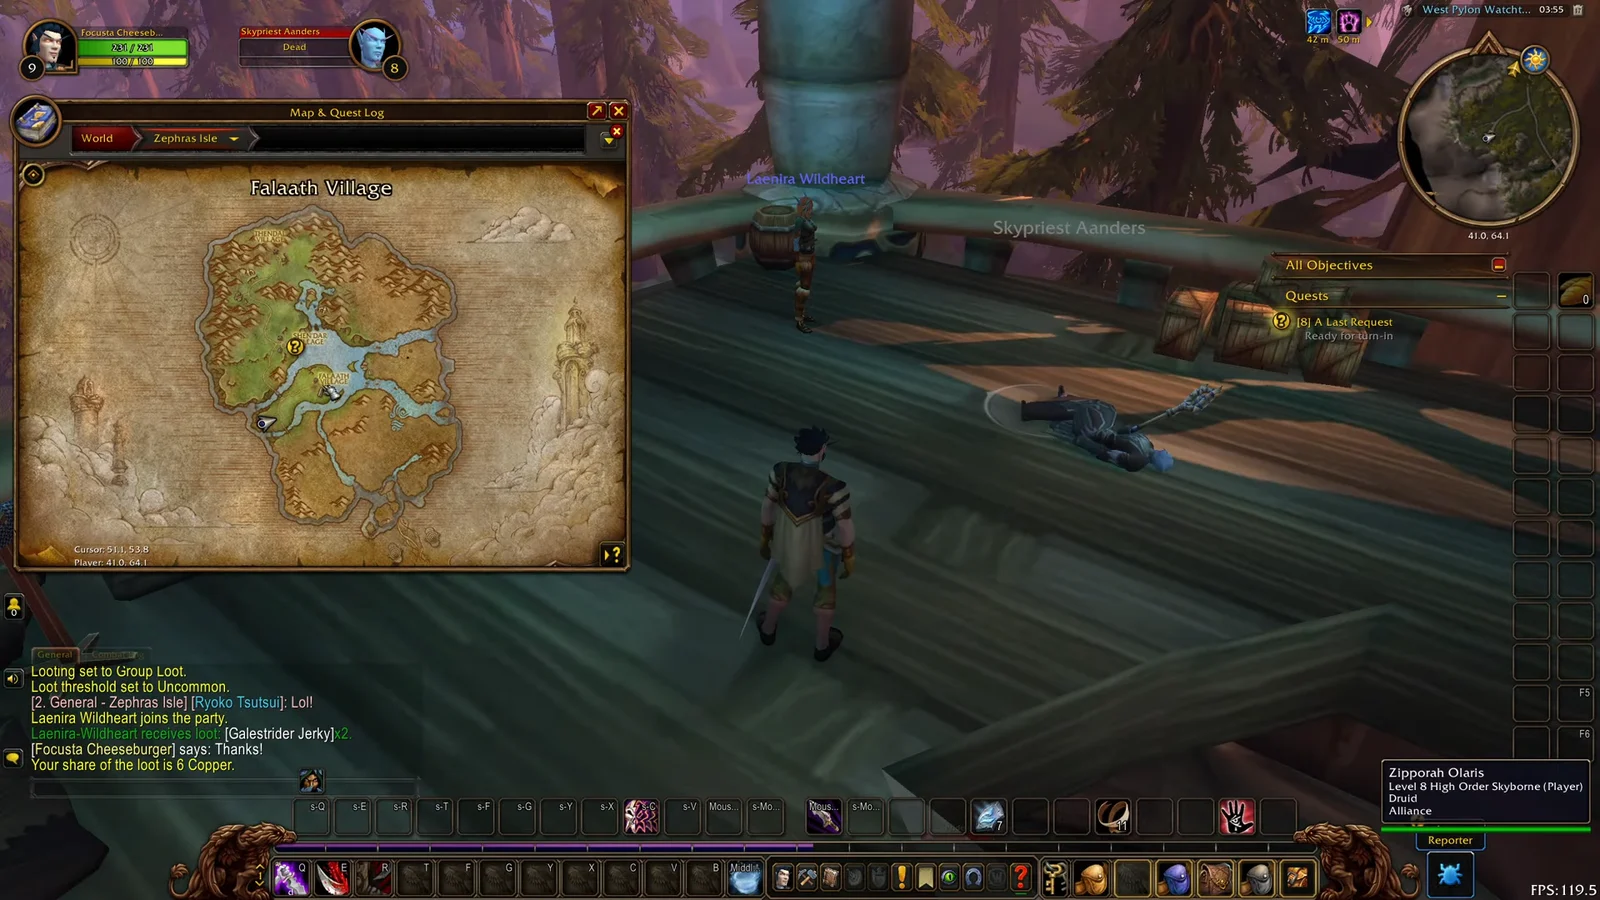
You know it worked when both quest items disappear from your bags and A Last Request drops out of your quest log entirely. If the question mark is still yellow after talking, you are missing one of the two ground floor pickups.
NPC and item names vary between beta builds
One thing worth knowing before you start comparing notes with other players: the names attached to this quest have shifted across builds. The route, the objective count and the locations are identical, but the text on your screen may not match what a friend sees.
| Role | Name seen | Alternate name |
|---|---|---|
| Quest giver corpse | Harbinger Vaelrel | Peacekeeper Vos’riet |
| Feather keepsake | Roan’s Lucky Feather | Raani’s Lucky Feather |
| Signet corpse | Adrielle Silvermist | Anvenas Shadowsong |
| Watchtower boss | Skyreaper Aandera | Skypriest Aanders |
| Turn-in NPC | Constable Kaelis | Conscripted Aznida |
Go by the marker and the location rather than the name. The corpse on the Shen’dar Highlands road, the two bodies on the watchtower ground floor, the named enemy on the roof and the question mark inside Shen’dar Village are the same five points regardless of what they are currently called.





