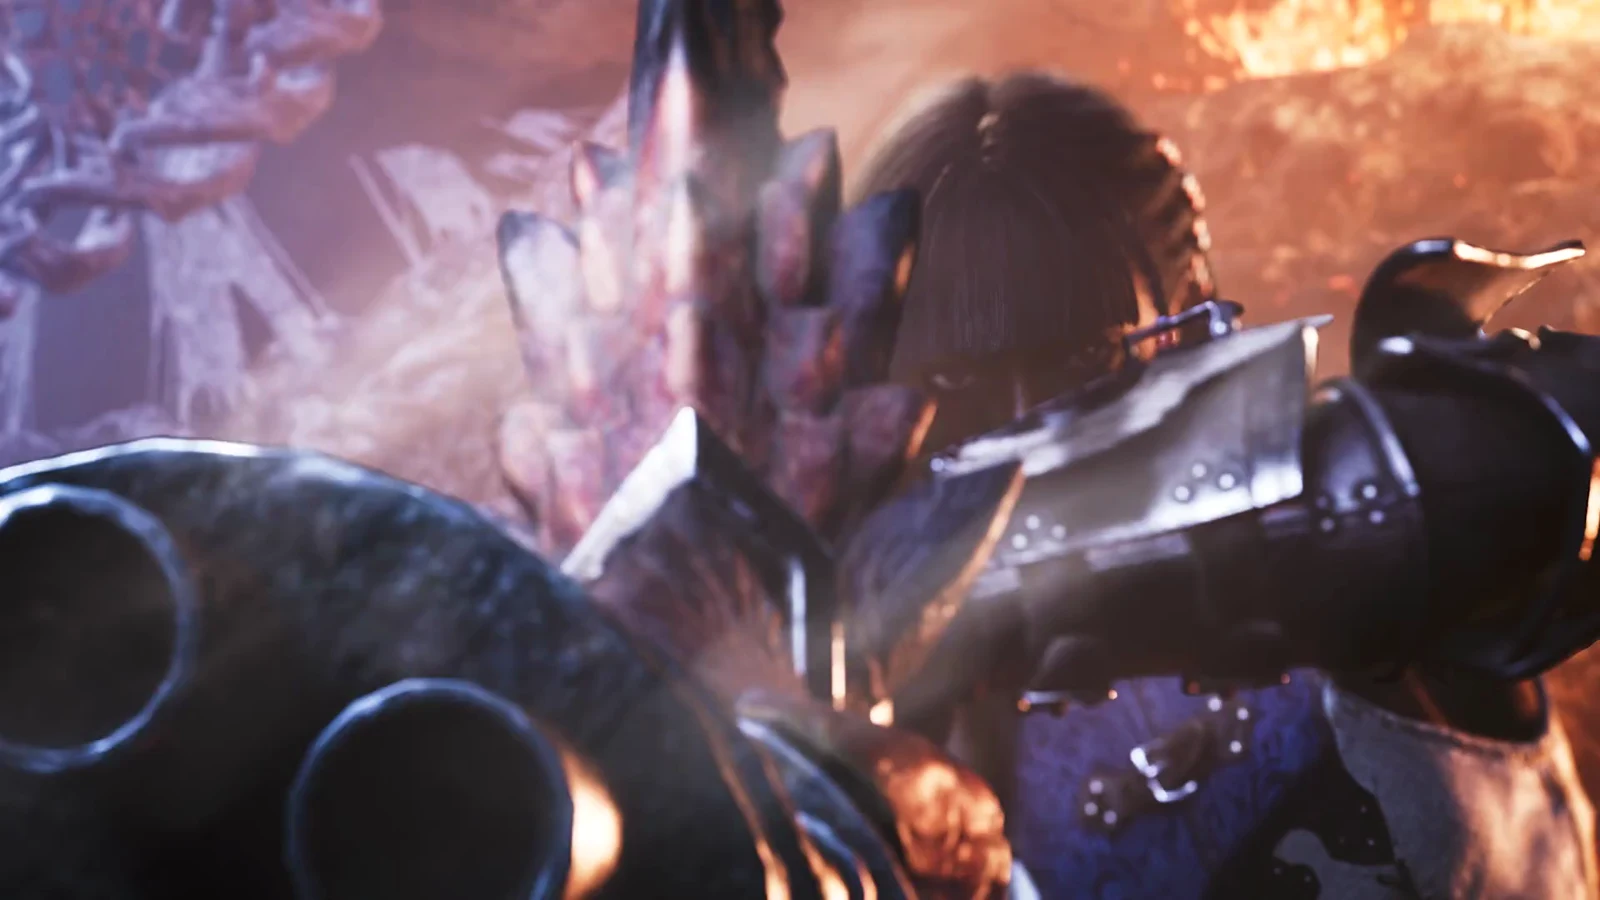
The Gunlance was already the loudest weapon in Monster Hunter Wilds. In the Ascendance expansion it gets a new gadget, the Boost Bracer, and a pile of moves built around it — a shielded charge that reloads for free, a reload that guards, a second Wide Sweep, and a Wyvern’s Fire you fire while hanging off a monster’s face.
Quick answer: The Boost Bracer adds a shield-charge Boost Driver, Assault Reload, Double Wide Sweep, Wyrmstake Rapid Burst, Loading Slash, and Point Blank Wyvern’s Fire. Boost Drivers turn Boost on, and boosted actions are temporarily stronger.
Boost Bracer basics: How the Gunlance enters Boost
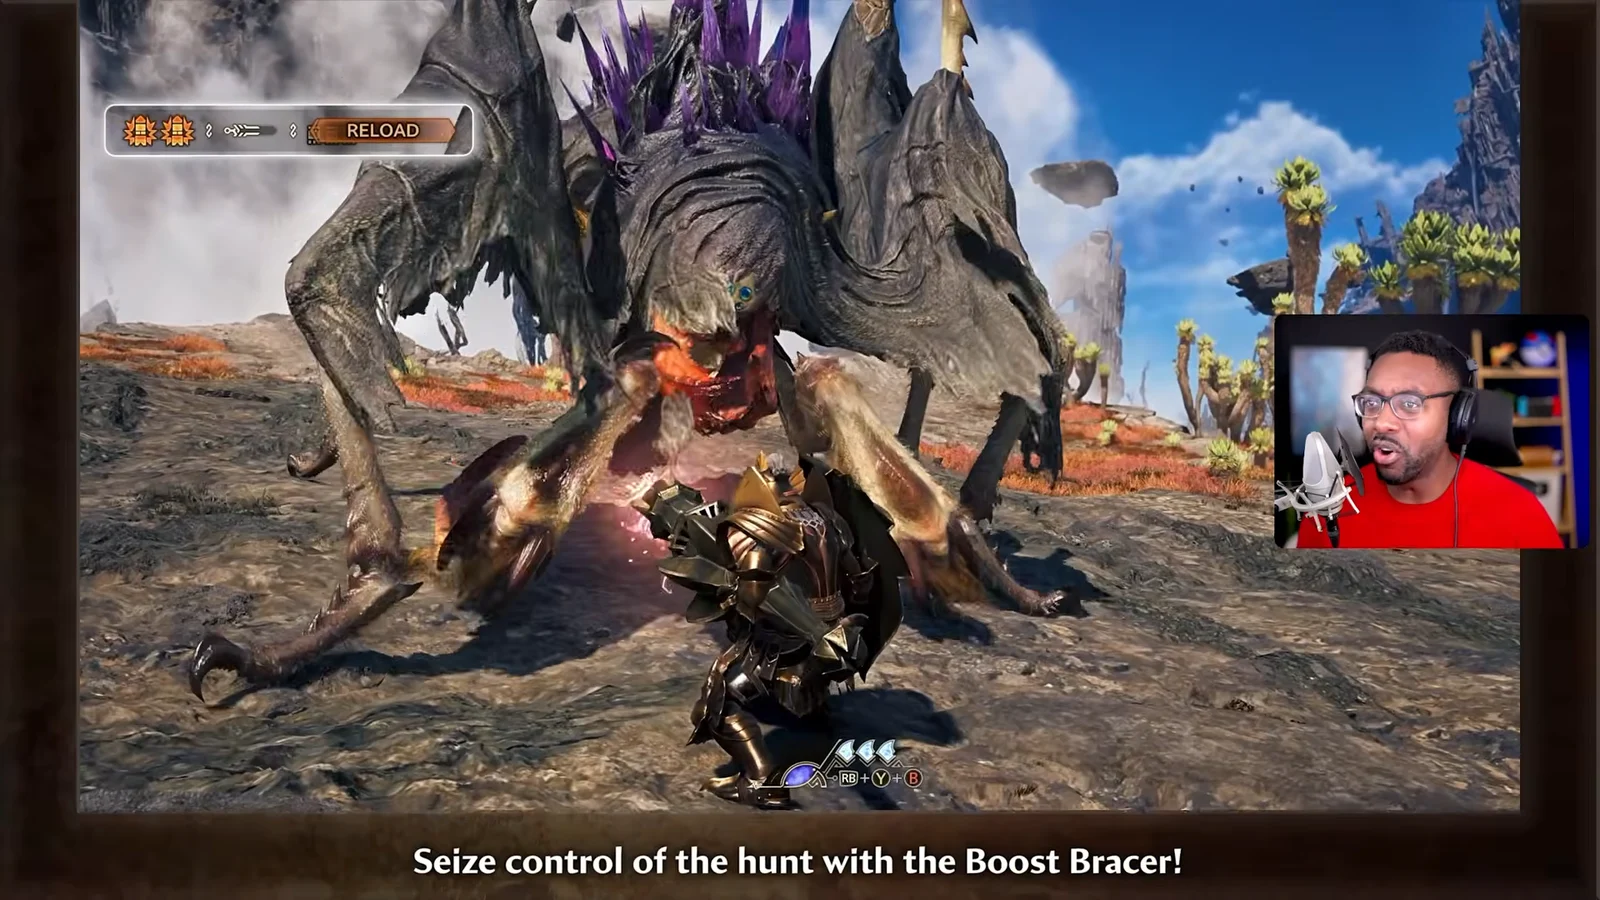
The Boost Bracer is a new mechanic that touches all 14 weapons, and it works the same way everywhere. You perform a Boost Driver — a strong, committed attack — and that switches Boost on. While Boost is active, a set of your existing actions is temporarily upgraded, and a few brand-new ones become available.
For the Gunlance, the boosted state means three things in practice. Attacks come out faster and explode harder, several moves gain hyper armor so monsters cannot knock you out of them, and your guard gets better — including perfect guard properties on animations that normally leave you exposed. The command list marks boosted options in yellow, so you can see at a glance which follow-ups are currently upgraded.
All new Gunlance moves and inputs in Ascendance
Inputs below are PlayStation face buttons as shown in the hands-on demo build. Some move names may read differently at launch.
| Move | Input | Effect |
|---|---|---|
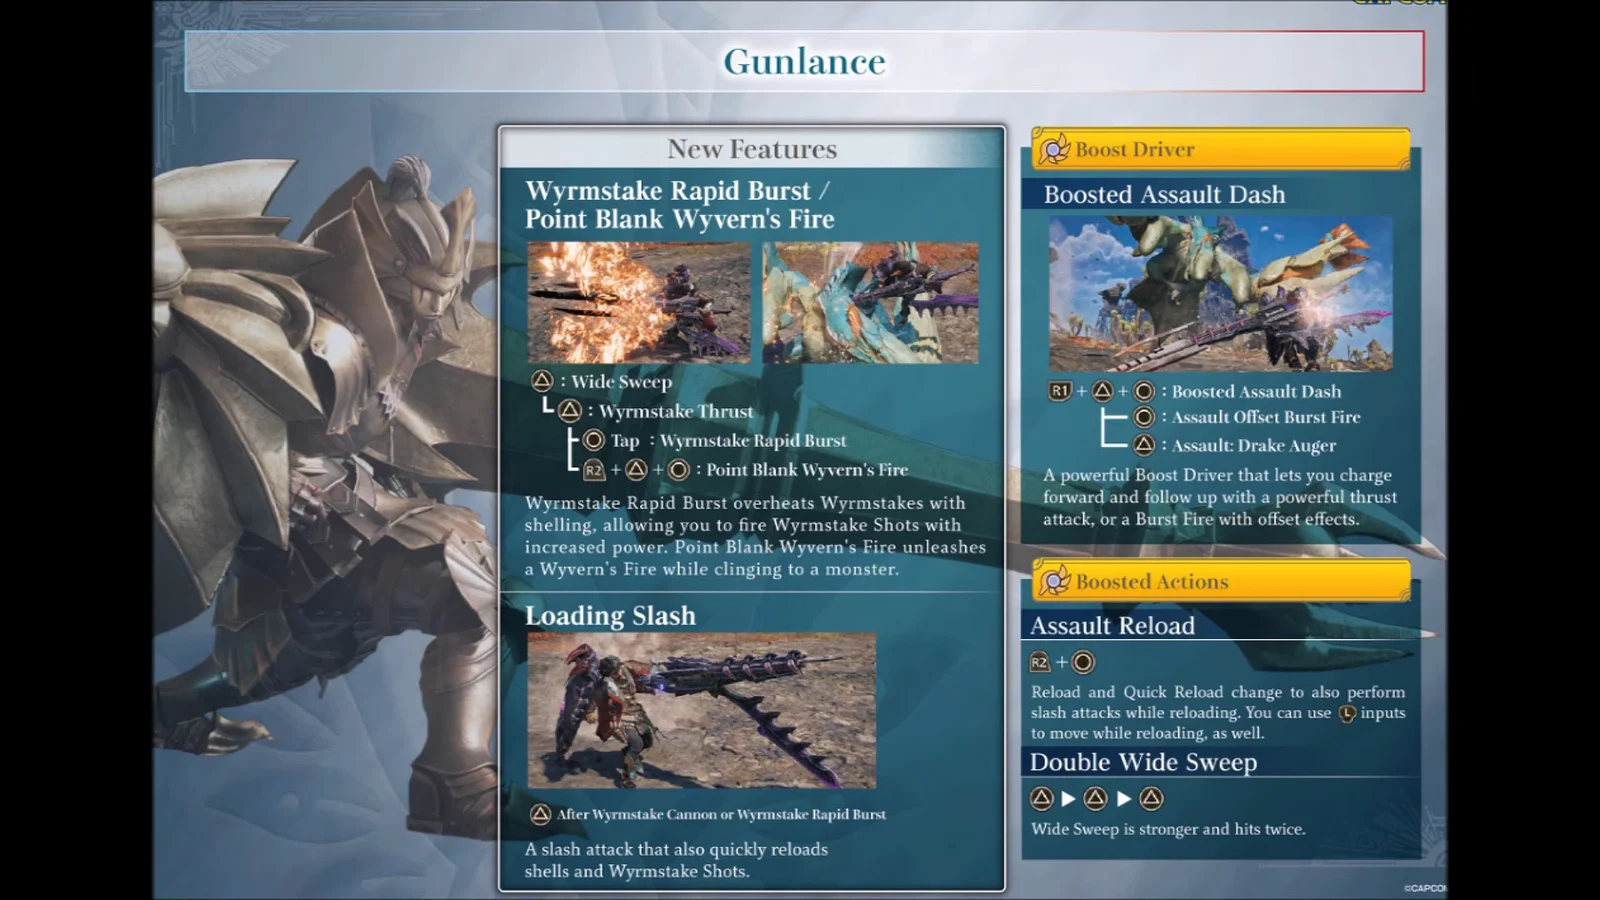
| Boosted Assault Dash | R1 + Triangle + Circle | Shielded charge, reloads on use |
| Assault Drake Auger | Triangle after the dash | Drilling thrust into aerial dive |
| Assault Offset Burst Fire | Circle after the dash | Offset counter with shelling |
| Assault Reload | Reload while boosted | Reloads mid-slash, can perfect guard |
| Double Wide Sweep | Triangle + Circle while boosted | Two-hit sweep, faster Full Blast |
| Wyrmstake Rapid Burst | Tap Circle after Wyrmstake Thrust | Multiple overheated stake shots |
| Loading Slash | Circle after Wyrmstake Cannon or Rapid Burst | Quick slash that reloads |
| Point Blank Wyvern’s Fire | Hold R2 + Triangle + Circle after Wyrmstake Thrust | Latch on, discharge at contact |
There is also a two-hit counter available straight out of a guard, and a Power Clash that, while boosted, lets you break away into a faster Wyvern’s Fire follow-up.
Boosted Assault Dash: Shield charge, offset, and a free reload
The Gunlance’s Boost Driver is a forward charge with the shield up. You keep guarding for the duration of the dash, which makes it a gap closer you can throw out into an incoming attack rather than around it. It also functions as an offset attack, so timed correctly it stops a monster’s move outright.
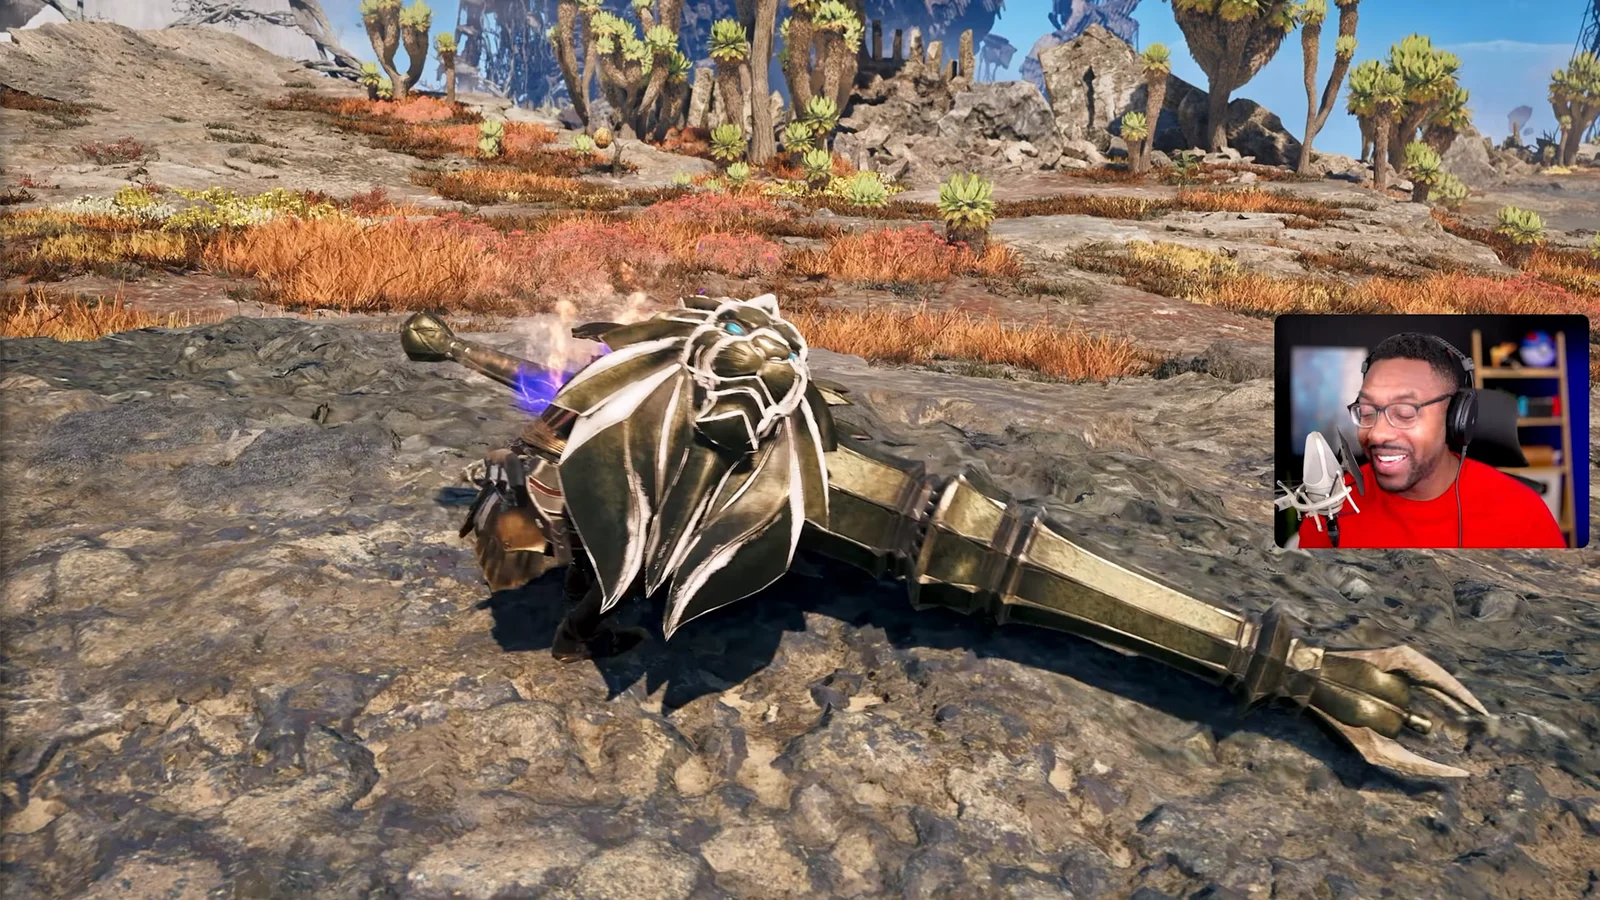
Two follow-ups branch off it. Triangle gives you the Assault Drake Auger, a rising drill thrust that carries into a diving thrust from the air. Circle gives you Assault Offset Burst Fire, which is the one worth drilling — hit the timing on something like Teostra’s lunge and you counter it with shelling instead of eating the hit.
The dash reloads your shells and Wyrmstake automatically, so using it to reposition costs you nothing in uptime. It can also cancel the long recovery on Wyvern’s Fire.
Assault Reload: Reloading without dropping your guard
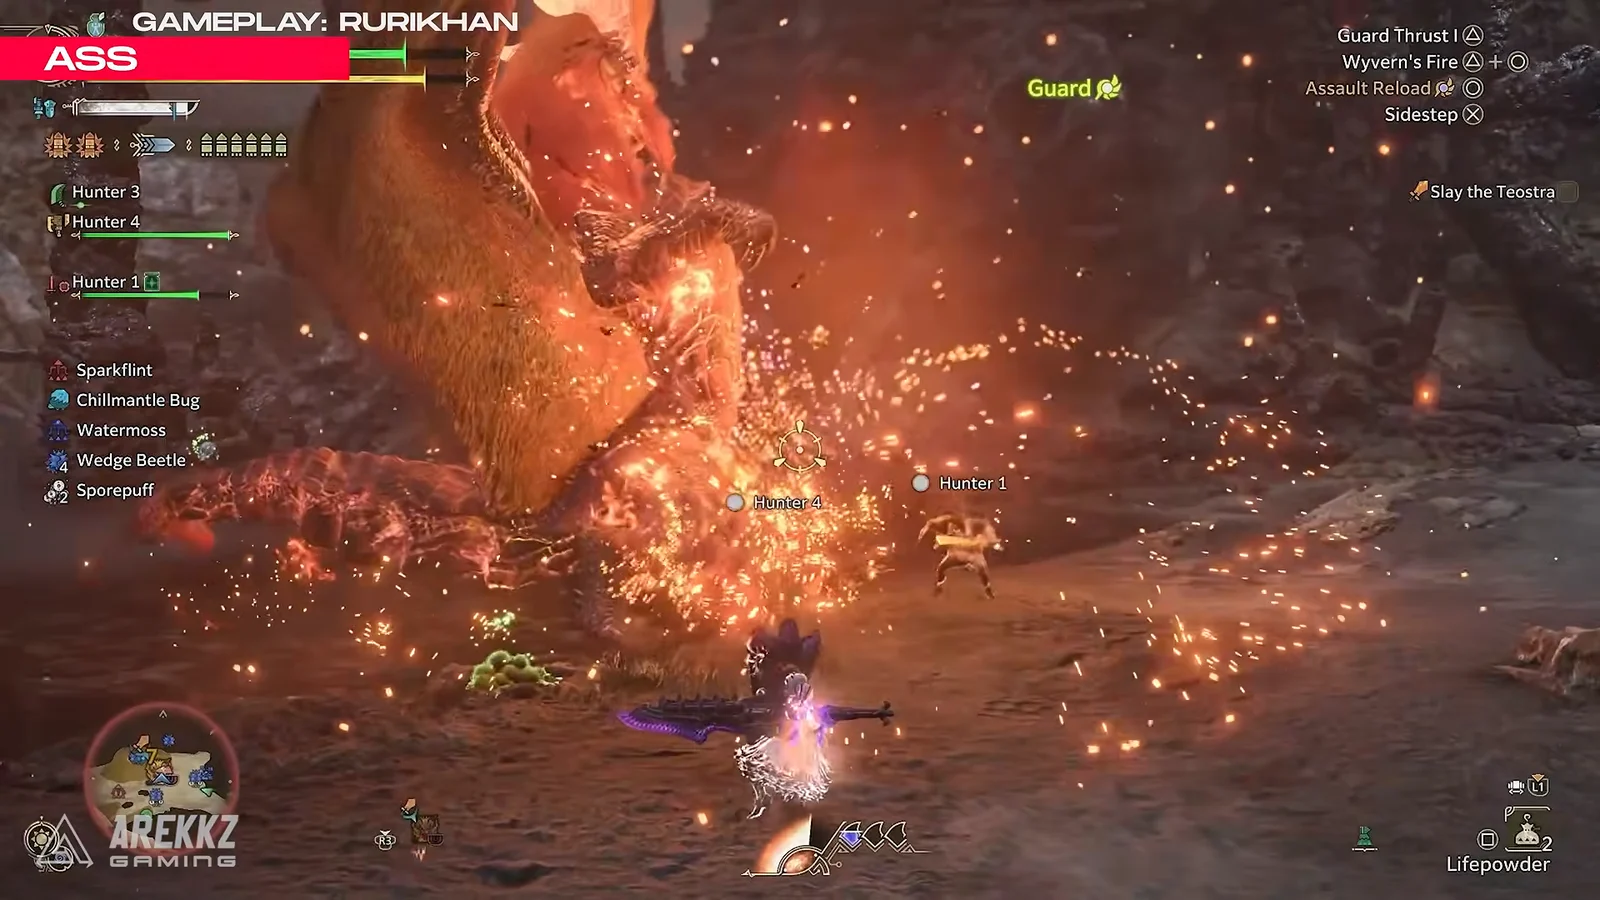
Reloading has always been the Gunlance’s tax. With Boost active, Assault Reload turns it into an attack — you swing while topping up shells and the Wyrmstake, and the animation carries perfect guard properties, so a monster that swings at you mid-reload gets blocked clean instead of flattening you.
Double Wide Sweep and the faster Wyrmstake Full Blast
Triangle plus Circle while boosted produces a Double Wide Sweep, a two-hit sweeping slash in place of the usual single swing. The important part is what comes after it: the transition into Wyrmstake Full Blast is quicker, which shortens the whole route to the Gunlance’s biggest payoff.
Wyrmstake Rapid Burst and Loading Slash
After a Wyrmstake Thrust, tapping Circle fires Wyrmstake Rapid Burst — a string of overheated stake shots pumped directly into the monster. Rapid shelling heats the stake, and a hotter stake hits harder, so the input order matters more than it used to.
Loading Slash is the connective tissue. Press Circle after a Wyrmstake Cannon or a Rapid Burst and you get a short slash that refills shells and Wyrmstake ammo, letting you roll straight into a Full Blast instead of stopping to reload.
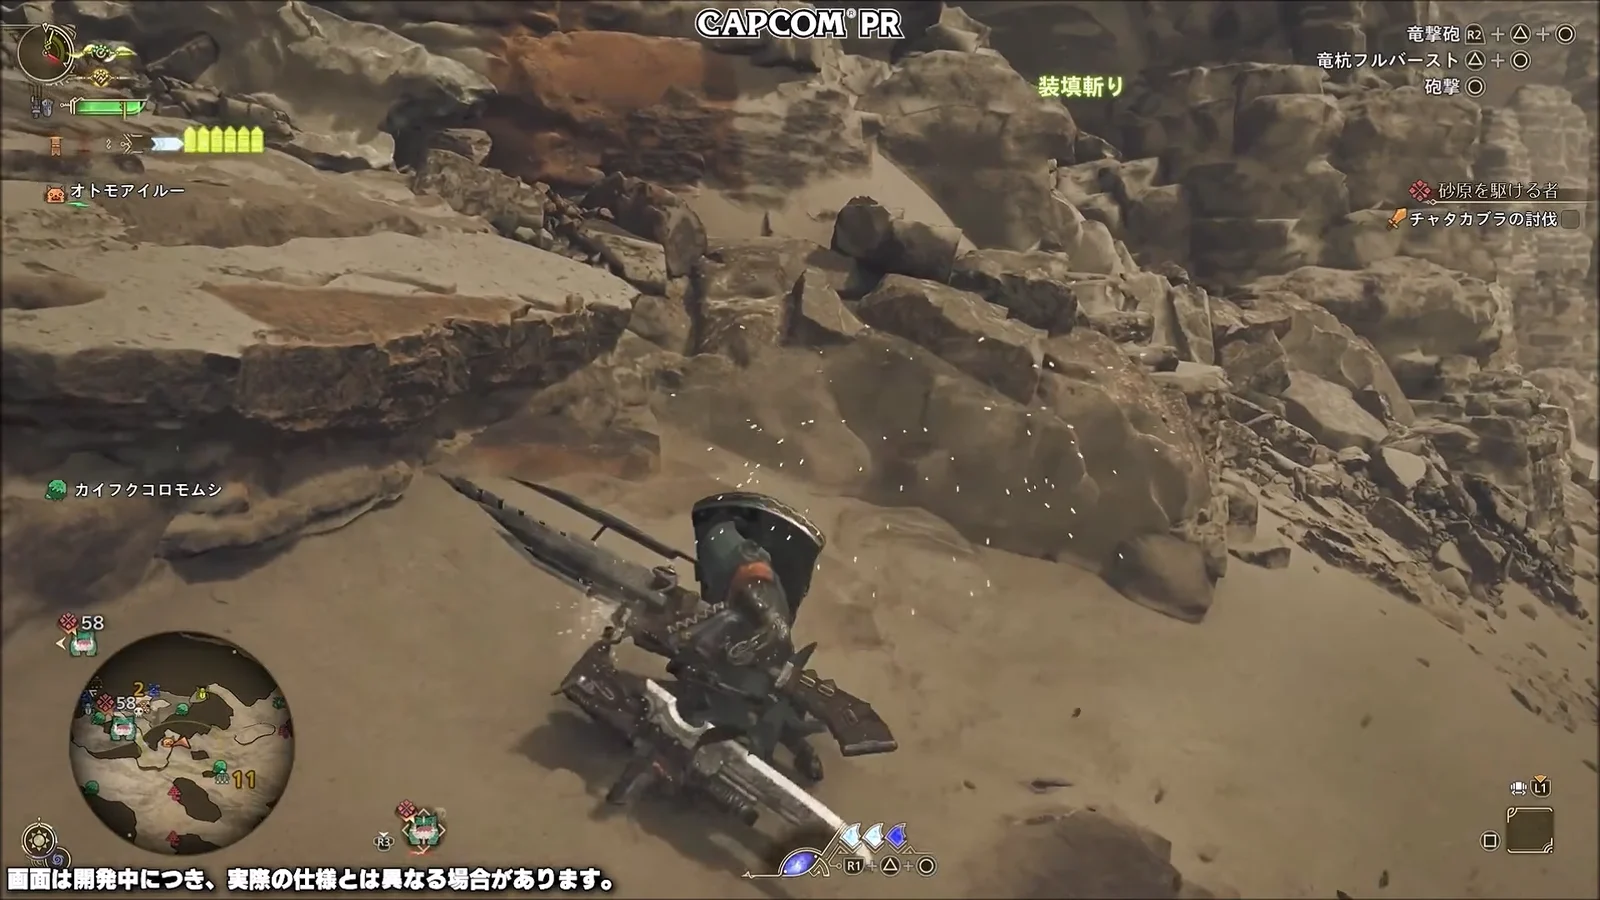
Point Blank Wyvern’s Fire: Latching on for the big blast
Hold R2 and press Triangle plus Circle after a Wyrmstake Thrust and the hunter clings onto the monster to unload Wyvern’s Fire at contact range. It is the Gunlance’s version of the Switch Axe’s Zero Sum Discharge, and you keep hyper armor through it.
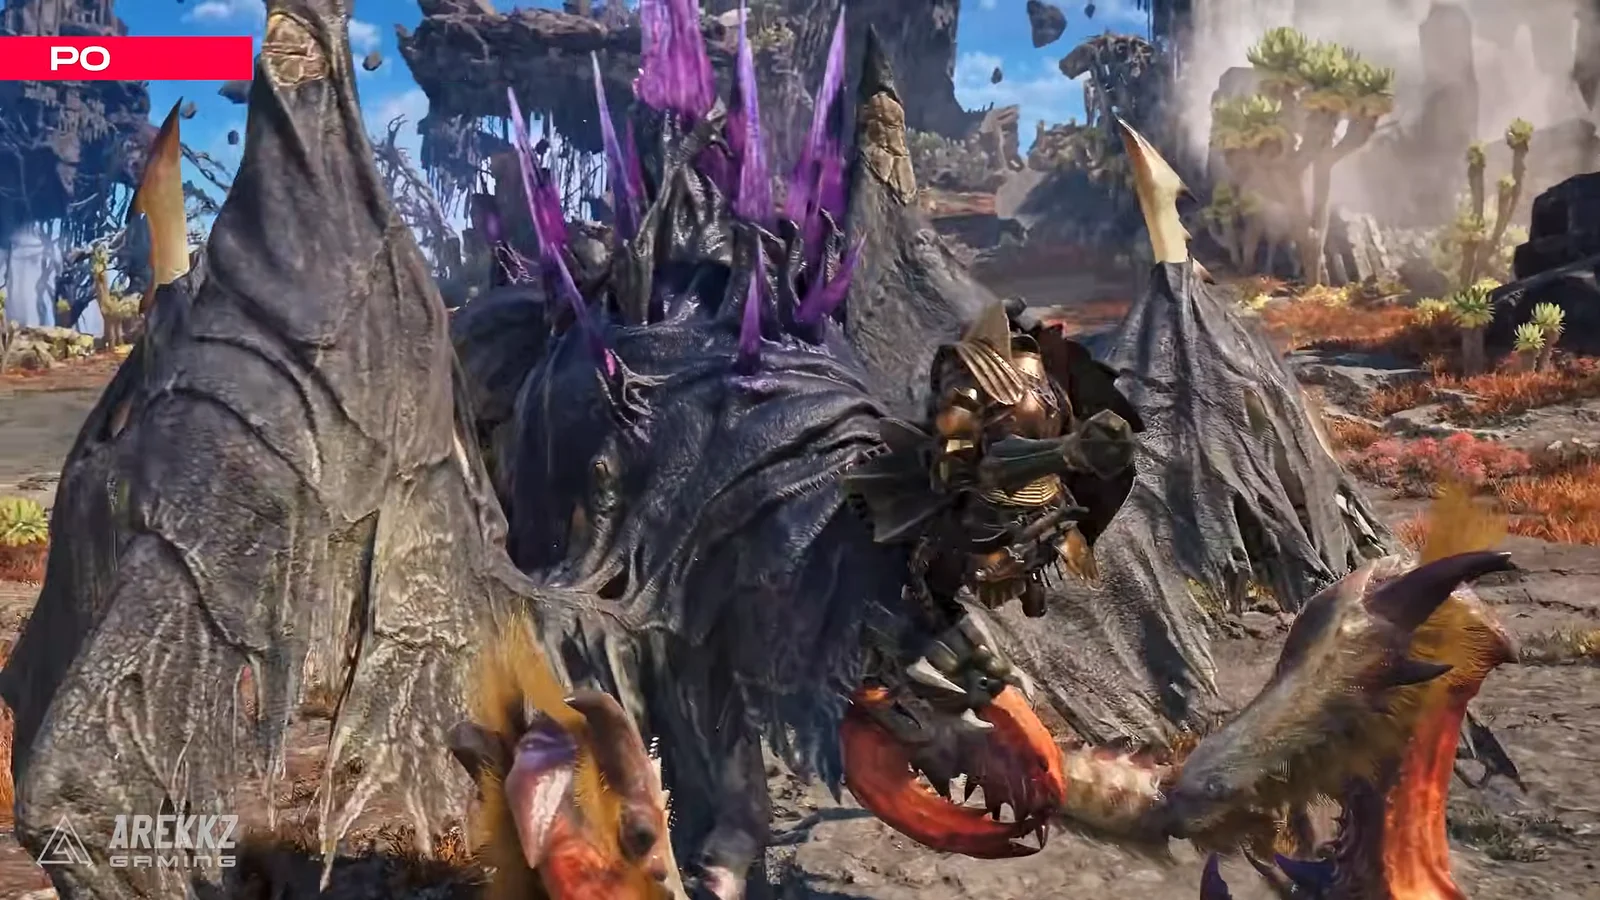
It spends Wyrmstake ammo and a Wyvern Gauge charge, but it does not eat your shells — so you come out of it still loaded for shelling.
Elemental Shelling and what is not confirmed yet
Elemental Shelling is listed among the Gunlance’s Boost Bracer additions. It attaches an element to shelling attacks, which would finally let a weapon whose damage largely ignores hitzones lean on a monster’s elemental weakness as well.
How that plays out in a full build is still open. The hands-on demo shipped with non-elemental Gunlances only, and a Kushala Daora Gunlance shown with what looked like ice effects on its shells is the clearest hint so far. Balance across the three shelling types — Normal, Long and Wide — is also being retuned around the new combo routes, so existing shelling preferences may not carry over cleanly.
Ascendance is due out in 2027, with no narrower release date confirmed. Monster Hunter Wilds itself is out now on PlayStation 5, Xbox Series X|S and PC, and a Switch 2 version is in development.