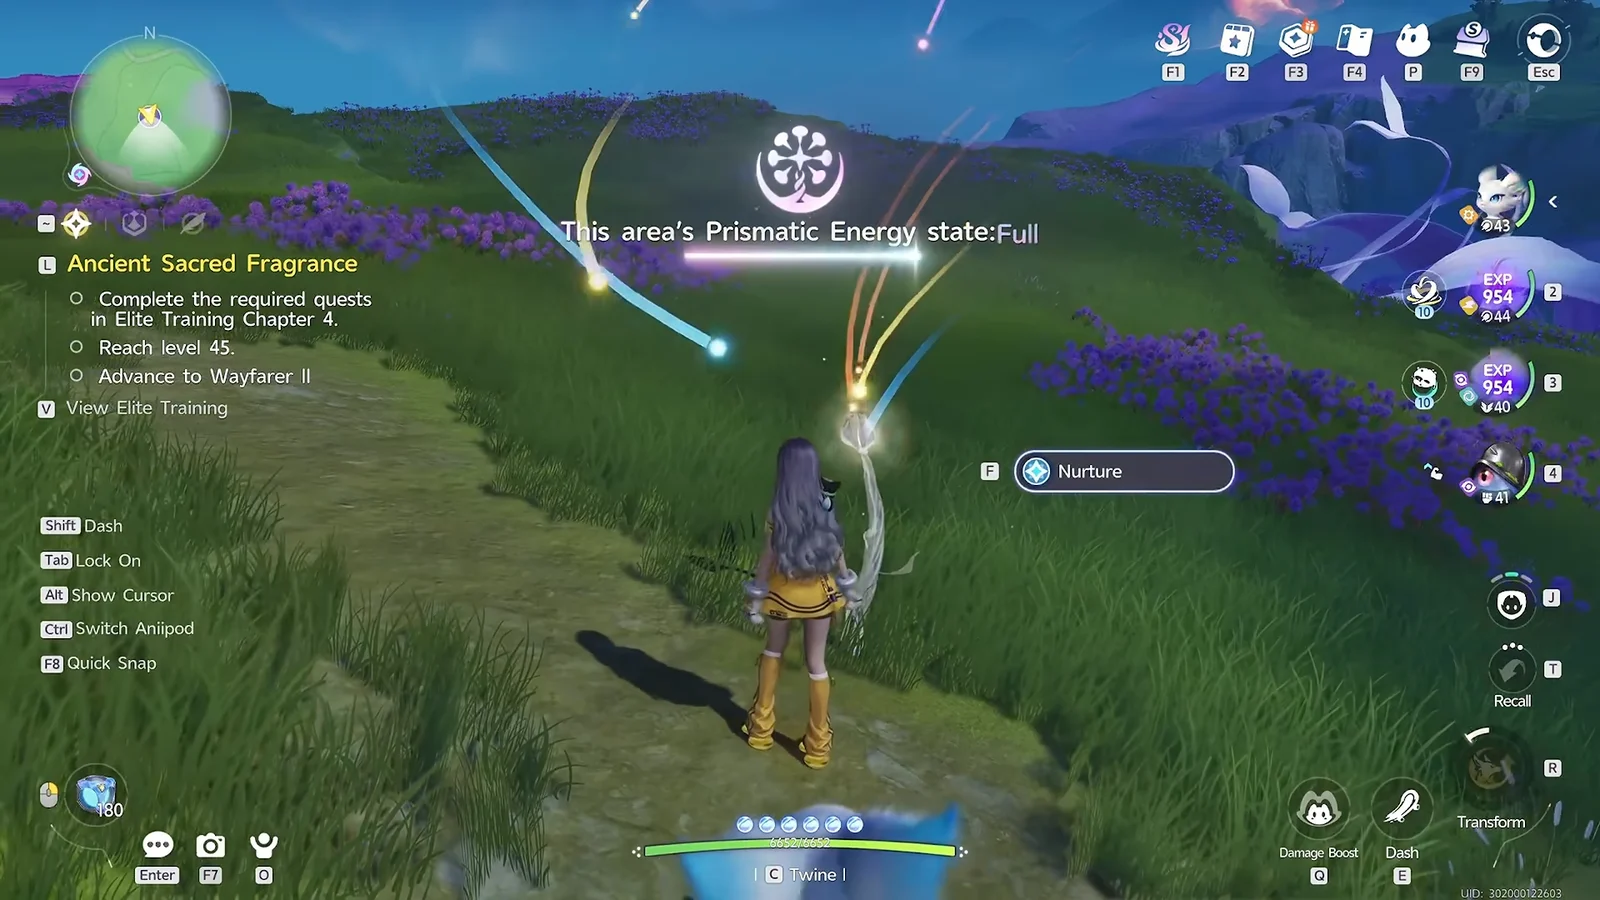
Nurturing is how you draw crowds of wild creatures to a single spot in Aniimo, and it is the main lever for raising an area’s Prismatic Energy so rare Prismana forms start appearing. Each successful Wild Surge you complete adds energy to that region, and once the gauge is full, a Prismana spawn is guaranteed.
Quick answer: Earn an area’s Bronze Badge, open the map and pick Deliver Lumin Amber, choose the area in the Nurture menu, travel to the marked Bloom, start the Wild Surge, then press F to release Prismatic Energy.
What nurturing does and the Prismatic Energy states
Every region tracks its own Prismatic Energy level. You raise it by completing Wild Surges at Blooms and releasing the energy you build up. As the level climbs, your odds of running into a Prismana Aniimo, an evolved creature, or a sparkling variant go up with it.
The energy gauge moves through six named states, from empty to full:
- Empty
- Very Low
- Slight
- Abundant
- Very High
- Full
Prismana Aniimo are guaranteed to spawn in any area sitting at the Full state. Below that, they can still appear at random during a nurture, but full energy is the only reliable trigger.
Requirements before you can nurture
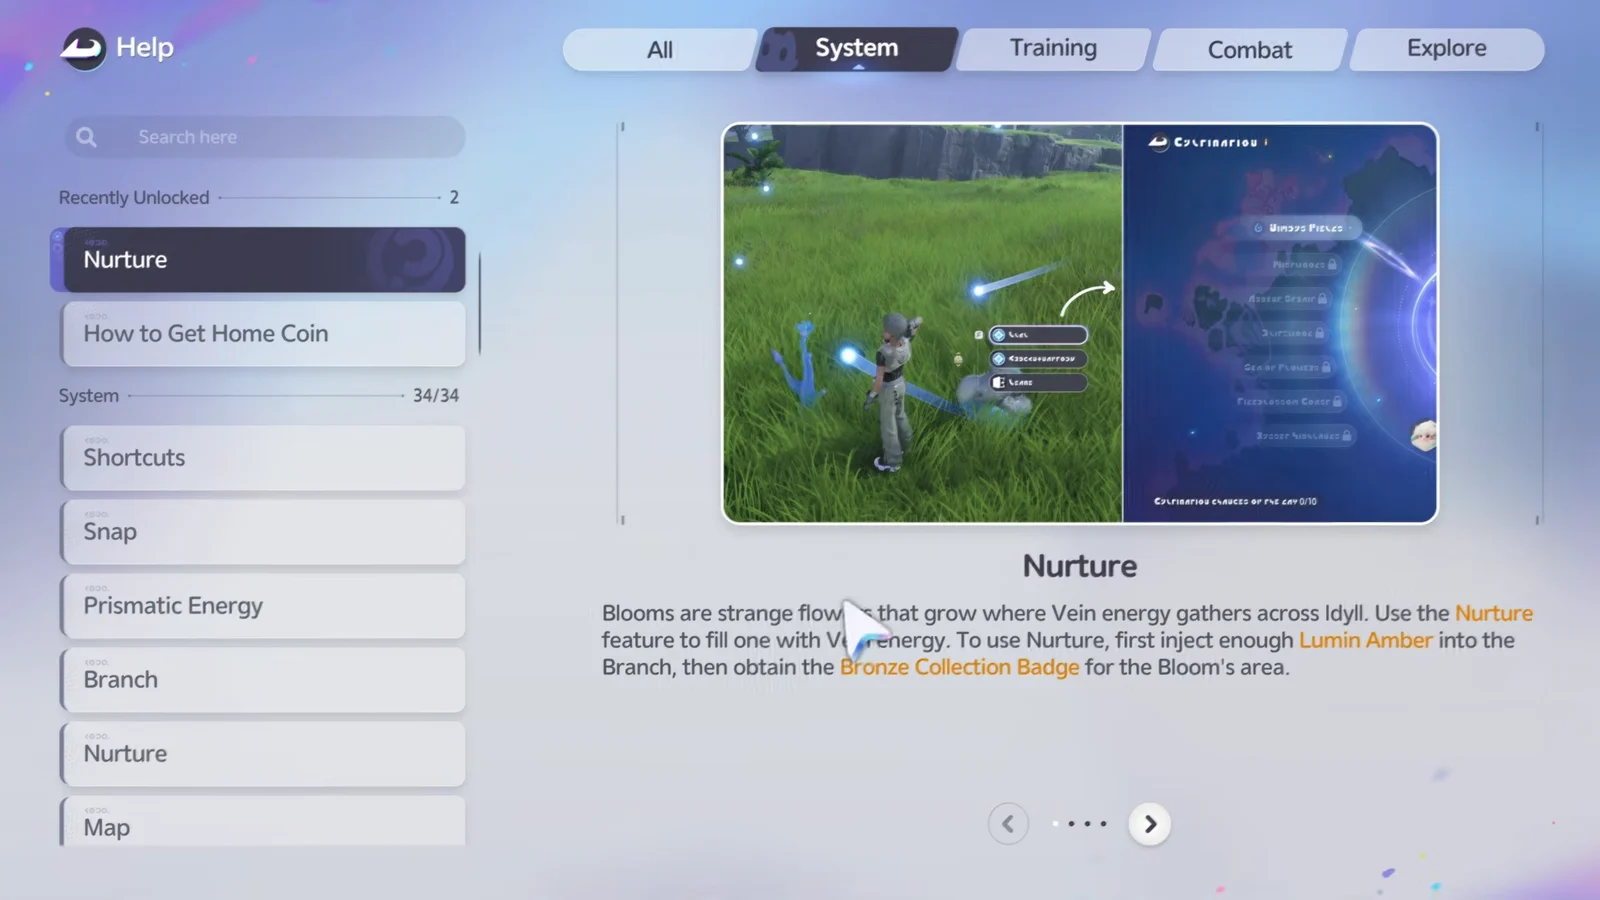
An area becomes eligible for nurturing once you have caught enough of its local species to earn its Bronze Badge. Until that badge is unlocked, the Nurture menu will not let you choose the area.
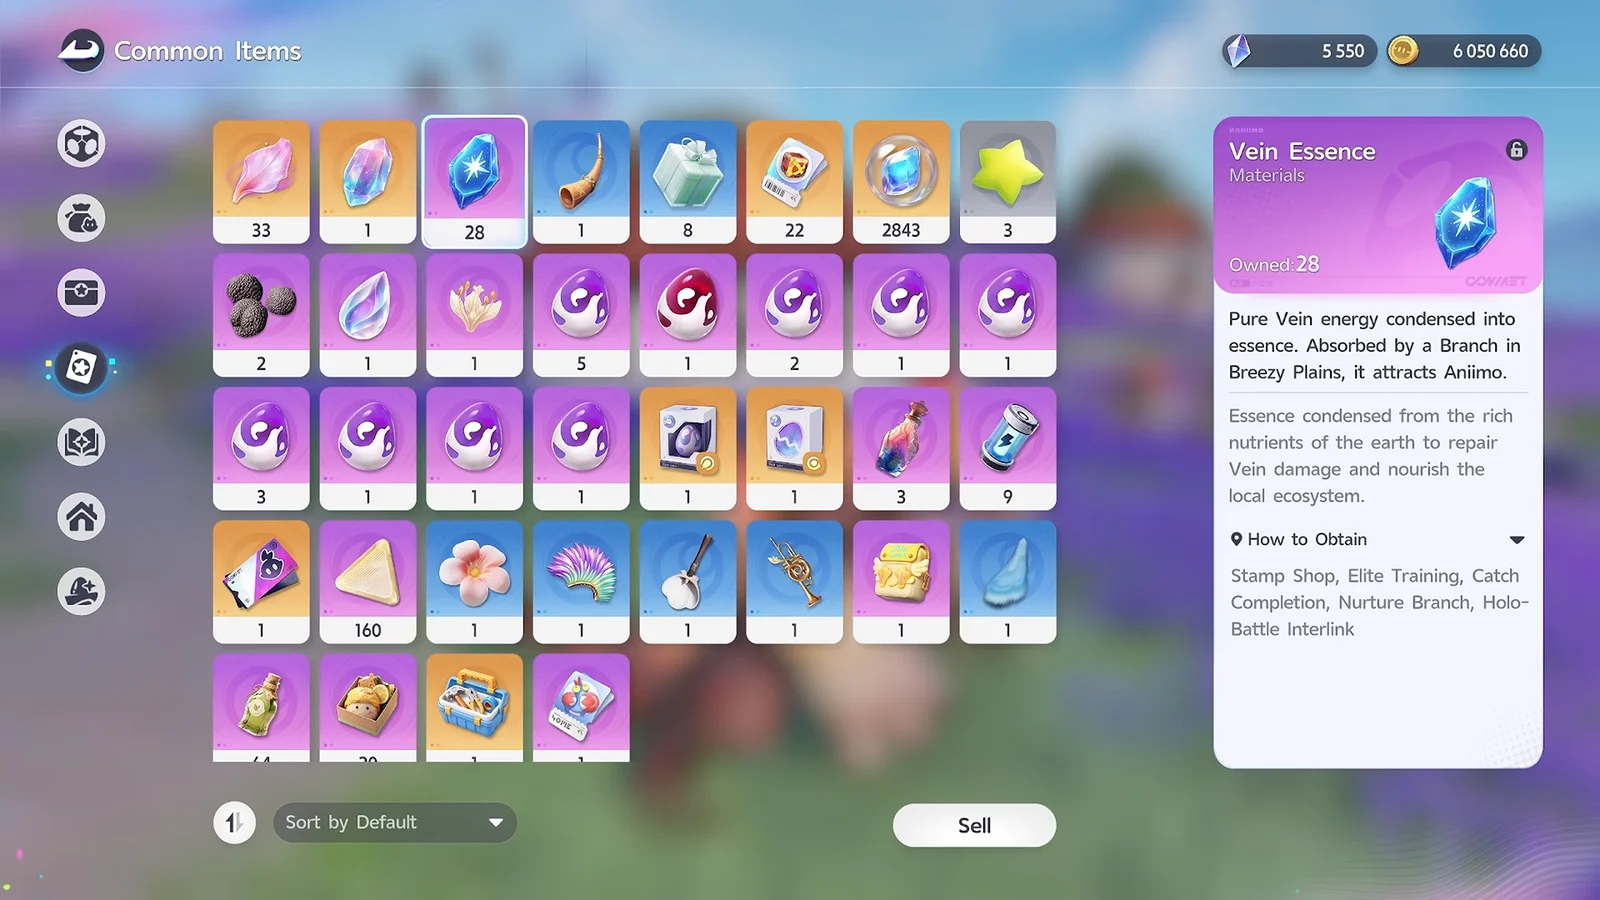
Starting a nurture consumes Vein Essences, but you also get three free nurture charges that refill over time. Additional charges beyond the free ones cost one Vein Essence each.
Spend your free charges before they cap out so you never waste a chance to build energy at no cost.
How to start a nurture
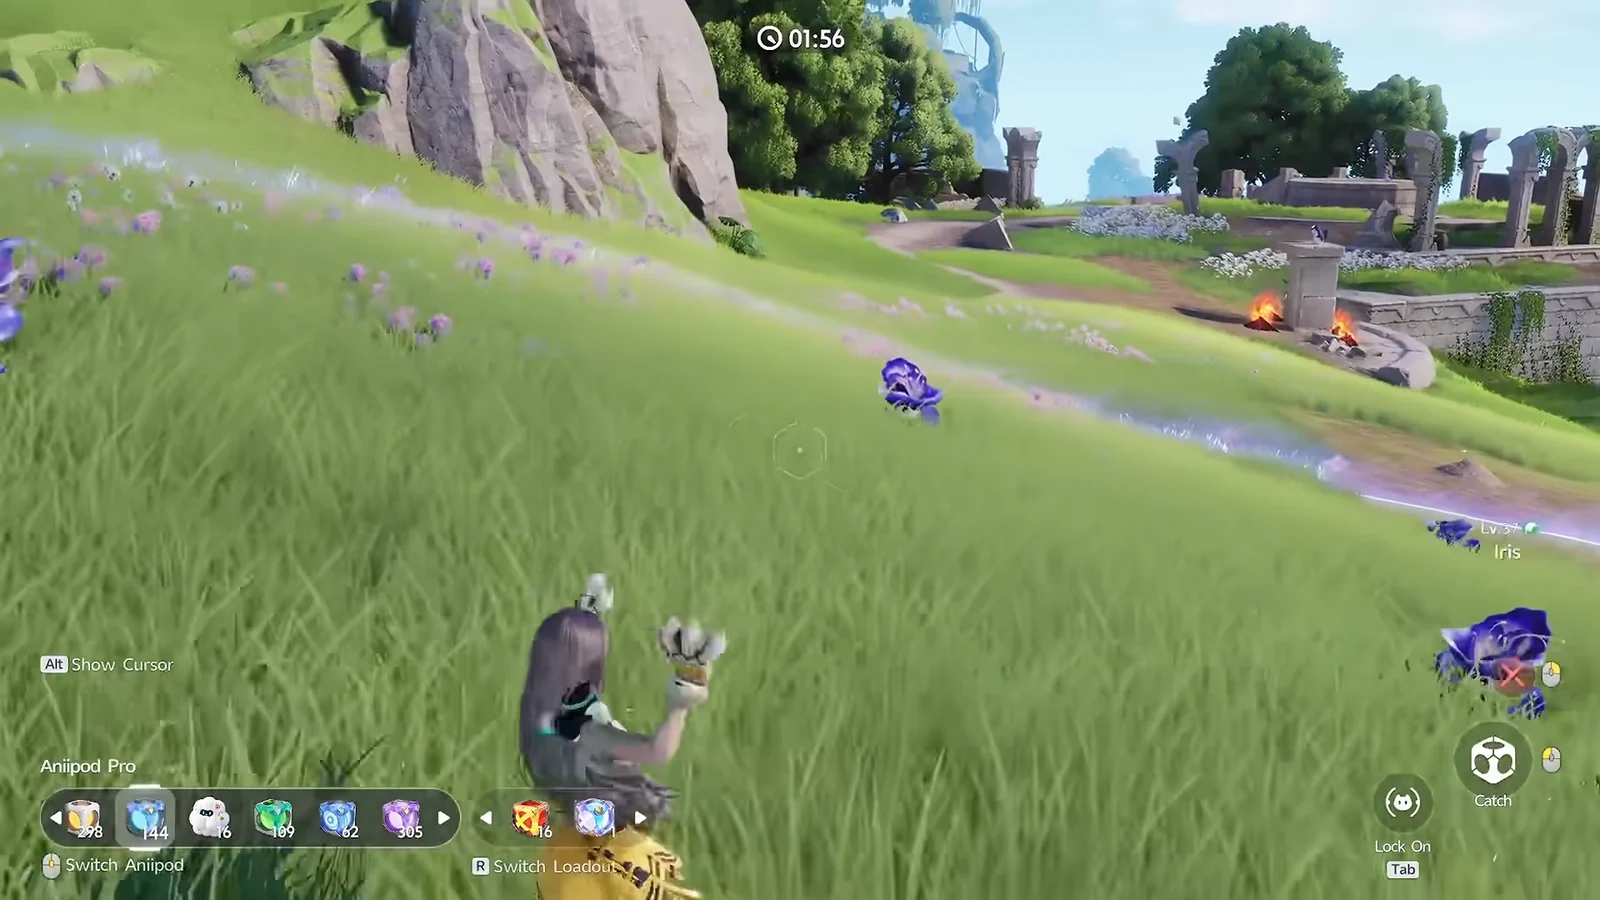
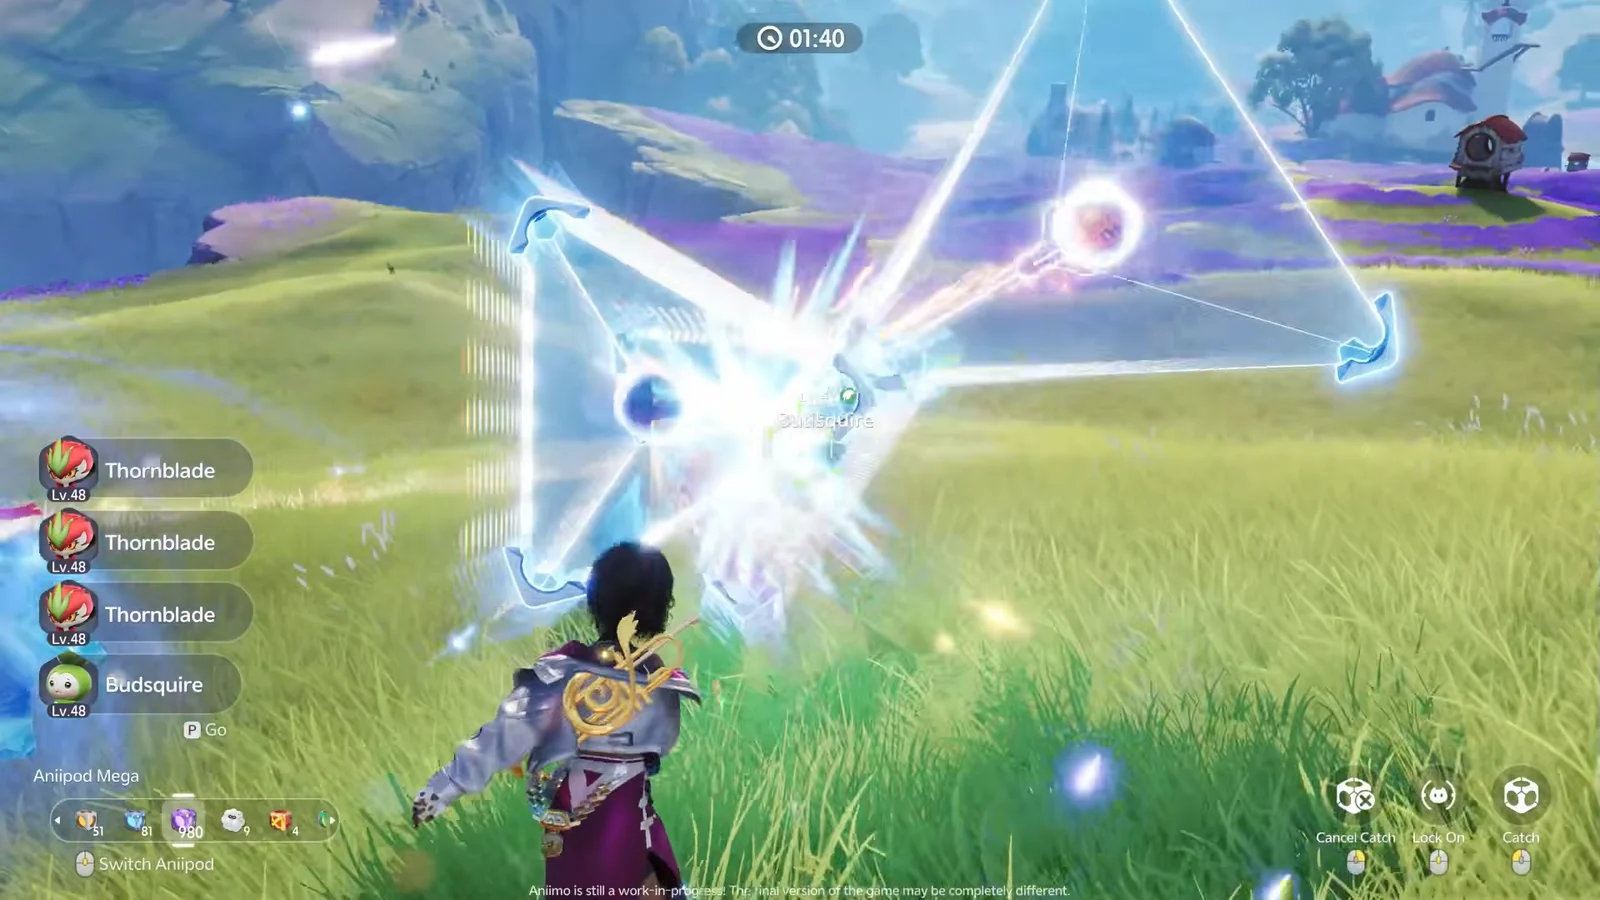
Swap to a low-level creature before catching the surge. Sweeping up every spawn hands out a large batch of experience, which levels that Aniimo quickly.
Using elemental shards and offerings
Before you confirm a nurture, you can tap the “+” button in the center of the menu to offer items. These shape which Aniimo the Bloom attracts during the surge. Elemental shards come in Fire, Water, Wind, Ice, Lightning, Earth, Grass, and Dark, and each pulls in creatures of that element. A Grass Shard draws grass-type Aniimo, a Dark Shard draws dark-type creatures, and so on.
Shards cost 5,000 Credits at the outpost shop vendor, and you can also scavenge them from vases, stumps, and other field containers. Stacking richer offerings such as Tumblers and Mega Anipods pushes the quality rating higher, up to “One of a Kind,” which improves what appears.
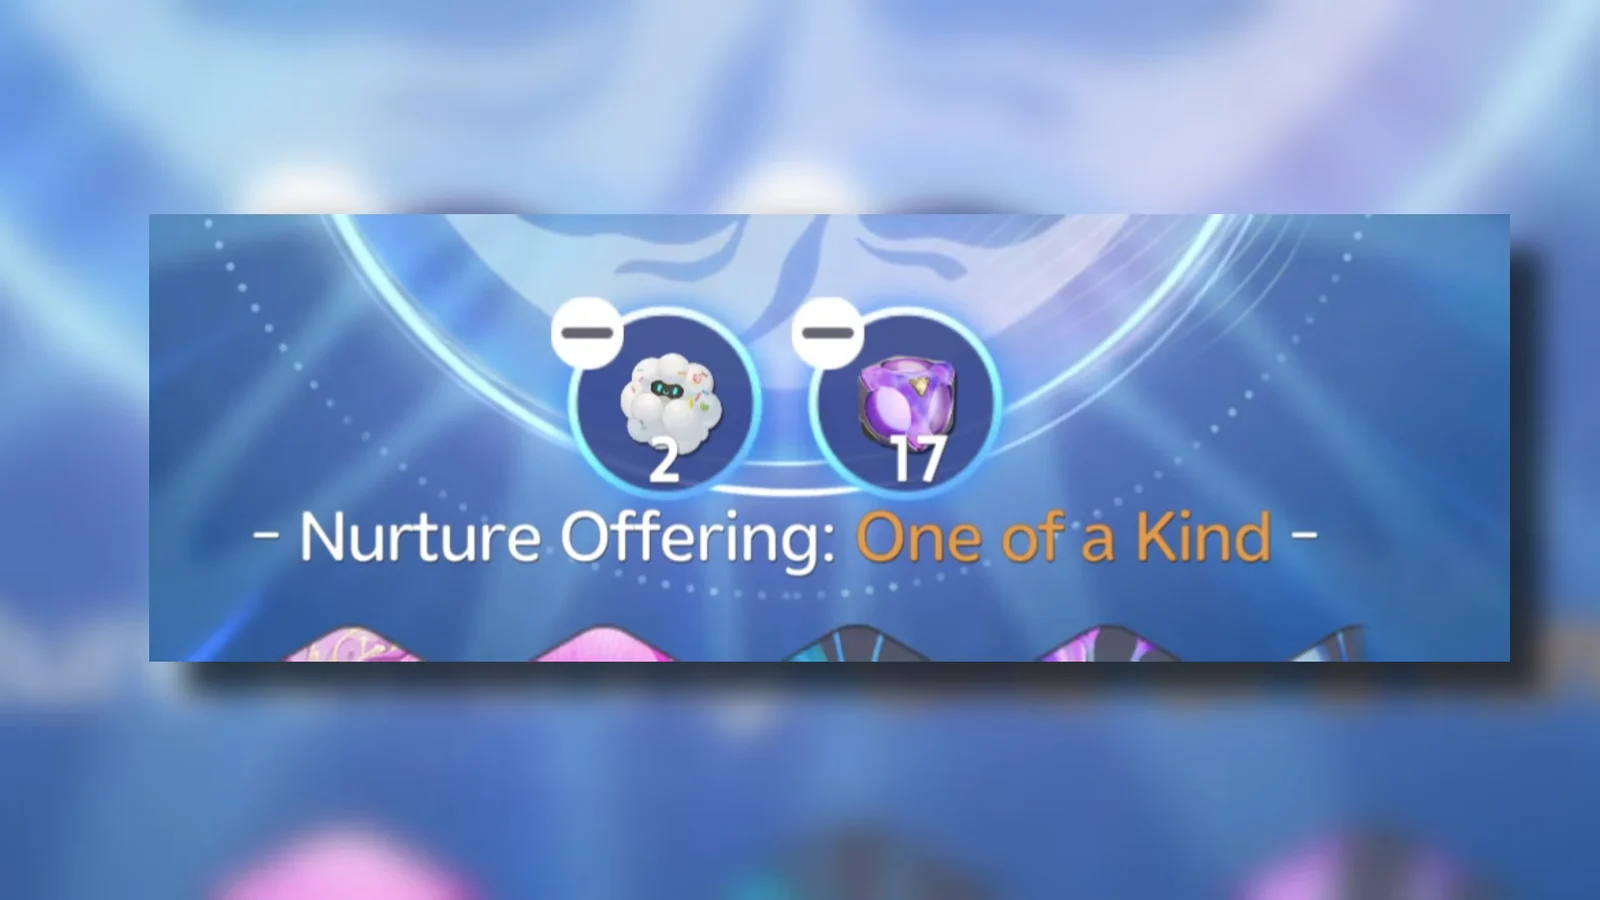
Offering shards is optional. It changes which creatures spawn, but it does not speed up how fast the area’s energy state rises.
Confirming the energy rose and finding Prismana
You know a nurture worked when the region’s Prismatic Energy gauge climbs a tier after you release energy at the Bloom. Every area starts at Empty, so expect a slow grind through several surges to reach Full. Higher tiers cost more to nurture, but they also raise your chance at Prismana, evolved, and sparkling spawns.
When a Prismana Aniimo does appear, a beam of light shows on screen and a map marker pins the exact spawn location. At the Full state that spawn is guaranteed, so glide to the marker and catch it with your Aniipods without starting a fight.