Parties in Project Slayers 2 exist for one practical reason: finding each other. The world is large, quest targets are scattered across separate regions, and bosses respawn on their own schedule. Grouping up puts your friends on your map and compass so you stop typing coordinates into chat.
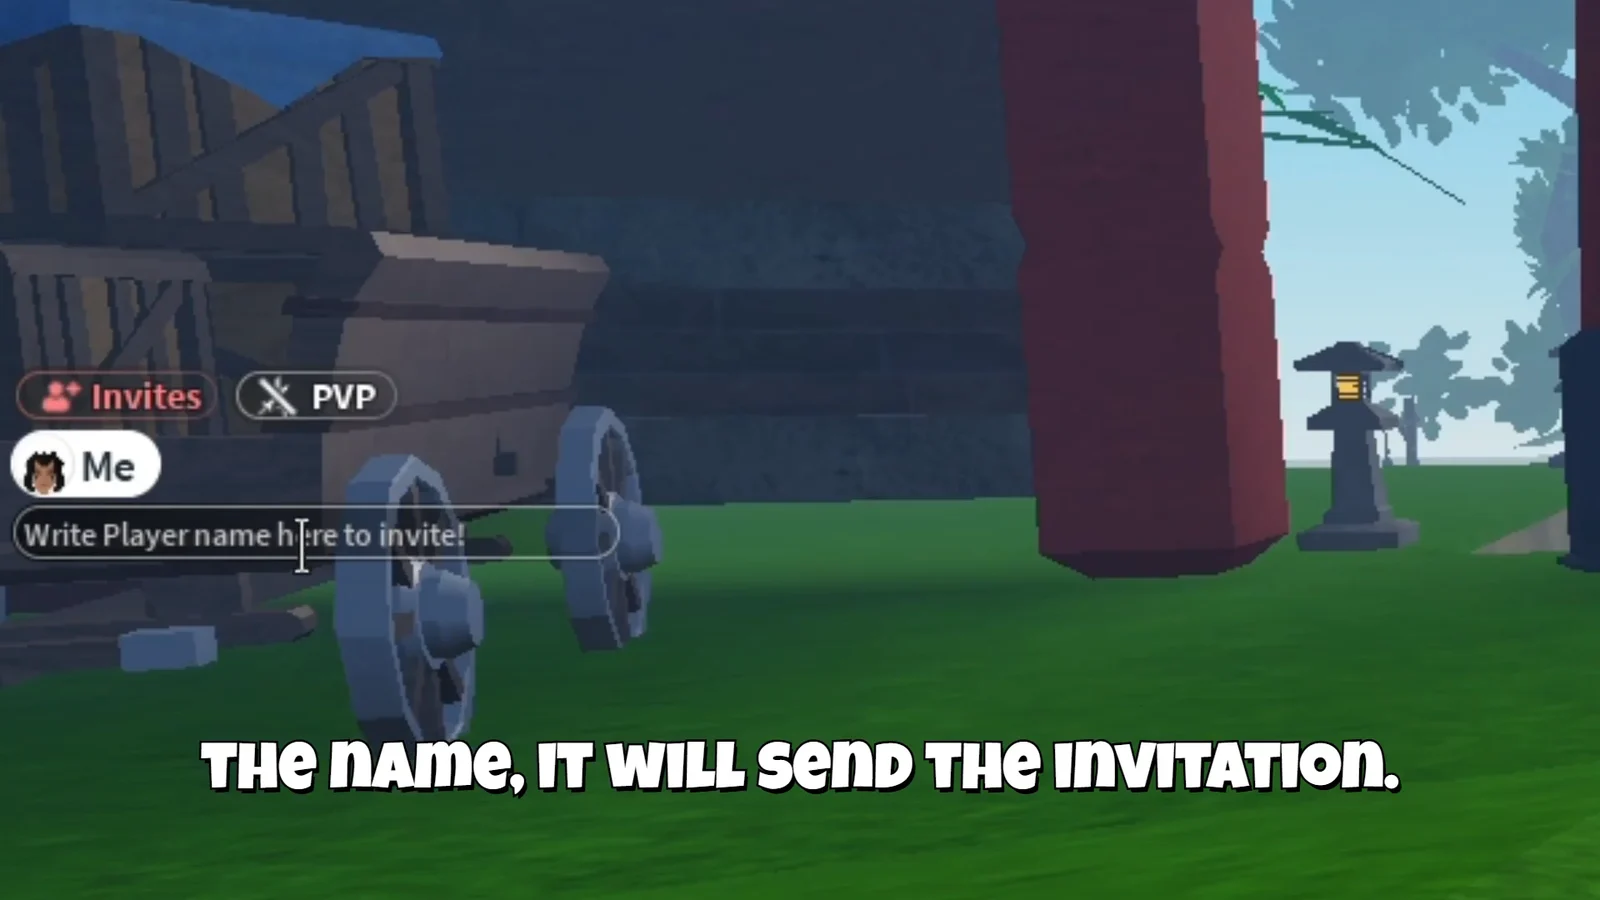
Quick answer: Click the invite text box on the left side of your HUD, type your friend’s exact Roblox username, and press Enter. They join the moment they accept.
Where the party invite option sits on the HUD
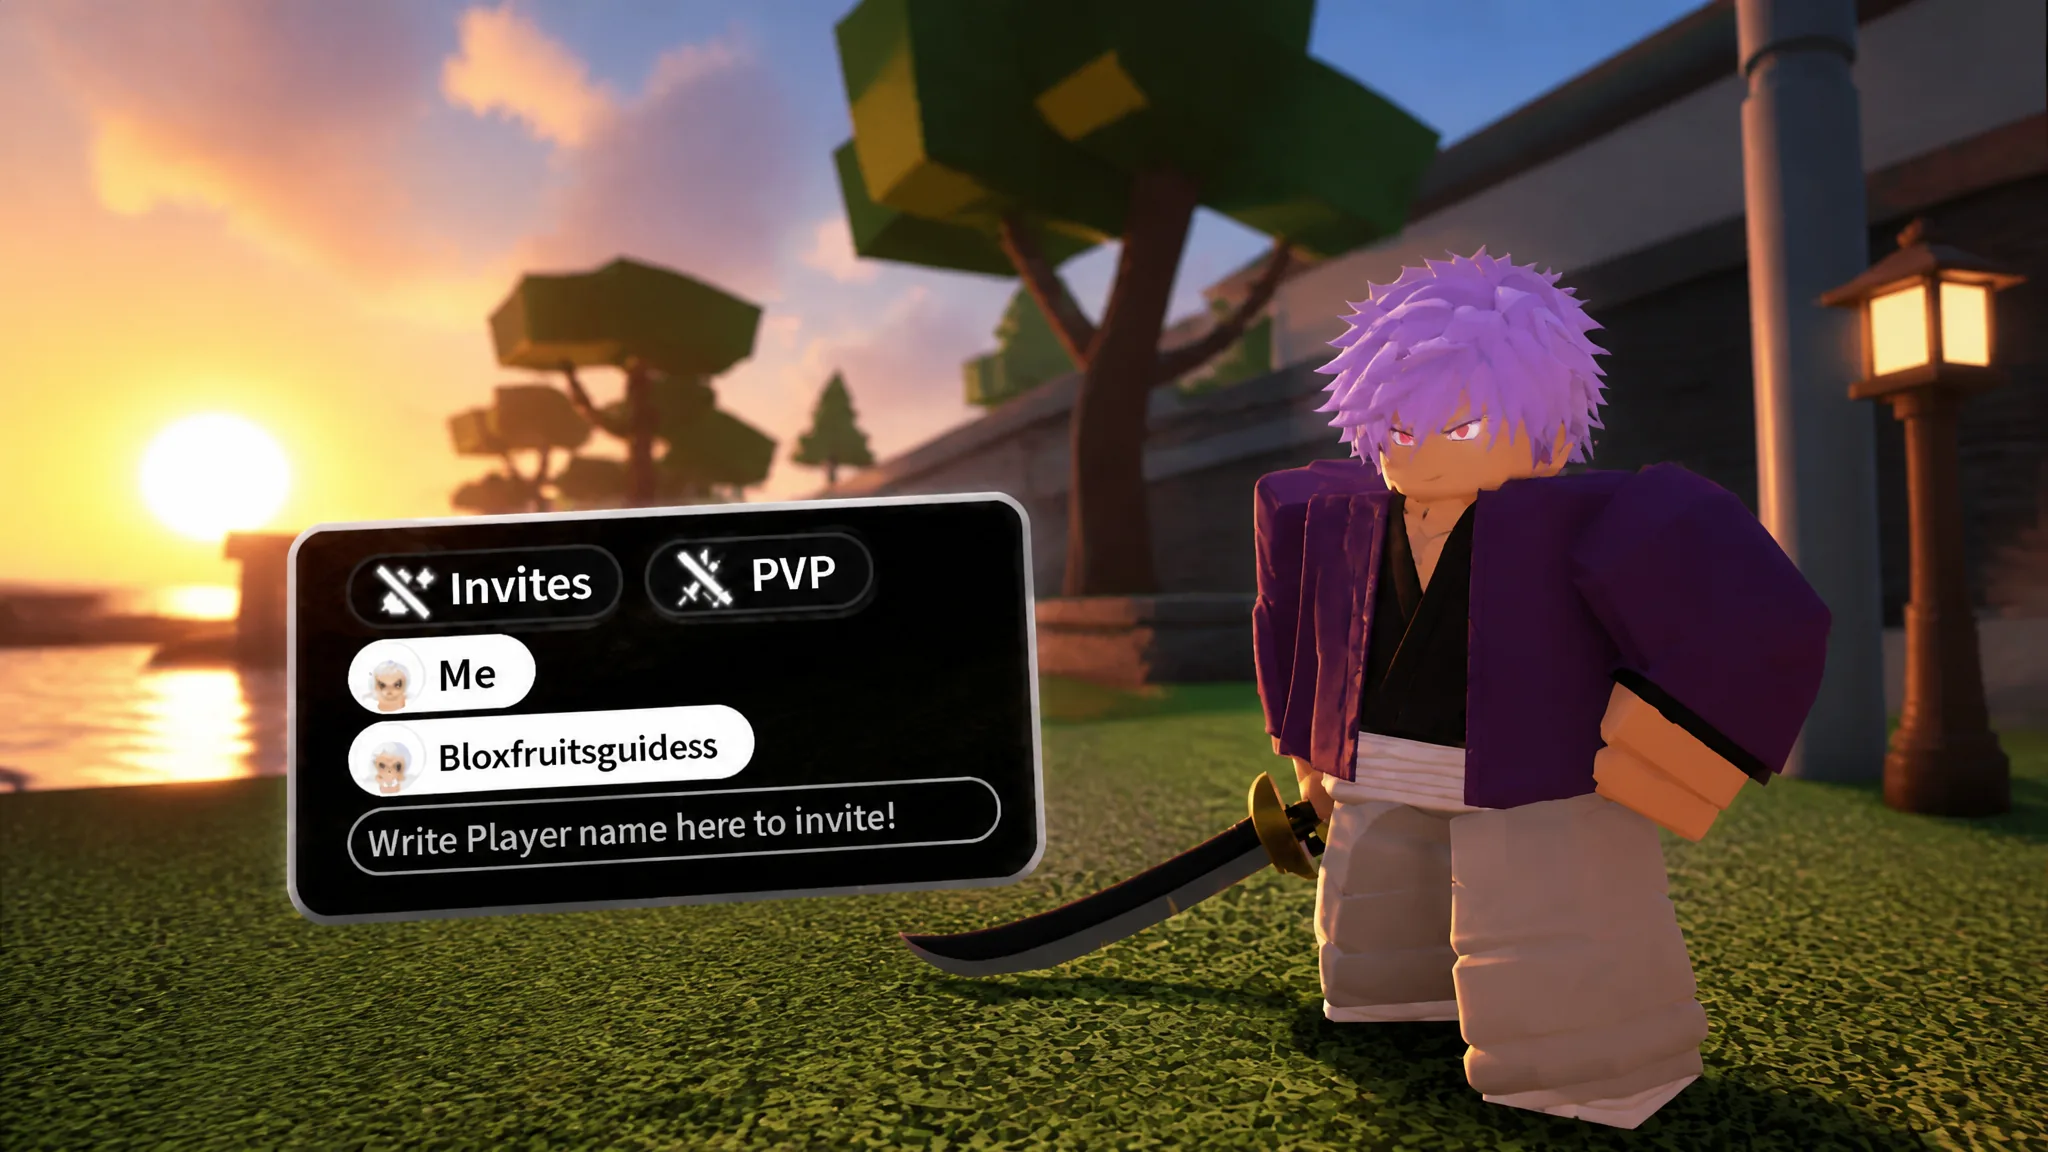
There is no menu to dig through. The party controls live permanently on the left side of the screen, stacked with the other HUD toggles such as Show Skin Mode. You will see either a Create Party button or a text field labeled “Invite Player (write name to invite)”, depending on whether you already have a party open.
Clicking that field opens a prompt that reads “Write Player name here to invite!”. That is the only input the system needs.
How to invite a player to your party
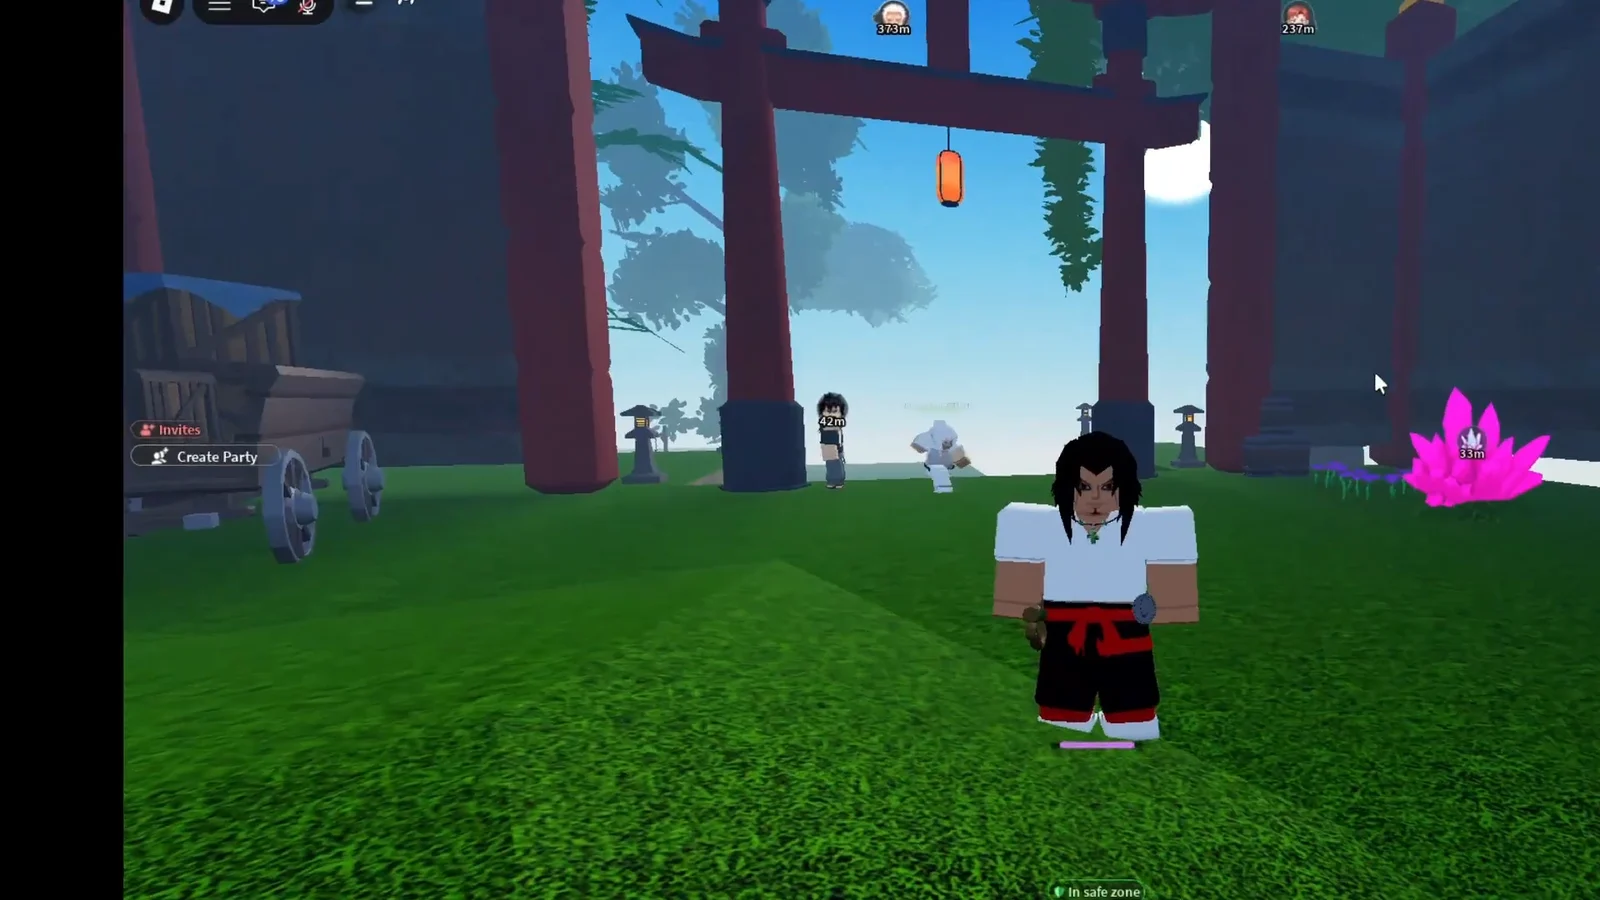
Typos are the most common failure point here, since the invite is matched against the exact account name. Copy it from the Roblox profile if the spelling is unusual.
How to know the party actually formed
Acceptance produces a green system notification stating that the player has joined the party. That message is your confirmation, and after it appears the invited player is grouped with you for the session.
The second, more useful check is spatial. Open your map or glance at the compass bar running across the top of the screen. A party member’s position shows up as a tracked marker alongside the standard N, S, E and W directions, which is the fastest way to verify the group is live before you split up.
What a party changes once you are grouped
- Party members appear on the world map in real time.
- The top-center compass bar tracks them as waypoints while you move.
- Regrouping after a death or a respawn no longer requires landmark directions in chat.
Chest loot from bosses and events is contested between everyone who is present. Being in a party does not reserve drops for you, so still move on a chest the moment it appears.
Content where tracking your party is worth the trouble
Quest chains that send you between regions
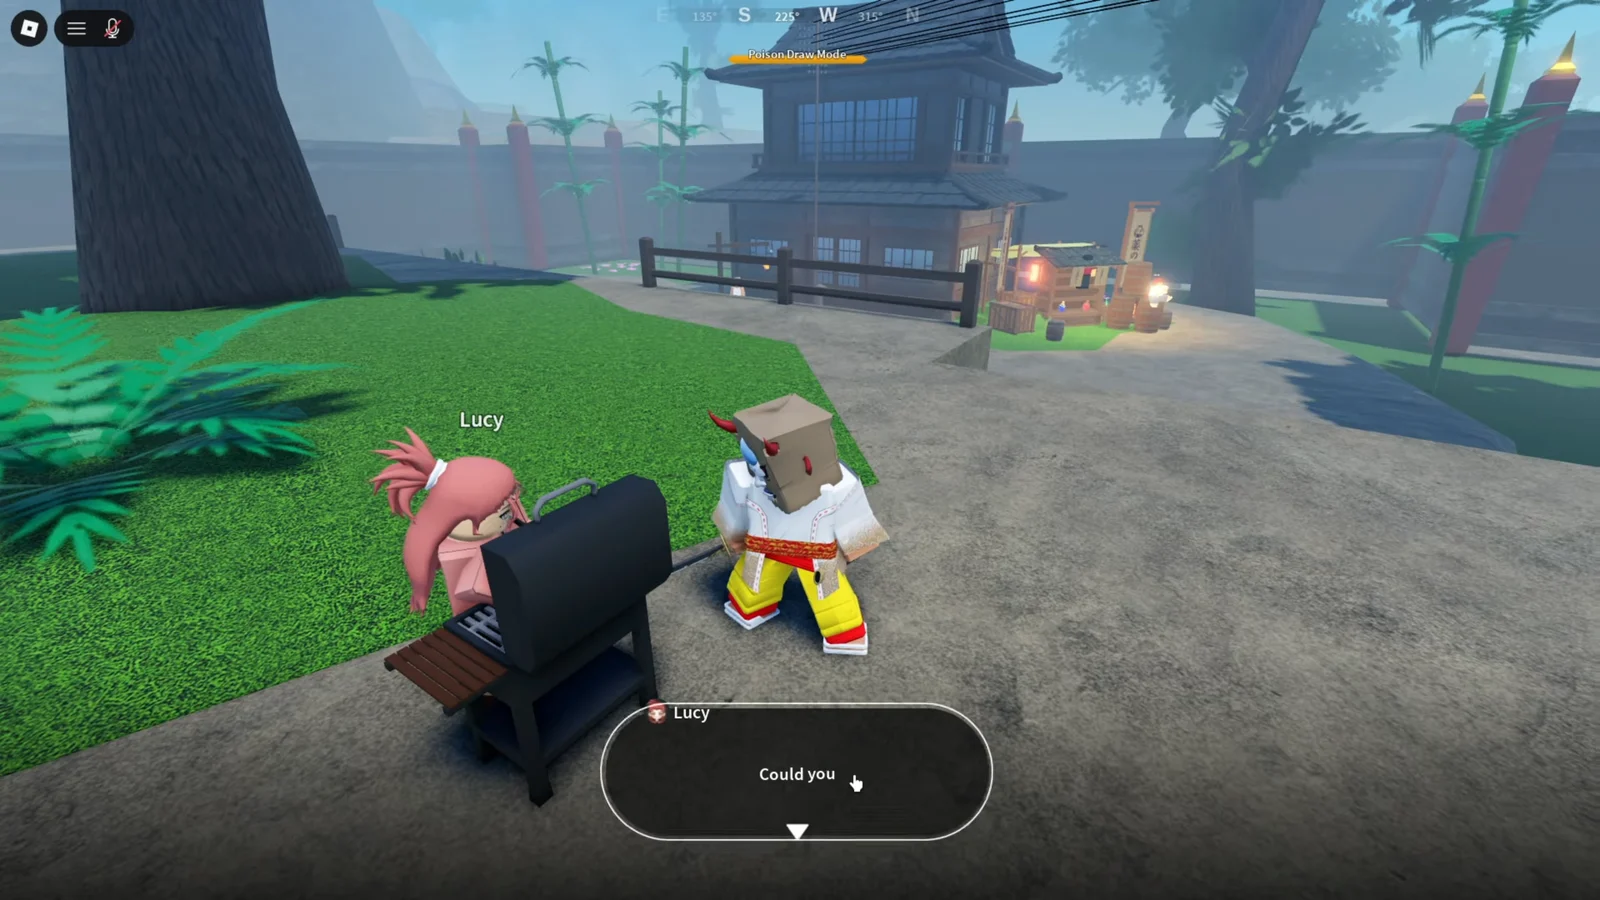
Several early quests move you well away from the starting village. Lucy’s restocking request by the grill, for example, sends you to Bamboo Grove to kill bears for Bear Meat before cooking it and returning. Tracking a partner on the compass keeps a farming run from turning into two people looping the same trees separately.
Breathing trainer material grinding
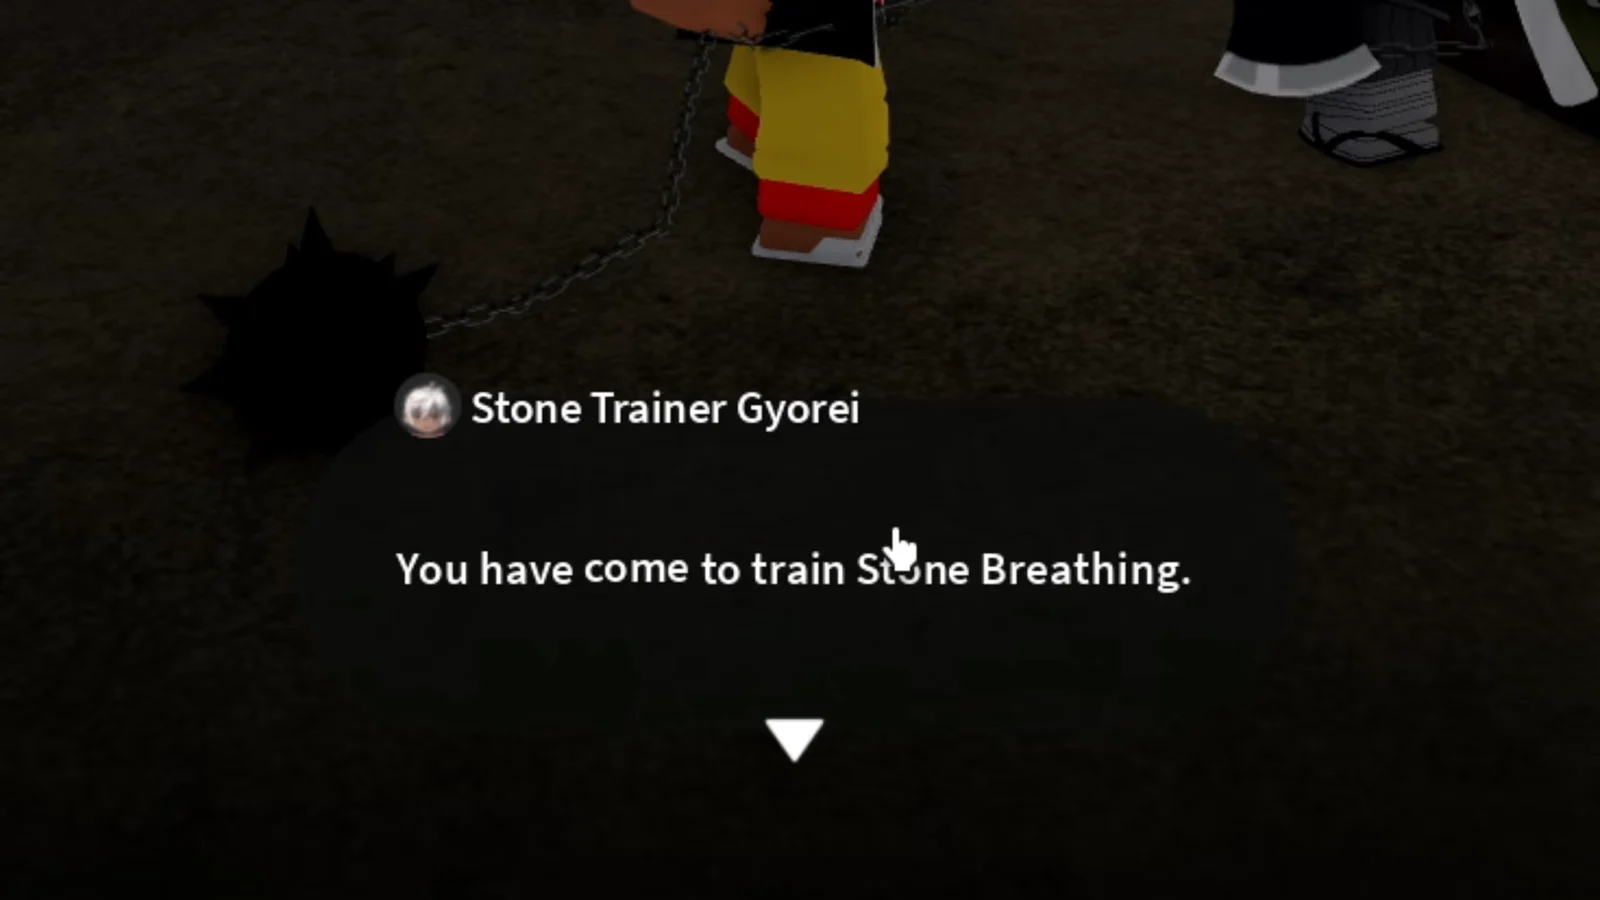
Breathing Styles open up at Level 25, and every trainer wants materials before they teach you anything. Stone Trainer Gyorei asks for an Axe and Mace up front, then four Beast Cores for the training quest itself. Beast Cores come off Beast Born Demons that spawn at night near the village torii gates, which is exactly the kind of timed, location-specific farm where a group saves cycles.
Night-only NPCs
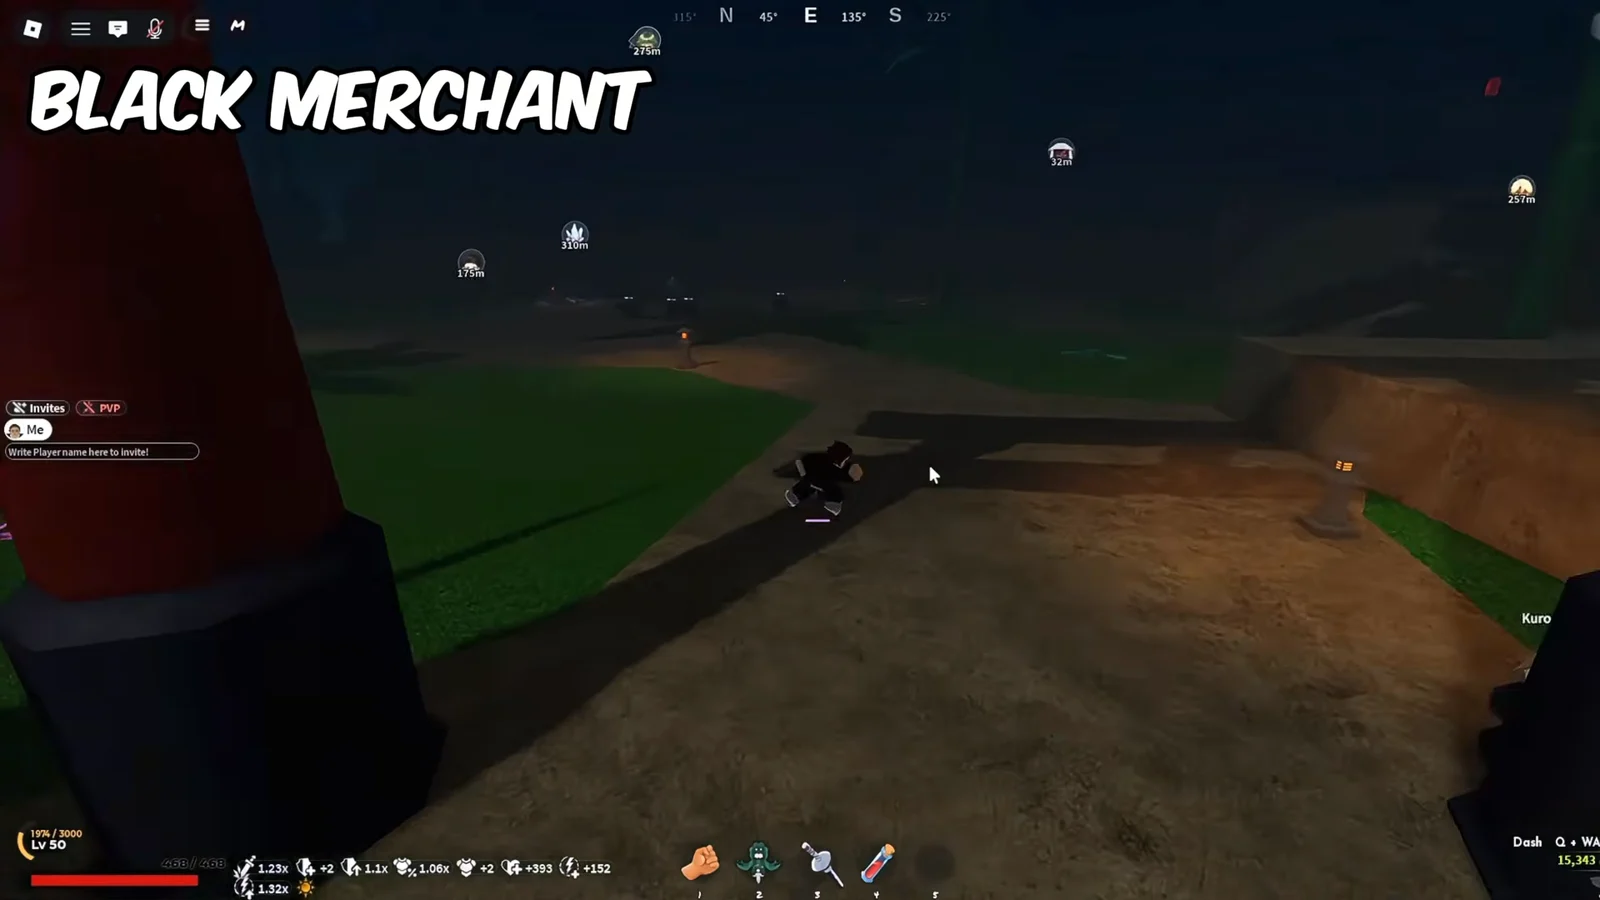
The Black Merchant, Kuro, only appears near the Bamboo Grove torii gate at night, selling lanterns, horns, cloaks and jewelry. His window closes with the in-game clock, so the party map makes it far easier to pull everyone to the same gate before daybreak.
World Events and Final Selection
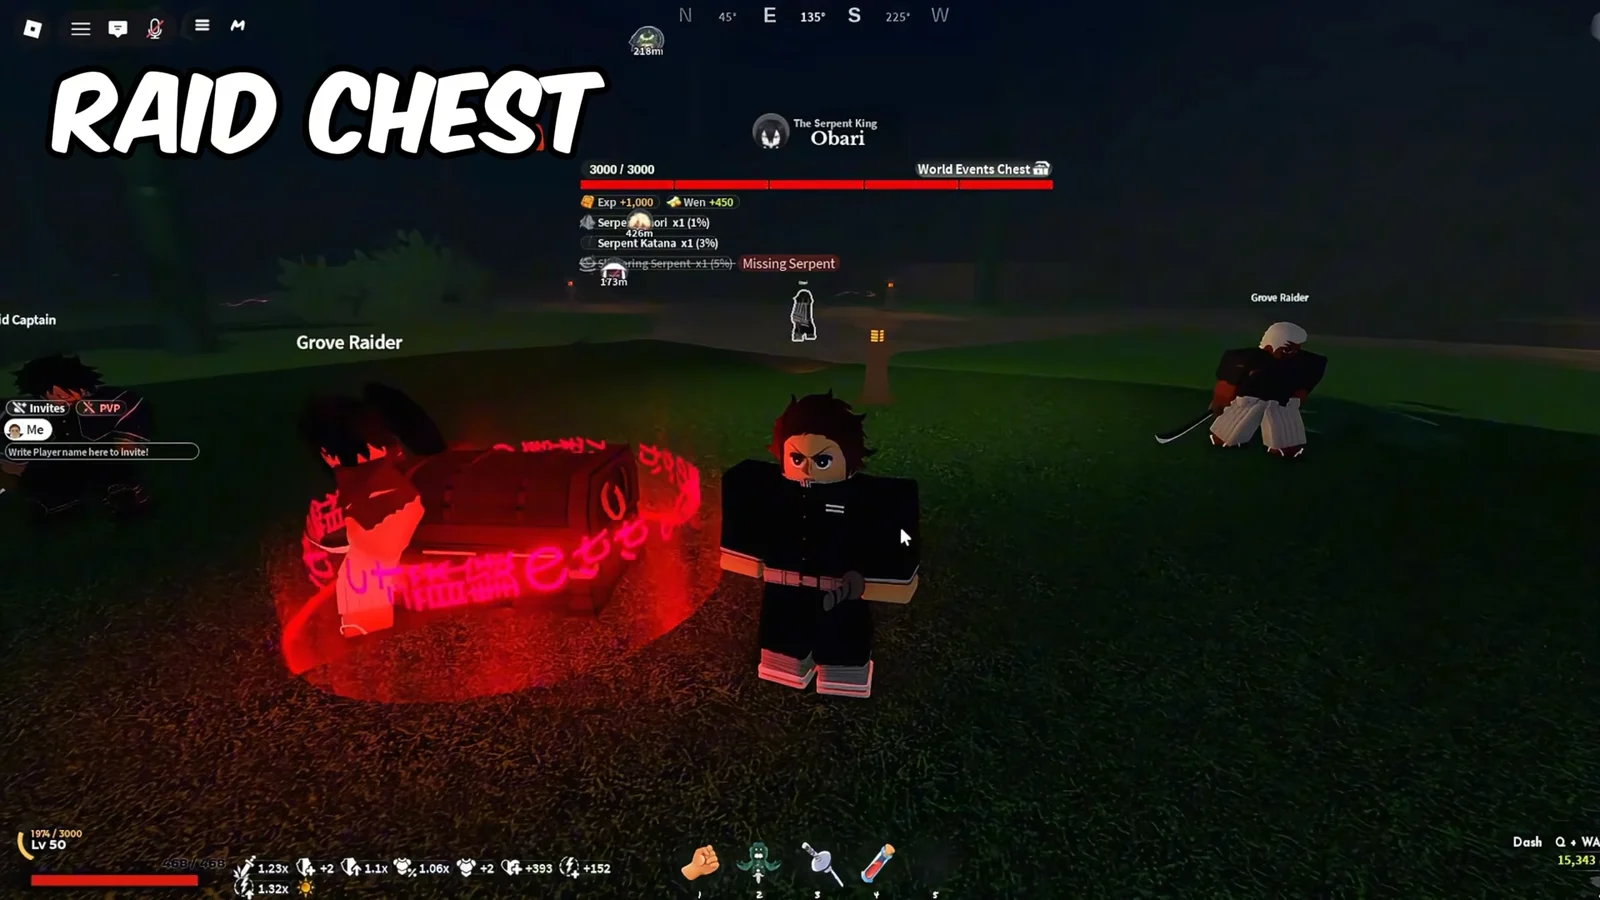
World Events such as the raid near Obari throw Grove Raiders and a Raid Captain at whoever shows up, and clearing one awards chest rewards. Final Selection is the bigger group target: the gate opens on an hourly cycle, the minimum entry is Level 45, and solo clears are realistically closer to Level 60. Bringing someone with you helps, though each player still has to read their own objectives and hand in their own turn-ins.
Party controls in the original Project Slayers
If you are switching over from the first game, the layout is different enough to trip you up. There, parties live behind a menu rather than on the HUD.
| Action | PC | Mobile |
|---|---|---|
| Open the menu | Press M | Tap and hold the screen |
| Open the party panel | Click the two-person icon | Tap the player icon |
| Start a group | Click Create Party | Tap Create Party |
| Add a player | Type the name, click Invite | Type the name, tap Invite |
That panel also carries two toggles worth knowing. Party PVP enables friendly damage between members, and Disable Invites stops incoming requests if you are being spammed. An invite will not land if the person you are targeting is already in another party, so they need to leave theirs first.
On mobile, do not tap and hold over an area occupied by the on-screen controls. The menu will not open if your input is registered as a control press.
Because the sequel keeps everything on the HUD, forming a group takes about five seconds once you know where to look. Type the name, press Enter, watch for the green confirmation, then let the compass do the rest of the work.