Gear in Slayers 2 piles up fast. Between haoris, masks, necklaces, katanas, and boss drops, swapping between a stat-focused setup and a cosmetic one by hand gets tedious within a few hours of play. The inventory loadout system exists to skip that busywork: you arrange your equipped items once, name the setup, and save it.
Quick answer: Open the top-left menu, select Inventory, equip what you want, then click the loadout box at the bottom left, type a name, and press Save. A Saved to Loadout banner confirms it.
What a loadout stores in Slayers 2
A loadout is a snapshot of what you currently have equipped on the inventory screen, not a separate storage container. Anything you can equip or unequip from that menu is part of the snapshot.
- Weapons and accessories, such as a haori, mask, or necklace
- Your equipped combat style
- Ore and other utility items sitting in equip slots
- Vanity pieces worn for appearance only
That makes the feature most useful once you start collecting drops with real stat lines. Farming the mini boss Zuko early on, for example, can hand you a cutlass at a 20% drop chance along with pieces you will want to keep swapping in and out of your build.
How to save an inventory loadout
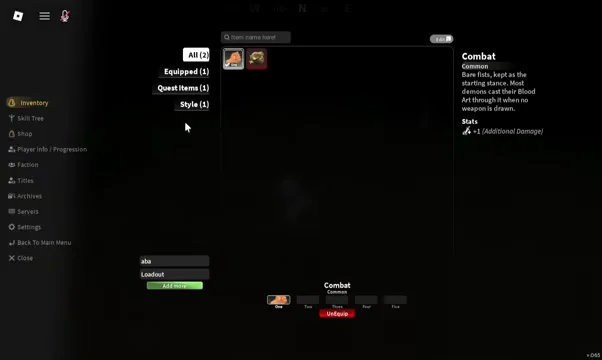
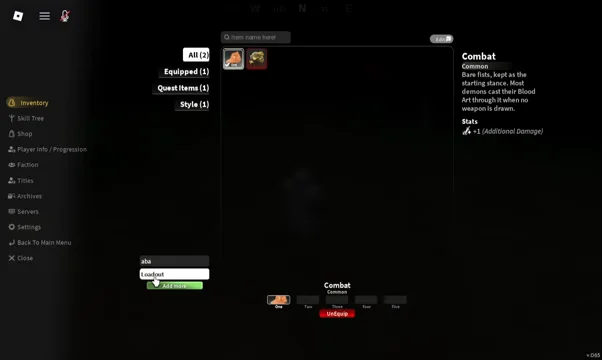
Save the loadout after every equip change you care about. The slot records the state of your gear at the moment you hit Save, so a later swap that you do not re-save will not be reflected in it.
Equip vs. Equip Vanity: Which state gets saved
Every equippable item gives you two choices, and the loadout stores whichever one you picked. Getting this wrong is the usual reason a saved setup looks right but performs worse than expected.
| Option | Effect | Use for |
|---|---|---|
| Equip (Equip Stats) | Applies the item’s stat buffs | Combat and grinding builds |
| Equip Vanity | Shows the item’s look only, no buffs | Cosmetic appearance |
This is what makes the system worth using. You can keep a Black Kumo Haori or a Flame Warrior Style piece on as vanity while a different item carries the actual bonuses, then save that combination once and stop rebuilding it. Check each description before equipping so you know what you are giving up by choosing the vanity slot.
Add More: Buying extra inventory loadout slots
Once your first slot is filled, the Add More button next to it becomes the way to store a second setup. Clicking it opens a purchase prompt for an Inventory Loadout Slot rather than adding a free slot, and you can close that prompt without buying anything. If you decline, you can still keep overwriting the slot you already have — saving again simply replaces its contents.
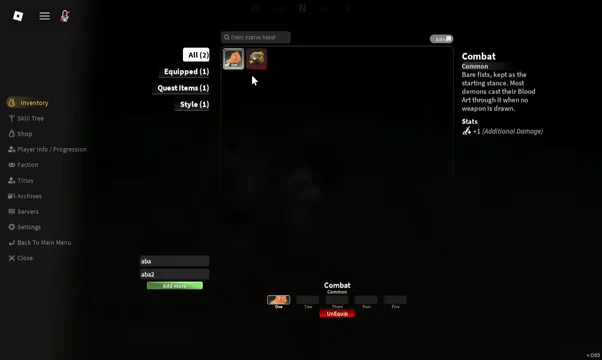
How to confirm the loadout applied
Two things tell you the save worked. The first is the confirmation banner at the moment you press Save. The second is your character itself: close the inventory panel and your avatar should be wearing the gear and cosmetics you just equipped, with stat-bearing pieces reflected in the item descriptions inside the menu.

From there the system is mostly maintenance. Re-save whenever you pick up an upgrade worth keeping, and treat the vanity slot as the place for anything you wear purely for the look.