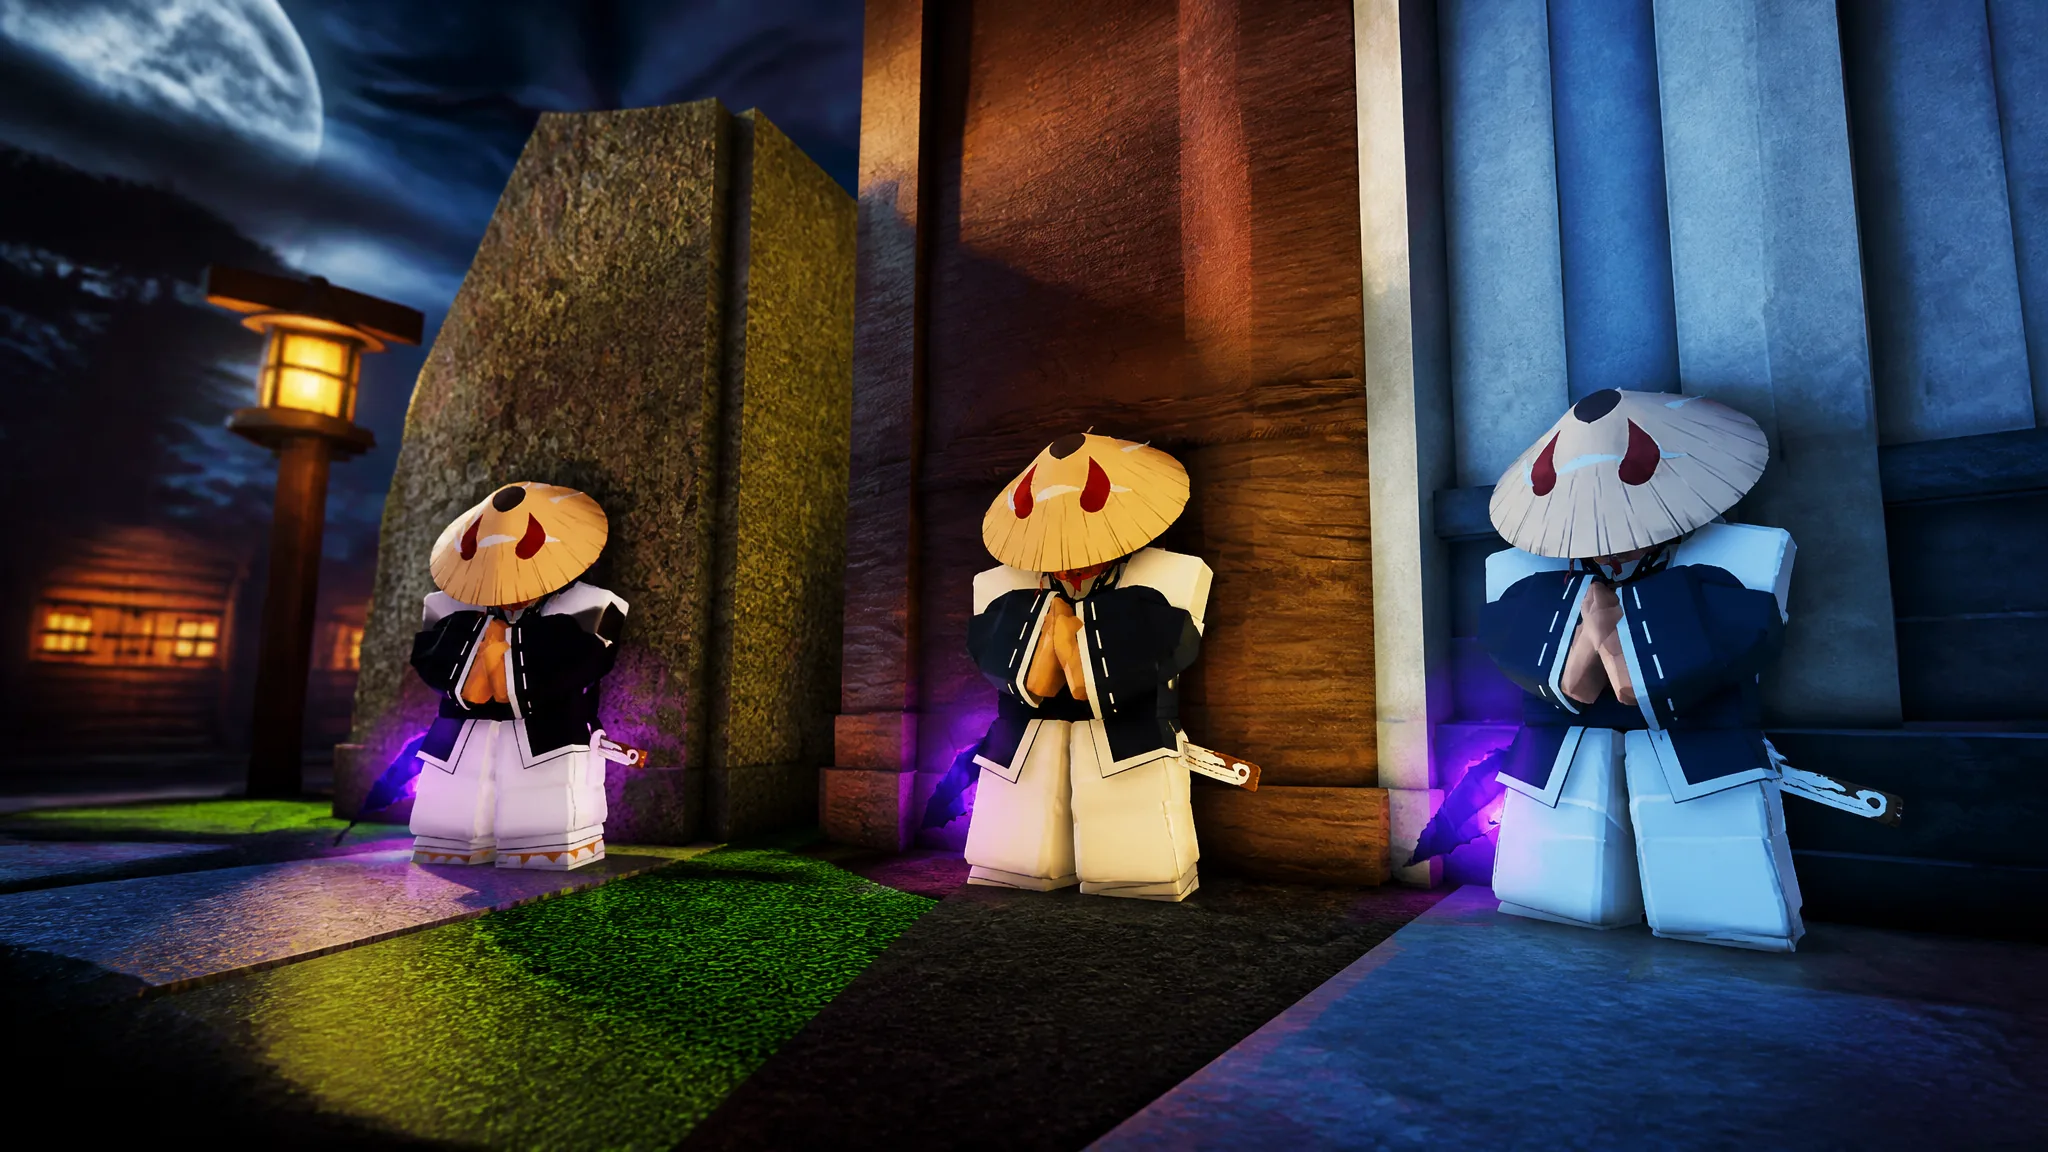
The Black Marketer is the only vendor in Slayers 2 that sells mythic-tier cosmetics like the Akatsuki Straw Hat, and he does not stand in a marked shop. He drops into one of a small number of hidden corners on the map, stays for a short window, then disappears until the next cycle. Knowing the exact spots is the difference between reaching him in a minute and losing the entire window to guesswork.
Quick answer: The Black Marketer spawns every two hours on even hours (2:00, 4:00, 6:00, 8:00) at one of 10 fixed spots spread across Windy Peak, Butterfly Estate, Hidden Mist Village, Mistfall Harbor, and Icevell Valley.
Black Marketer spawn timer and server notification
The spawn follows the server clock, not a random roll. He appears at the top of every even hour, so the cycle runs 2:00, 4:00, 6:00, 8:00, and so on. There is no partial-hour spawn, which means you can park near a likely area a minute early and be first to the vendor.
When he arrives, every player on the server gets the same on-screen message:
The Black Marketer has slipped into town… find him before he vanishes.
That notification is your start signal. It does not name the region, so the only way to shorten the hunt is to already know the ten possible positions. A paid locator option exists in the store, but none of the spots require it — every spawn point can be reached on foot, by horse, or through shrine fast travel.
All 10 Black Market NPC spawn locations
| # | Region | Exact spot |
|---|---|---|
| 1 | Hidden Mist Village | Inside the wooden shop next to Yagane |
| 2 | Mistfall Harbor | Under the wooden pier, in the water |
| 3 | Icevell Valley | Behind a house in the snow village |
| 4 | Windy Peak | Akaza Cave, left-hand corner |
| 5 | Windy Peak | Narrow vertical rock crevice |
| 6 | Butterfly Estate | Ledge below the southern fence |
| 7 | Butterfly Estate | Cliff at the end of the northeast bridge |
| 8 | Butterfly Estate | Deep pit east of the bridge |
| 9 | Windy Peak | Behind a beginner village house, up a wall |
| 10 | Butterfly Estate | Corner inside the main building’s fence |
Four of the ten sit around Butterfly Estate and three around Windy Peak, so those two regions are the highest-percentage places to start a sweep. The remaining three are single points in Hidden Mist Village, Mistfall Harbor, and Icevell Valley.
Windy Peak spawns
The cliffs above the starting area hold the most awkward spots. One sits at the top of the rock walls near Windy Peak, behind the large trees that grow on the plateau — you need wall climbing to get up there, and the trees hide the NPC completely from below.
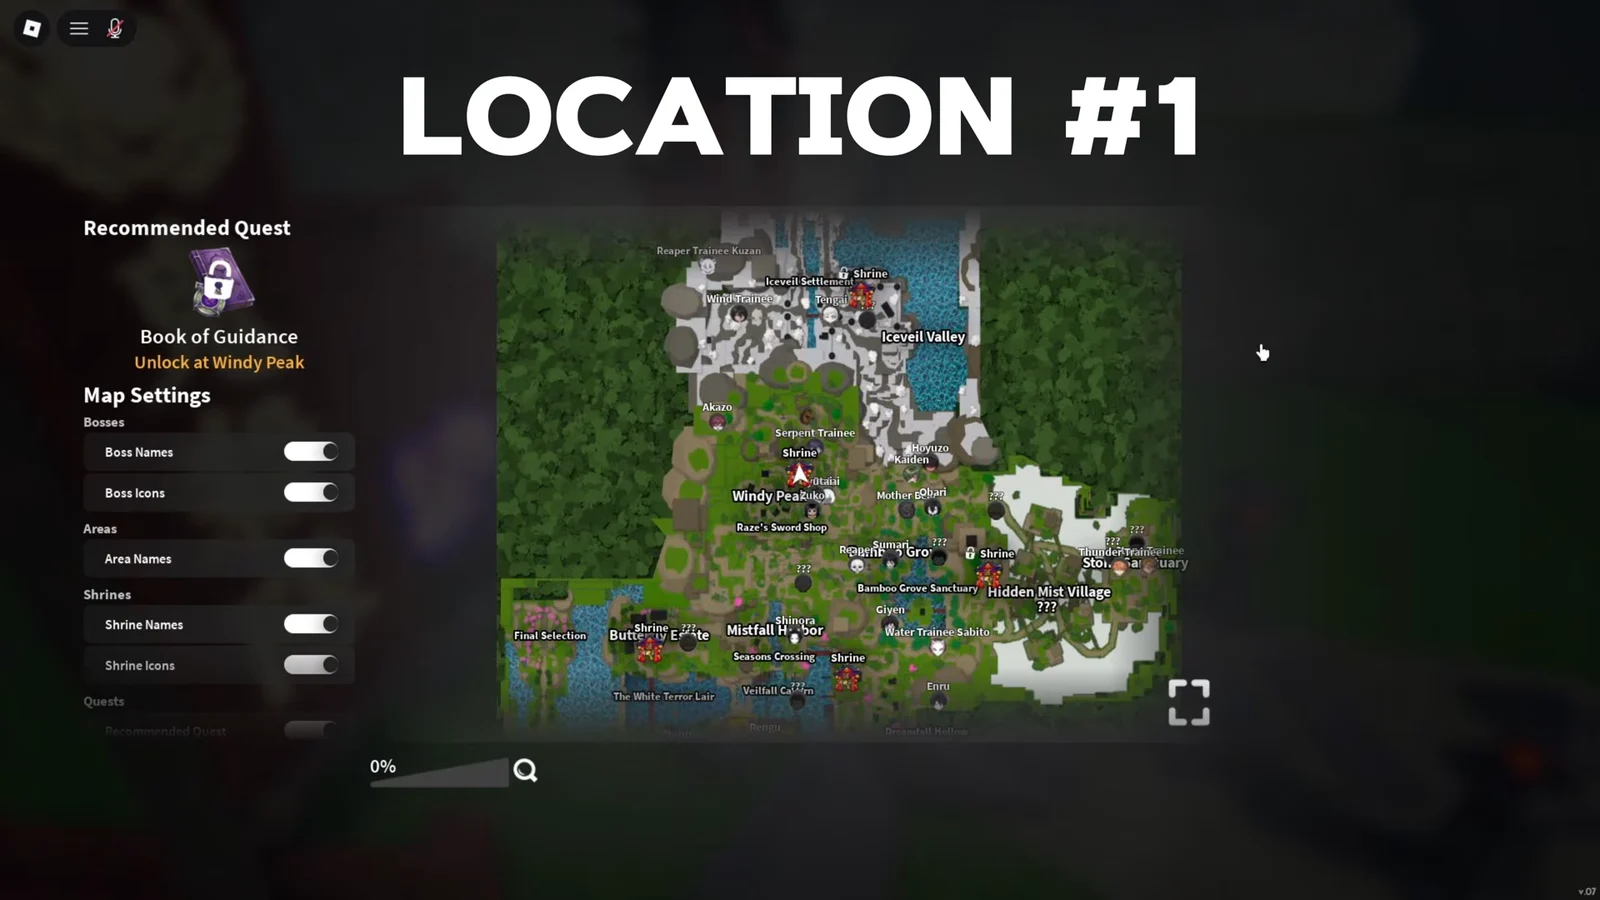
A second cliff spot is further along the hillside path. Follow the trail, climb the rocky ledges, then check directly behind the large tree at the top. It reads as scenery, but the NPC stands flush against the trunk.
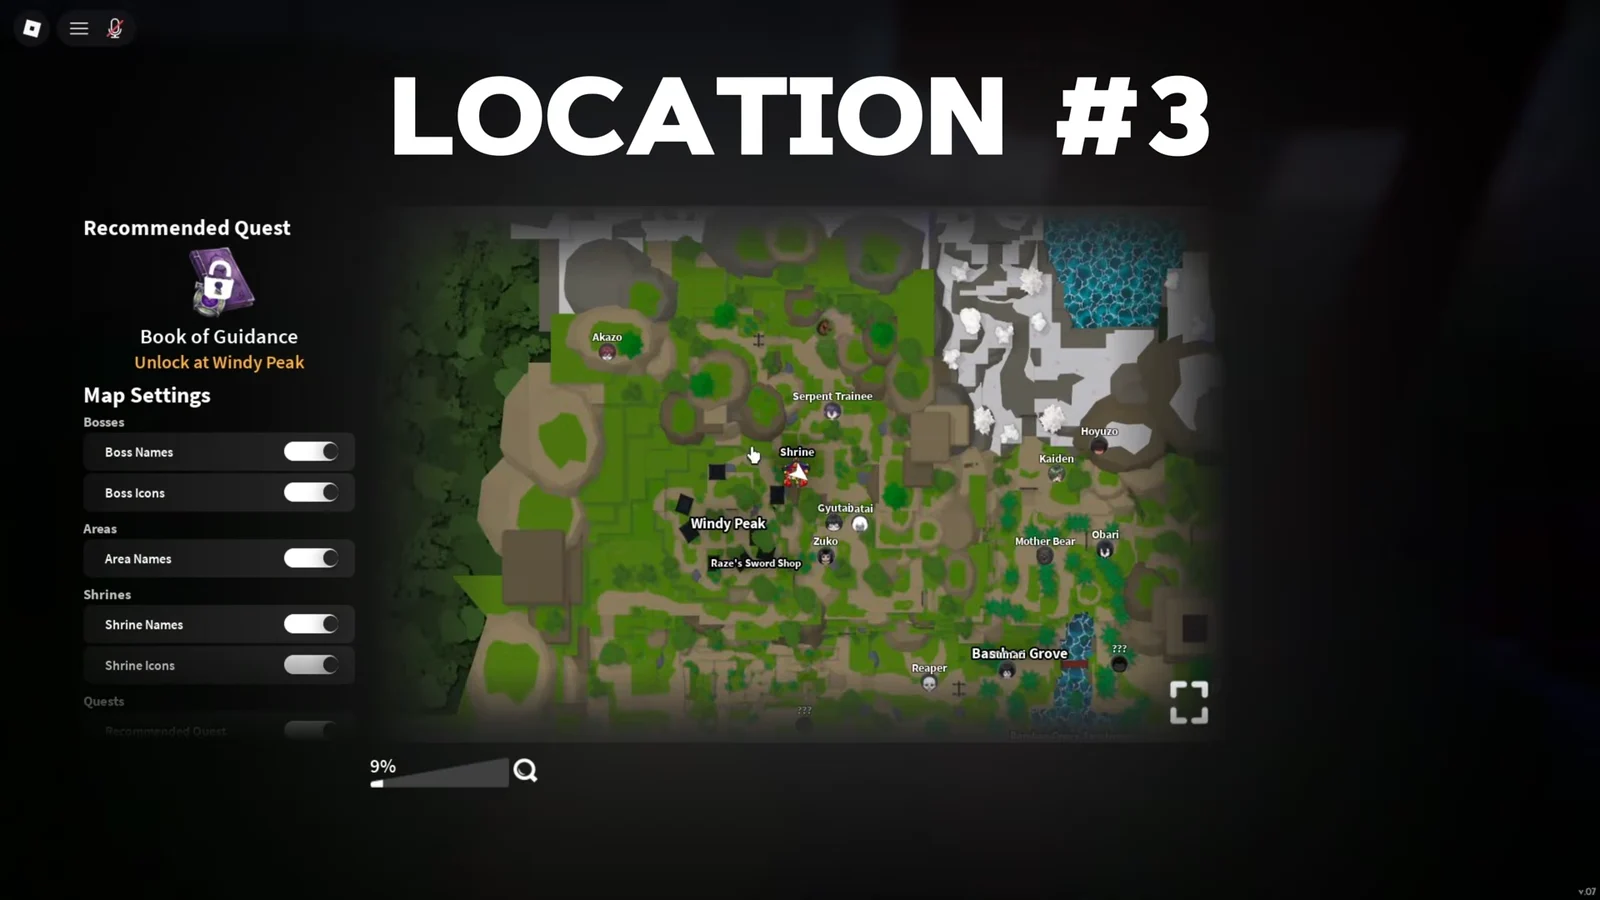
The third is the narrow vertical crevice in the cliff face near the beginner village. It is a tight slot in the rock rather than a cave mouth, so ride the cliff path slowly and look sideways into the wall. The fourth Windy Peak-adjacent option is the beginner village itself: climb the wall behind one of the houses and he can be standing in the gap between the building and the rock face.
Akaza Cave is the outlier. Teleport to the Bamboo Grove shrine, ride up the mountain path, and enter the cave. The spawn sits in the left-hand corner inside, well away from the entrance.
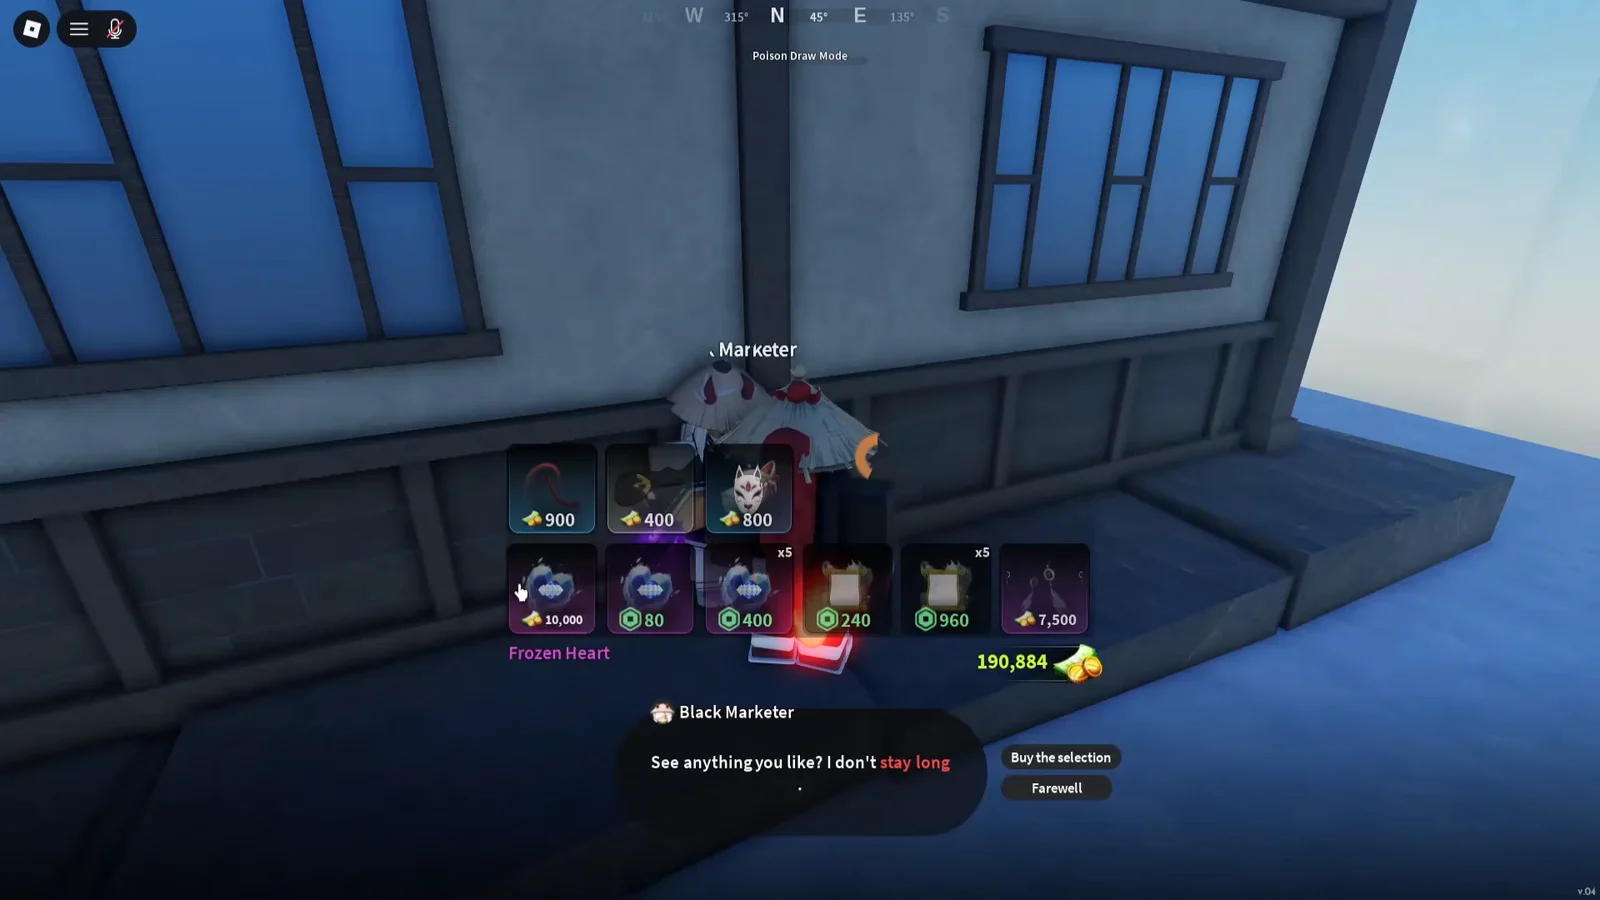
Butterfly Estate spawns
Start at the Butterfly Estate shrine and the four spots here are all within a short run. The closest is inside the estate grounds: walk around the main building and check the corner tucked inside the fence line. It is the only spawn that does not require a climb or a drop.
The southern spot needs a jump over the estate’s south fence, then a controlled drop onto the cliffside ledge below. You cannot see the ledge from the fence, so go over the wall at the same point each time and fall along the rock face.
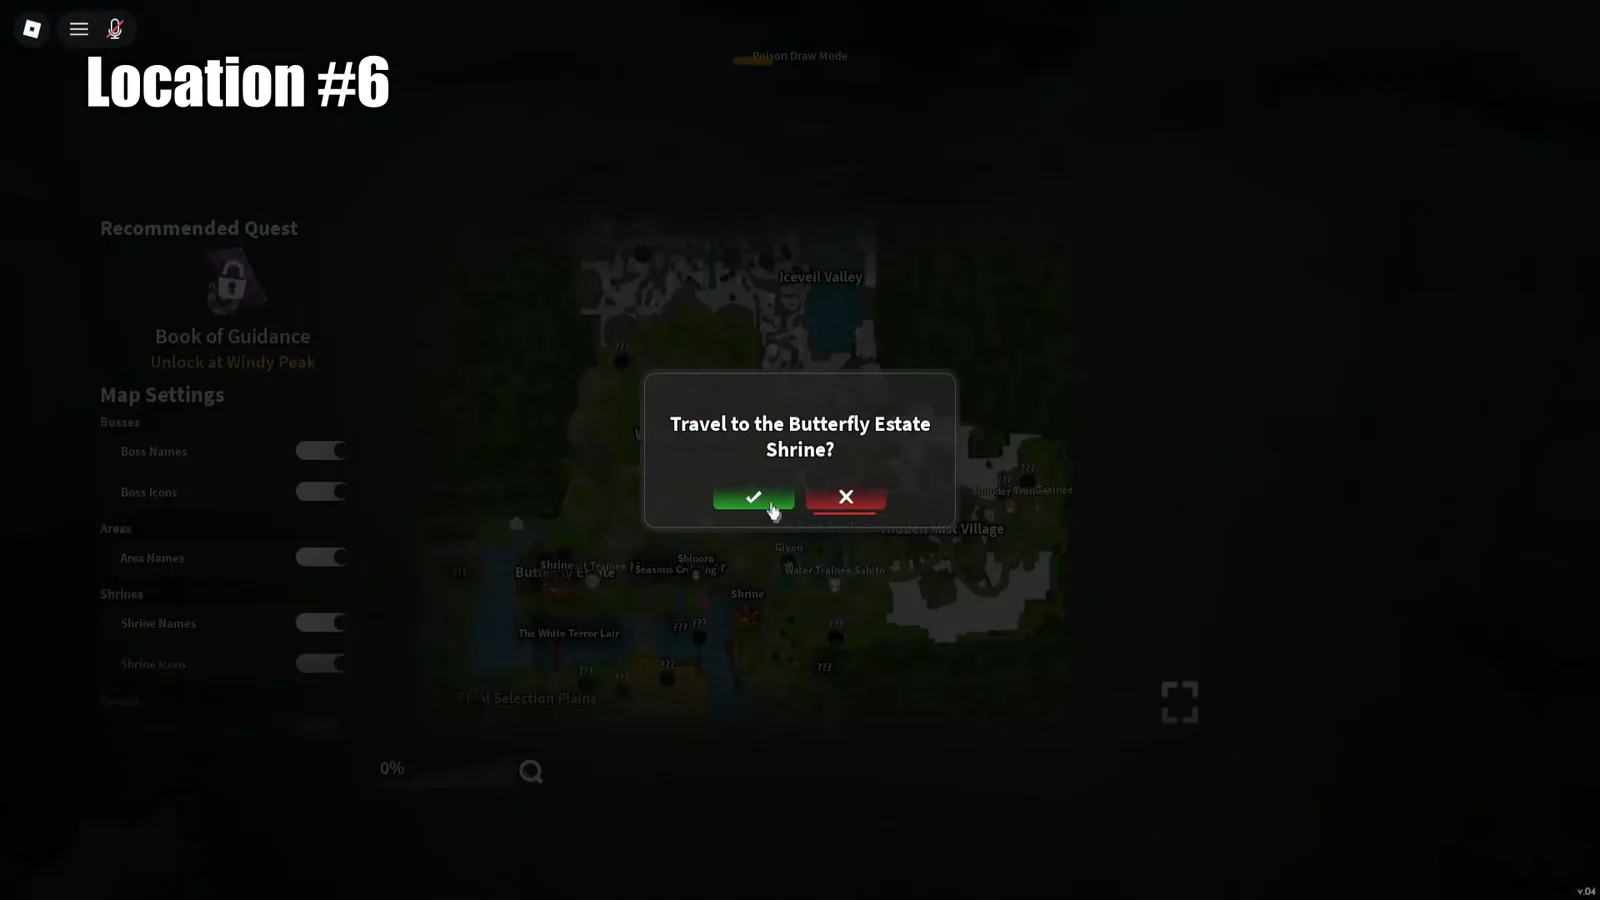
The other two sit past the long bridge to the northeast. Cross it to the far end and drop down the cliff there for one spawn. For the other, cross the bridge and head east and north until you reach the deep pit — the NPC stands at the bottom, pressed against the wall.
Both bridge routes end in a fall you cannot climb straight back out of, so check the pit and the cliff last if you are sweeping several spots in one window.
Hidden Mist Village, Mistfall Harbor, and Icevell Valley
Hidden Mist Village is the easiest of the ten. Ride into the village and enter the wooden building standing next to the NPC Yagane — the marketer waits indoors, so the nametag is not visible from the street.
At Mistfall Harbor, swim below the waterline to find him beneath the wooden bridge-and-pier structure instead of searching the docks.
For Icevell Valley, teleport to the Frost Veil shrine and ride south toward the Domae boss area. The snow village sits along that route, and the spawn is behind one of the houses rather than on the main path.
How to search a spawn area quickly
Every one of these positions follows the same placement logic. The NPC is never in the open — he is against a wall, in a corner, under a structure, behind an object, or on a ledge just out of sight line. When you arrive at a region, check verticality first. Look above you for climbable walls and below you for ledges and pits before running a lap at ground level.
It also pays to rule out the spots that look right but never hold a spawn. Large landmark structures and open rooftops draw players in and waste most of the window, while the real positions tend to be small pockets of terrain nearby.
You have found him when the Black Marketer nametag appears above an NPC and interacting opens a shop menu instead of dialogue. If a location is empty, the spawn rolled elsewhere for that cycle — move on rather than re-searching the same corner.
What the Black Marketer sells: Akatsuki Straw Hat stats
The headline item is the Akatsuki Straw Hat, a mythic accessory that is not obtainable from any other vendor.
| Attribute | Value |
|---|---|
| Rarity | Mythic |
| Class | Titan |
| Max Health | +105 |
| Max Stamina | +55 |
| Movement Speed Factor | 1.07x |
| Passive | Sun Immunity |
| Source | Sold by Black Marketer |
The sun immunity is the real draw for demon characters, since it removes the daytime burn problem without relying on the temporary starter hat. The stat block also makes it a straight upgrade for most builds, which is why the two-hour window fills up fast on populated servers.
If you miss a cycle, nothing is lost permanently. The rotation repeats on the next even hour, and the ten positions stay the same — so the fastest approach is to pick the region you can reach quickest from your current shrine, sweep its spots, and hop servers rather than crossing the whole map on a single guess.