Granite Mauled is the secondary quest that puts a masterwork two-handed warhammer in your hands. Doric wants to know what the dragonkin buried under Ashien’s Watch, and the answer is a sealed vault that only opens once you have lit four statues scattered around the ruins above it. The reward is the Granite Maul recipe plus the one component you cannot craft without it.
Quick answer: Light all four winged statues around Ashien’s Watch to break the vault seal, clear Skeklac Kara, take the blueprint from the statue at the end, then bring it back to Doric.
Granite Mauled requirements and what to pack
This is a secondary quest gated behind First Steps, so you need that done before Doric will talk shop. Beyond that, the checklist is short but unforgiving, mostly because of what lives inside the vault.
- One free slot in your quest inventory for the blueprint.
- 5 or more air runes to cast Windstep, or ash logs to repair the broken bridge crossing.
- Weak antipoison potions or better, or cooked food with poison resistance.
- Solid armour, a blunt weapon, arrows, and healing potions.
Expect goblins and garou around the ruins, then giant rats, putrid rats, vault guardians, and exploding plant traps once you are underground.
Chop any Anima Trees you pass on the way for Anima-Infused Bark. You need it later for the maul’s leather wrappings, and grabbing it now saves a second trip.
Where to find Doric and start the quest
Doric is camped on a ruined lookout south of Ashien’s Watch, out on the eastern edge of the Fractured Plains. A broken bridge runs from his camp toward the far side, which is why the air runes or ash logs matter. Ashien’s Watch itself is the fortress sitting on the region’s northeast corner.
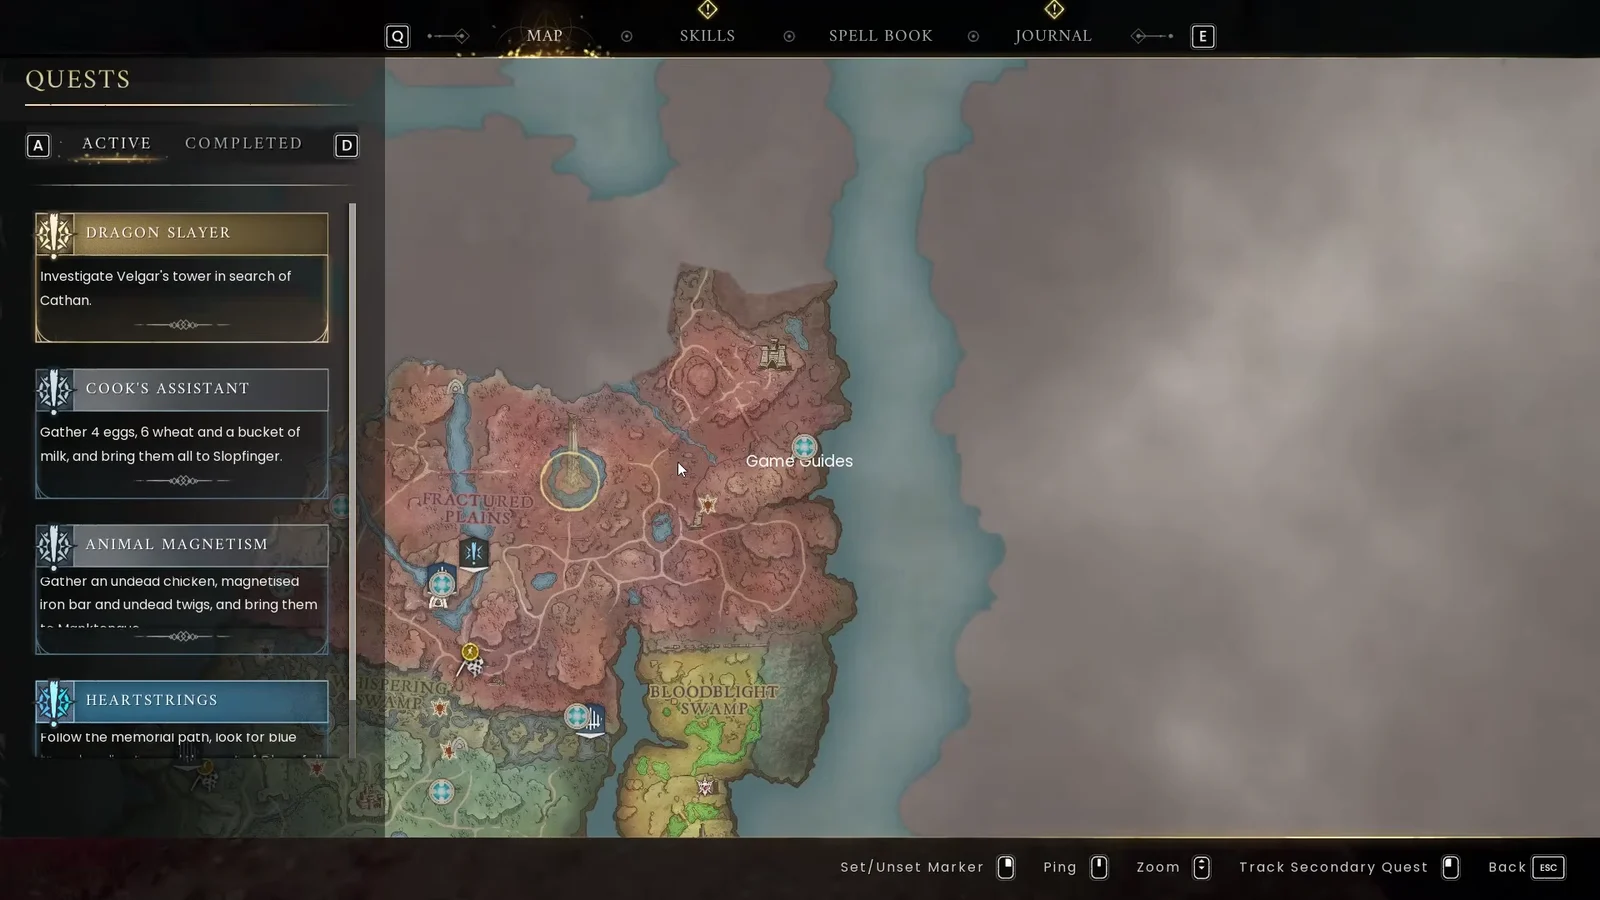
Speak with him to learn that the fortress once saw battle and may have served dragonkin as a hiding place for their finest relics. He discovered a stone block marked with unfamiliar sigils, but garou chased him away before he could investigate further. Accept the task to “Uncover what lies beneath Ashien’s Watch.”
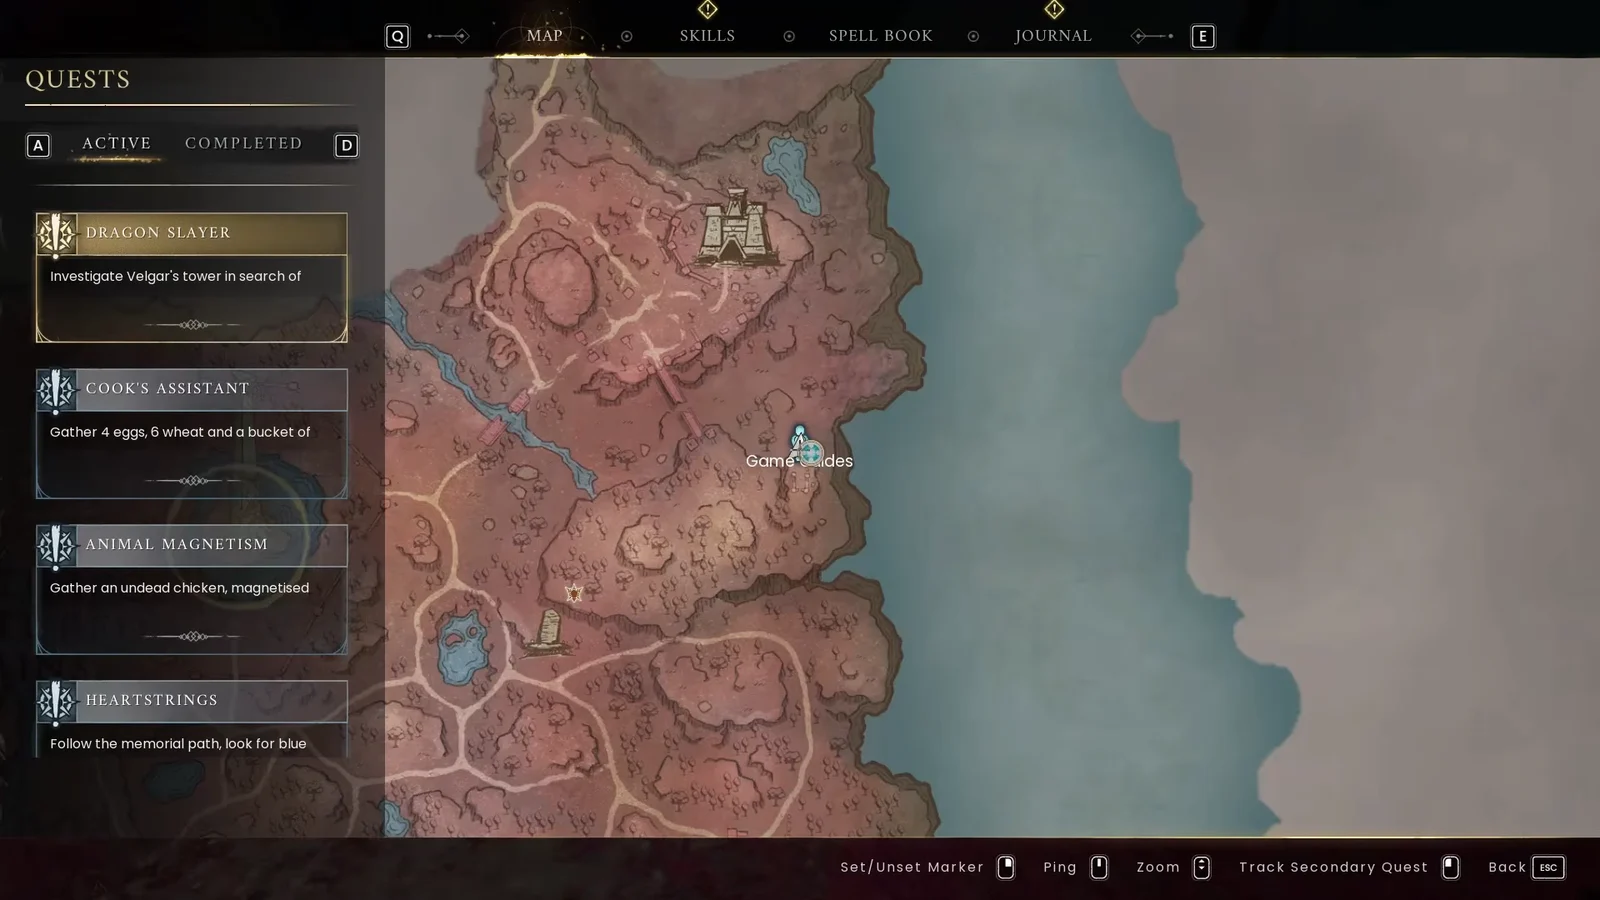
All four winged statue locations in Ashien’s Watch
The vault door is sealed until every winged statue in the ruins is active. Each one lights up with a blue flame when you interact with it, and the order does not matter. Clear the garou holding the entrance first so you are not fighting while you search.
| Statue | Where to look |
|---|---|
| 1 | Just inside the fortress, at the top of the stairs on your right |
| 2 | Drop down and head north; beside one of the pillars, in a small alcove |
| 3 | East of the second statue, up the ramp and scaffolding near wooden crates |
| 4 | Southeast, on your right just before the slope up to the vault entrance |
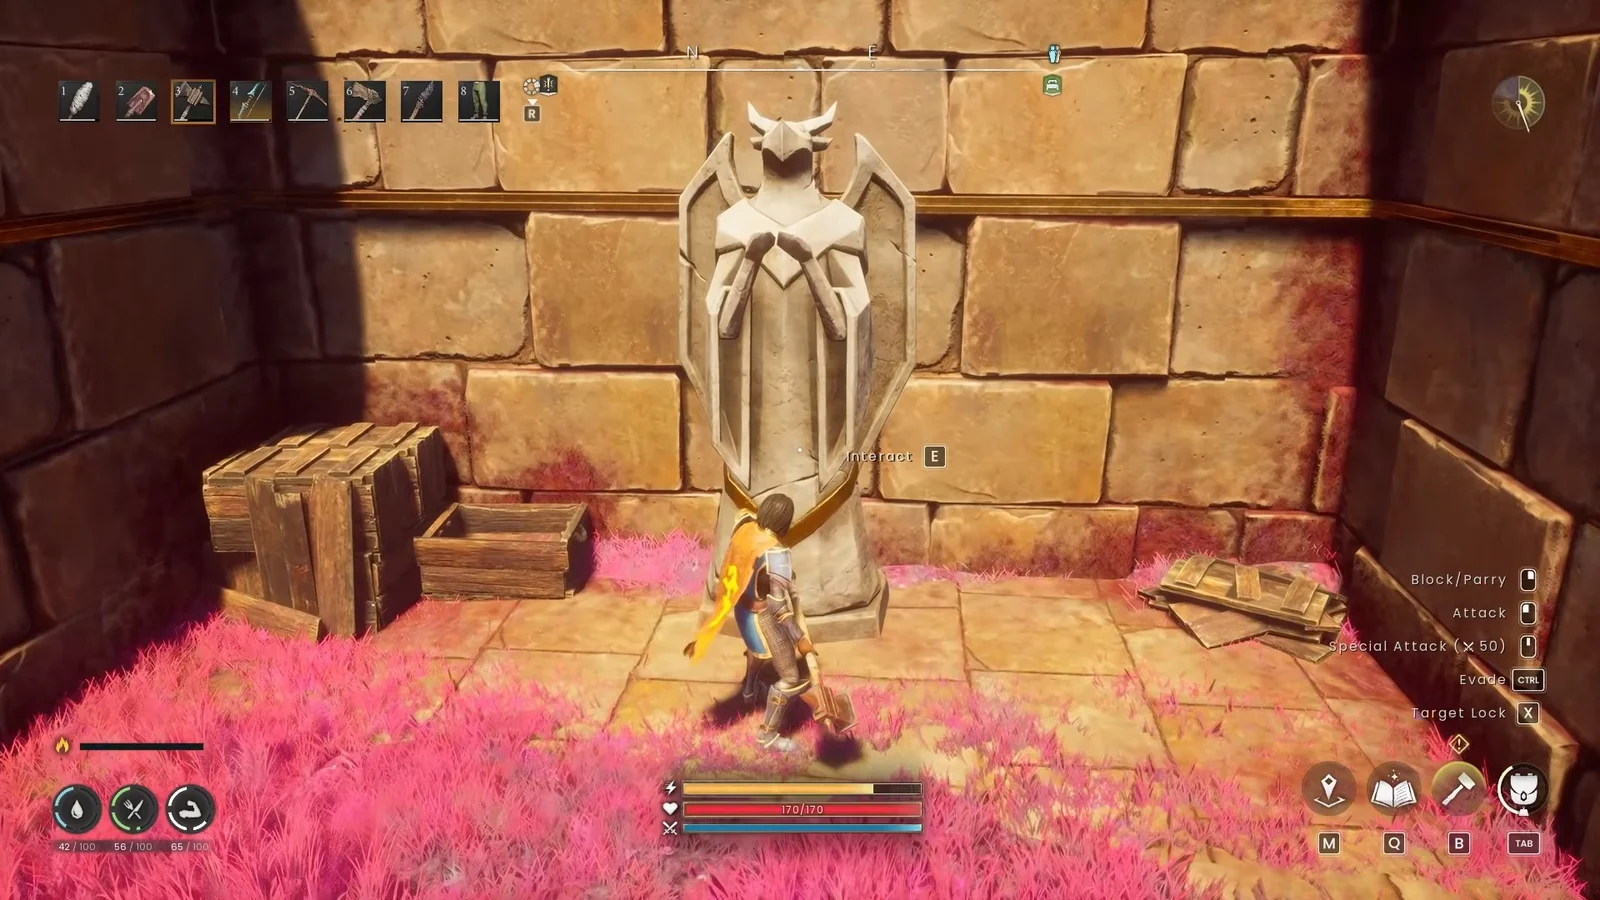
When the last flame catches, an on-screen message reads “A seal somewhere has broken.” That is your confirmation that all four are lit. If you do not see it, one statue is still dark, so retrace the ruins and check behind walls and raised platforms.
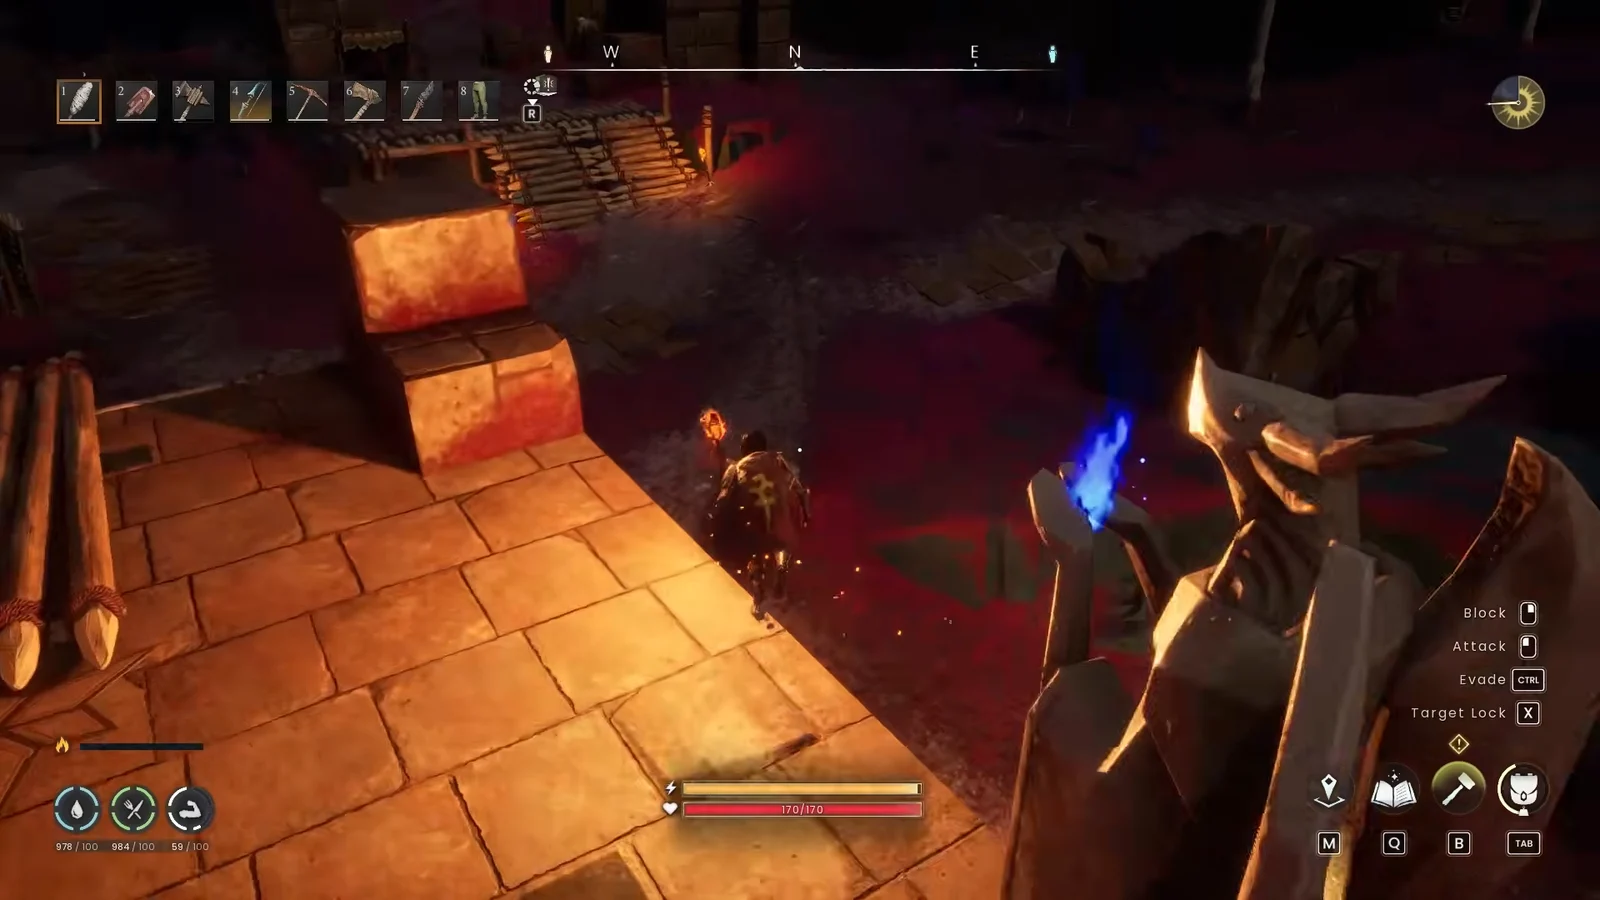
Clearing the Skeklac Kara vault for the blueprint
Head back toward the stone entrance below the ruins. It now carries a glowing blue triangular seal, which means the door will let you in.
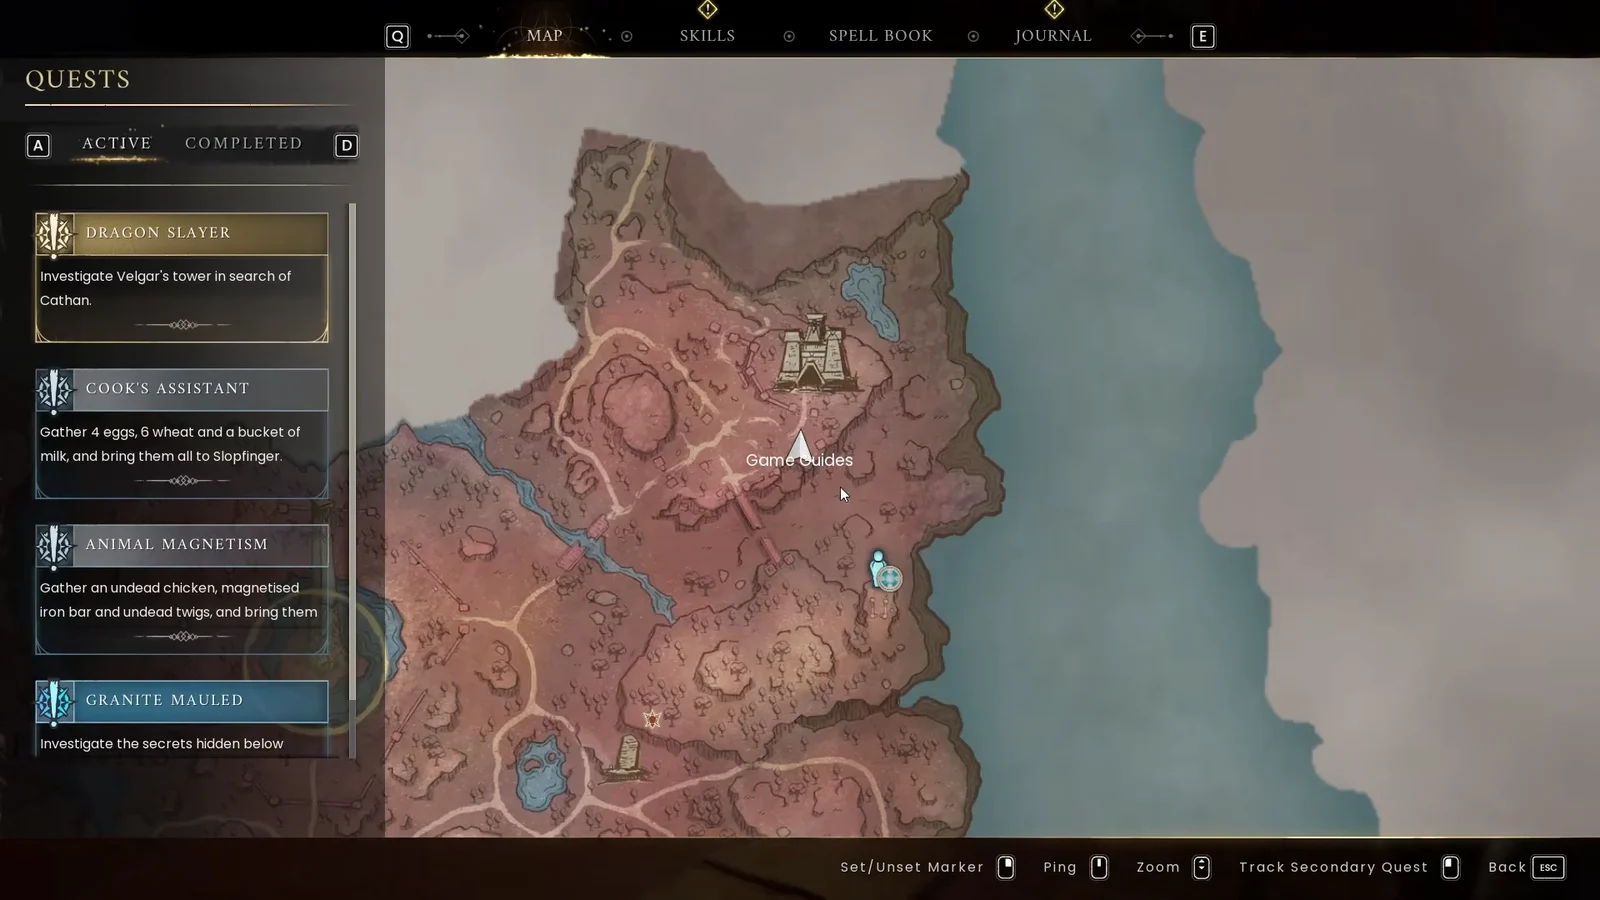
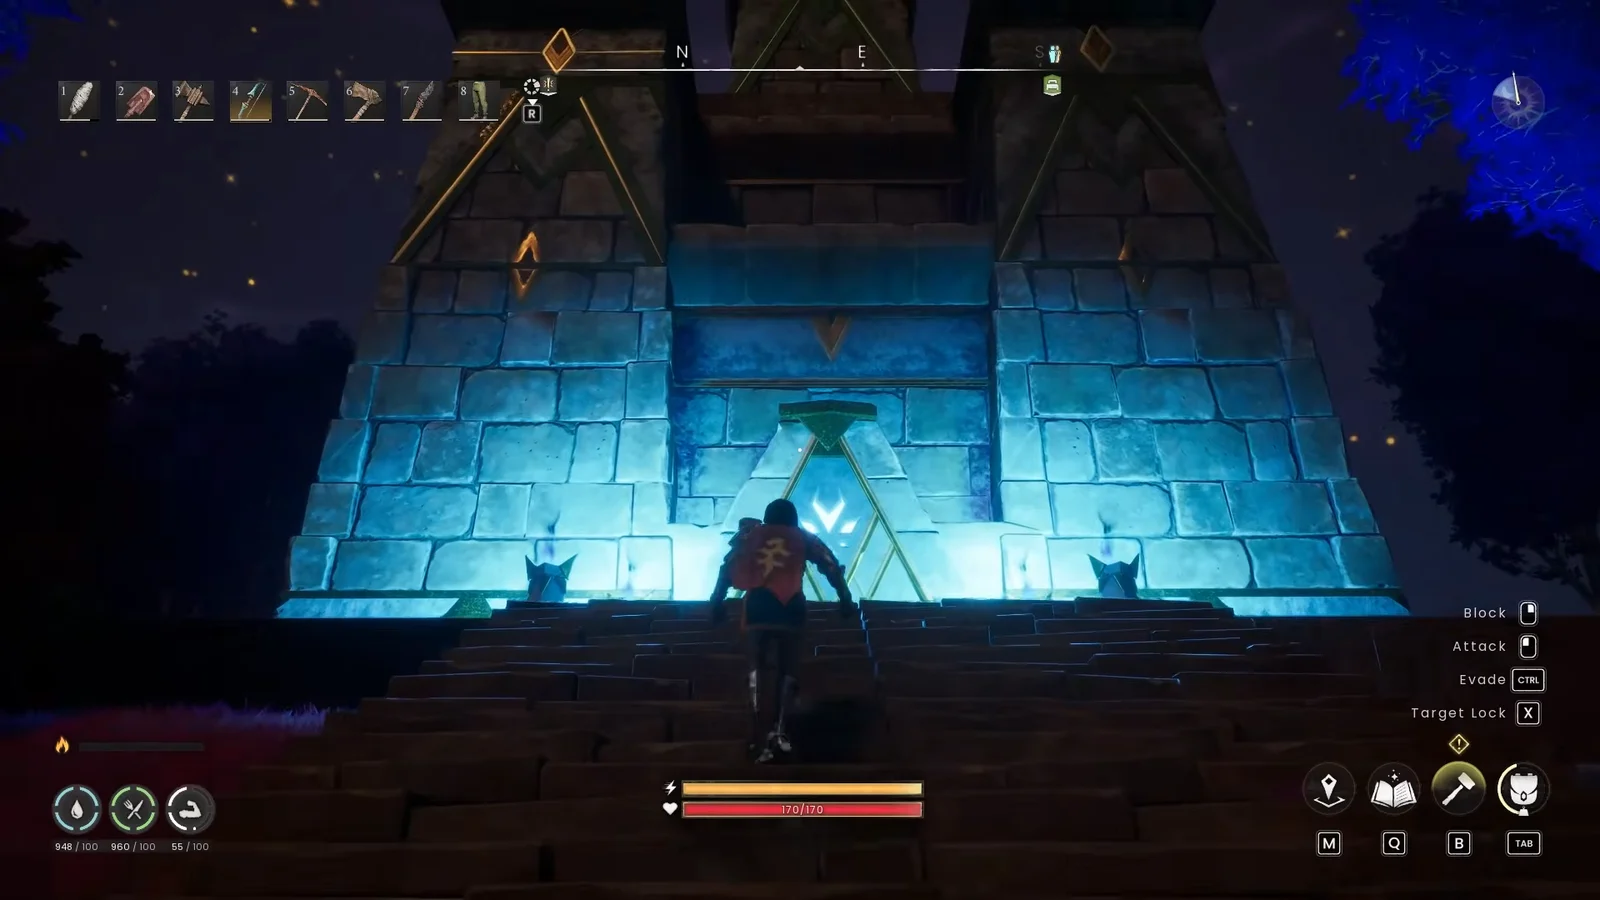
Gas bubbles sit in corners and blind spots throughout the vault and can take a huge chunk of health. Sweep each room visually before moving, and keep antipoison on hand.
Loot everything before you leave. Vault Shards and Vault Cores from this run feed directly into the maul recipe, and you will need a lot of shards.
Return the blueprint to Doric and confirm completion
Return to Doric’s camp with the blueprint. After examining it, he remarks that weapons like these are what every artisan hopes to make, then translates the plans immediately. A QUEST COMPLETE banner appears, followed by a “New recipes unlocked!” notice containing Imbued Granite Maul Head, Imbued Granite Maul Shaft, Imbued Leather Wrapping, Ornate Maul Handle, and the Granite Maul.
Doric also hands over one Imbued Granite Maul Head, which lands in the quest items section of your inventory. If that item is sitting there and the recipes appear at your bench, the quest registered correctly.
Granite Maul recipe and crafting materials
Everything is made at the Blacksmith’s Bench, and the final assembly awards 100 Artisan experience. Build the three components first, then combine them with the loose shards and core.
| Material | Qty |
|---|---|
| Imbued Granite Maul Head | 1 |
| Ornate Maul Handle | 1 |
| Imbued Leather Wrappings | 1 |
| Vault Shard | 8 |
| Vault Core | 1 |
Component recipes
| Component | Materials |
|---|---|
| Imbued Granite Maul Head | 10 Granite, 4 Wild Anima, 6 Vault Shard |
| Ornate Maul Handle | 7 Blightwood, 5 Silver Bar, 5 Bronze Bar, 3 Vault Shard |
| Imbued Leather Wrappings | 1 Dire Wolf Leather, 5 Anima-Infused Bark, 3 Vault Shard |
Granite comes from granite deposits underground and in mines. Wild Anima is made at a kiln from Anima-Infused Bark, silver and bronze bars come from the furnace, and Dire Wolf Leather is tanned from Dire Wolf Hide at a tannery. Repairing a worn Granite Maul costs one Imbued Granite Maul Head, so it is worth keeping the granite and shard supply topped up.
Granite Maul stats by power level
| Power level | Base damage | Block | Durability |
|---|---|---|---|
| 3 | 66 – 96 | 39 | 1050 |
| 4 | 97 – 140 | 46 | 1050 |
| 5 | 127 – 184 | 52 | 1050 |
| 6 | 160 – 232 | 59 | 1050 |
| 7 | 196 – 283 | 66 | 1050 |
It crafts at power level 3 and can be pushed higher by ascending it at the mystic forge with ascension cores. The maul deals crush damage with a four-hit combo and the Battering Ram special action, which knocks down most enemies but does nothing to minibosses or bosses. It swings slightly slower than other two-handed warhammers and hits considerably harder at every tier, which is what makes it worth the vault run in the first place.