Aniimo: Electric Flow Sanctum Walkthrough (All 3 Chests)
Clear the Blitzwood solo circuit with trial Bolty, collect all three optional chests, and restore the Vein.
Clear the Blitzwood solo circuit with trial Bolty, collect all three optional chests, and restore the Vein.
by Reyaan Verma
Image: Pawprint Studio
Electric Flow is a solo Sanctum in Blitzwood, inside the Breezy Plains region, and it runs on one long electrical circuit rather than combat. Power flows from charging plates through conductive objects you carry and place, and every gate in the room watches a lamp that only stays lit while its feed holds power. Three optional chests sit off the critical path, and none of them reopen once the Vein is restored.
Quick answer: Enter Electric Flow in Blitzwood, claim trial Bolty, and power each circuit branch in dependency order. Open all three optional chests and confirm 3/3 before you touch the Sanctum Terminus.
Electric Flow entrance: location, requirements and rewards
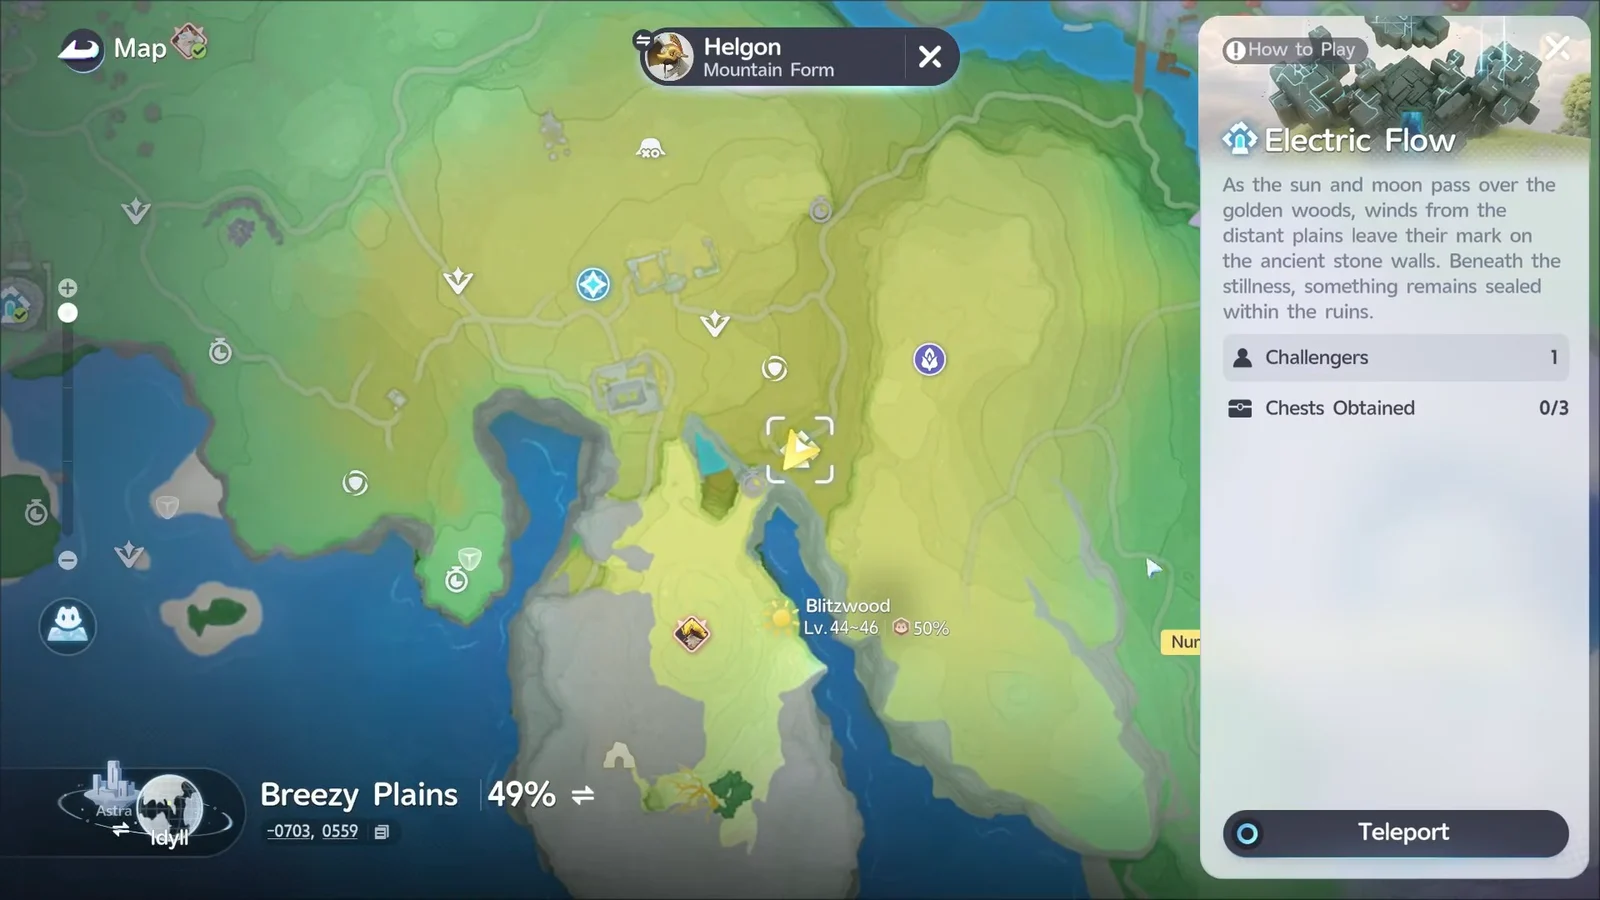
The entrance is a floating stone cube traced with violet circuit lines. Interact once to activate it, which also unlocks it as a Transport destination on the map, then interact again to enter. Read the entrance card before you commit, because it prints the exact chest total for the run.
Check
Value
Entrance title
Sanctum: Electric Flow
Area
Blitzwood, Breezy Plains
Challengers
1 (solo)
Chest counter at entry
0/3
Primary mechanic
Lightning conductors, cubes, round component
First clear reward
Lumin Amber: Breezy Plains ×1, 500 EXP
The room was called Electric Surge during the closed beta, so older checklists point at the same entrance under that name. The first clear reward pays once. Return visits keep the Transport pin but pay nothing again, and clears count toward the Sanctum Delver badges.
What the three optional chests pay
Chest grades are fixed per chest, not rolled, so you know the payout before you take the detour. Electric Flow holds one of each grade.
Chest
Grade
Currency
Extra
Chest 1 (east wall)
Standard
10 Glimmer, 10,000 Credits, 10 Sparkling Crystal
One Rare held item
Chest 2 (shelf)
Basic
5 Glimmer, 5,000 Credits, 5 Sparkling Crystal
None
Chest 3 (lift)
Premium
20 Glimmer, 20,000 Credits, 15 Sparkling Crystal
One Epic held item
The chest tally and the Vein track completion independently. Recharging the Vein will not increase the tally, so leave any missed chest behind.
Circuit rules and controls you need first
The opening statue hands you trial Bolty, an electric Aniimo with the BREAK role, so you do not need to own it. Twining with Bolty lets you discharge electricity beside marked cylindrical conductors and charging plates; the room prints the action as BREAK rather than a skill name. Untwine to return to the Wayfarer whenever you need to carry something, since placement is a Wayfarer action.
Violet fixed line — that branch has no power yet; trace it back toward its source.
Gold fixed line — the run from source to destination is live.
Cyan doorway trim — that linked gate is currently open.
Blue hold aura — you are simply carrying the object; it is not a power reading.
Manipulate / Grab — lift, aim, then Drop to seat an object on a node; Toss sends it through gaps.
Recall — a companion control only; it does not reset any circuit object.
Two junctions in the room only pass current when two feeds arrive at the same moment, which is why the entrance half of the Sanctum has to stay powered while you work the west wall. Wet surfaces and metal both carry current, and that rule matters for one specific object later.
Open the map, track Electric Flow in Blitzwood and travel to the glowing cube. Activate it, confirm the card reads Sanctum: Electric Flow with one challenger and 0/3 chests, then enter the solo challenge.
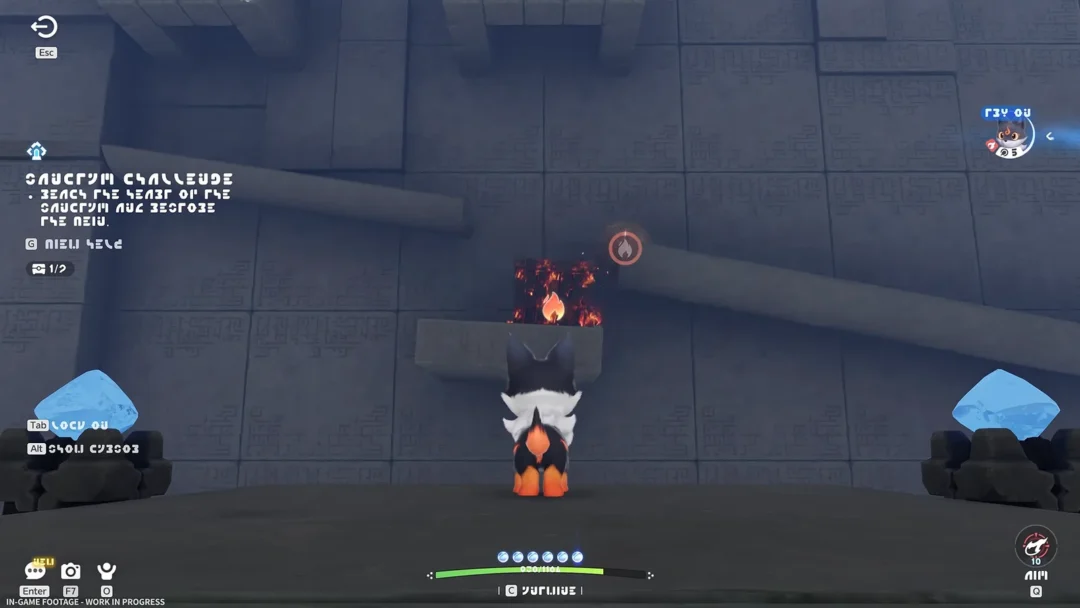
In the south-east corner of the circuit hall, start on the entrance pad. Move ahead to activate the Grab card, then locate the corner’s three-port charging plate, which already contains two round batteries. Its fixed line travels west and ends at a floor gap.
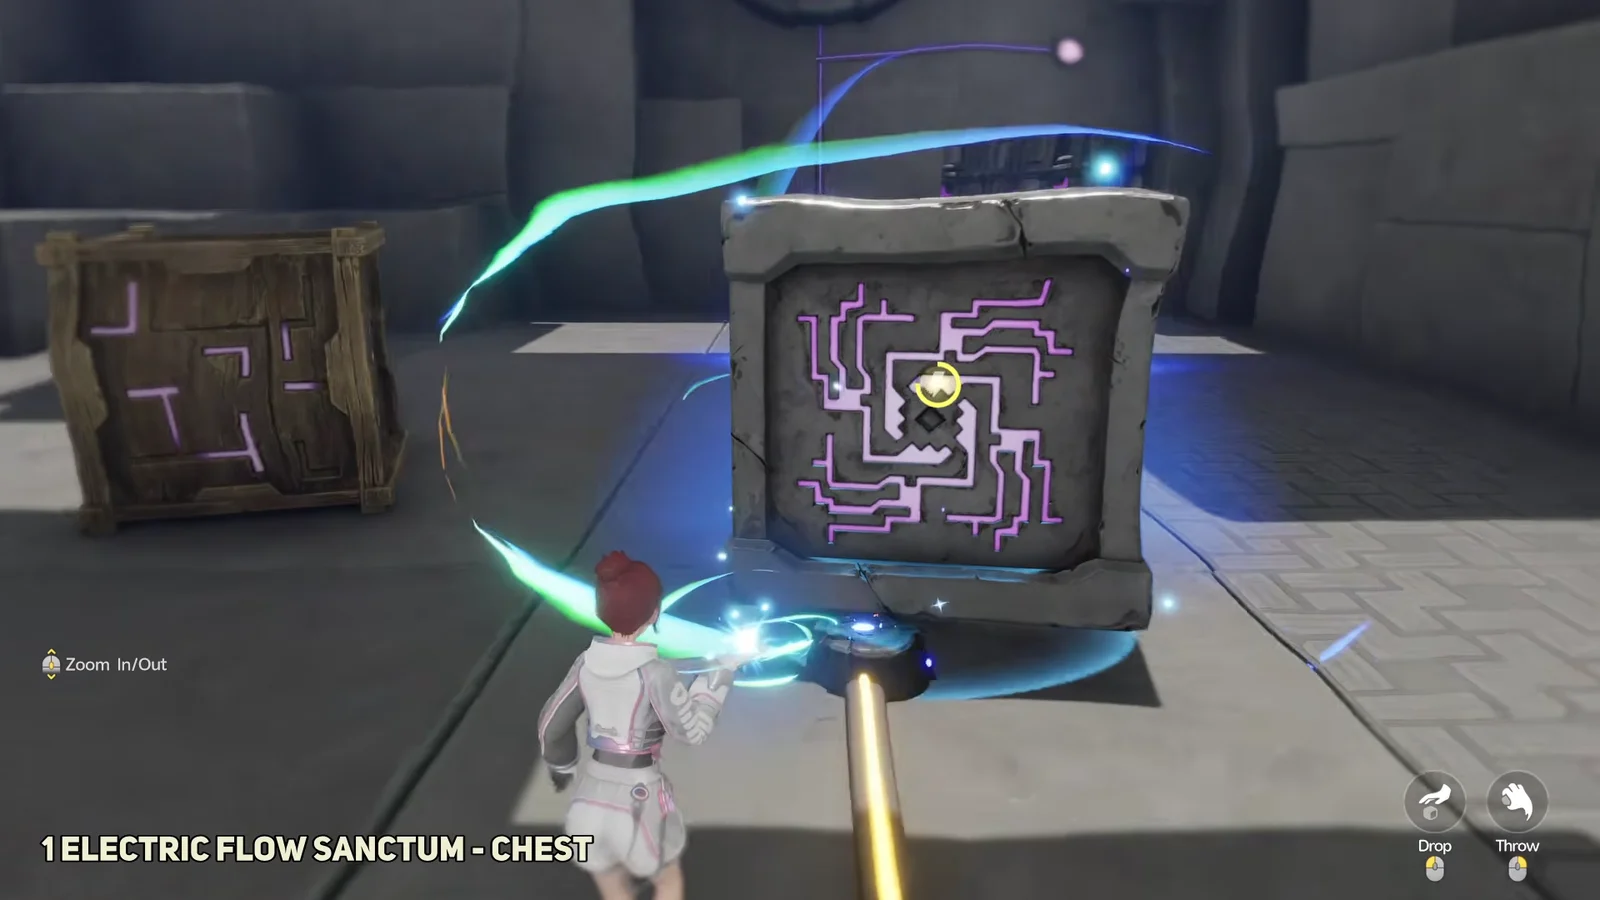
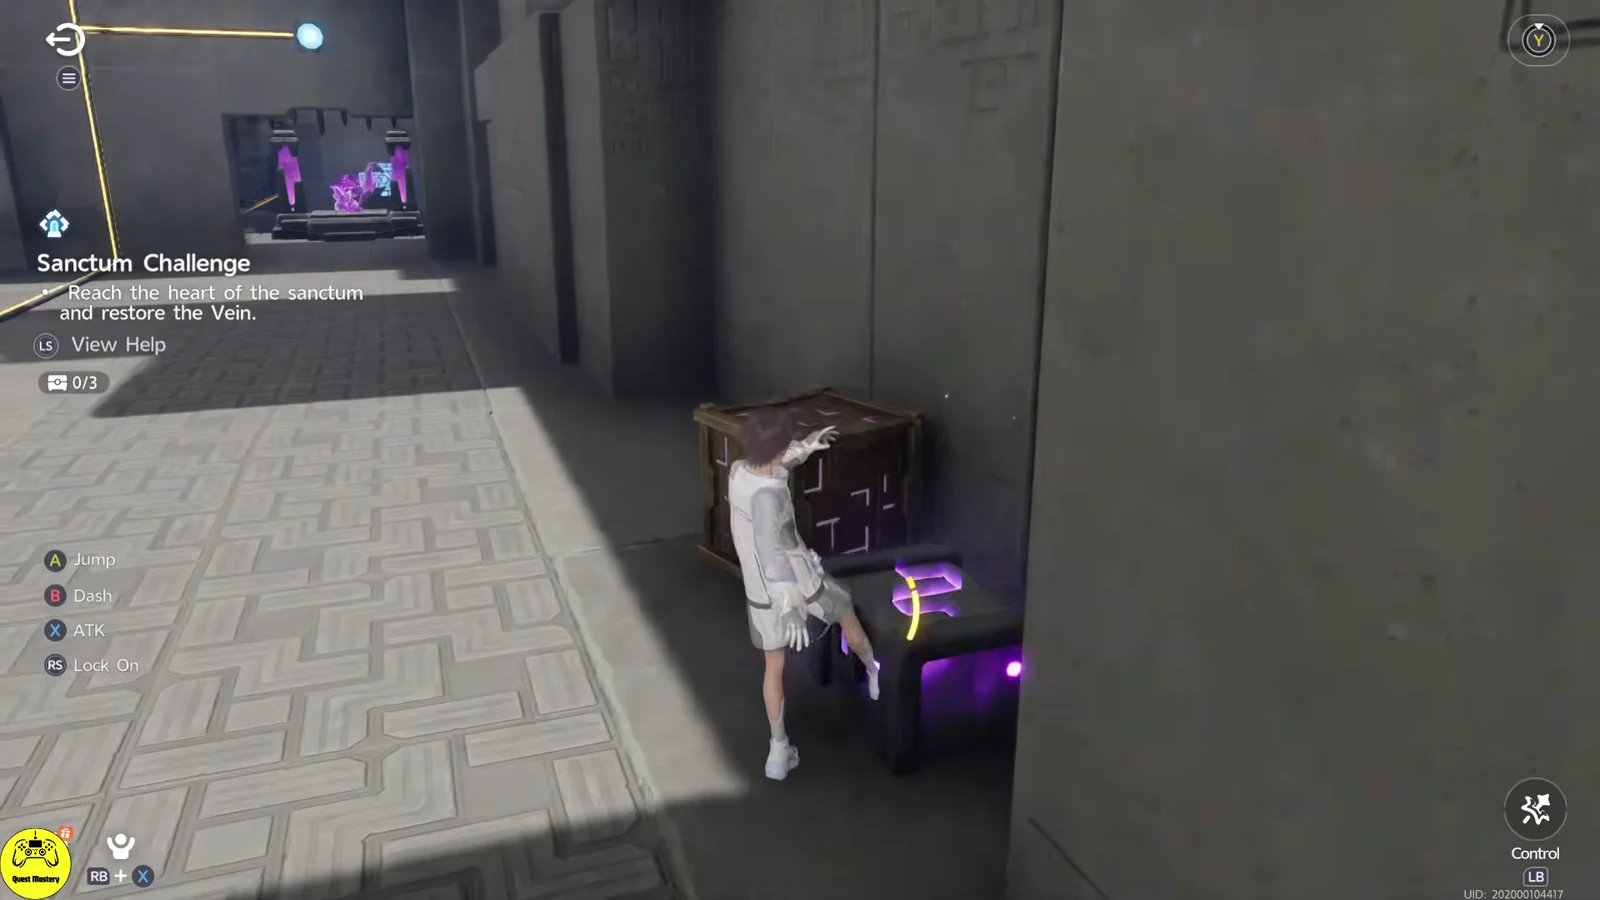
Two blue floor terminals face each other across that break. Seat the large wooden puzzle crate on one and centre the maze-faced cube over the other before you Drop it. The whole line should turn gold once both are placed.
00:35Chest 1 puzzleSeating the crate and maze cube on the two floor terminals to close the opening span. Shown at 00:35 in WoW Quests’s video. Image: Pawprint Studio
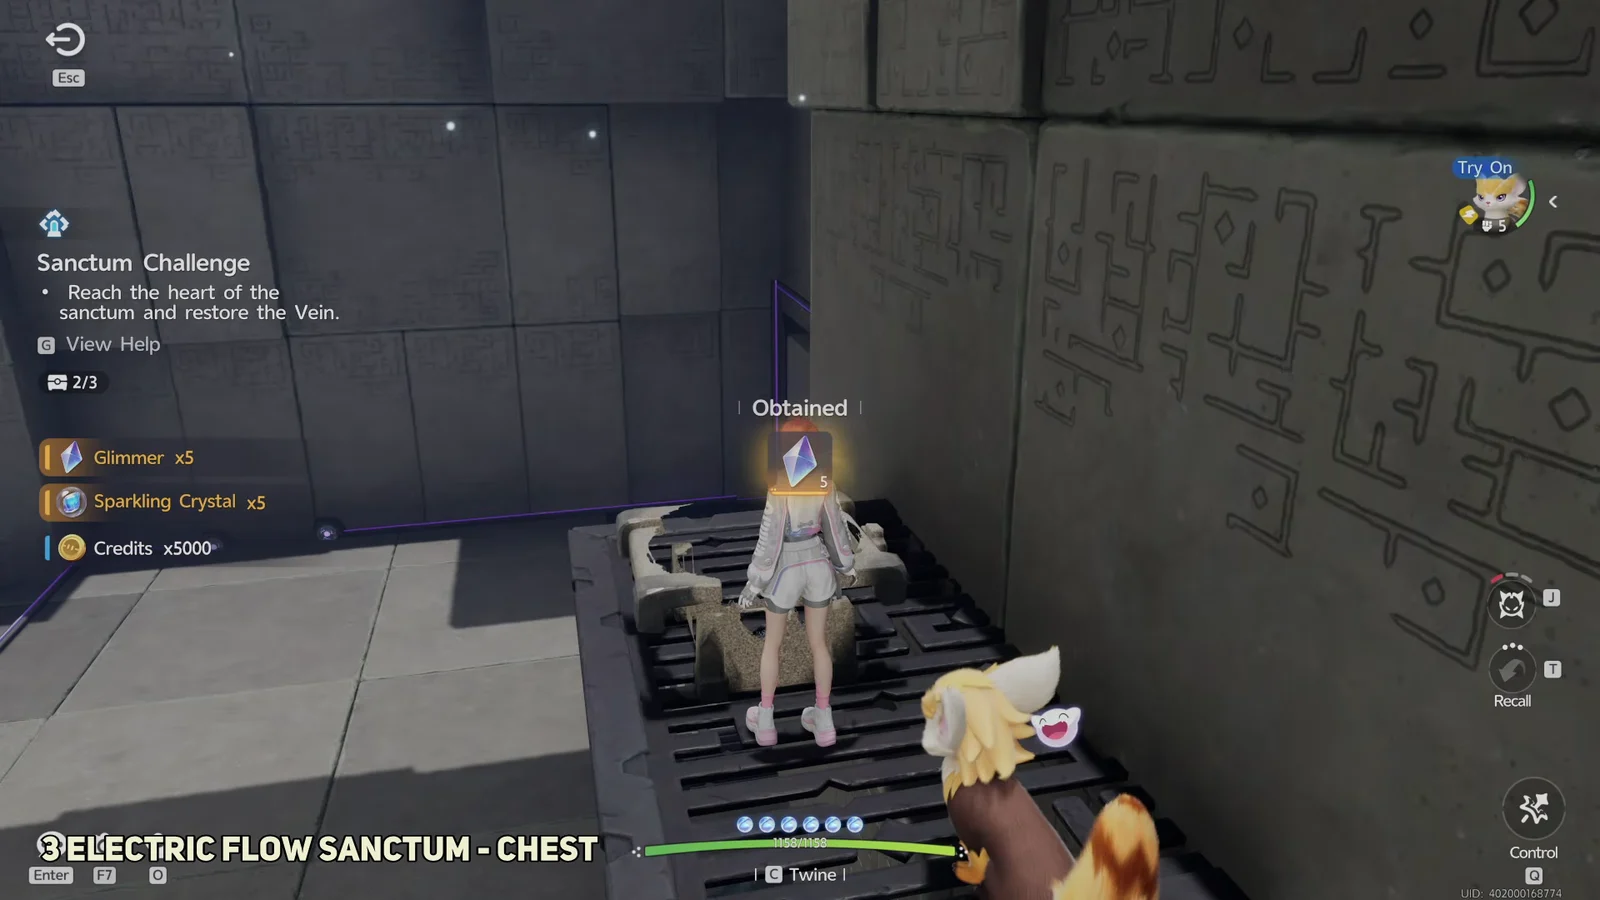
Against the east wall, several paces north of the charging plate, you will find the standard chest. Open it and check that the counter shows 1/3 before exiting.
Once the span is complete, the lamp over the barred doorway comes on and raises the ancient mechanism gate. Pass through the opening, then use Try On at the statue behind the bars to obtain trial Bolty.
West of the statue, ride the short platform across the shaft rather than jumping it. It carries a conductor piece with it, and the fall kills outright.
On the ledge, place Bolty beside the Ancient Rechargeable Battery on the one-port plate and Twine with it. Use BREAK there repeatedly until the plate’s outgoing line is gold; a rechargeable battery cannot power itself.
From the ledge, step onto the long platform. It travels west before descending to the main circuit floor, so remain aboard until it comes to rest above the pit.
On the circuit floor, use the one-port plate to charge the second Ancient Rechargeable Battery. The resulting feed heads west toward two blue terminals embedded in the floor.
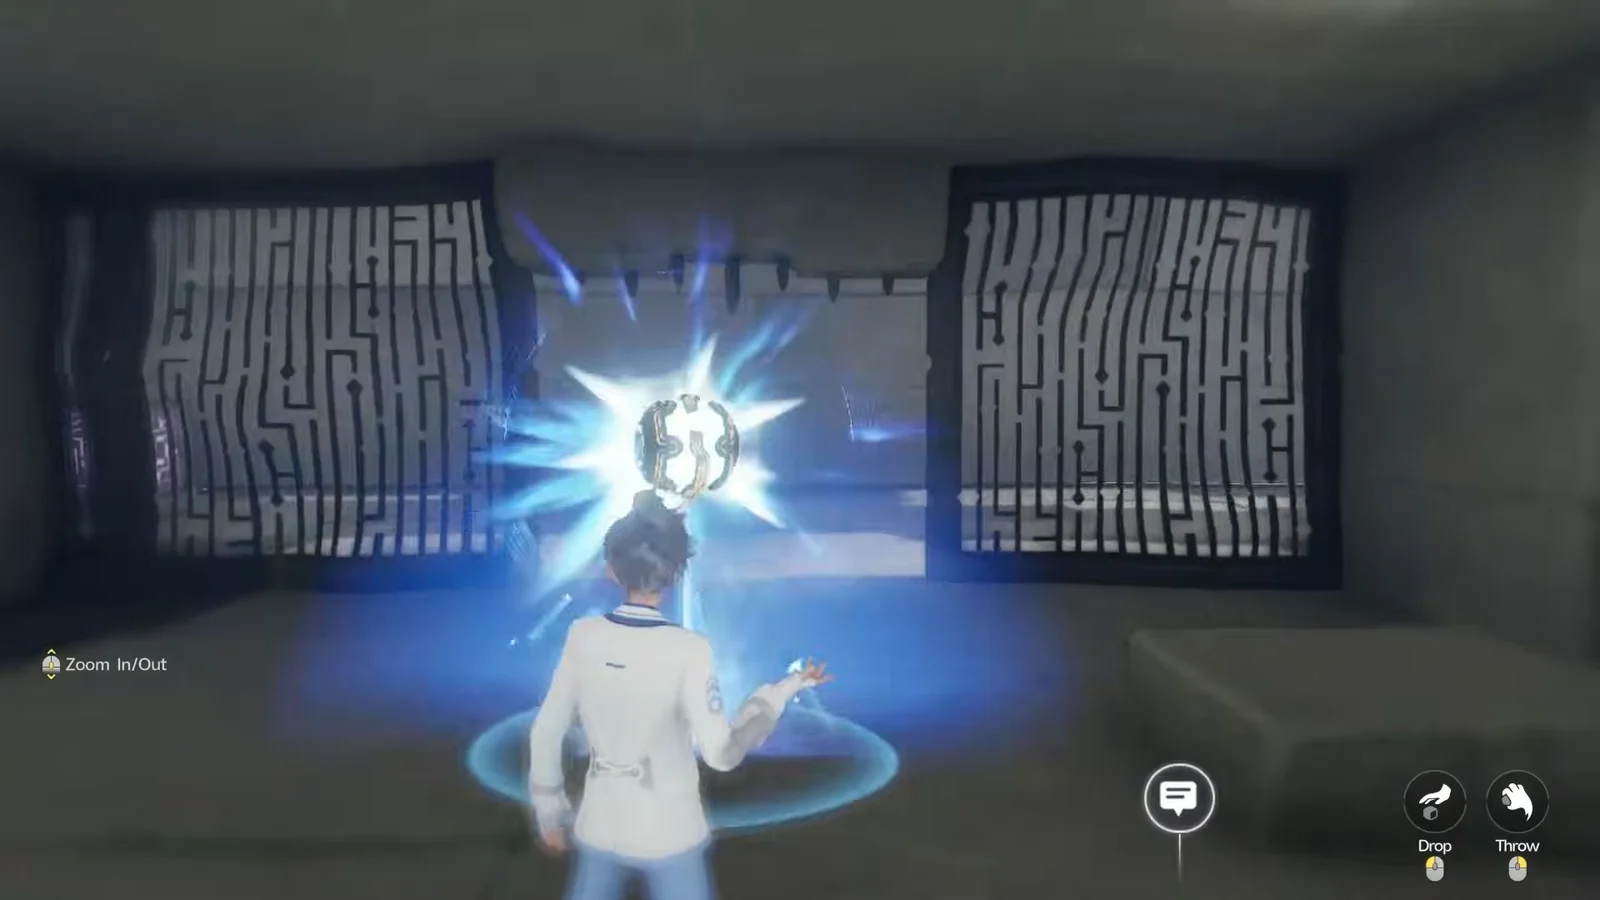
While dry, the large wooden crate between the terminals conducts nothing. Put it underwater until the wet and lightning symbols show, Manipulate it back into place, and Drop it centred between both terminals.
A few paces west the line reaches a junction that needs two feeds at once, with the second arriving along the wall from the entrance half. Confirm both are gold, then carry the nearest maze-faced cube onto the empty adsorption point north along the west wall to light the whole wall run.
On the chamber’s east side, a basic chest rests high on a shelf. Slide a maze-faced cube beneath it, climb onto the cube, and open the chest; the counter then reaches 2/3.
From the wall run, an eastward branch ends at another pair of opposing terminals. Drop the second maze-faced cube over that span; the riser beyond will illuminate its lamp and open the gate to the north.
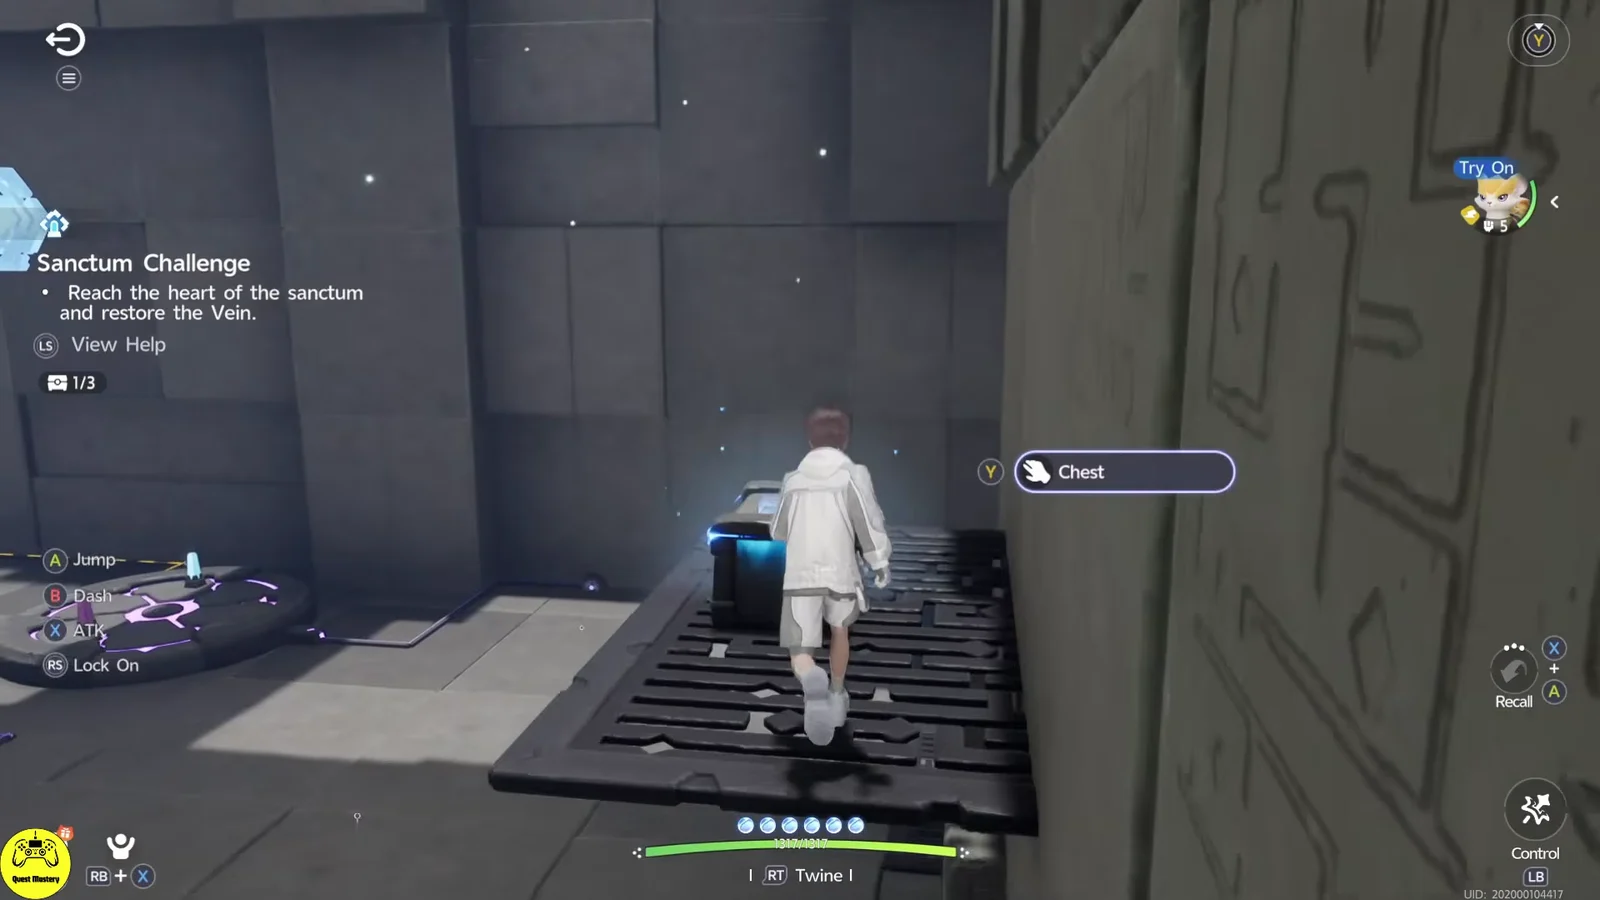
Beyond the bars, next to a one-port plate, a black-and-gold round component is lying on the floor. If the plate is inaccessible on foot, aim through the cage bars and Toss the component onto its pedestal, which powers the circuit and opens the cage door.
01:36Chest 3 puzzleLanding the round component on the pedestal behind the bars opens the cage. Shown at 01:36 in WoW Quests’s video. Image: Pawprint Studio
Use the lift to reach the premium chest—the most valuable of the three—and open it. Before moving the round component again, verify that the counter shows 3/3, since nothing in this area reopens after the Terminus.
Find the vacant one-port plate north of the lift room. Retrieve the same round component and install it there. A few paces east, use the large conductive block to close the terminal pair so power continues toward the tall hall.
The second junction sits high on the pillar and takes the overhead run from the west wall plus the floor line from the pedestal. When both hold gold, the lamp beneath lights and the large door swings open.
One short cylindrical conductor stands on the far wall past the corridor. Twine with Bolty and use BREAK beside it until the wall feed holds gold, then interact with the suspended square Sanctum Terminus to restore the Vein.
Lethal drops, the checkpoint and closing gates
Nothing in Electric Flow runs on a timer, so you can read every feed before you carry anything. The danger is entirely vertical, and the single interior checkpoint sits roughly halfway through the route.
The only interior respawn point unlocks as you cross the narrow gate opened by the wall run, just before the shelf chest.
Everything before that threshold sends you back to the entrance pad.
Four drops kill outright: the shaft west of the statue, the pit under the long platform, the void beneath the east corridor and the low floor under it.
Use the four moving platforms to cross the drops; each one covers a separate drop, making a jump unnecessary.
All four cyan gates watch a lamp rather than a one-time flag, so a feed that goes dark shuts the gate it opened. If a doorway closes behind you, walk the feed back to the last plate or terminal pair you filled instead of hunting for a new puzzle.
How to confirm the clear
Two things confirm a full run. The chest counter must read 3/3 on the entrance card and on the map entry for the Sanctum, and interacting with the Terminus resolves the Sanctum Challenge with the Vein restored. The first-clear slot pays Lumin Amber: Breezy Plains and its EXP at that moment and never again.
After the challenge resolves, the entrance stays activated on the map as a Transport destination. That is useful for travel around Blitzwood, but the interior holds nothing further for you, so treat the 3/3 check before the Terminus as the last decision point of the run.


 Basic
Basic