Burning Brambles Sanctum Walkthrough in Aniimo (Both Chests)
Clear the Mistwoods fire Sanctum with trial Emberpup, seat all four spheres, and collect both chests before restoring the Vein.
Clear the Mistwoods fire Sanctum with trial Emberpup, seat all four spheres, and collect both chests before restoring the Vein.
by AllThingsHow Staff
Image: Pawprint Studio
Burning Brambles is a solo Sanctum tucked into the stone ruins of Mistwoods, and it runs on a single idea: everything in your way is flammable. The room hands you a trial Emberpup at the door, and its Fire Bolt skill burns wooden gates, thorn braces, and vine trails so four large spheres can roll into four floor pads. No enemies, no timers, no branching paths.
Quick answer: Twine with trial Emberpup at the entrance statue, then aim Fire Bolt at the wood and thorn braces holding each sphere. Seat four spheres in four pads, open both chests, then touch the Terminus.
Burning Brambles location in Mistwoods
The entrance lies among the Mistwoods ruins, northeast of the Alpha Turbo, at coordinates -0866, 0902. Open the world map, teleport to the closest point, then climb the masonry steps toward the shining portal. Its entrance panel says Sanctum: Burning Brambles; choose Challenge to enter.
Region: Mistwoods
Challenge size: 1 challenger, so it runs solo
Chest counter at entry: 0/2
Aniimo used: trial Emberpup, supplied inside
An older listing called this room Burn Your Way Out, and the beta name was Through Flame and Thorn. Search for Burning Brambles, which is the name on the entrance card and on current map records.
Burning Brambles rewards: clear bonus and both chests
The clear reward is paid once, on your first completion. Both chests sit directly on the walking route, so there is no reason to finish at 1/2.
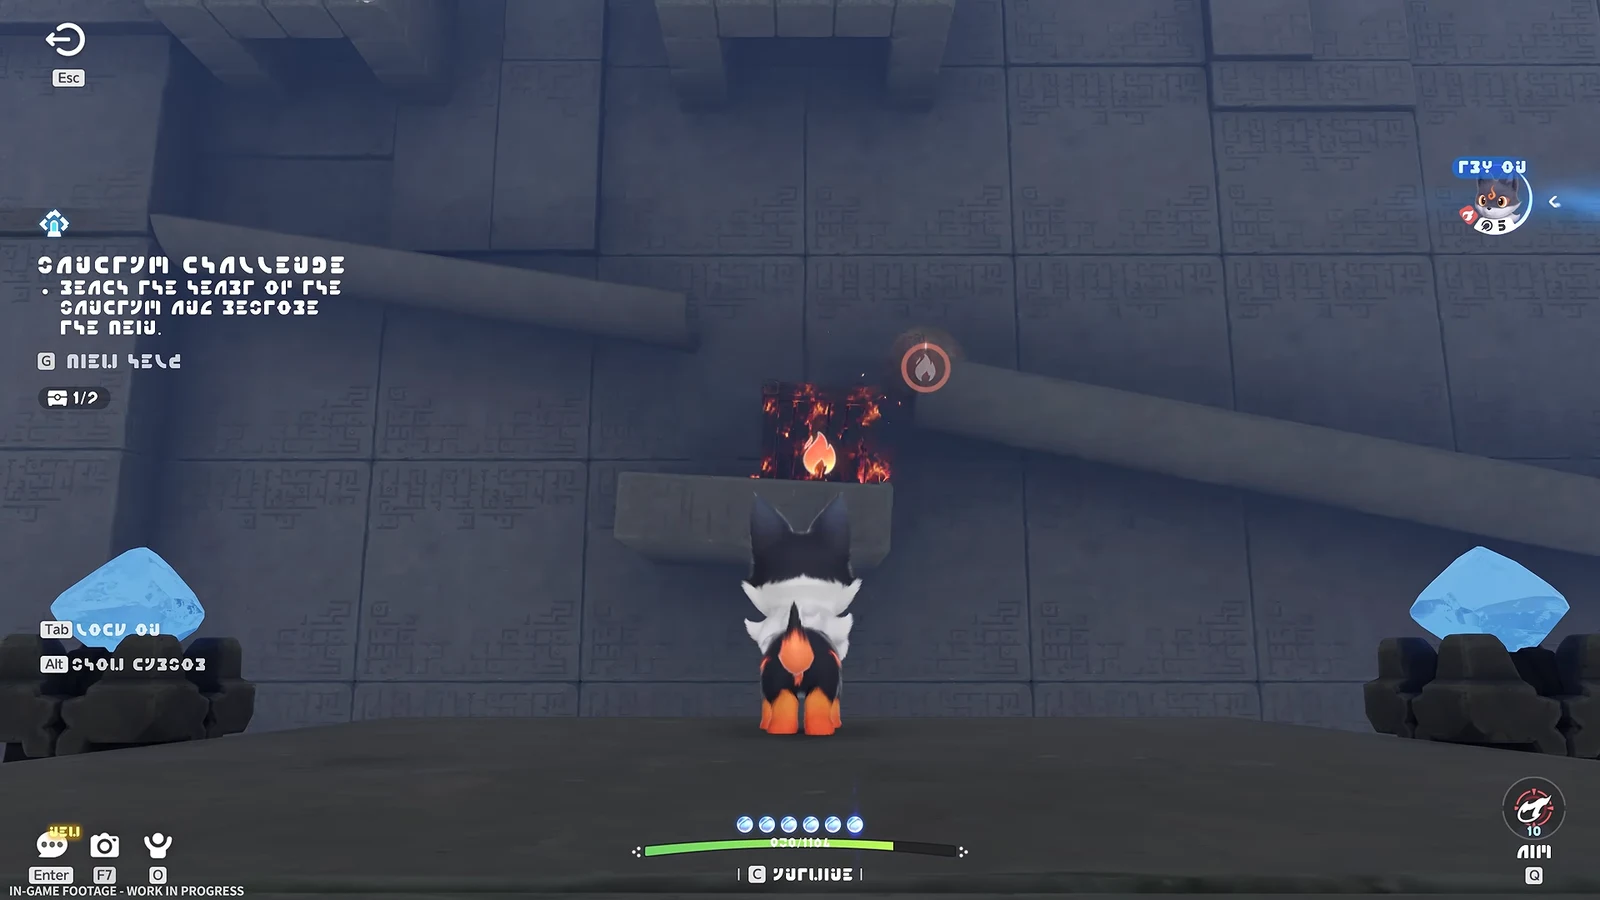
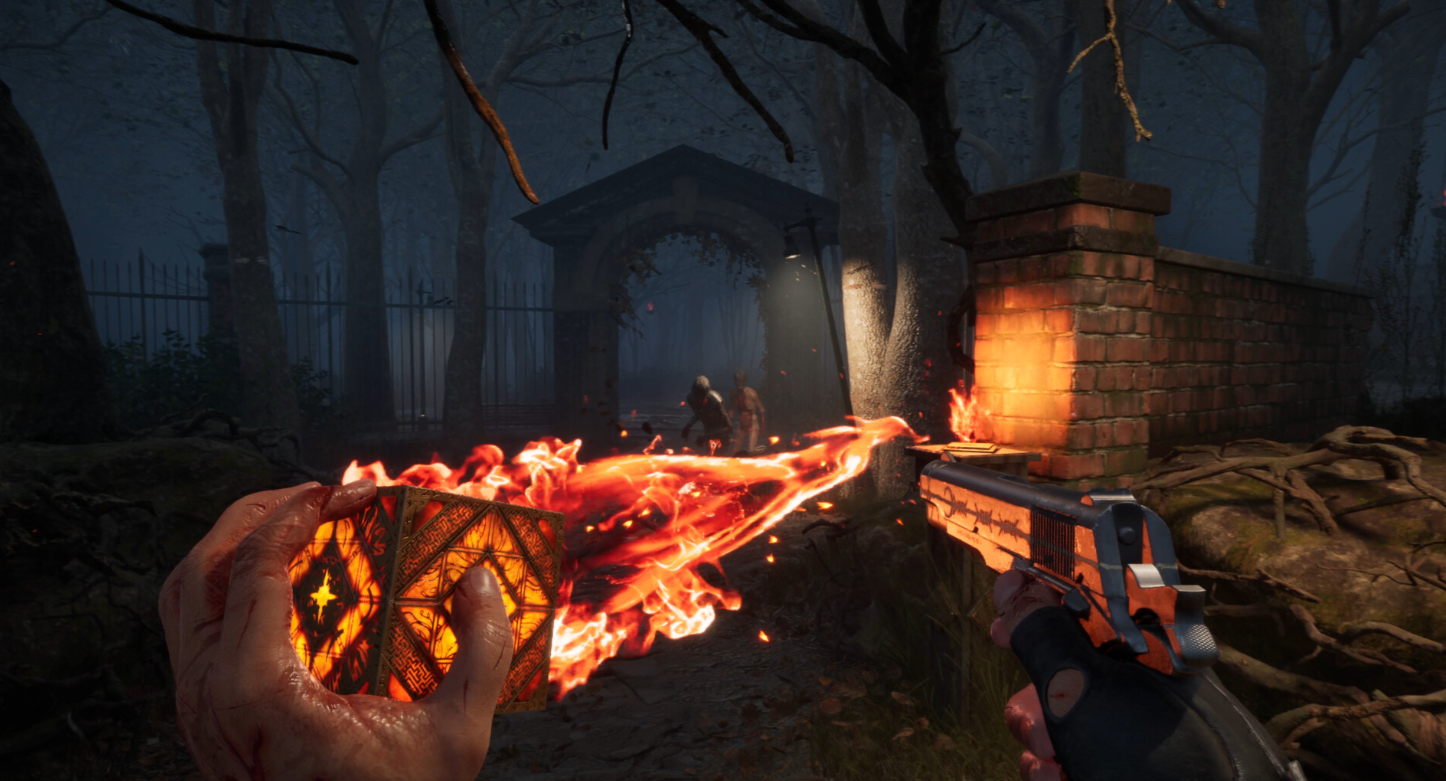
The statue on the entrance pedestal gives you the trial Emberpup. Claim Emberpup, Twine with it, and Fire Bolt becomes available; it throws a fireball and applies Fire Debuff. Press and hold the skill control to aim, then let go to fire. Q is the default PC binding, while other control layouts display their own binding.
Two rules cover every puzzle here. Always shoot the flammable support, never the purple sphere itself. And read the result instead of the sphere: a missing brace, a seated ball, a lit cyan pad, or an open doorway is the proof that a shot worked.
The small wooden objects that roll down the later ramps are fire carriers, not spheres. They exist only to move flame to a vine trail further downstream, and they can be put out by water on the way.
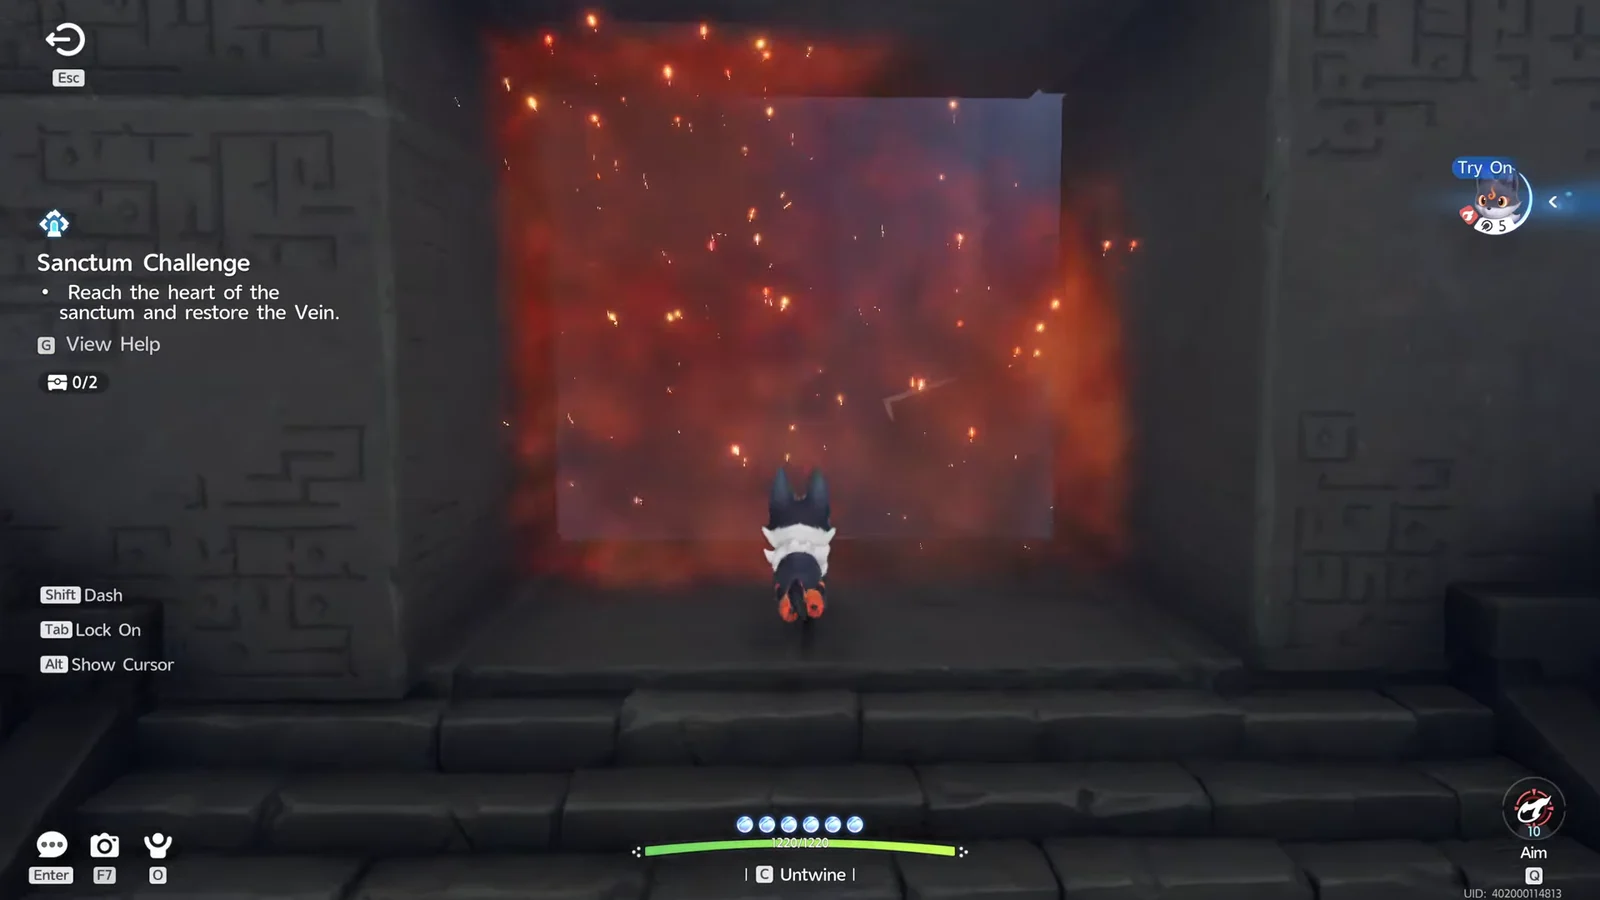
Run through the entrance hall to the central pedestal with the glowing purple cube and interact with the aniimo statue. Twine with the Emberpup it summons before you climb the stairs, since nothing past this point responds to anything but fire.
Cast Fire Bolt at the wooden-crate stack that makes the slatted gate above the entry stairs. Let the timber burn away completely before passing through. The room has no timed event, so you do not need to outrun a flame sweep.
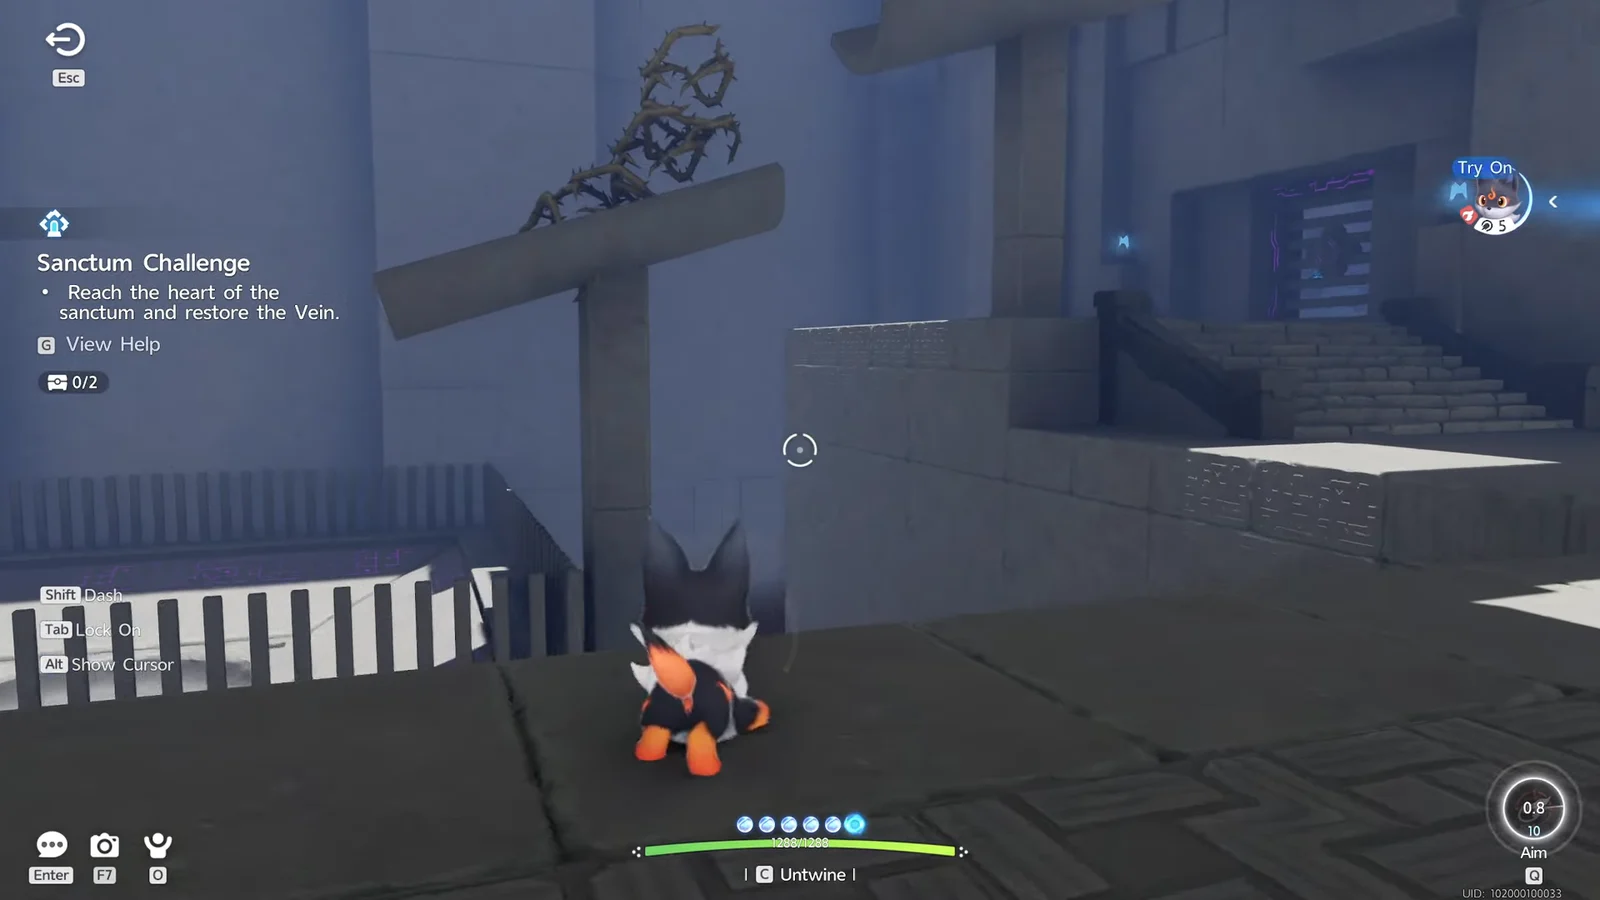
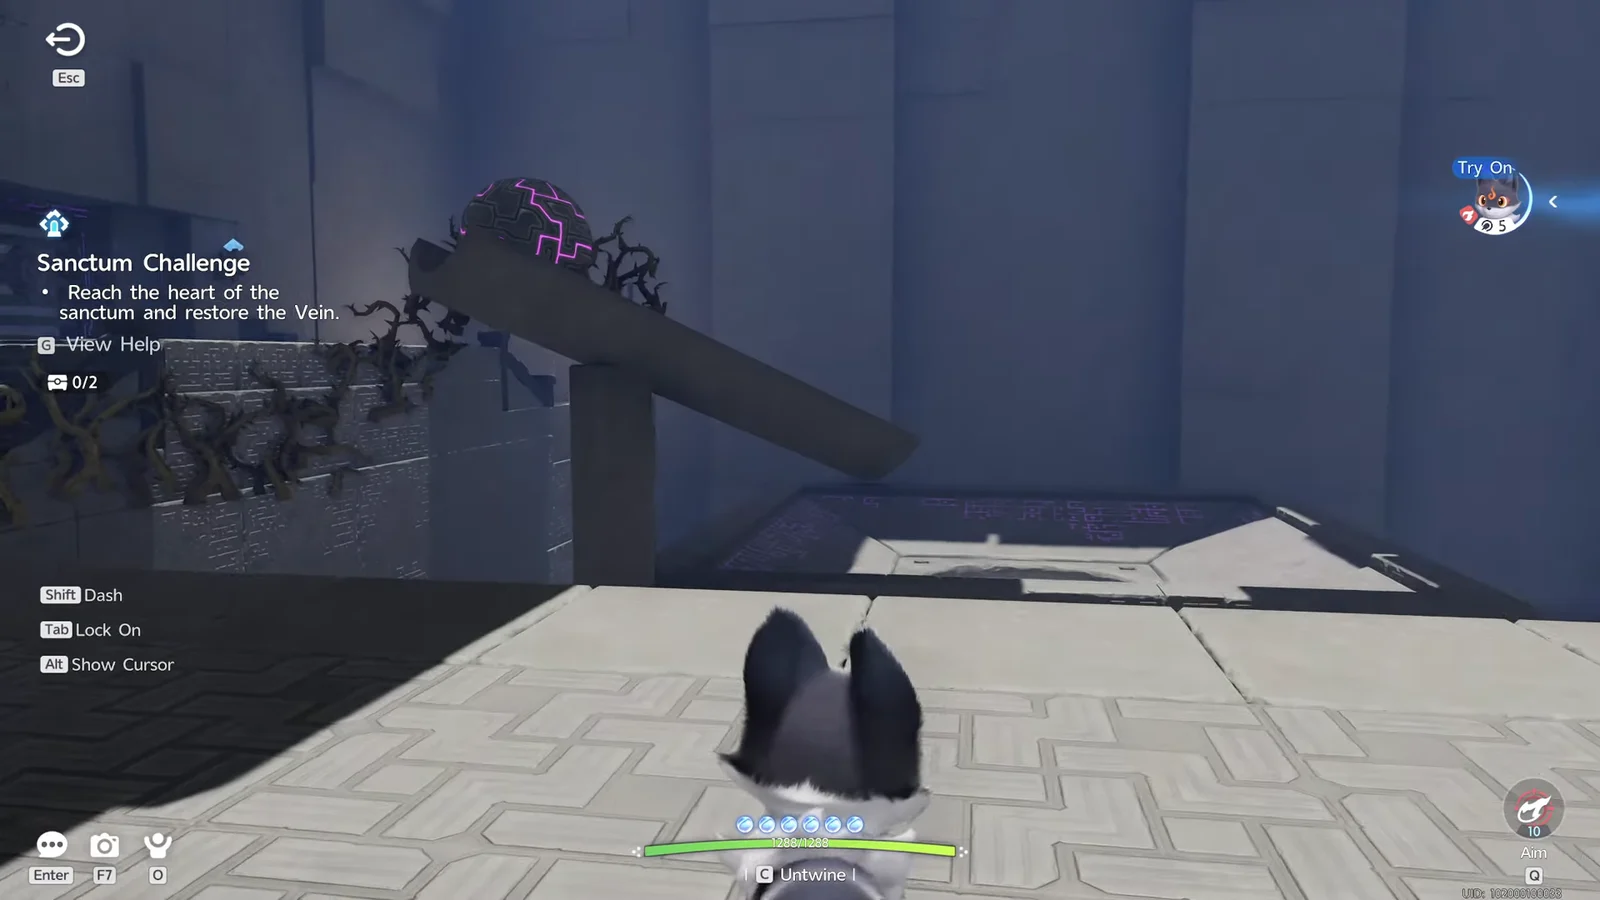
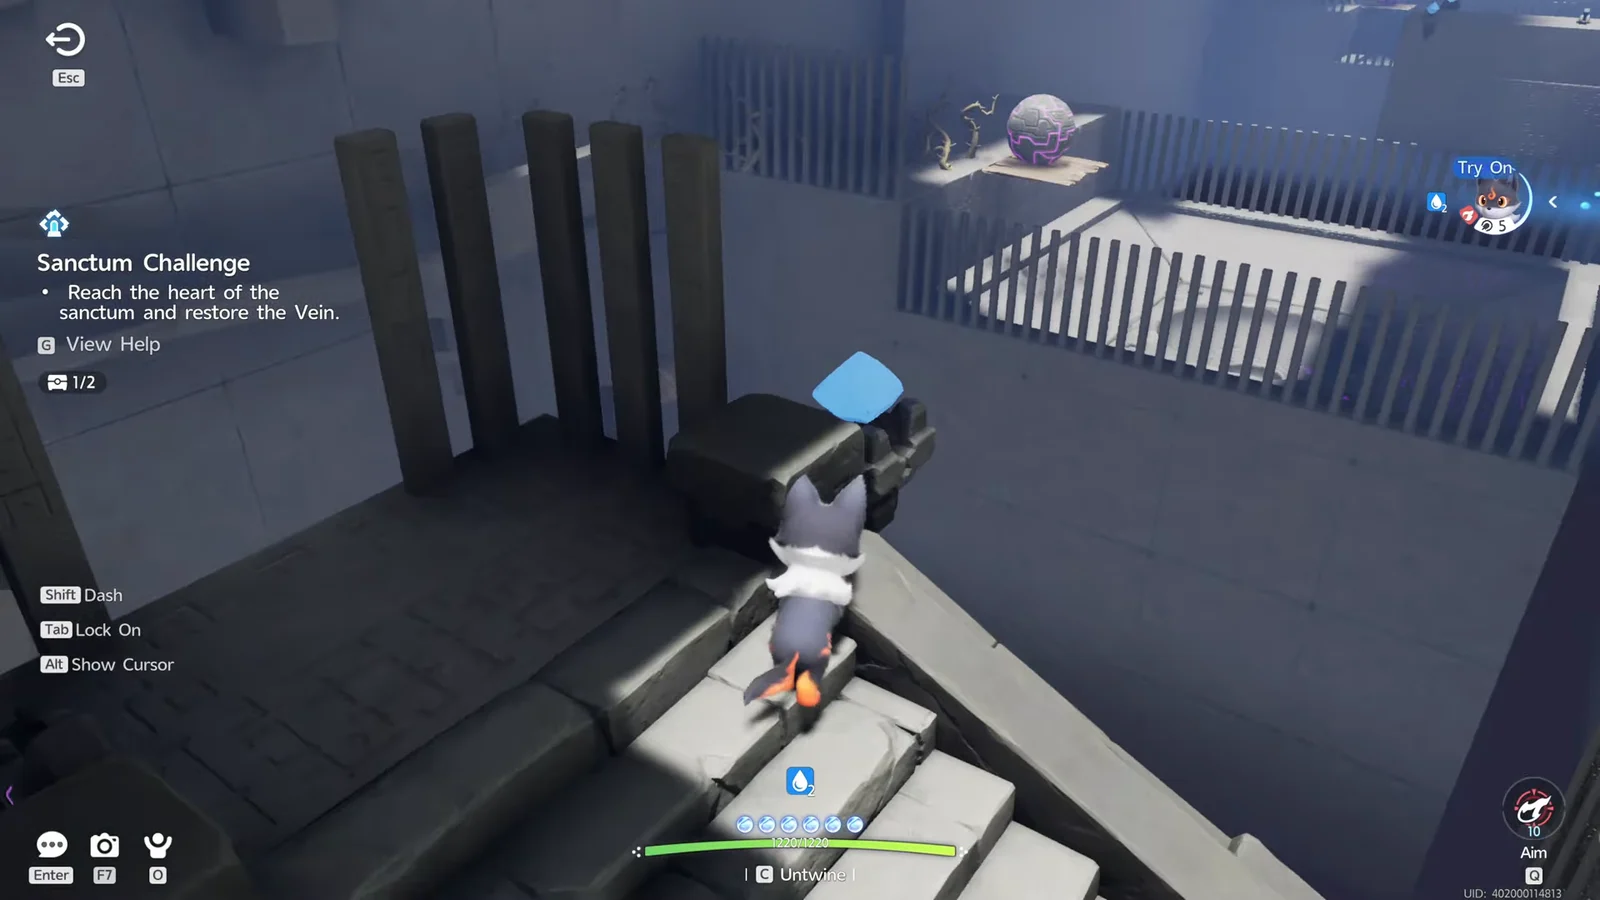
In the next space, a long tilted beam holds a large purple sphere at its high end, tethered by dried brambles partway down the run. Aim at the brace, not the sphere, and it breaks free on its own.
Send the sphere west so it drops into the circular pad set into the pit floor. Once the pad illuminates, the mechanism door in the east wall opens. Cross on the stonework, since stepping onto the surrounding pit floor causes instant death.
Beyond the door, ground vines run east and finish beneath the second purple sphere. Strike the tangle’s lower end once with Fire Bolt; the flames spread along the entire route and eventually burn through the sphere’s support.
The second sphere drops into the pad on the east platform and the door at the north end opens. Take the stone path around the rim rather than cutting across, since everything below the platform edge is lethal.
Before taking that north door, turn east into the flooded alcove for the first chest. Burn the flame-marked vine curtain hanging across the ledge with a single aimed shot, then burn the wooden platform the chest is sitting on so it drops to the planks floating on the water. Cross, open it, and confirm the counter reads 1/2.
North of the door is a long descending ramp. Its top holds a small wooden fire carrier, a water jet cuts across the track near the beginning, and a flame jet appears farther down. Ignite the carrier and allow it to roll, then wait for it to clear the spray before setting it alight again. A shot made too early cannot survive the water.
At the ramp’s base, the burning carrier ignites the ground vines and carries the fire along their length. The flames reach the plank supporting the third sphere, destroying it; the sphere falls, rolls east, and settles in the third pad. The first tall gate on the main corridor then opens.
In the second barred section, the carrier is positioned high on its ramp, held by a single fixed wooden box underneath. Set that box on fire, and the carrier rolls off while already burning, eliminating the need for another shot.
When the carrier reaches the second ground-vine route, make sure the flames travel from one end to the other. They burn through the plank beneath the fourth sphere, sending it into the final pad. The floor runes activate, the second tall gate rises, and the corridor carries on toward the final stairs.
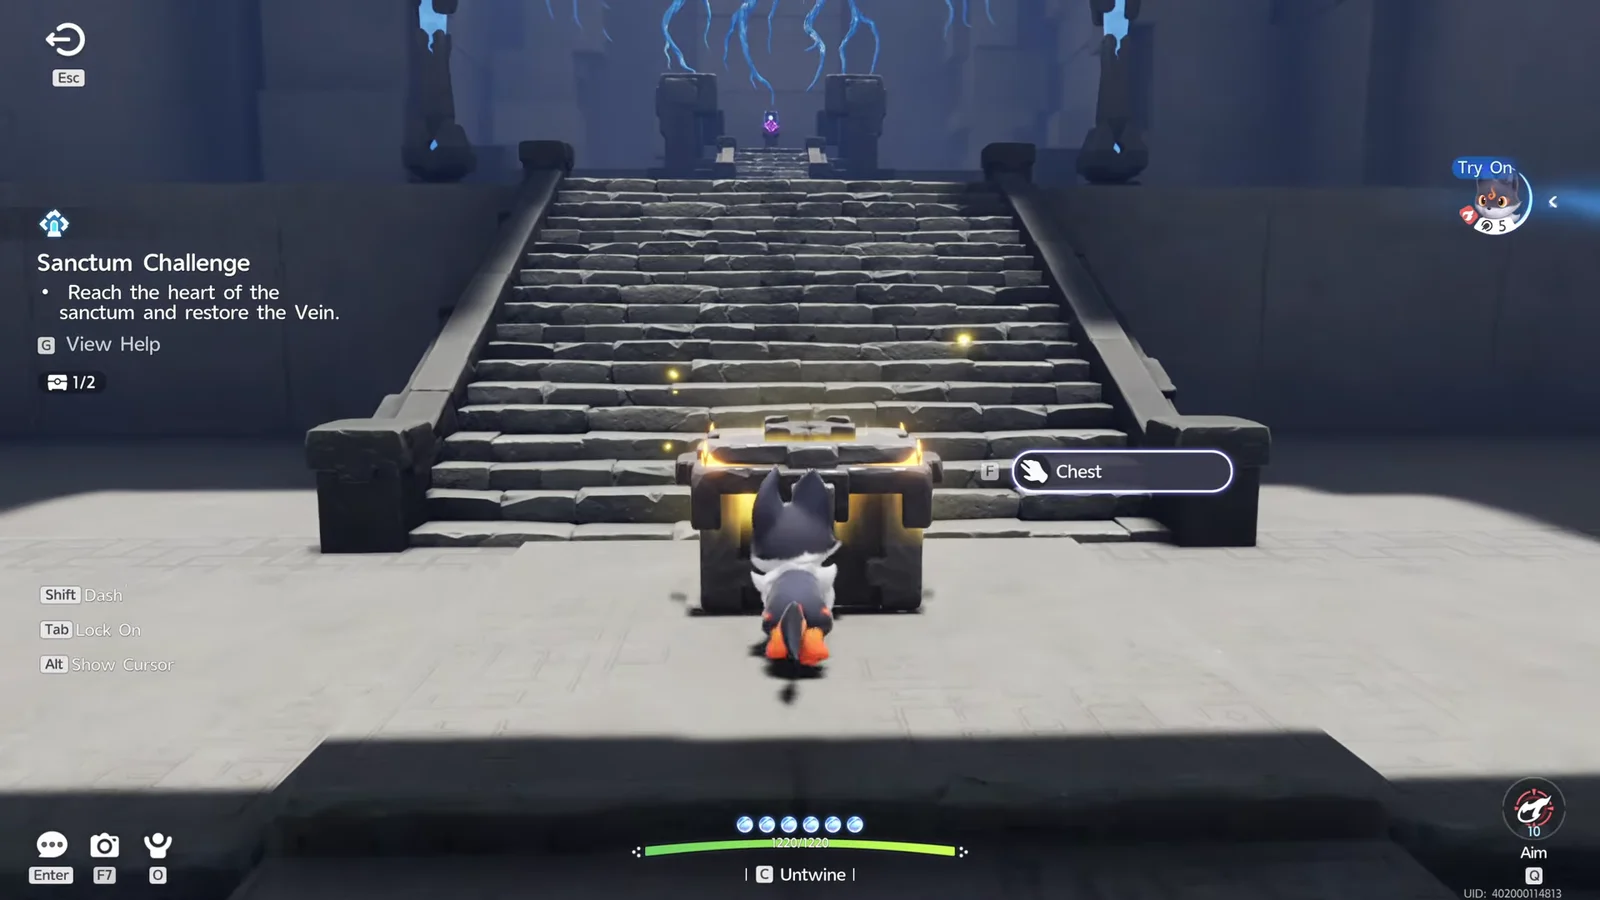
Climb the grand staircase and open the premium chest waiting in the open on the landing. There is nothing to burn for this one. Check the counter reads 2/2 before going any further.
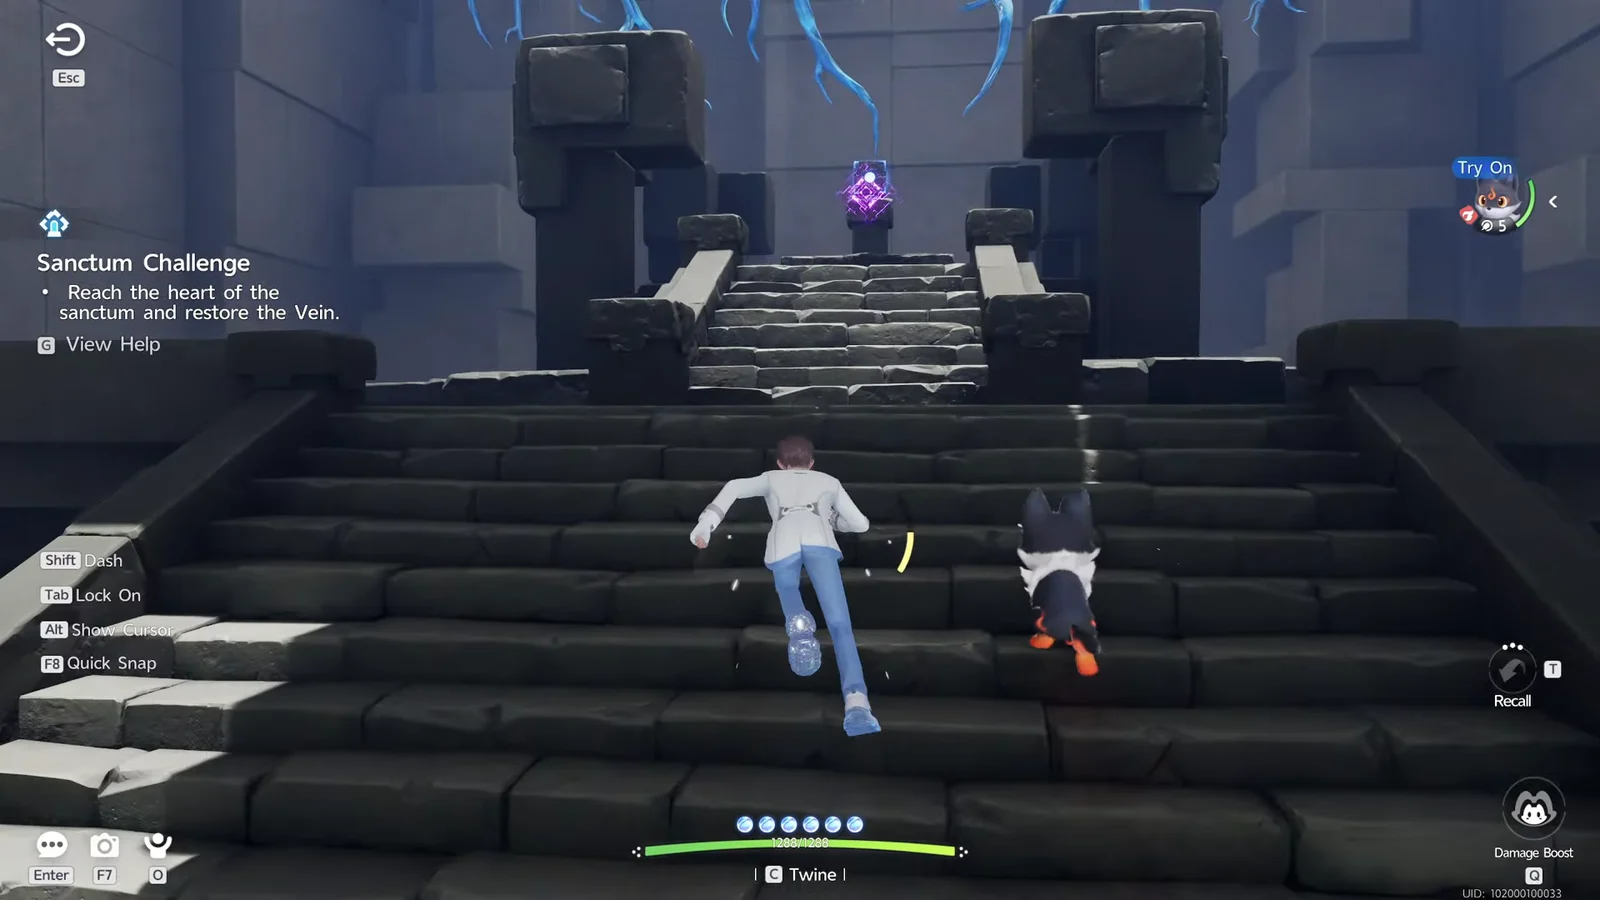
At the top of the stairs, use Touch on the floating cube known as the Sanctum Terminus. A short cutscene purifies the corrupted energy and restores the Vein, which ends the run immediately.
You can send every rolling object back uphill. Three switches overlook the routes they control; using a switch’s Reset option returns that route’s sphere or carrier to its initial position. If carrier two stops moving, it resets automatically within a few seconds, so wait briefly before activating the switch.
There are no checkpoints inside. Both respawn points sit at the entrance and are active from the moment you load, so a fatal fall puts you back at the bottom of the entry stairs with your progress intact. Three instant-death planes run under the route, one beneath each of the first two ball pits and one under the second carrier run.
The pit floors are the only real hazard. Fire Bolt cannot hurt you, nothing in the room burns you back, and no section is timed.
How to confirm the Sanctum is cleared
Each solved puzzle shows itself the same way: the brace is gone, the sphere sits in its pad, the pad lights cyan, and the matching door or gate opens. The ambient purple light in the room never changes, so do not use colour as a signal.
For the run as a whole, the chest counter reading 2/2 and the cutscene at the Terminus are the confirmations. The Vein restoration ends the challenge on the spot, which is why both chests have to be open before you touch it. First-time completion pays out Lumin Amber ×1 and 500 EXP, and that portion does not repeat on later runs.