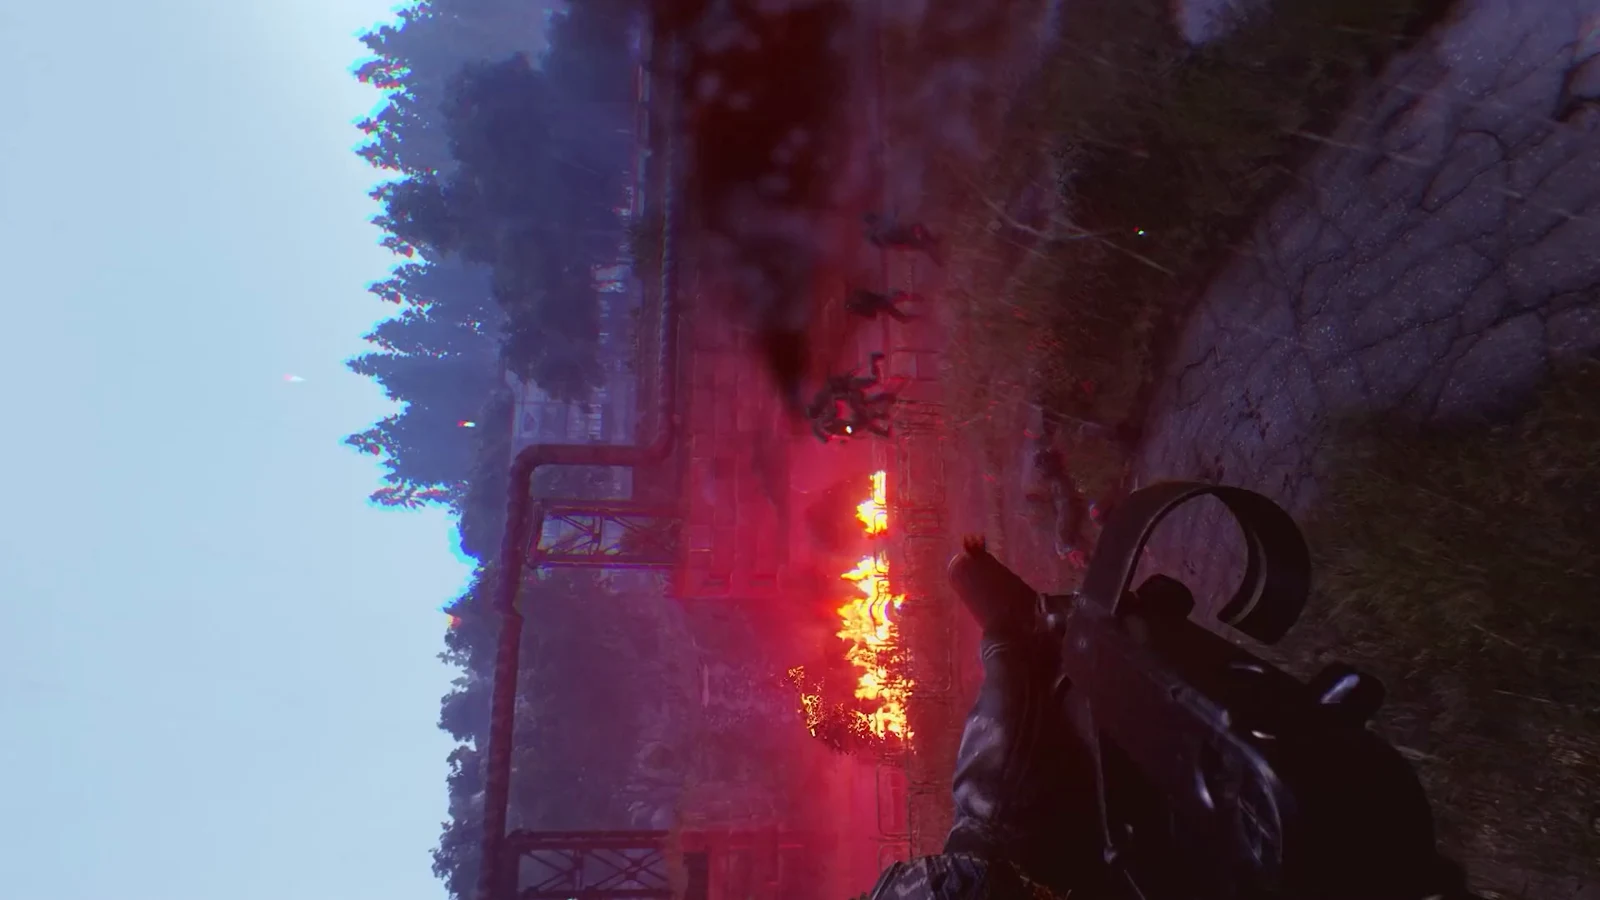
Active Matter throws a lot at you in the first ten minutes. Menus stacked on menus, contracts you did not choose, a timer counting down to something called a zone collapse, and monsters that dash inside your barrel before you can react. The systems underneath are consistent once you know what each screen is asking for, but the game does very little hand-holding while you learn them.
Quick answer: Queue a raid from the Missions Terminal, clear your contracts, collect Active Matter, then reach the glowing spacetime portal before the collapse timer runs out.
What Active Matter is
Active Matter is an Early Access PC shooter from Gaijin Entertainment, the studio behind War Thunder, Crossout, and Enlisted. It opened on September 9th, 2025, and it mixes military-sim weapon handling with a Stalker-flavoured science fiction setting. You deploy into a zone, fight both AI and other players, grab what you can, and leave through an extraction point. If you have not picked it up, it is sold through the official Active Matter site and on Steam.
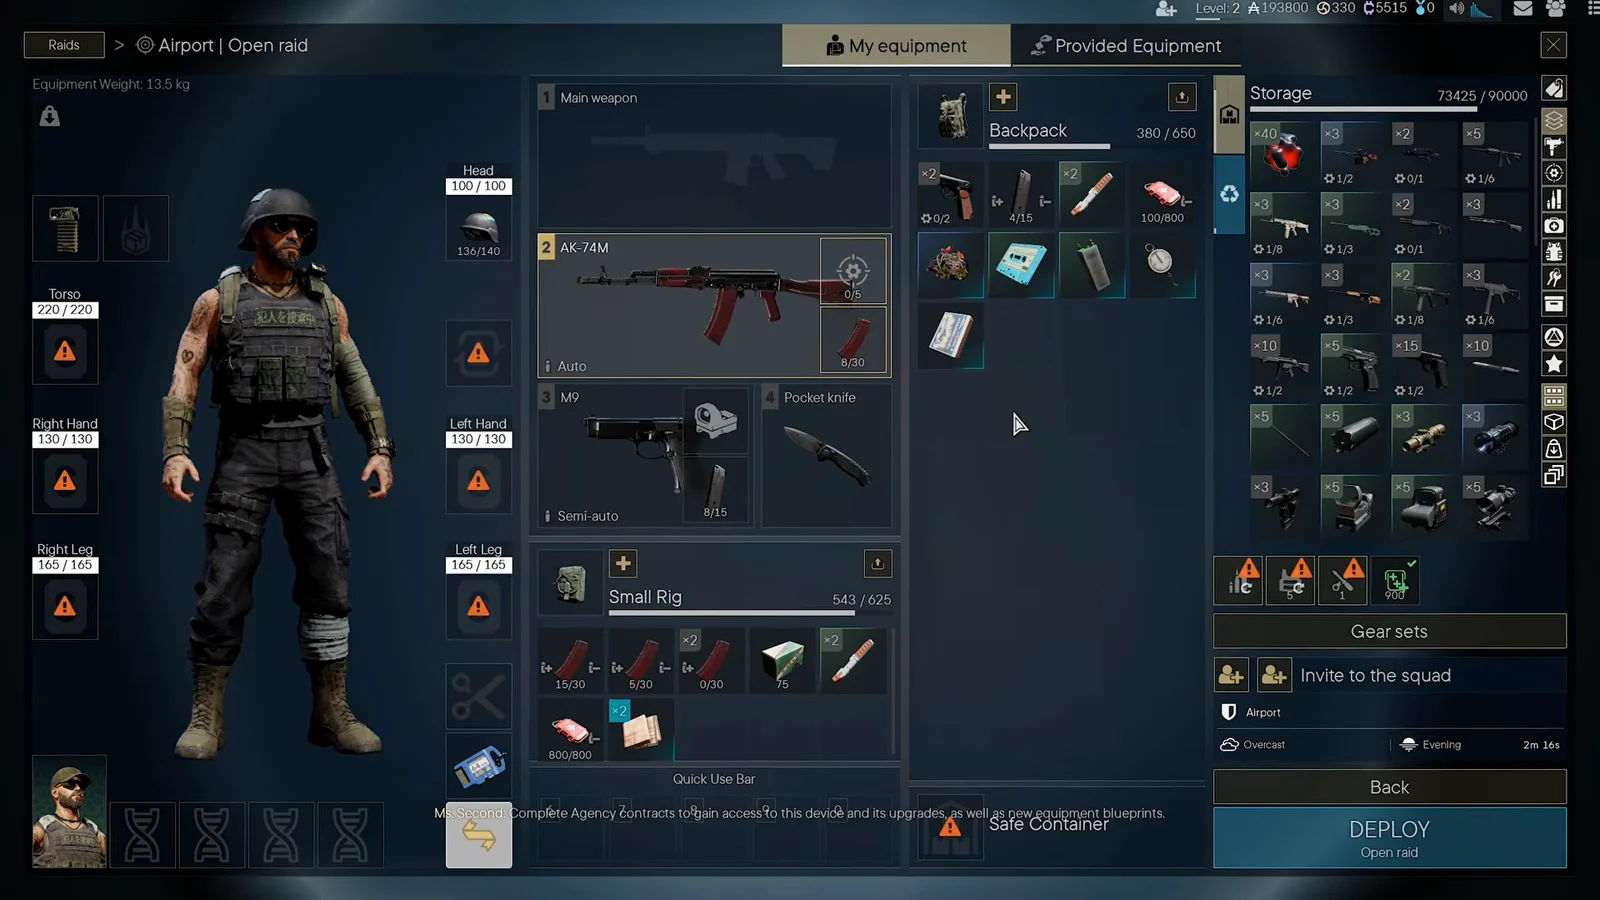
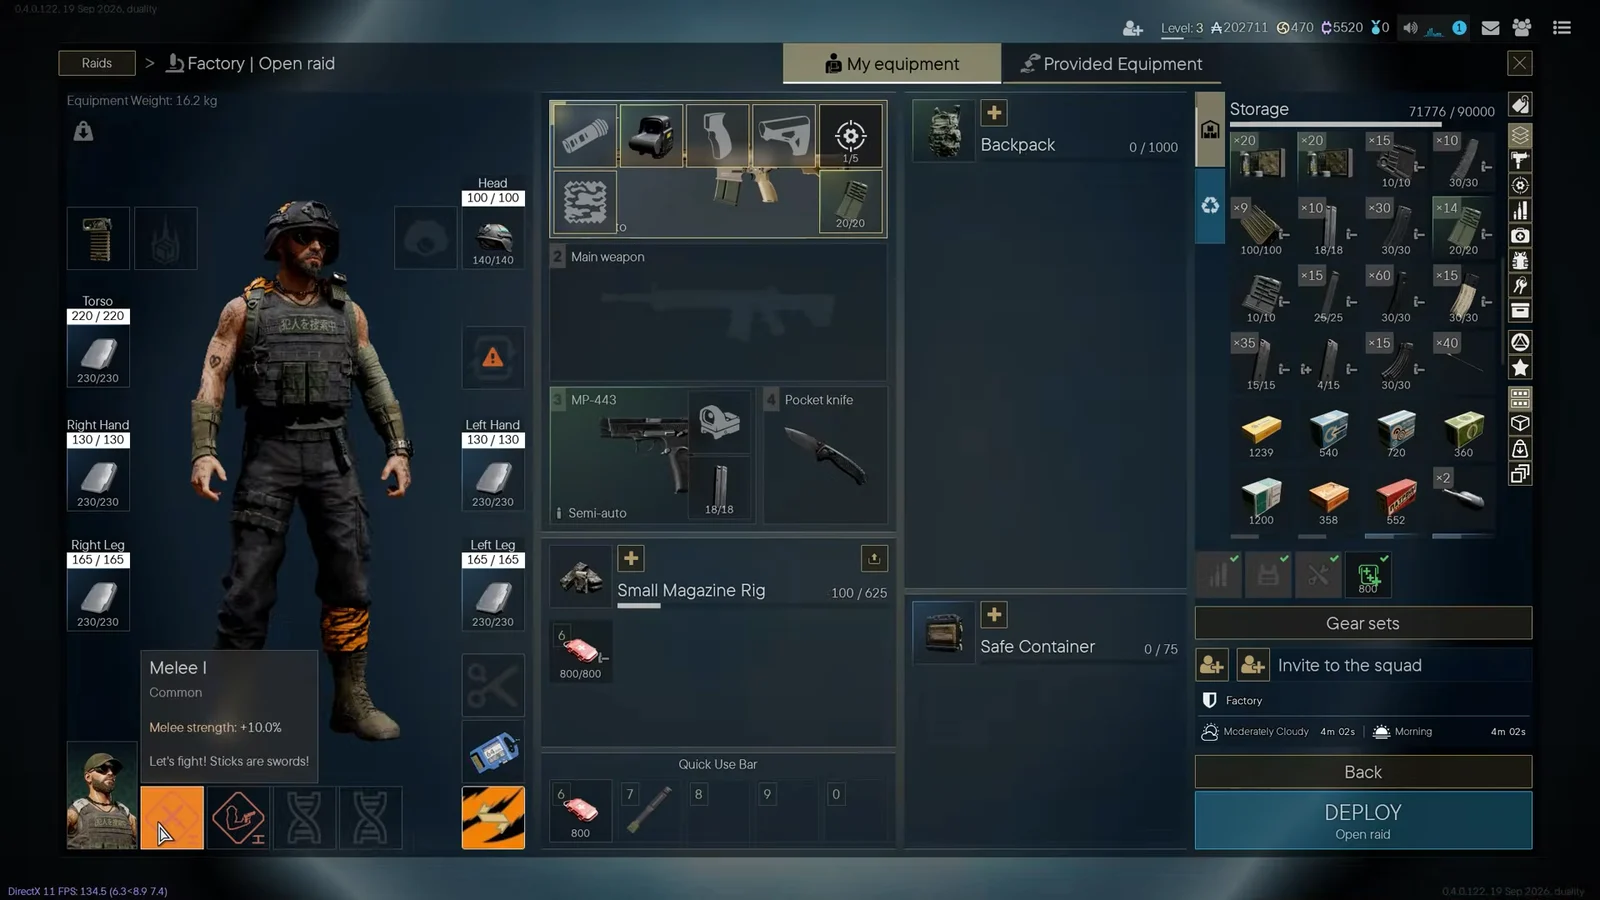
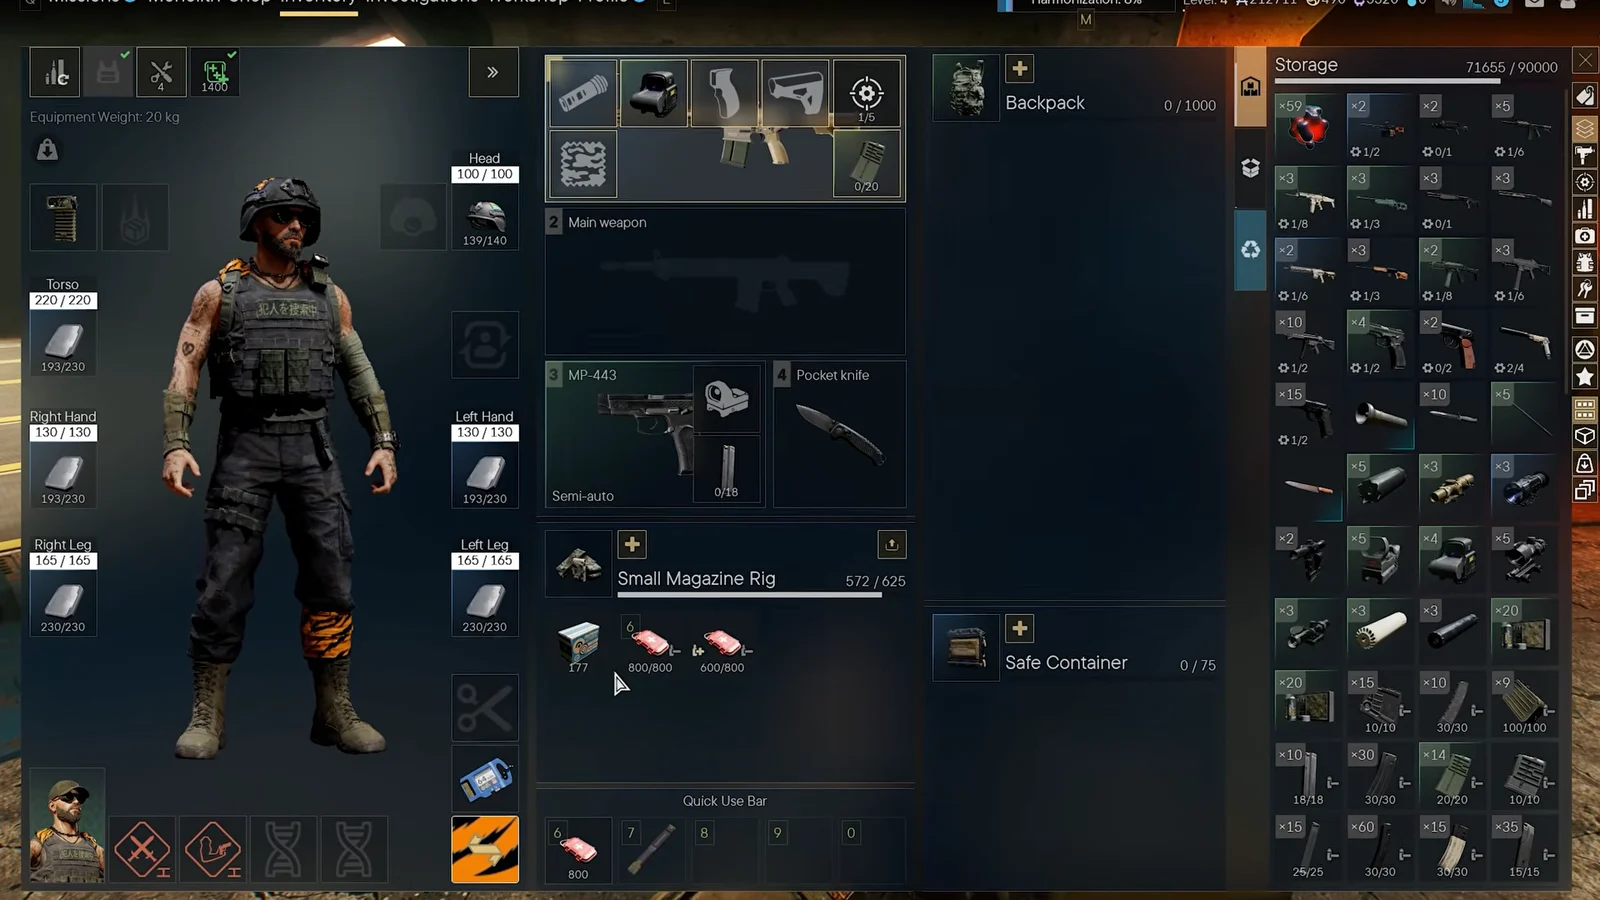
The part that pushes people away early is not the shooting. It is the hub. The equipment screen handles loadout slots, stash storage, and raid inventory all at once, and none of it is explained in a single pass. Nothing there is permanent until you press deploy, so it is worth clicking through every tab before your first raid rather than during it.
Missions Terminal: Open Raid vs Isolated Raid
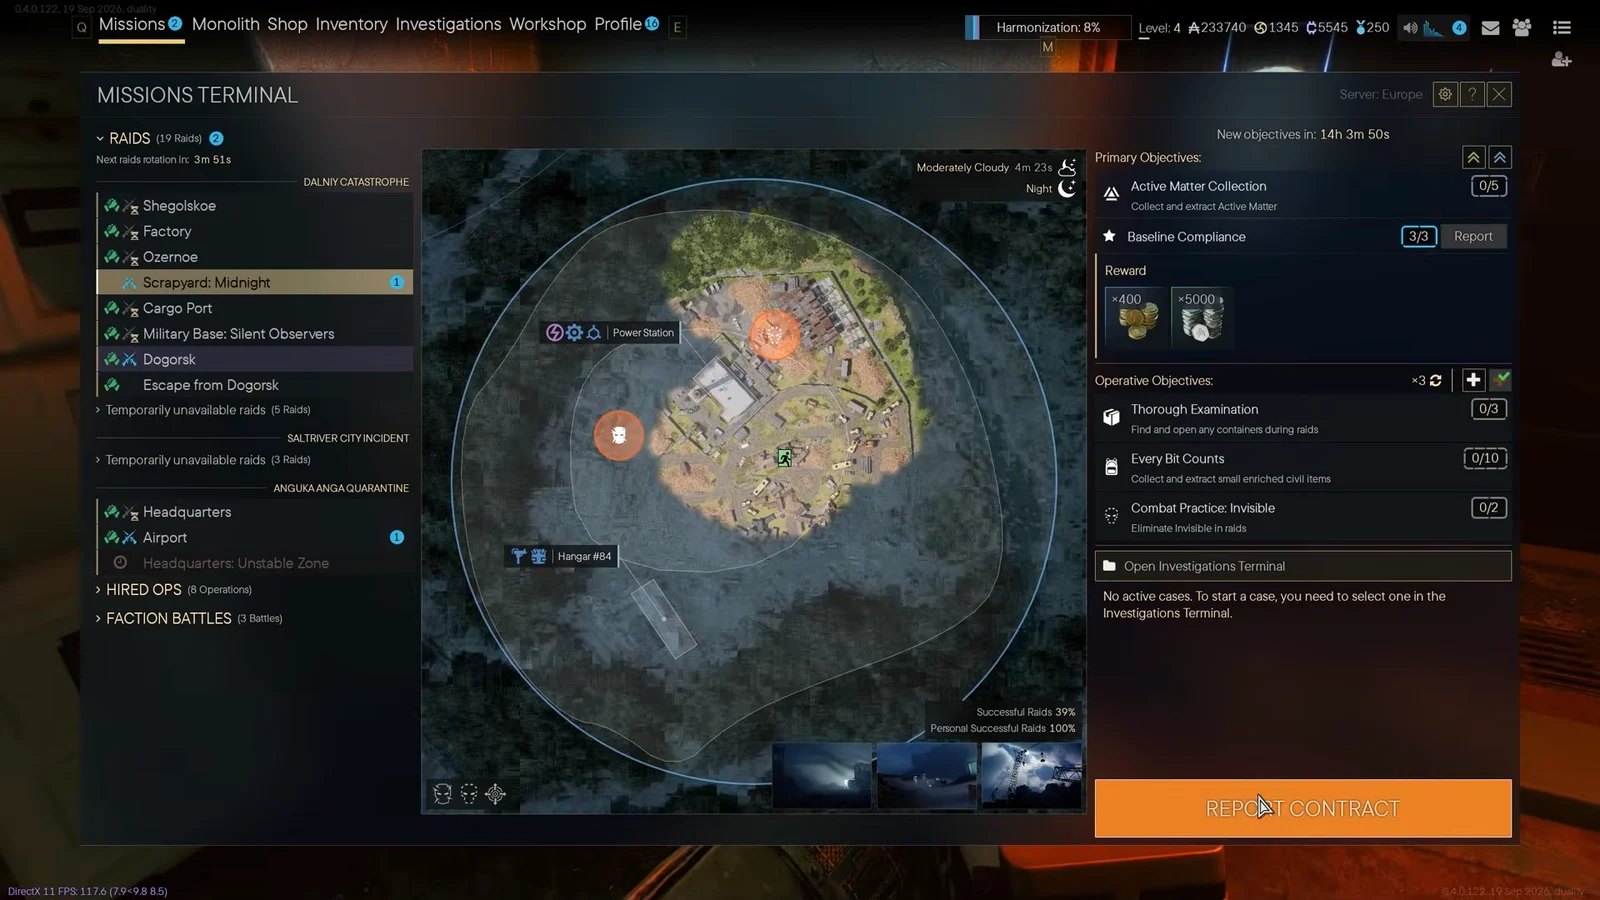
Everything starts at the Missions Terminal, where you pick a location such as Airport, Scrapyard, or Cargo Port, then choose the raid type. That second choice decides whether other players can shoot you.
| Raid type | Who is in it | Access |
|---|---|---|
| Open Raid | AI, anomalies, other operatives | Always available |
| Isolated Raid (PvE) | AI and anomalies only | Consumes an Isolated Raid pass |
Isolated Raid passes are limited, so they are worth saving for learning a map layout or finishing a stubborn contract. Once you confirm, the game shows a “Locating a Spacetime Zone” prompt and drops you into the zone. Spawn points are deliberately numerous to stop camping, which is also why two squads sometimes land uncomfortably close together.
The Refiner can throw an auto-refine warning before you deploy. Read it. Auto-refining will convert items you may have wanted to keep.
Contracts, operative goals, and the collapse timer
Open the map in-raid and you get three layers of information. Primary contracts sit at the top, with objectives like Eliminate Threats. Below them are operative goals such as Follow the Signals and Combat Practice, which are smaller tasks you can knock out while moving between points. The last layer is the set of timers showing when parts of the raid zone collapse.
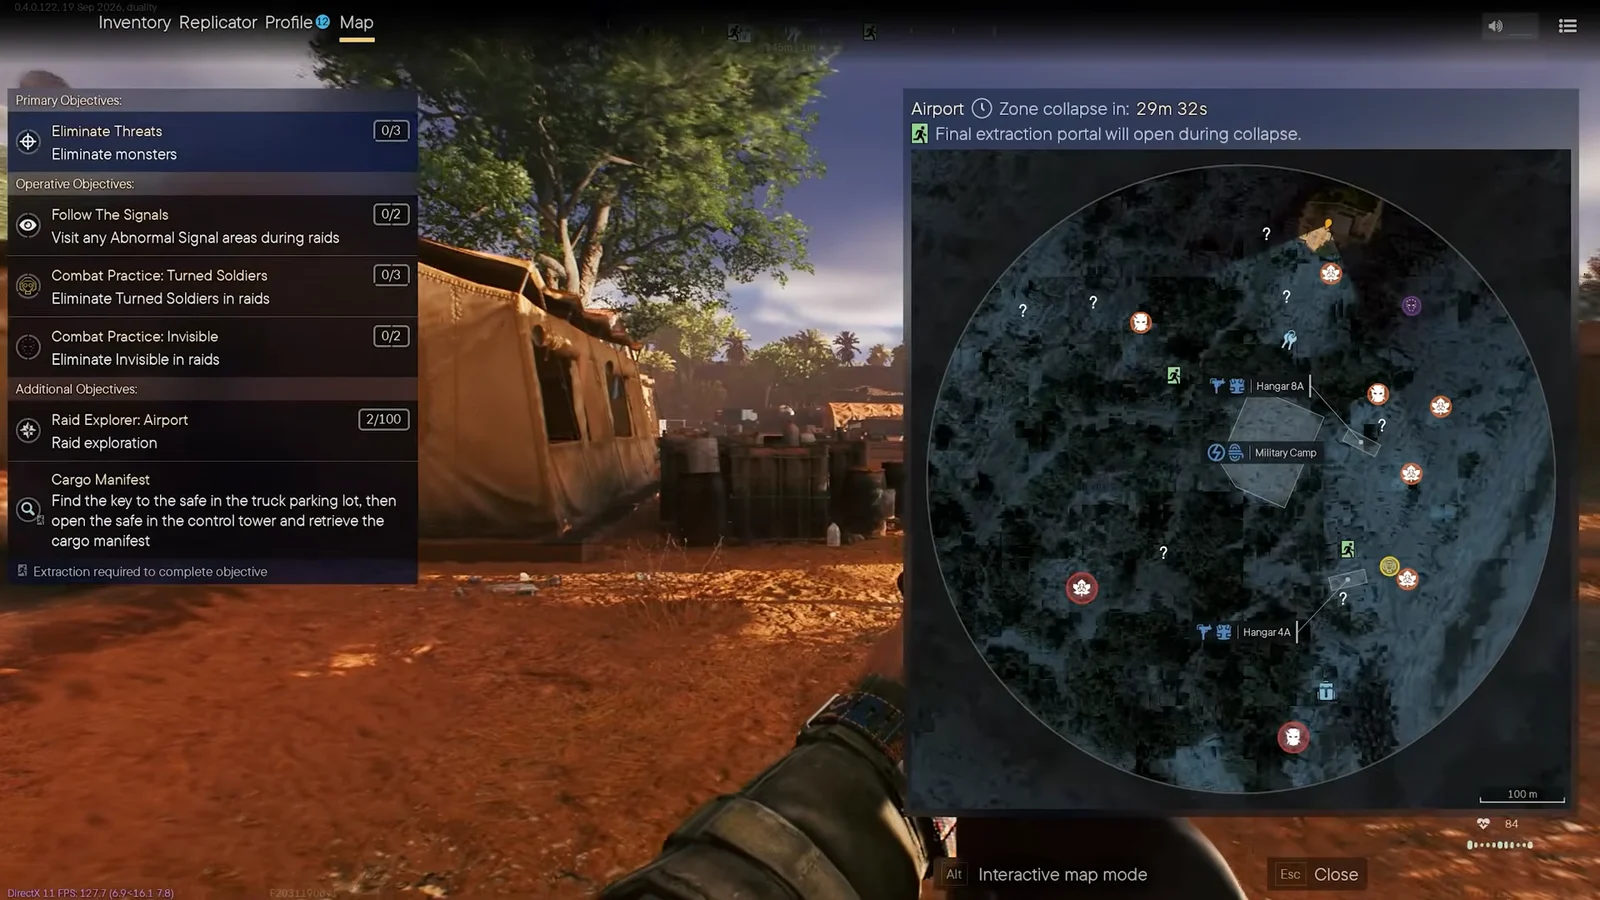
At present, choosing additional contracts carries no extra raid difficulty. The game determines the monster total and remaining difficulty elements separately from your primary-contract selection, making multiple objectives a risk-free bonus for now. The developers identify this as intentional design and have said that, later on, players carrying greater value should draw increased monster attention.
There is no way to ping an enemy without opening the map. That is intentional, meant to keep firefights realistic and give solo players a chance against coordinated squads. Voice chat is the workaround.
Combat mechanics: magazines, monsters, and Hunters
Loading magazines by hand
Ammunition does not top up automatically. You load individual rounds into magazines yourself, in the hub or mid-raid if you have the time and cover. The inspect key shows roughly how many rounds are left in the magazine currently in your weapon, which is the only reliable way to avoid a dry click at the worst moment. The Fine Motor Skills chronogene speeds up both magazine packing and healing.
Anomalies and monster types
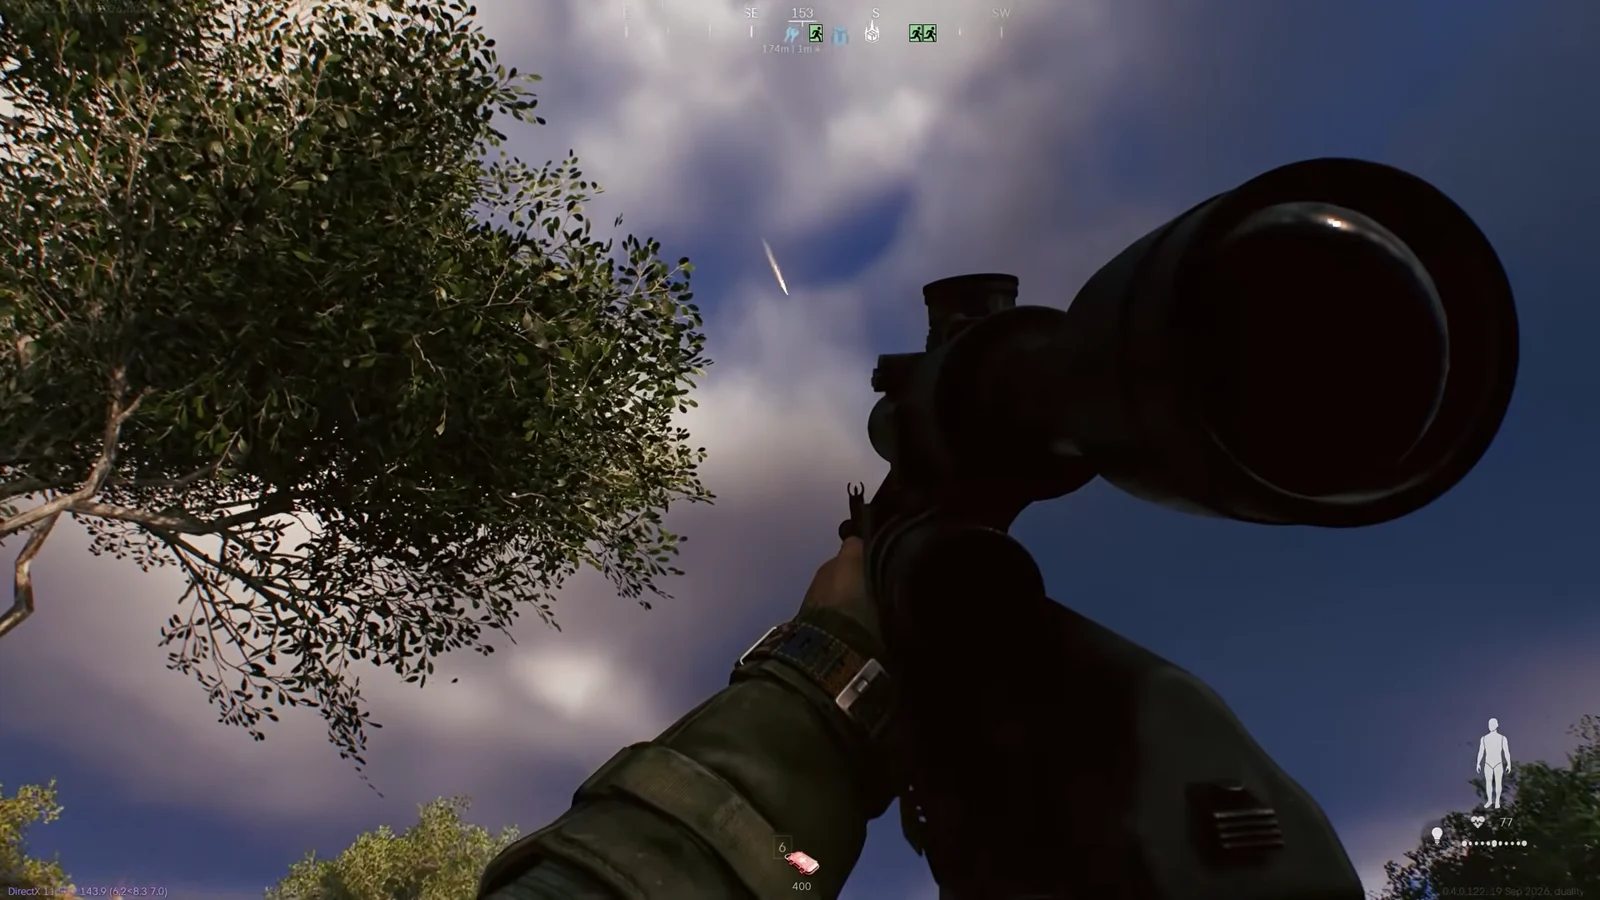
Threats come in several flavours. Anomaly: Seeds appear in the open and can be engaged at range. Flowermen and turned soldiers are the common ground enemies. The Distorted are the ones that cause most of the early confusion, because their dash closes distance so aggressively that they can end up inside your weapon’s usable range. Shotgun hit detection against that dash at close range was identified as a problem and patched.
Hunters
Hunters are players who use an artifact to become monsters. They are intentionally more powerful than ordinary operatives; according to the studio, their role is to scare players, not to match human loadouts fairly. Everyone on the map can see the change take place, which serves as the warning. Their behavior is unchanged whether they join a squad or play alone, and developers have described additional updates that will make their weaknesses easier to recognize.
Gear matters more than reflexes at the start. A Tactical PASGT Helmet and a properly organised stack of First Aid Kits will carry you further than a better rifle you cannot afford to lose.
Active Matter, refining, and the raid economy
Active Matter itself is the glowing resource you harvest from defeated creatures, and it is what the Agency actually wants. This is the source of the most common complaint from new players, which is that raids feel like they lose money once you count ammunition and medical supplies.
The reason is how refining values items. The Agency pays well for enriched items and Active Matter, and comparatively little for common gear it already stocks and sells back to you. Payouts for refining non-enriched items were cut sharply, which also reduced what you earn from killing other players. Breaking even is achievable without top-tier equipment, and the economy is retuned regularly.
Prioritise enriched loot and Active Matter over filling your bag with common items. Weight spent on low-value gear is weight you could have spent on the things that actually pay.
Blueprints, Monolith Tokens, and chronogenes
A successful extraction ends with a Successful Raid summary listing your rewards, including any blueprints you unlocked. Blueprints feed the Replicator, which lets you rebuild gear instead of buying it, and replication is already available for some of the better magazines. Basic magazines and ammo boxes are not guaranteed to get the same treatment.
The same screen hands out Monolith Tokens and Credits. Monolith progress is the long-term unlock track, and it gates late equipment such as the XV AVP submachine gun, which has an extremely high fire rate suited to close quarters. Chronogenes are the character perks, and low-level duplicates currently pile up with nothing to spend them on. Chronogene fusion has been named as a planned addition.
Self-sacrifice: what persists and what resets
Self-sacrifice is the soft reset, and it is the single mechanic most worth understanding before you trigger it. It wipes far more than most players expect.
| Persists | Reset |
|---|---|
| Crystallised Active Matter balance | Credits and stash items |
| Discovered map areas (fog of war) | Character level |
| Self-sacrifice rewards earned | All Monolith progress |
| “Special” shop purchases (containers, beacons) | Unlocked blueprints |
| Dog tags | All chronogenes |
| Beta, pre-order, and Twitch drop items (not weapons) | Music player tracks |
Edition-exclusive items are restored in full afterwards, and extra Isolated Raid passes from those editions are added on top of the passes you already kept. Crystallised Active Matter is the exception, since it carries over rather than being restored. The reward pool for self-sacrificing, which currently leans on starter Body Sleeves, is set to expand.
Dog tags survive a self-sacrifice, but your entire stash does not. Spend your Credits before you commit to one.
Knowing the raid worked
A raid only counts when you reach the glowing spacetime portal and hold there through its countdown. The confirmation is the Successful Raid summary, which lists the blueprints, Monolith Tokens, and Credits you earned. If you die or the zone collapses around you first, that screen never appears and the run does not pay out.
The confusion most players feel in their first couple of hours is real, and it comes from the game front-loading its vocabulary. Contracts, chronogenes, Monolith, refining, and self-sacrifice all arrive at once, and the tooltips do not yet explain terms like Fine Motor Skills in enough detail, something the developers have acknowledged they want to fix. Once the terms click, the loop is straightforward. Pick a zone, take every contract on offer, prioritise enriched loot and Active Matter, and leave before the timer decides for you.