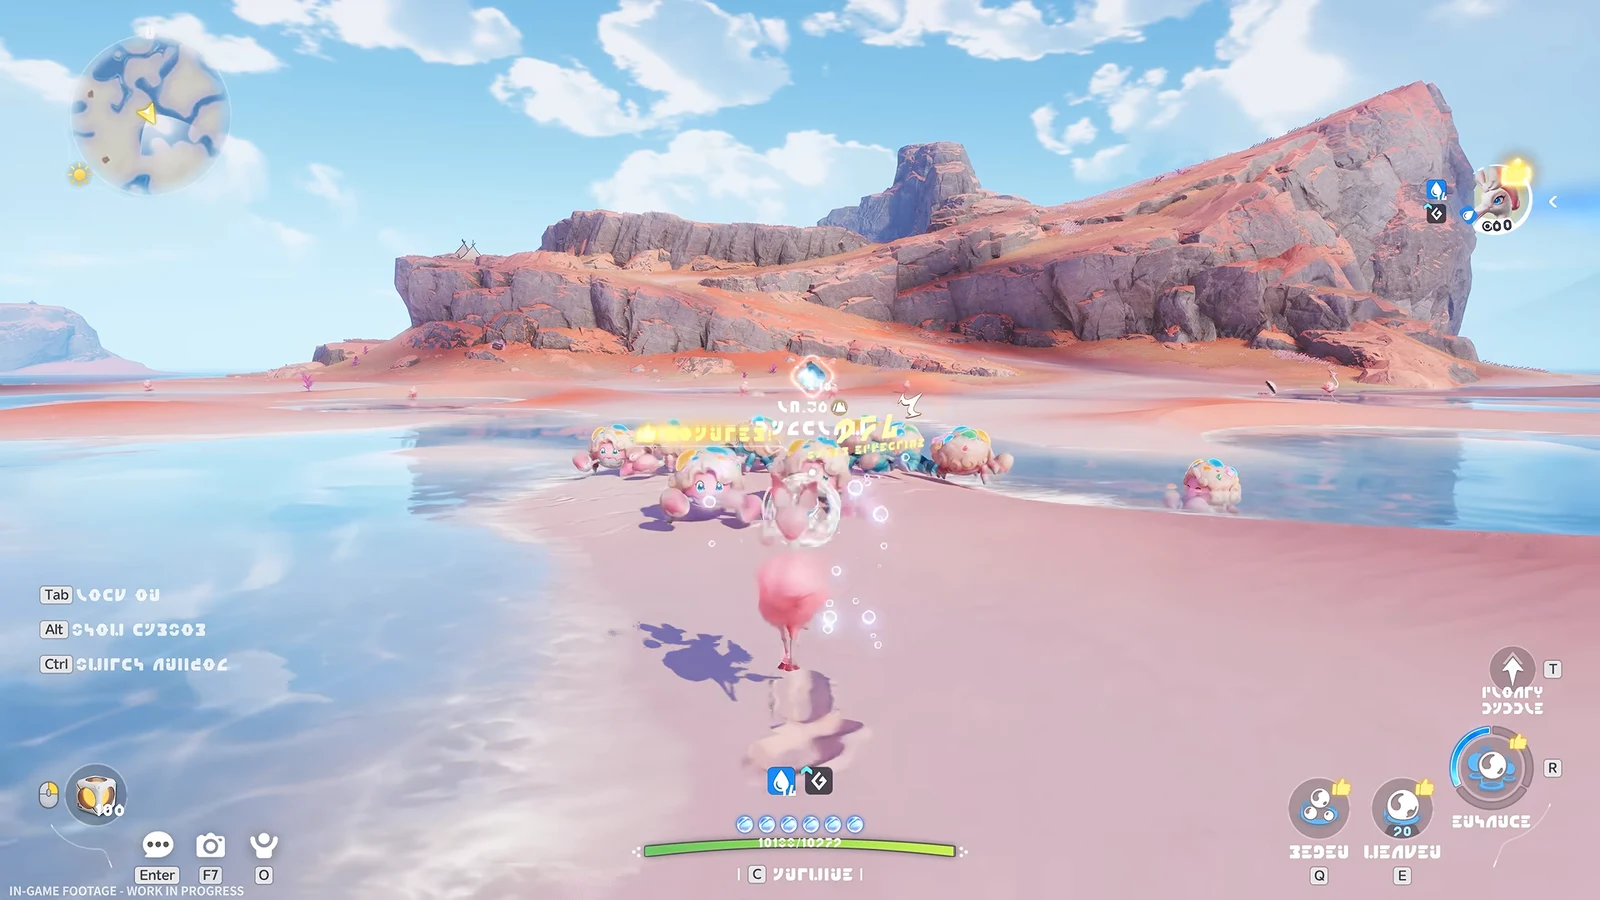
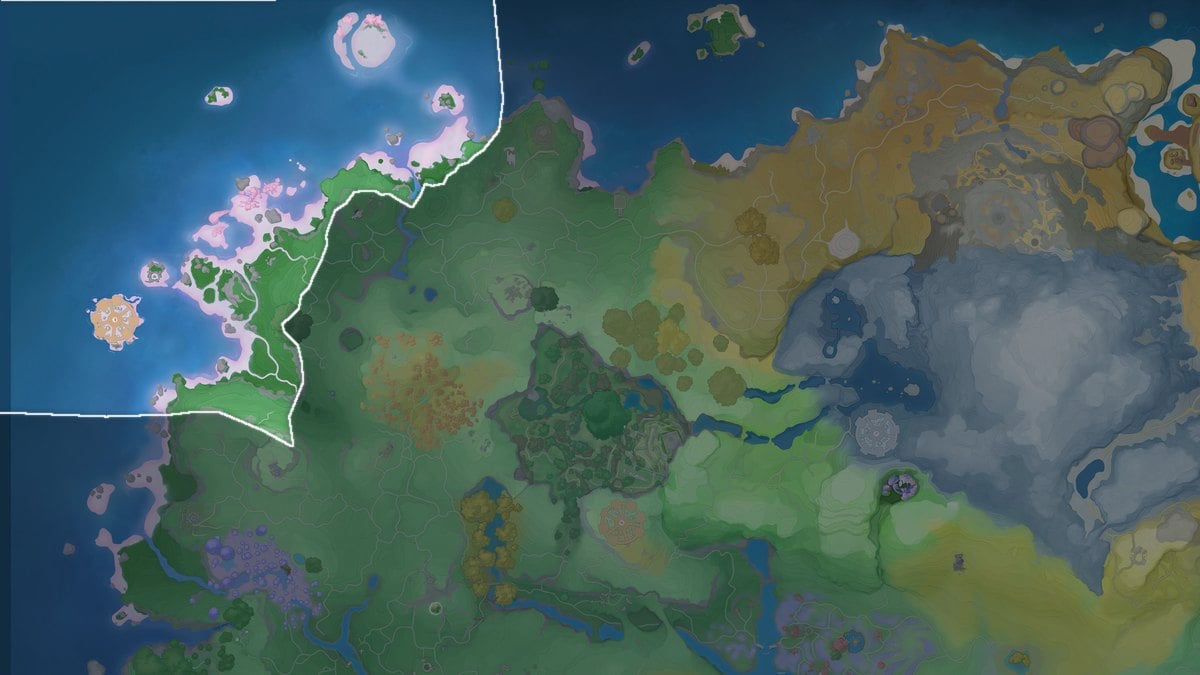
Echoback Landing is the pink-sand coastline in Breezy Plains where a stranded giant Aniimo sits on the shoal, and it is one of the denser collection zones in the region. The area covers levels 36–40 and holds 16 catchable Aniimo forms across 14 species, with Water dominating the roster. Four of those forms will never appear while you simply run laps around the beach, which is why most players stall somewhere in the 80s on their collection meter.
Quick answer: Catch all 16 Aniimo forms in Echoback Landing. Twelve spawn freely, while Nighttime Susuta, Thunderstorm Sherro, Beach Tubster, and Prismana Panpanta each need a specific time, weather, or area state.
Echoback Landing Aniimo checklist and map coordinates
Coordinates below match the in-game map readout, so you can pin each one before you travel. Anything marked “day and night” has no time restriction, though it still has to physically spawn, so re-check a spot after a rest or a fast travel if it looks empty.
| Aniimo | Element / Role | Coordinates | Condition |
|---|---|---|---|
 Susuta Susuta | Water · BREAK | -1562, 1581 | Day and night |
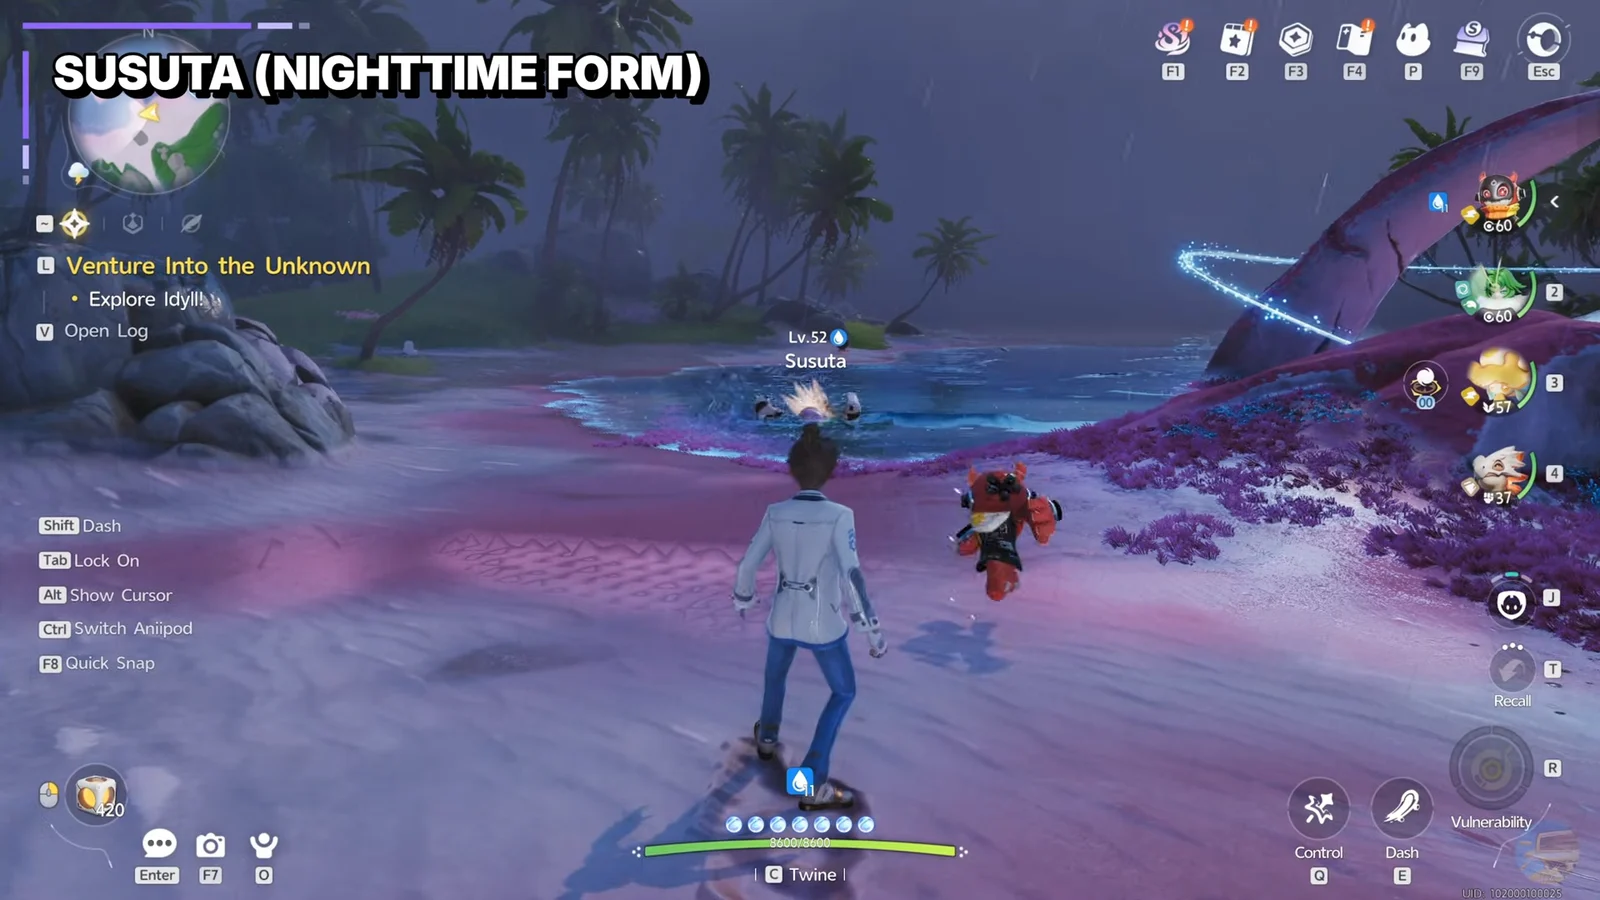
 Susuta (Nighttime) Susuta (Nighttime) | Water · BREAK | -1588, 1568 | 20:00–06:00 only |
 Popota Popota | Water · BREAK | -1632, 1587 | Day and night |
 Panpanta Panpanta | Water · BREAK | North of Echoback Landing Bloom | Alpha field boss |
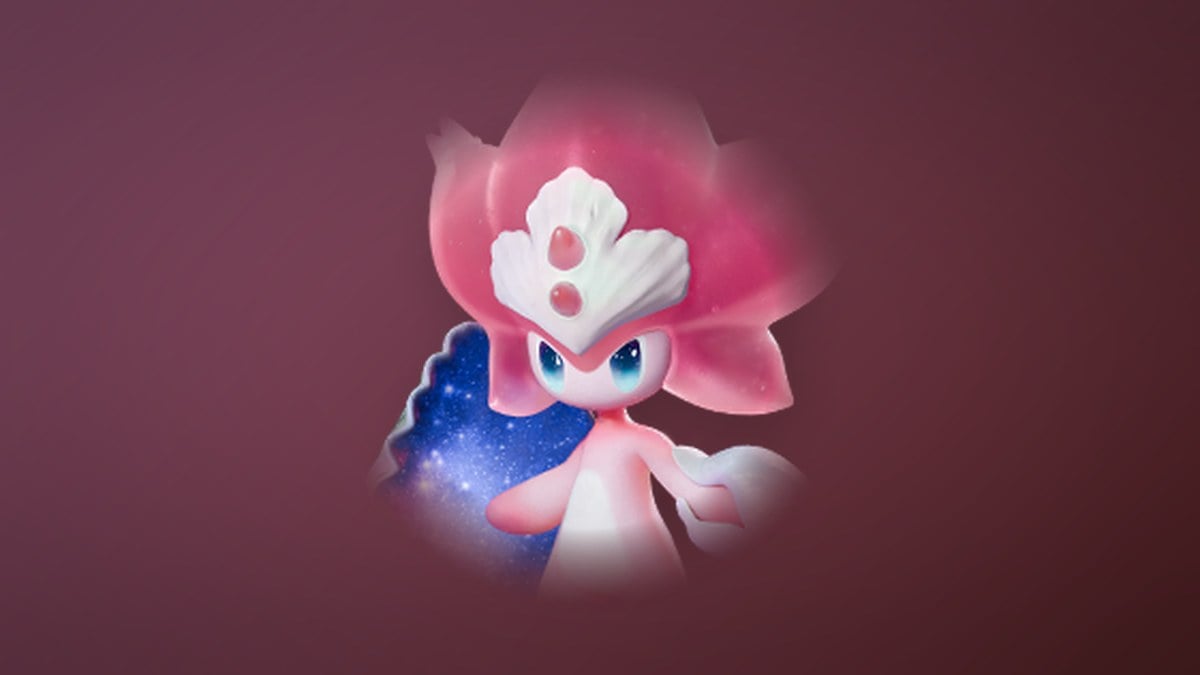
 Panpanta (Prismana) Panpanta (Prismana) | Water · BREAK | Rushing Rapids island | Prismatic Flow active |
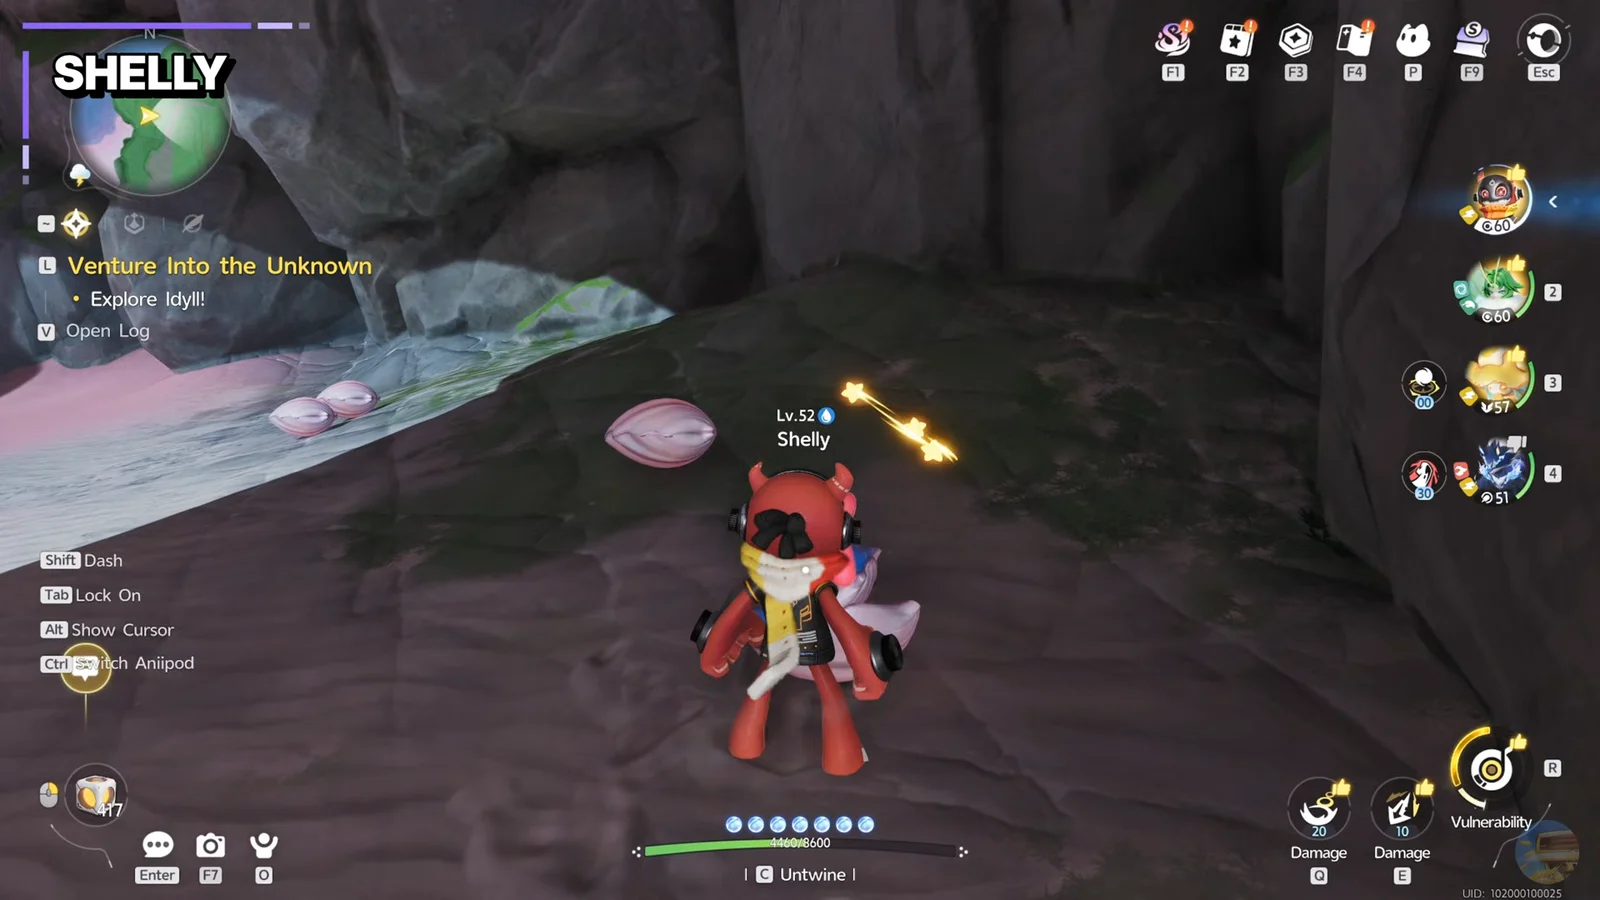
 Shelly Shelly | Water · DPS | -1426, 1678 | Day and night |
 Sheldon Sheldon | Water · DPS | -1253, 1760 | Day and night |
 Sherro (Thunderstorm) Sherro (Thunderstorm) | Lightning / Water · DPS | -1558, 1680 | Thunderstorm weather |
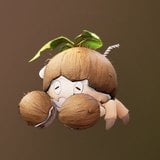 Budclaw (Beach Form) Budclaw (Beach Form) | Rock · BREAK | -1560, 1589 | Day and night |
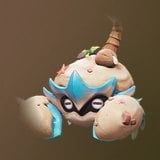 Shrubclaw (Beach Form) Shrubclaw (Beach Form) | Rock · BREAK | -1686, 1549 | Day and night |
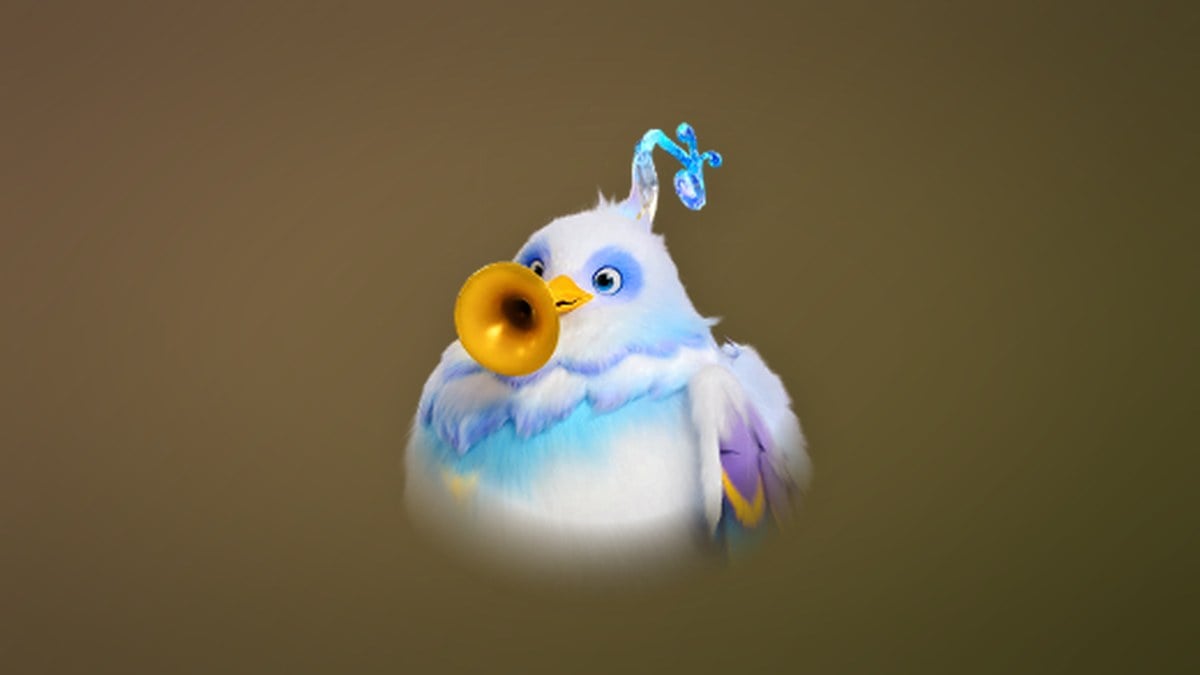
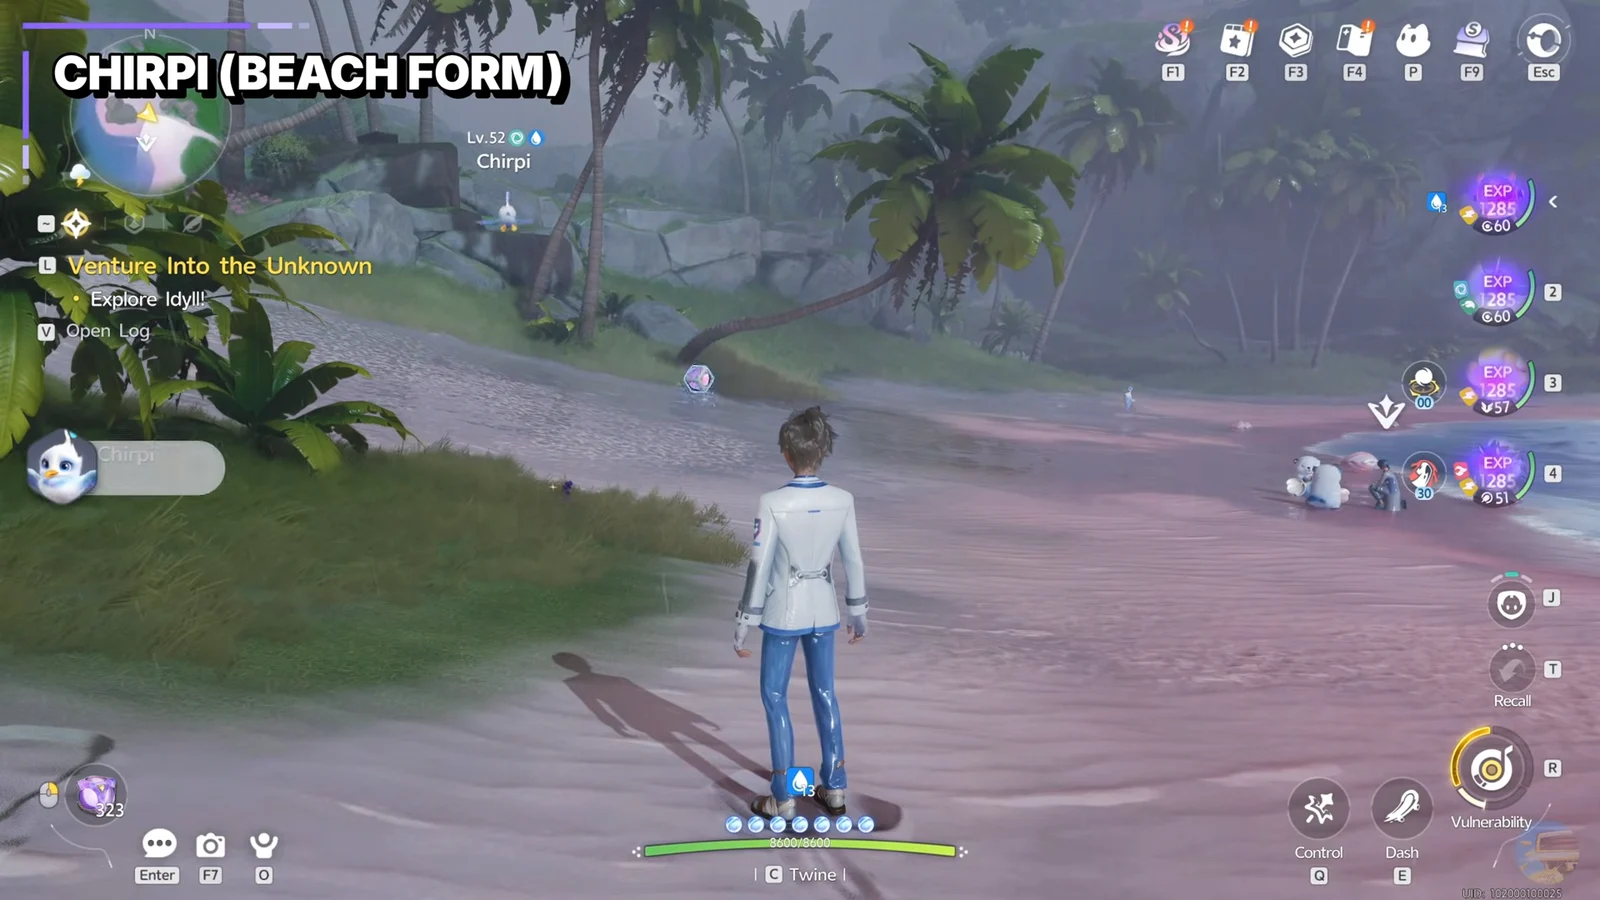
 Chirpi (Beach Form) Chirpi (Beach Form) | Wind / Water · SUP | -1516, 1427 | Day and night |
 Cornet (Beach Form) Cornet (Beach Form) | Wind / Water · DPS | -1597, 1436 | Day and night |
 Tubster (Beach Form) Tubster (Beach Form) | Wind / Water · BREAK | Beach, after eggs | Collect 4 Incredible Eggs |
 Emberpup Emberpup | Fire · DPS | -1567, 1410 | Day and night |
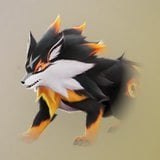 Flameruff Flameruff | Fire · DPS | -1522, 1310 | Day and night |
 Celestis Celestis | Dark · DPS | -1543, 1375 | Day and night |
Shoreline and inland spawns you can catch on one lap
The waterline does most of the work. Susuta sits on the open sand, Popota drifts around the same stretch of shore slightly to the west, Shelly tucks into a rocky alcove, and Sheldon floats out on a giant shell platform in deeper water. All four are Water types, so a Grass or Lightning attacker clears the softening-up phase quickly before you throw an Aniipod.
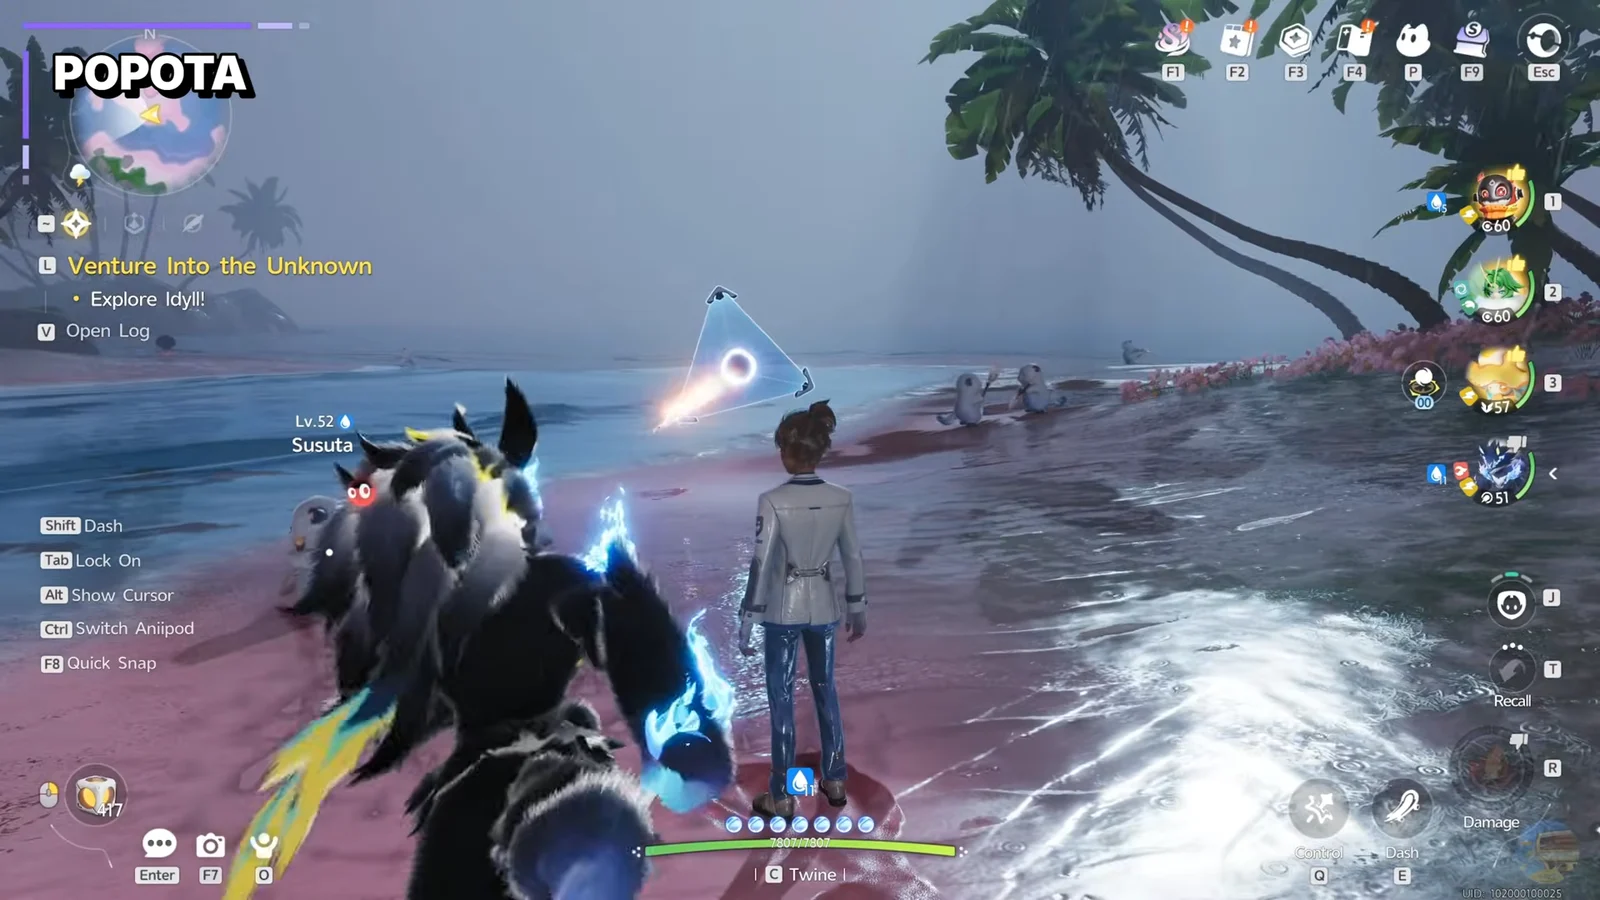
Push inland and the roster flips to Fire and Dark. Emberpup runs the grass near the tree line, Flameruff sits higher up the grassy hill, and Celestis wanders the dirt path between them. That trio sits within a short sprint of each other, so it is worth clearing them in one pass rather than teleporting back later.
The four conditional spawns that block 100%
Susuta (Nighttime Form)
The Nighttime variant only exists between 20:00 and 06:00 on the in-game clock, and it swaps places with the standard Susuta rather than appearing alongside it. Wade into the shallow water at -1588, 1568 after dark and it will be resting in the surf.

Sherro (Thunderstorm Form)
Thunderstorm Sherro needs storm weather in the area, and it spawns on the seaside rock pillars at -1558, 1680 rather than in the water below. Tier 2 of the area badge unlocks weather changing in Echoback Landing, which turns this from a waiting game into something you can force.
Thunderstorm is a boosted encounter chance rather than a hard exclusivity rule, so it is still worth checking the pillars whenever you pass them.
Tubster (Beach Form)
Beach Tubster does not spawn on a timer at all. You have to collect all 4 Incredible Eggs scattered around Echoback Landing, most of them in cliffside nests, and the Aniimo appears on the beach the moment the last one is picked up. Grab it immediately rather than continuing your route.
Panpanta (Prismana Form)
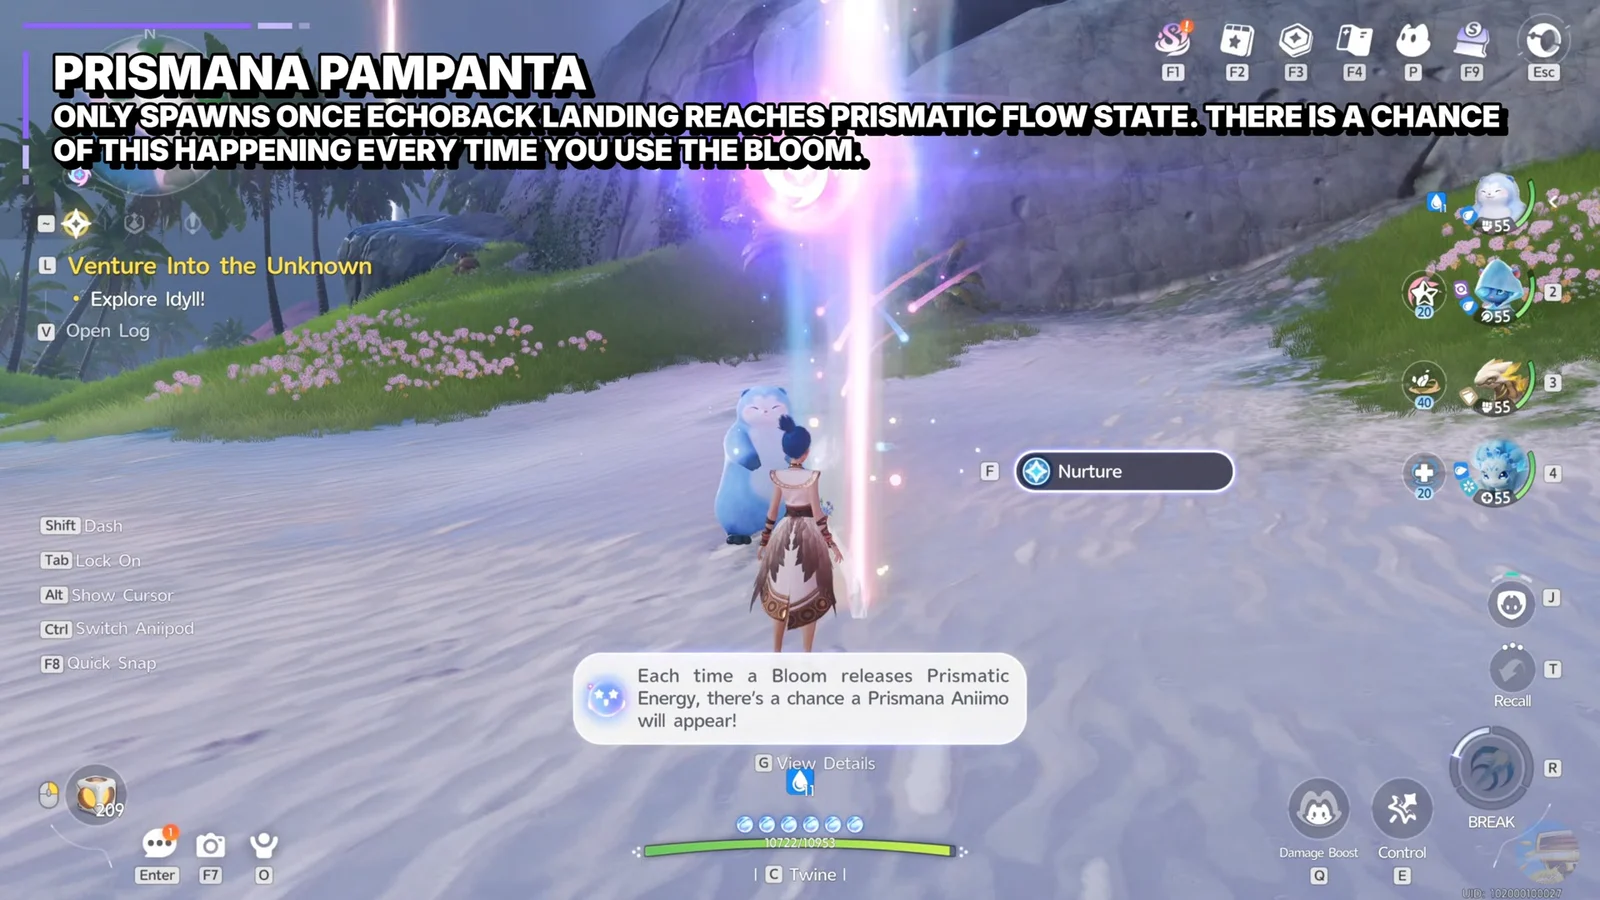
The Prismana version only appears once Echoback Landing has reached Prismatic Flow state. Interact with a Bloom in the area to nurture Prismatic Energy, then teleport across to the Rushing Rapids island where the Prismana Panpanta spawns. Badge tier 3 speeds up Prismatic Energy buildup here, so clearing the rest of the collection first makes this one easier to trigger.
Alpha Panpanta and Omega Sherro locations
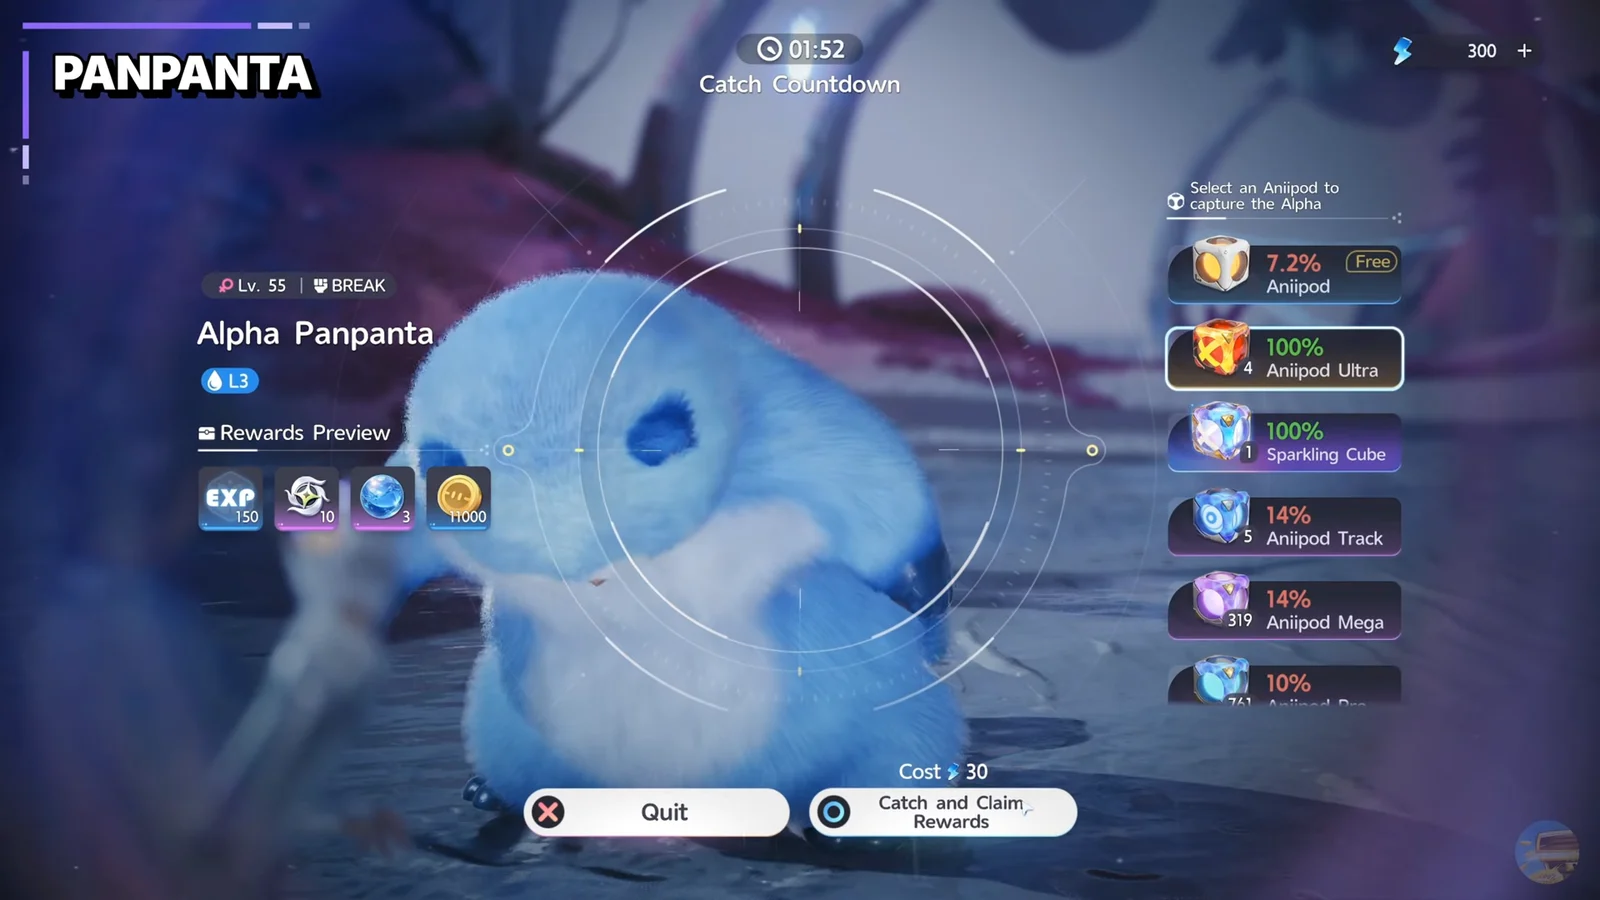
Two field bosses sit inside the area, and one of them is mandatory for progression rather than optional. Alpha Panpanta is found north of the Echoback Landing Bloom near a shore. Beat it and catch it with an Aniipod Ultra, and its first clear pays out Wave Stone x5, Glimmer x50, Safaris x500, Irisalis Petal x1, and Lumin Amber: Breezy Plains x1. Defeating it is also a listed requirement for tier 2 of the area badge.

The second boss is Young Omega Sherro, which sits northwest of the Beachside Sandbars Bloom on a separate island. It is a distinct encounter from the Thunderstorm Sherro that spawns on the rock pillars, so catching one does not tick off the other.
Beach form stats and evolution requirements
Five of the 16 entries are regional Beach forms, and they are the ones worth keeping rather than releasing. Beach Chirpi is a Support with the Band Member trait, which restores 20 EP to the next Chirpi family member you switch in, on a 20-second cooldown.
| Aniimo | HP | Attack / Magic atk | Defense / Magic def |
|---|---|---|---|
| Budclaw (Beach Form) | 76 | 64 / 64 | 93 / 65 |
| Chirpi (Beach Form) | 97 | 83 / 83 | 67 / 69 |
| Shrubclaw (Beach Form) | 95 | 80 / 80 | 109 / 77 |
| Cornet (Beach Form) | 96 | 121 / 121 | 74 / 70 |
| Tubster (Beach Form) | 108 | 80 / 80 | 66 / 109 |
Budclaw (Beach Form) is the Rock-element BREAK unit with the highest defense growth of the early set, and it wears a coconut husk as a shell. It evolves into Beach Shrubclaw at Aniimo level 21 with one Loam Stone.
Shrubclaw (Beach Form) is the payoff for that evolution, with the best defense stat in the group and a BREAK role backed by the Stealth trait, which stacks Momentum as you deal damage and raises BREAK efficiency by 30 percent at max stacks.
Cornet (Beach Form) is the strongest attacker of the set by a wide margin and carries Air Superiority, which adds 20 percent critical rate while flying. It is also the simplest Chirpi evolution to reach: Aniimo level 18 and one Gust Stone.
Beach Chirpi has two harder branches on top of that. Tubster needs level 18, Incredible BREAK Potential of 6 or higher, a defeated Alpha Tubster, and one Gust Stone. Tromber needs level 18, Incredible HP Potential of 6 or higher, the passive talent Magic Horn, and one Gust Stone.
Collection rewards and Azure Echoes badge tiers
Progress pays out at three thresholds, and reporting each newly discovered Aniimo also returns 100 Credits on top of the release rewards.
| Progress | Rewards |
|---|---|
| 40% | Safaris x500, Vein Essence x1 |
| 70% | Safaris x500, Irisalis Petal x1 |
| 100% | Mark of the Strong: Breezy Plains x1, Sparkling Crystal x100 |
The area badge, Azure Echoes, runs alongside those thresholds and is where the practical perks live.
| Tier | Requirements | Perks |
|---|---|---|
| 1 | 40% collection | +10% catch chance; enables Nurture |
| 2 | 70% collection; defeat Alpha Panpanta | Better high-potential catches; weather changing |
| 3 | 100% collection; 5 Lumin Amber in the area | Faster Prismatic Energy buildup |
| 4 | Legendary Azure Echoes badge; 1 Sparkling Prismana Panpanta; Prismatic research tier for Susuta and Shelly | Susuta and Shelly become friendly here |
You can confirm the job is done from the area’s collection screen: the Echoback Landing progress meter reads 100 percent, the Mark of the Strong: Breezy Plains and Sparkling Crystal x100 land in your inventory, and the Azure Echoes badge advances to tier 3 once you have also banked five Lumin Amber inside the zone. If the meter stops just short, the missing entry is almost always one of the four conditional spawns rather than a shoreline Aniimo you walked past.