Boss farming in Slayers 2 rewards one thing above all else: raw additional damage on every hit. The strongest PvE setup right now stacks that stat from three directions at once — a Demon Art, a fighting style, and a weapon that all feed the same number — and it came through the most recent balance patch untouched.
Quick answer: Pair Blood Manipulation with the Soryu fighting style and Nightfall Sickles, wear Duelist-class accessories instead of tank gear, and pour skill points into Additional Damage. The stack lands near +30 additional damage on all attacks.
Blood Manipulation and Soryu: the damage core
Blood Manipulation is the Demon Art doing most of the heavy lifting here. Its barrage skills chain cleanly into Soryu’s melee strings, so you can keep a rotation running without dead frames between cooldowns. Soryu on its own is fine, but it does not carry a boss health bar.
The reason this pairing beats a straight fighting-style build is stacking. Blood Manipulation contributes additional damage on top of what the weapon and accessories already provide, and that bonus applies to every attack rather than a handful of skills. Compared with running unarmed or Soryu alone, the combined setup adds close to +30 additional damage across the board.

Nightfall Sickles: the weapon to refine
The Nightfall line is the top weapon tier in the game, and the sickles are the variant that fits this build. At Tier 1 with refine 8 they read +10.93 Additional Damage, a 1.15x Additional Damage Factor, +17.95 Block Points, 2.31x Block Regen, and +5 Max Stamina. That damage factor is a multiplier, so it grows in value as the rest of your stats climb.

Nightfall weapons are forged at the Blacksmith in Hidden Mist Village, which is also where the earlier Firstlight line is crafted. Firstlight weapons trade the Nightfall damage profile for regeneration on block, which suits a defensive playstyle rather than a boss-clearing one.
If you are still on a breathing style rather than a Demon Art, the standard Nightfall Katana is the equivalent pick, with +5.75 Additional Damage, a 1.14x factor, and bleed from tier three onward.
Duelist accessories, not the Bulwark set
Gear in Slayers 2 carries a class tag, and for PvE the tag matters more than the item’s rarity. Duelist pieces add flat Additional Damage, which feeds directly into the same number your weapon and Demon Art are already inflating. Defensive sets exist for a reason, but bosses die faster when nothing in your loadout is spent on survivability.
A full Bulwark loadout — Black Dragon Armour, Kintsugi Haori, Black Lotus Crown, and the Bamboo Muzzle — is the comparison point here. It keeps you alive longer in a fight you are losing, but swapping to Duelist pieces is the straight damage upgrade for farming runs.
Not every Duelist piece is equal. Some give +1 Additional Damage and some give +2, so when two accessories are otherwise similar, take the +2. Dungeon masks are the easiest entry point, since almost all of them carry the Duelist tag.
| Piece | Class | Bonus | Source |
|---|---|---|---|
| Red Oni Mask | Duelist | +2 Additional Damage | Dungeon |
| Nichirin Lantern | Duelist | +2 Additional Damage | Dungeon |
| Bamboo muzzle mask | Duelist | Additional Damage | Nezuko, ~3% drop |
| Flame Haori Style 2 | Duelist | Additional Damage | Haori slot filler |
| Flame Haori Style 1 | Technician | 1.07x Damage Factor | Haori slot, late game |
The Red Oni Mask and the Nichirin Lantern occupy different slots, so they stack rather than compete — grab both. The Haori slot is the one decision that changes over time. Flame Haori Style 2 is easier to get and fine while you level. Flame Haori Style 1 is Technician class with a 1.07x Additional Damage Factor, and because factors multiply everything else, it only pulls ahead once your base stats are already high. Chasing Technician gear early is a net loss.
Skill tree points: max Additional Damage first
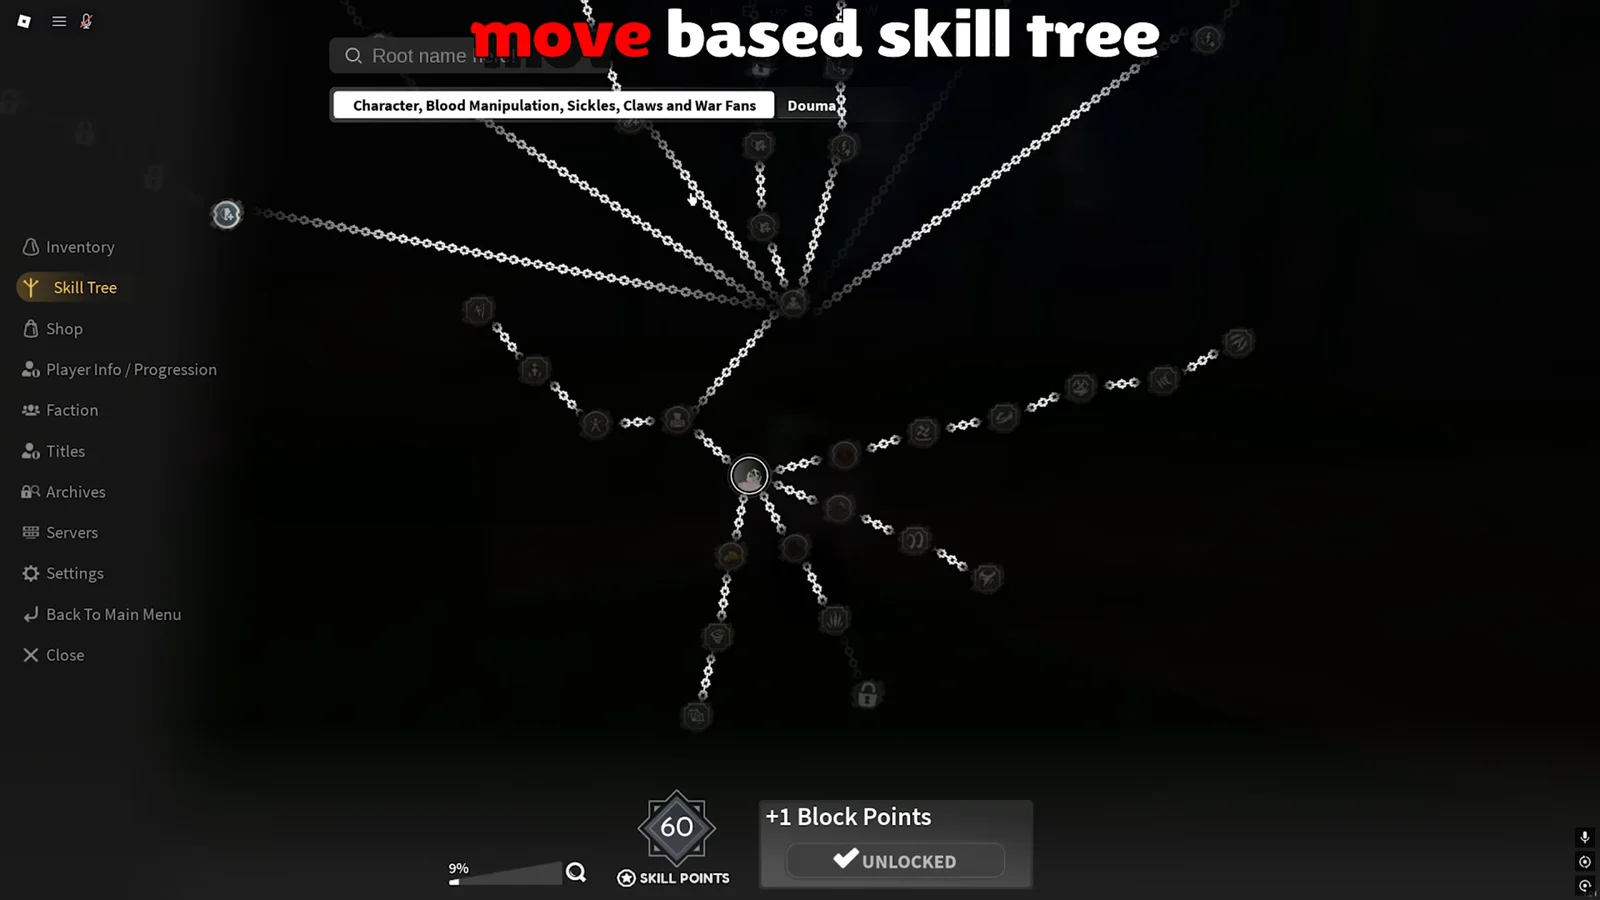
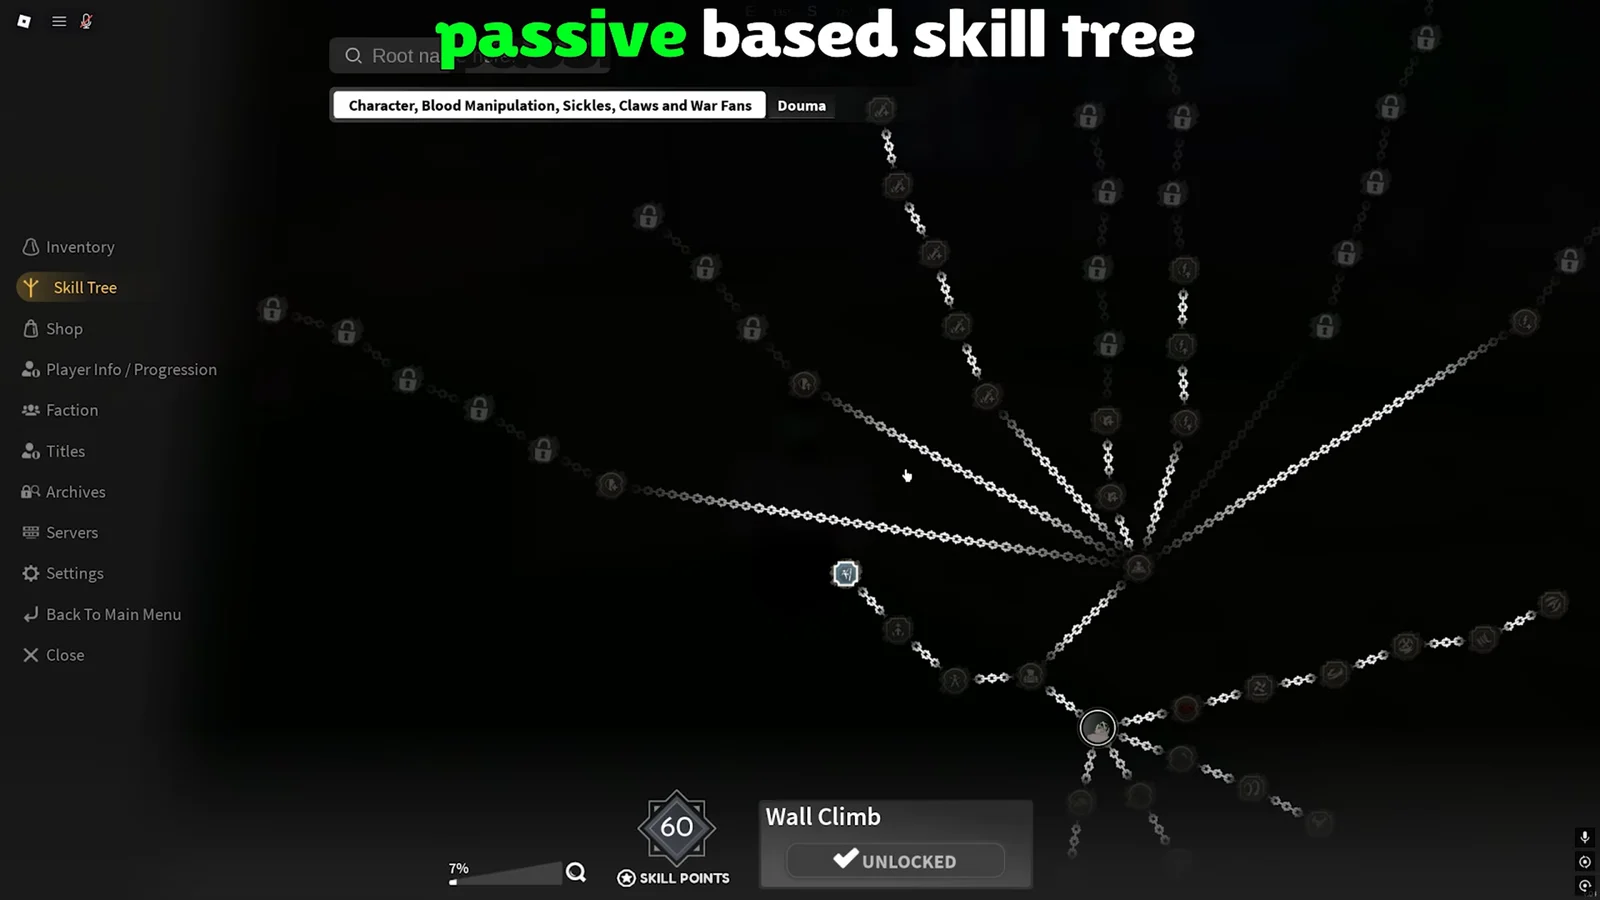
Press M and select Skill Tree to open the branch network. The categories run along the top, and the tree splits into two kinds of nodes: move-based roots that unlock and upgrade abilities, and passive branches that raise flat stats.
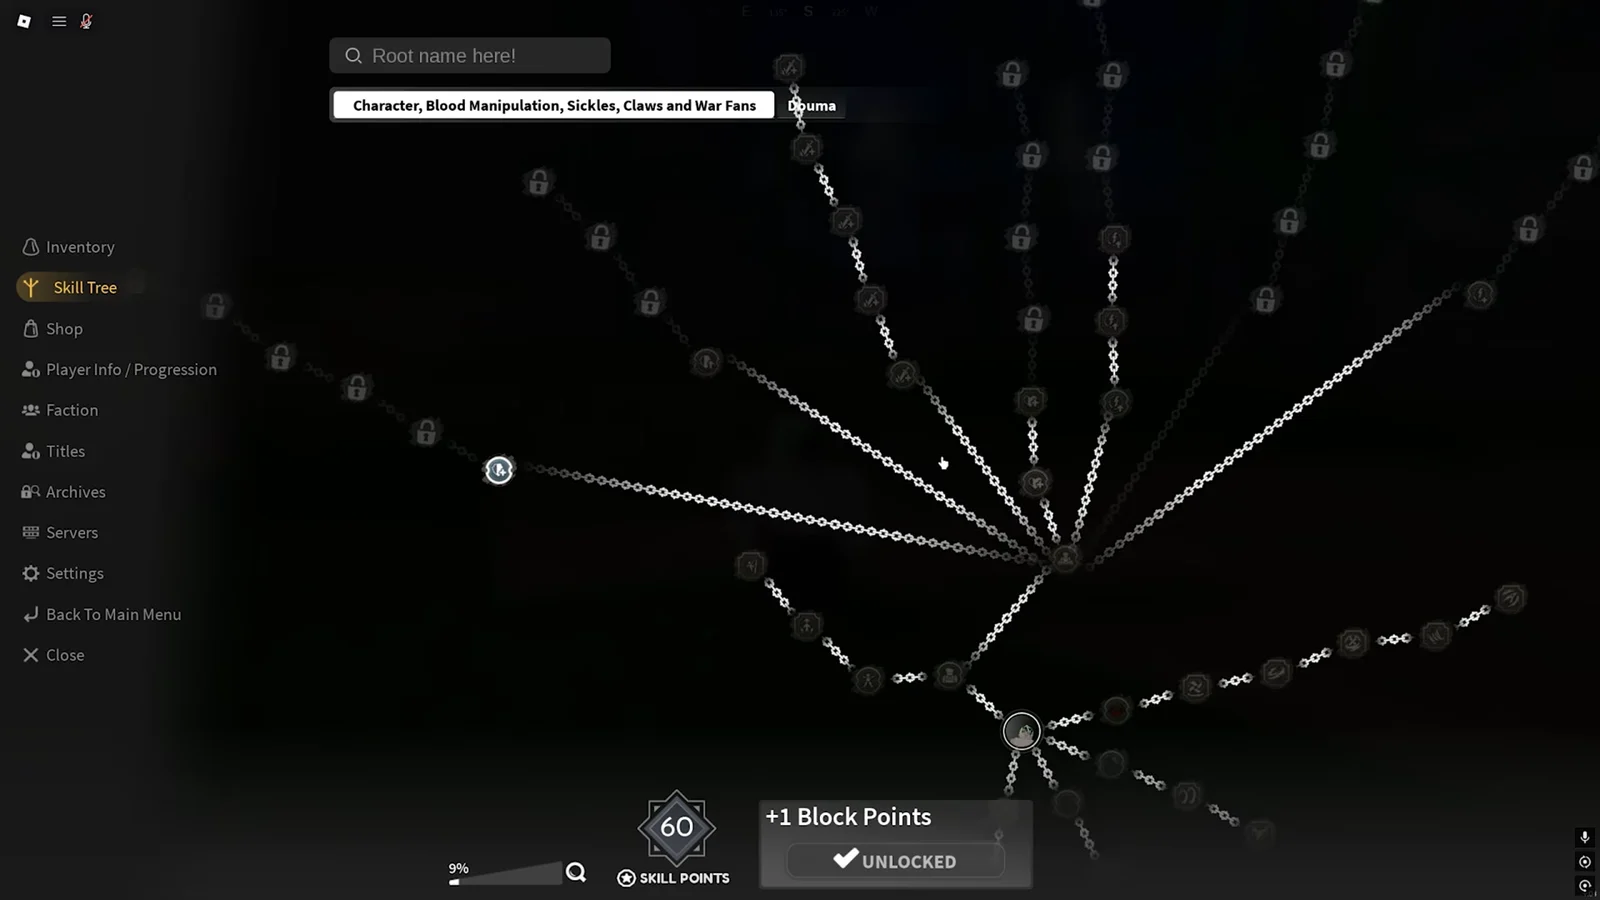
On the move side, spend without hesitation. Max your clan abilities, your character moves, one breathing style or Demon Art, and one weapon. Spreading points across two weapons or two styles leaves both underpowered, so commit to the sickles and Blood Manipulation and ignore everything else.
The passive side offers seven branches: Block Points, Block Regen, Additional Damage, Max Health, Stamina Regen Speed, Health Regen Speed, and Max Stamina. They all suffer from diminishing returns — each node further up a branch gives less while costing more. Block Points is the clearest example, where deep investment returns almost nothing per node.
| Passive branch | How far to invest |
|---|---|
| Additional Damage | Max it completely |
| Max Health | First tier |
| Stamina Regen Speed | First tier |
| Block Regen | First tier |
| Max Stamina | First tier only |
| Block Points | Avoid deep investment |
| Health Regen Speed | Skip unless Kamado demon |
Additional Damage is the only branch worth taking to the top, because it is the stat your weapon, accessories and Demon Art are all multiplying. Grab the opening tier of each other primary passive for the cheap baseline, then stop. Health Regen Speed is the trap: regeneration is restricted outside of combat, so those nodes do nothing mid-fight unless you are a Kamado demon with innate regen.

Clan picks for PvE damage
Clan choice can swing output about as much as your weapon does, and rarity is a poor guide — several Mythic and Legendary clans outperform Supreme ones when they match your build.
| Clan | Rarity | Main PvE draw |
|---|---|---|
| Rengoku | Supreme | Highest damage factor, burn |
| Soyama | Supreme | Free counter, damage factor |
| Kamado | Supreme | Demon regen, Sun immunity |
| Uzui | Supreme | Damage amp, auto-dodges |
| Iguro | Mythic | Percent-HP boss damage |
| Kocho | Legendary | Poison build, needs Insect |
Rengoku is the default. It carries the largest damage factor boost in the game, stacks burn damage, and burn-boosts your basic attacks, on top of a free combo extender through Indomitable Will. Its mode adds damage and damage reflection, and defensively it grants fire resistance plus immunity to the Indomitable Will combo extend other top clans use.
Soyama is the runner-up and slots into almost any build. You get a free counter skill, a large damage factor boost, a stun that extends combos, and extra damage when your health drops low.
Kamado is the one to weigh seriously if you are playing a demon, since Blood Manipulation means you are. It is the clan that supplies demon regeneration and Sun immunity, which saves you a gear slot, and it stacks some of the best damage and stamina factor passives alongside Combat Intuition for bonus damage as you lose health.
Iguro remains a solid boss-farming option thanks to its percent-HP snake skill, though it has been toned down from its earlier strength. Kocho and Agatsuma are only top-tier when locked to their styles — Insect and Thunder respectively — so neither suits this setup.
How to check the build is working
Take it to world bosses and time them. Giyen, Sumari, Reaper, and Saneri are the clearest benchmarks. A correctly assembled version of this build drops Saneri’s health pool in roughly thirty seconds using nothing but high-damage blood skills, and Sumari falls almost as quickly on a continuous rotation of blood attacks and Soryu strings.
If a boss is taking noticeably longer, the usual culprits are on the gear screen rather than the skill tree. Check that every accessory reads Class: Duelist, that you have not left a tank piece equipped from a previous loadout, and that your sickles are refined rather than sitting at base.
Titles are the last small layer. Damage-oriented unlocks such as Devastator and Hard Hitter sit alongside progression titles like Stairwalker and Heaven’s Doorstep in the Titles menu, and swapping to a damage title costs nothing to try.
Nothing in this setup is locked behind a single rare drop, which is the main reason it holds up. The sickles are forged, the Duelist accessories come out of dungeons you are already running, and the skill tree costs only points you earn by playing. The clan is the one piece you cannot craft, and even then Rengoku, Soyama and Kamado all get you to the same place.