The Ruins of Lordaeron sit above the Undercity in Tirisfal Glades, and WoW Forever turns those crumbling streets into a five-player dungeon built for characters around levels 15 to 20. It leans Horde, but the entrance sits close enough to the surface that Alliance groups can push in too. The layout is open-ended, the undead packs are dense, and the final boss is level 20, so pacing and pull discipline matter more than raw gear.
Quick answer: Enter the ruins in Tirisfal (roughly 71.6, 11.4) and look left. Aim for level 17+ before starting, then clear the bosses in order: Witherfang, The Baron, The Abandoned, Bjork, and Rath’mael, with Viktor the Vile as an optional secret fight.
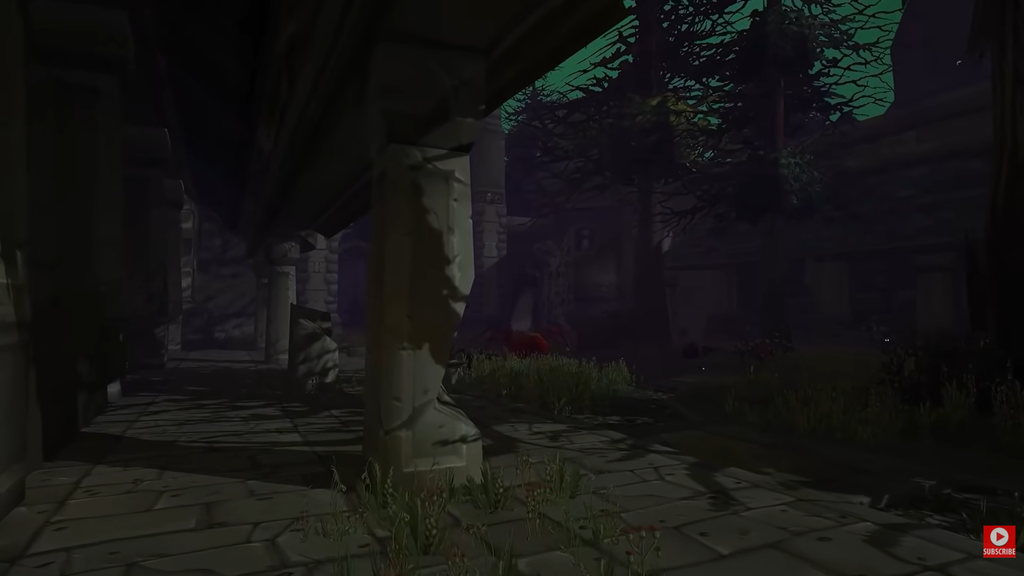
Ruins of Lordaeron location and access
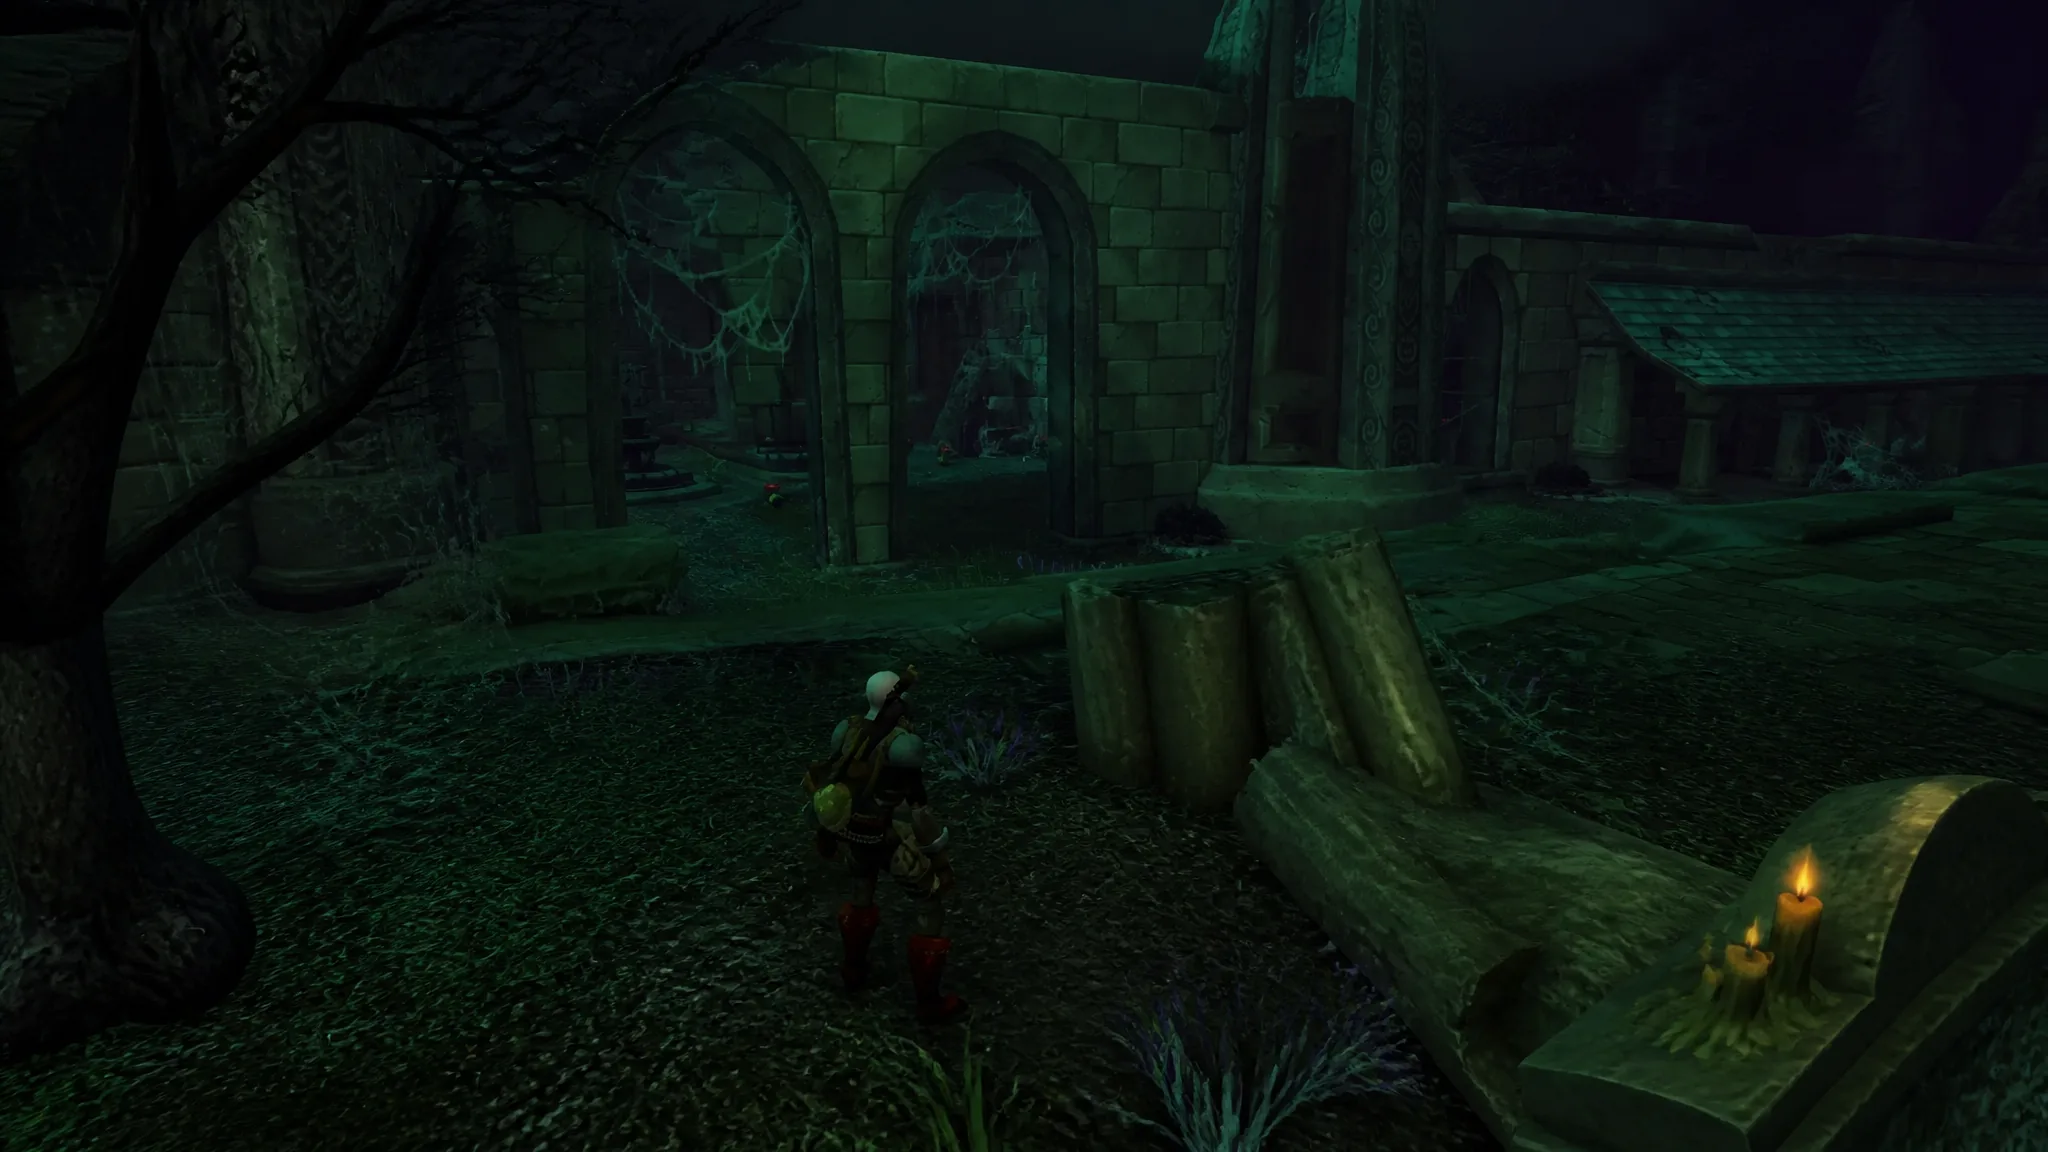
The dungeon portal is inside the ruins on the way toward the Undercity elevators, on the eastern side of the main courtyard. As soon as you step into the ruins proper, look to your left and you will find the entrance. Unlike the Hall of Thanes, you do not need to run deep into a throne room to start.
Horde players, especially Forsaken, walk right in. Alliance players can still reach it, but they have to cross enemy territory to get there. It is a contested five-player instance, and the recommended bracket is levels 17–20. You can enter earlier, but the closer you are to level 16 or below, the more the later bosses will punish mistakes.
Quests to grab before you enter
Several dungeon quests are worth collecting first, mostly around Undercity and the surrounding zones. A couple of others start from items you pick up inside, including the Abomination boss’s head and a crest found in a side room. Two versions of Crest of Lordaeron exist, one per faction.
| Quest | Where to start | Min. level |
|---|---|---|
| The Wrath of Rath’mael | Deathguard Kristof, camp southeast of Brill | 15 |
| Light’s Justice | Morbin Lightbane, Royal Quarter of Undercity | 15 |
| A Frightened Request | Tabitha Heartweaver, The Sepulcher (Silverpine) | 15 |
| The New Plague | Theodore Griffs, the Apothecarium in Undercity | 16 |
| Unending Torment | Loot the Abomination boss’s head inside | 16 |
| Crest of Lordaeron | Find the crest in a side room near the Abomination | 16 |
The crest can appear in more than one room, including a tower near the entrance, so check side doorways as you move through.
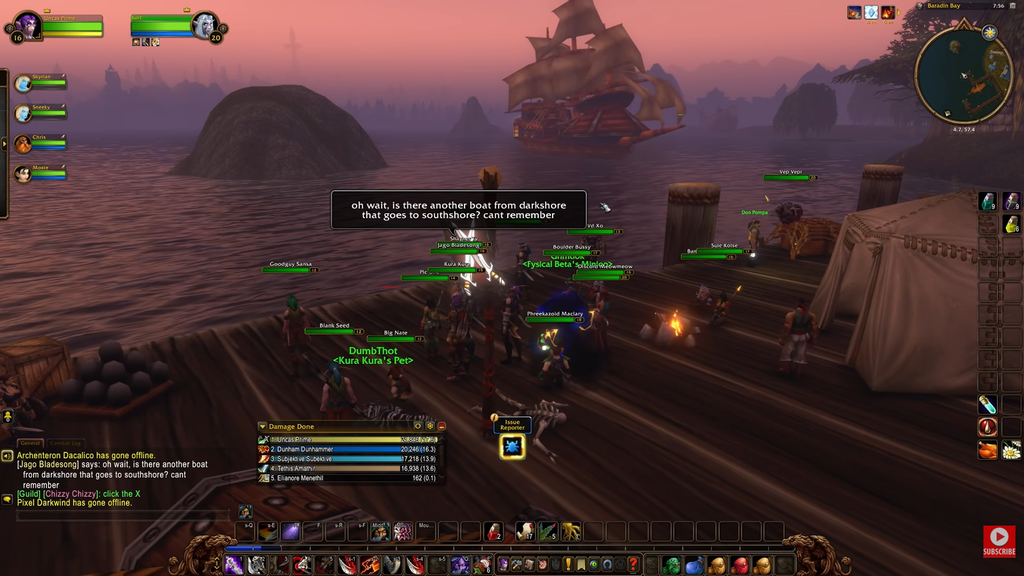
Boss order and mechanics
From the entrance, head east toward the spiders to begin the boss run. The route winds through spider dens, skeleton-filled halls, an outdoor market gauntlet, and finally the crypt where the last fight waits. Here is the short version before the details.
| Boss | Level | Key mechanic |
|---|---|---|
| Witherfang | 15–16 | Patrols with adds, applies poison |
| The Baron | — | Heavy melee plus a knock-up |
| The Abandoned | 18 | Frost Nova root, Life Drain |
| Bjork | 19 | Anti-Magic Shell |
| Rath’mael | 20 | Flamestrike (interrupt it) |
| Viktor the Vile | — | Optional secret, wave fight |
Witherfang
Witherfang shows up early, patrolling the long first hallway surrounded by spiders. Because the patrol route is long, wait for it to wander away from the tightest packs before you engage. It pulls a couple of adds every time, and its attacks can apply a poison debuff, but there are no special casts to worry about. Treat it as a straight tank-and-spank once you clear the surrounding level 14 Broodlings and level 15 Spiders. After it dies, move south down the corridor.
The Baron
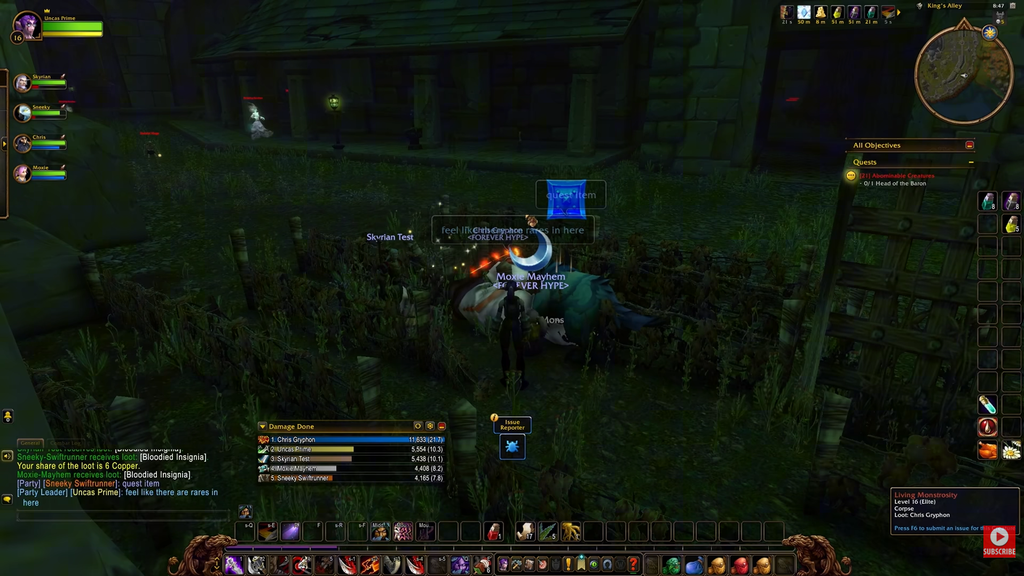
Past the spiders, the trash shifts to skeletons and banshees. The Baron is a large abomination that plays like Naxxramas’ Patchwerk. It hits hard enough to drop a tank quickly and pairs that with a knock-up attack that usually lands on whoever is holding threat. Watch for it to peel off the tank onto other party members, so keep DPS threat in check. Looting it grants the head that starts a follow-up quest, and one of the boss-area doorways can begin another.
The Abandoned
Climb the rocks near The Baron and follow the wall to drop into the necromancer area, then push west along the Lordaeron Graveyard gates toward Lordamere Overlook. Hugging the cemetery fence skips several packs. Through the Overlook building you reach Market Street, a gauntlet of undead swarms where strong AoE speeds things up. Clear the packs (the Ghostly Citizens do not aggro), and The Abandoned floats down as a level 18 undead. It melees, casts a wide Frost Nova that roots for about 8 seconds, and uses Life Drain, which you can interrupt.
Once it falls, look east for a broken pillar you can climb, or hop through the window beside it to reach the next area faster. The jump is finicky, and the next boss patrols close to where you land.
Bjork
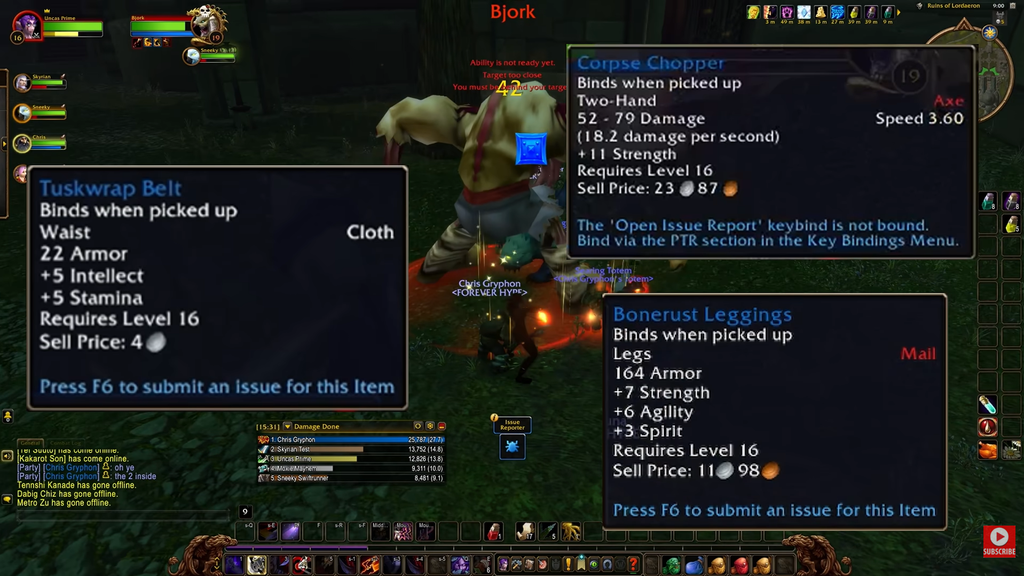
Enter the next area, where fog surrounds groups of skeletons and Skeletal Mages. Advance north by reducing the packs, but leave Bjork alone until you can engage with enough distance to avoid bringing in extra enemies. A giant undead troll, Bjork is a level 19 boss whose melee attacks are slow and powerful. The fight’s only special threat is Anti-Magic Shell, a Death Knight ability that reduces your party’s magic damage briefly; wait to use major spell cooldowns until the effect ends. Once Bjork is dead, travel south through additional Ghoul packs and continue to the purple rune on the ground.
Rath’mael
Rath’mael, the level 20 final boss, is considerably tougher. Move it off the rune and retreat into the room you came from to create extra fighting space. Its melee damage is respectable, while the main danger comes from a strong Flamestrike AoE. Interrupting that cast keeps the encounter manageable, so set an interrupt rotation with the group before starting the fight.
Viktor the Vile (optional secret boss)
A hidden encounter waits after Rath’mael. Head to the southwest part of the dungeon and ignite the light there. Doing so spawns several waves of enemies that build up to the Viktor the Vile fight. It is best saved for last, once the main bosses are down and your group is warmed up.
Tips for a smooth clear
The instance rewards patience. Undead packs come in groups of five or six, patrols cross your path, and early characters have limited crowd control, so a single accidental pull can snowball into a wipe. Keep the group together and let the tank lock threat before the next pull.
- Run a standard tank, healer, and three DPS setup.
- Bring a level 17–18 tank; keep DPS around level 16–17 or higher.
- Watch healer threat on big pulls, since large packs snap to the healer fast.
- Use Thunder Clap, Druid tools, or Warlock and Hunter pets for extra area threat.
- Save interrupts for Life Drain and Rath’mael’s Flamestrike.
You know a boss is down when its adds clear and the quest items drop, and the run is complete once Rath’mael falls, plus Viktor the Vile if you choose to trigger the secret waves. Play it as a hard-mode leveling dungeon rather than a speed run, and a few extra levels above the minimum will make the whole clear far more forgiving.