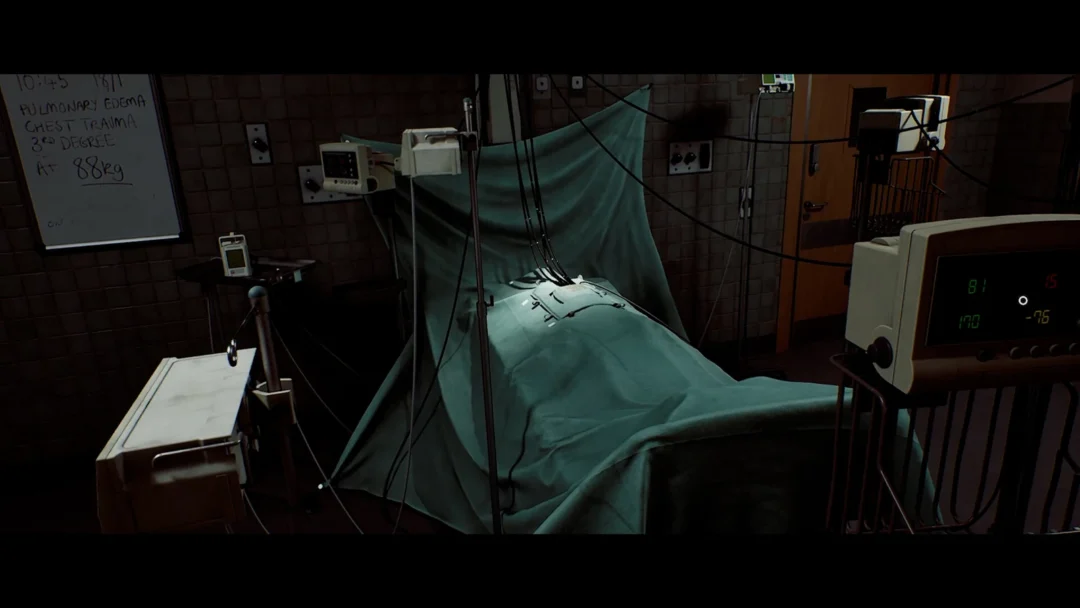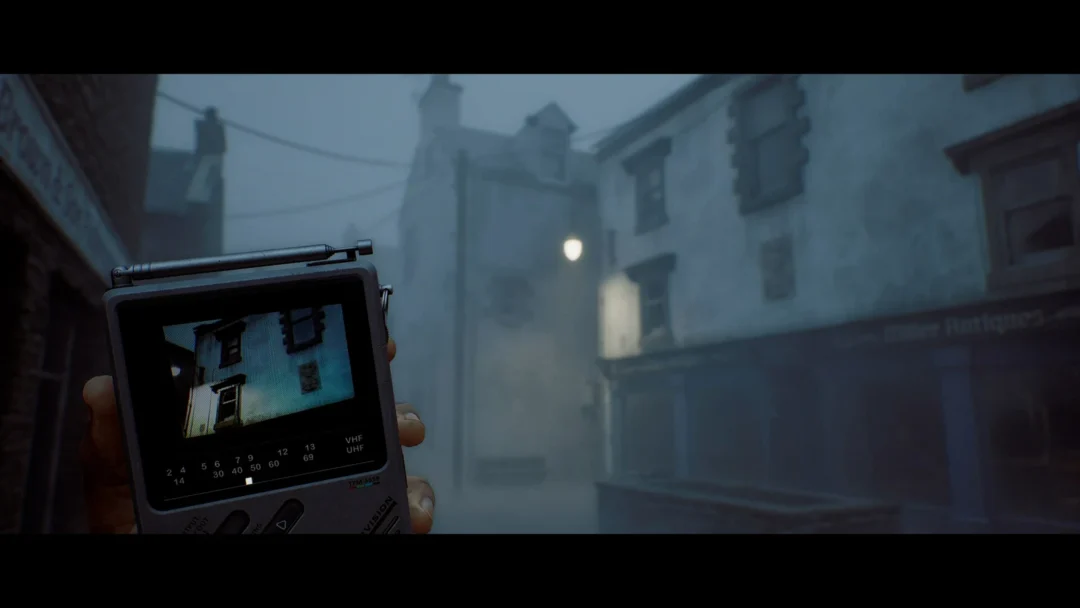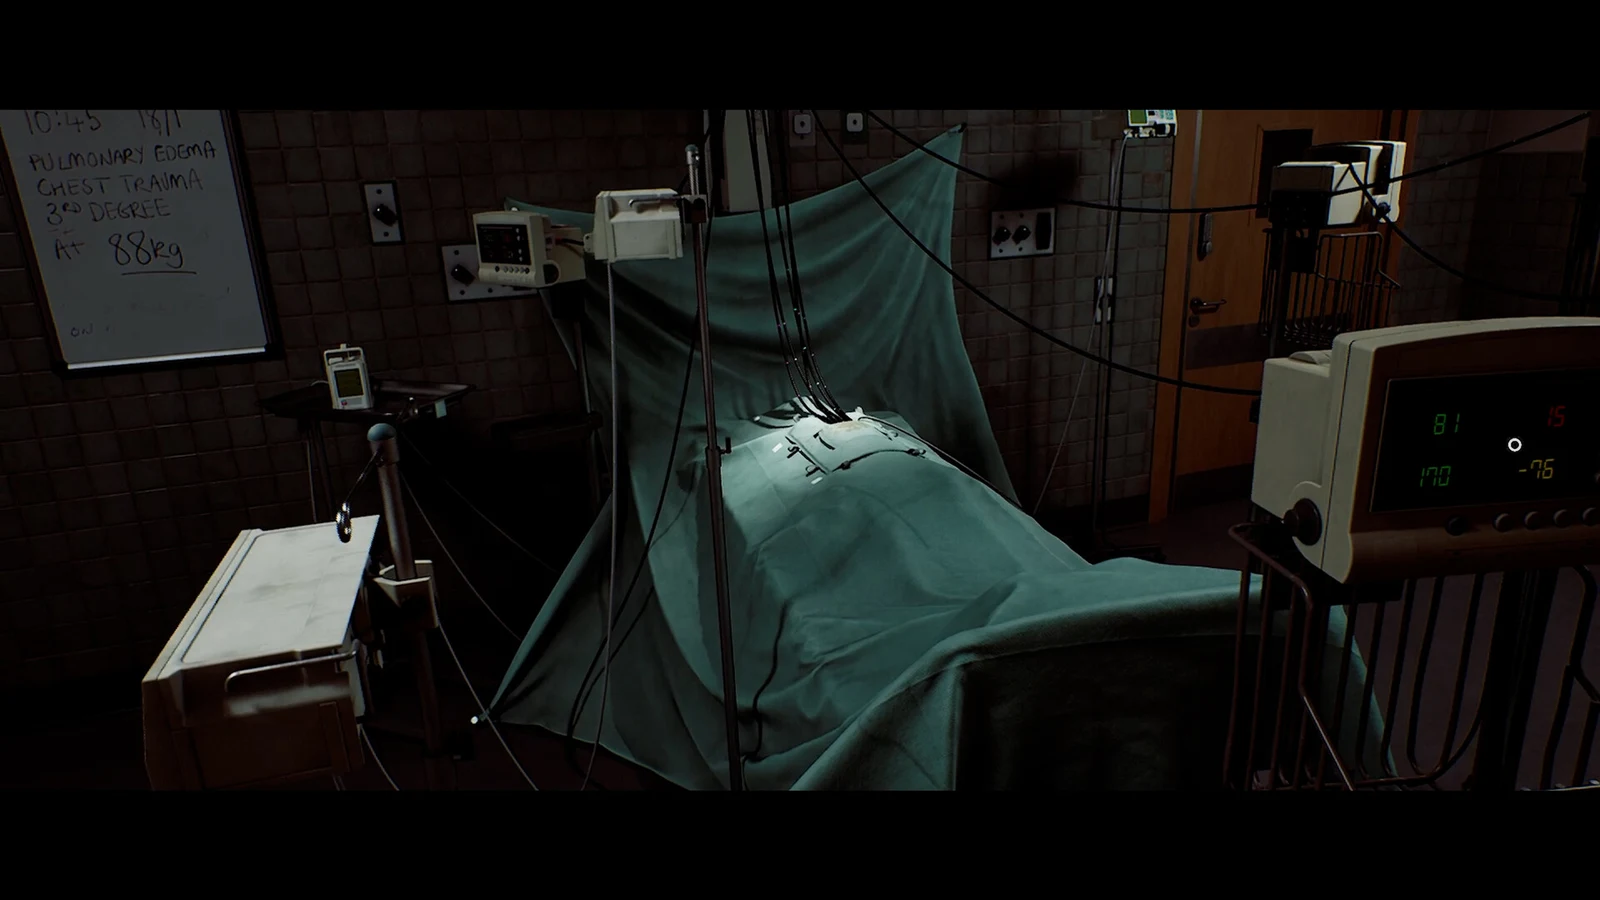
The patient sequence at St. Amelia Medical Centre stalls the moment Dr. Glenn asks for imaging. The X-ray room sits right beside Surgery, but its door is locked behind an electronic keypad, and the machine inside will not produce a usable film until the dials match the body part you are scanning.
Quick answer: The keypad beside the Surgery room opens with 7103. Inside, power on both the computer and the Zeimann machine, then set the dials separately for the skull and the chest.
What has to happen before the keypad works
Dr. Glenn only authorises imaging after you report all three vital signs over the wall intercom to the right of the patient. Skip one and the objective never advances, no matter what you type into the keypad.
| Reading | Value | Machine location |
|---|---|---|
| Blood pressure | 70 / 40 | Right of the patient |
| Pulse | 162 | Foot of the bed |
| Blood oxygen | 80% SpO2 | Left of the patient |
First, remove the St. Amelia Medical Center map from the wall. It marks the patient’s location and shows the X-ray room layout, cutting down on backtracking after monsters occupy the wards.
Opening the X-ray room door
With the vitals reported, head for the adjacent room. The door is plain wood with a small electronic keypad mounted beside the handle.
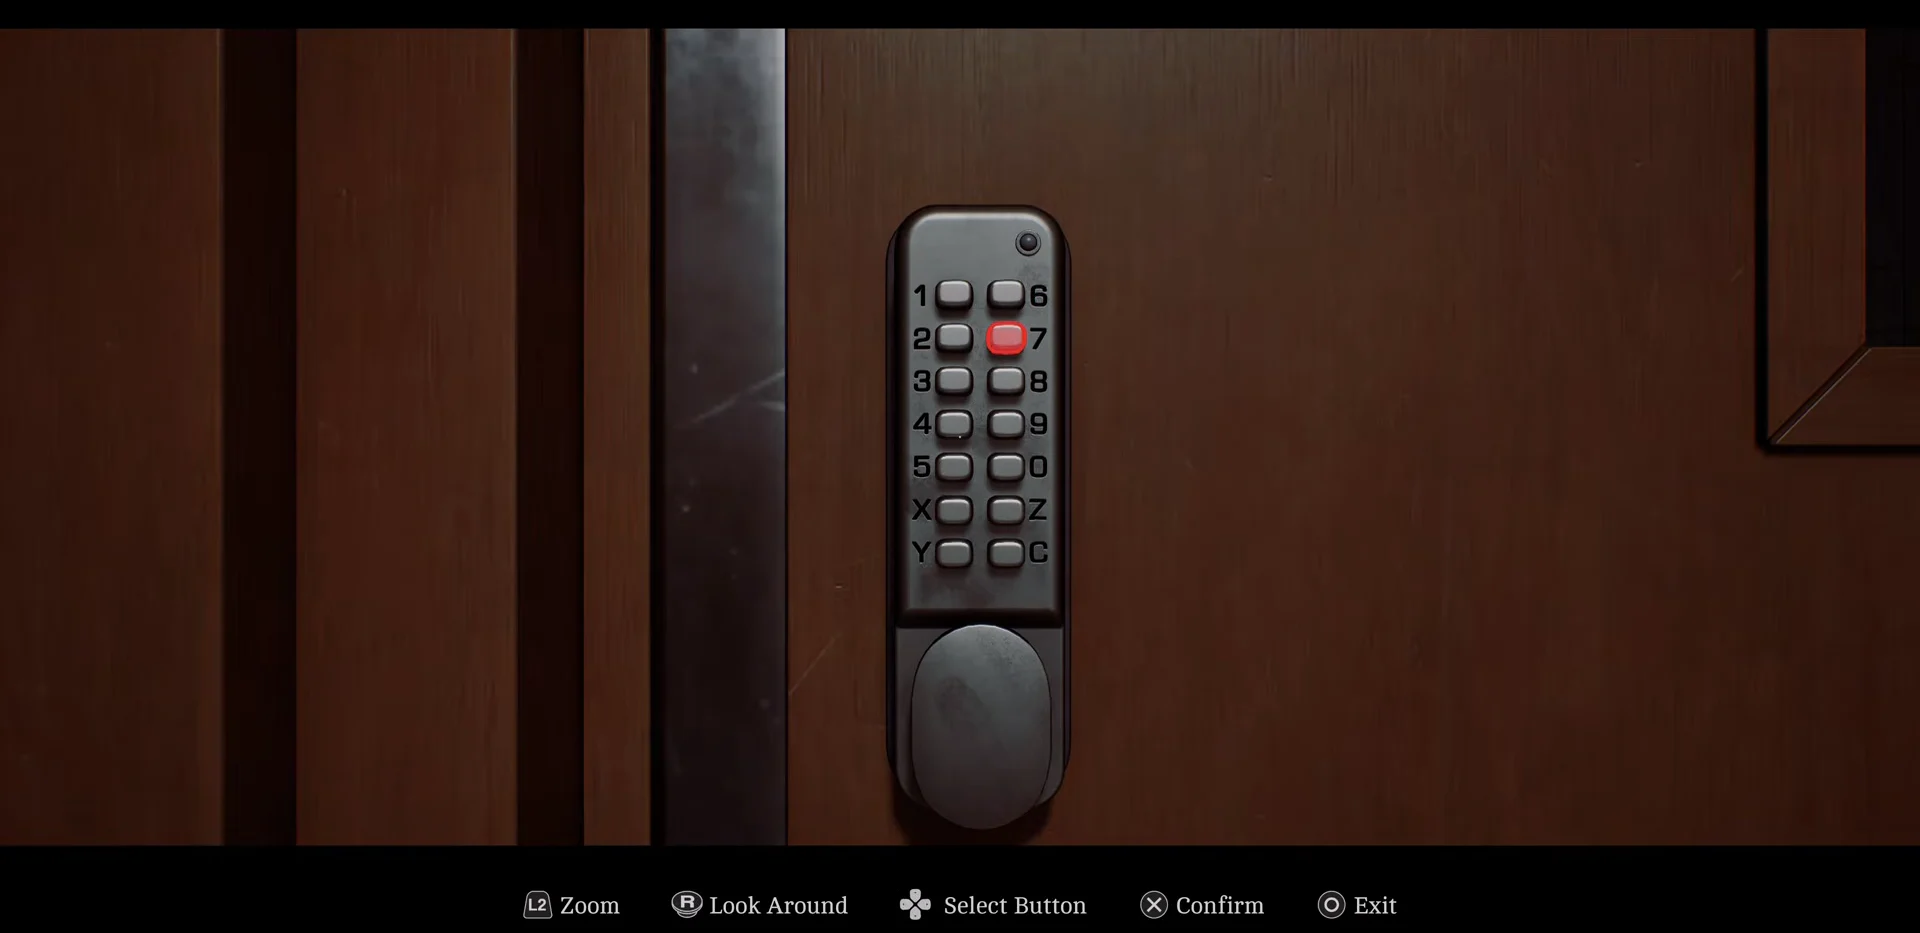
Interact with the keypad and punch in 7103. The lock releases on the final digit and the door swings open onto the imaging suite, where you will find the patient table, a computer terminal, and the Zeimann X-ray console.
Powering up the imaging equipment
Both devices need to be on at once. The console will not fire an exposure if the camera is not aligned on the terminal, and the terminal cannot confirm alignment while the Zeimann sits dark.
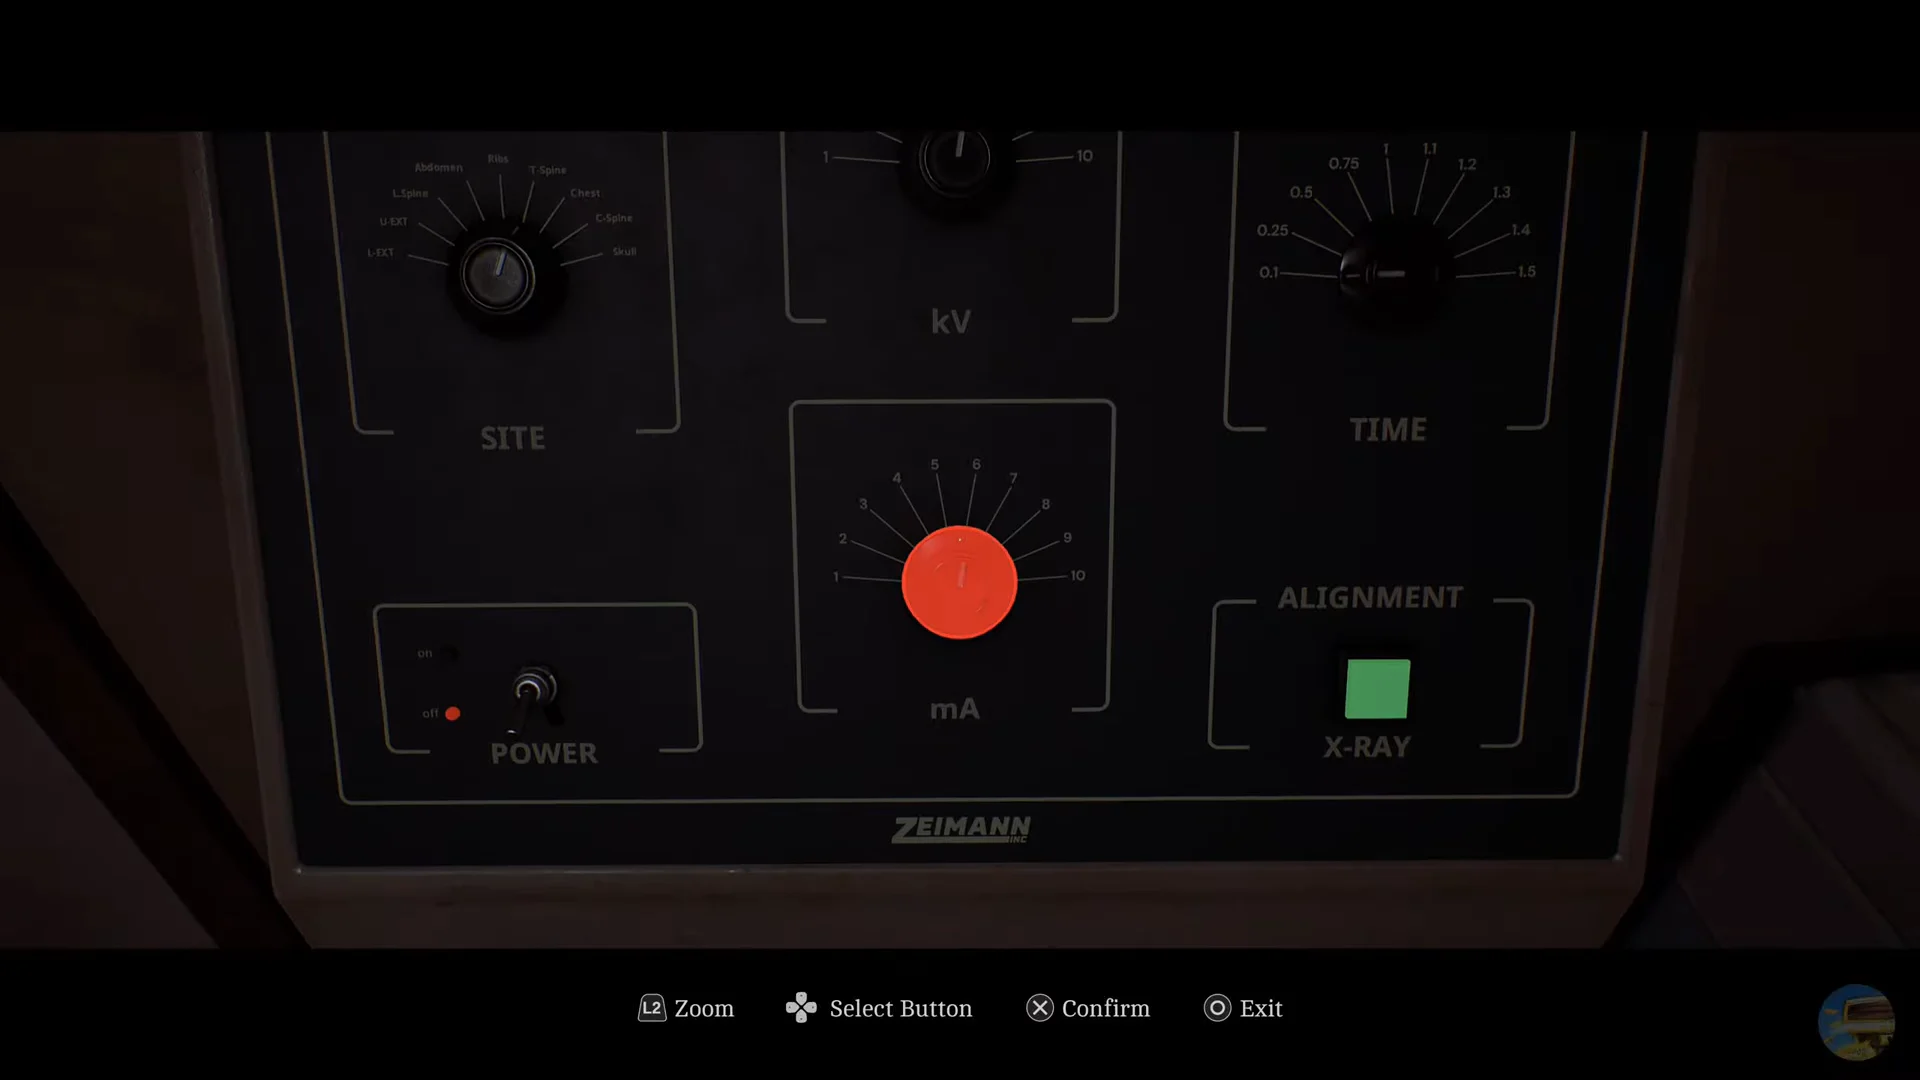
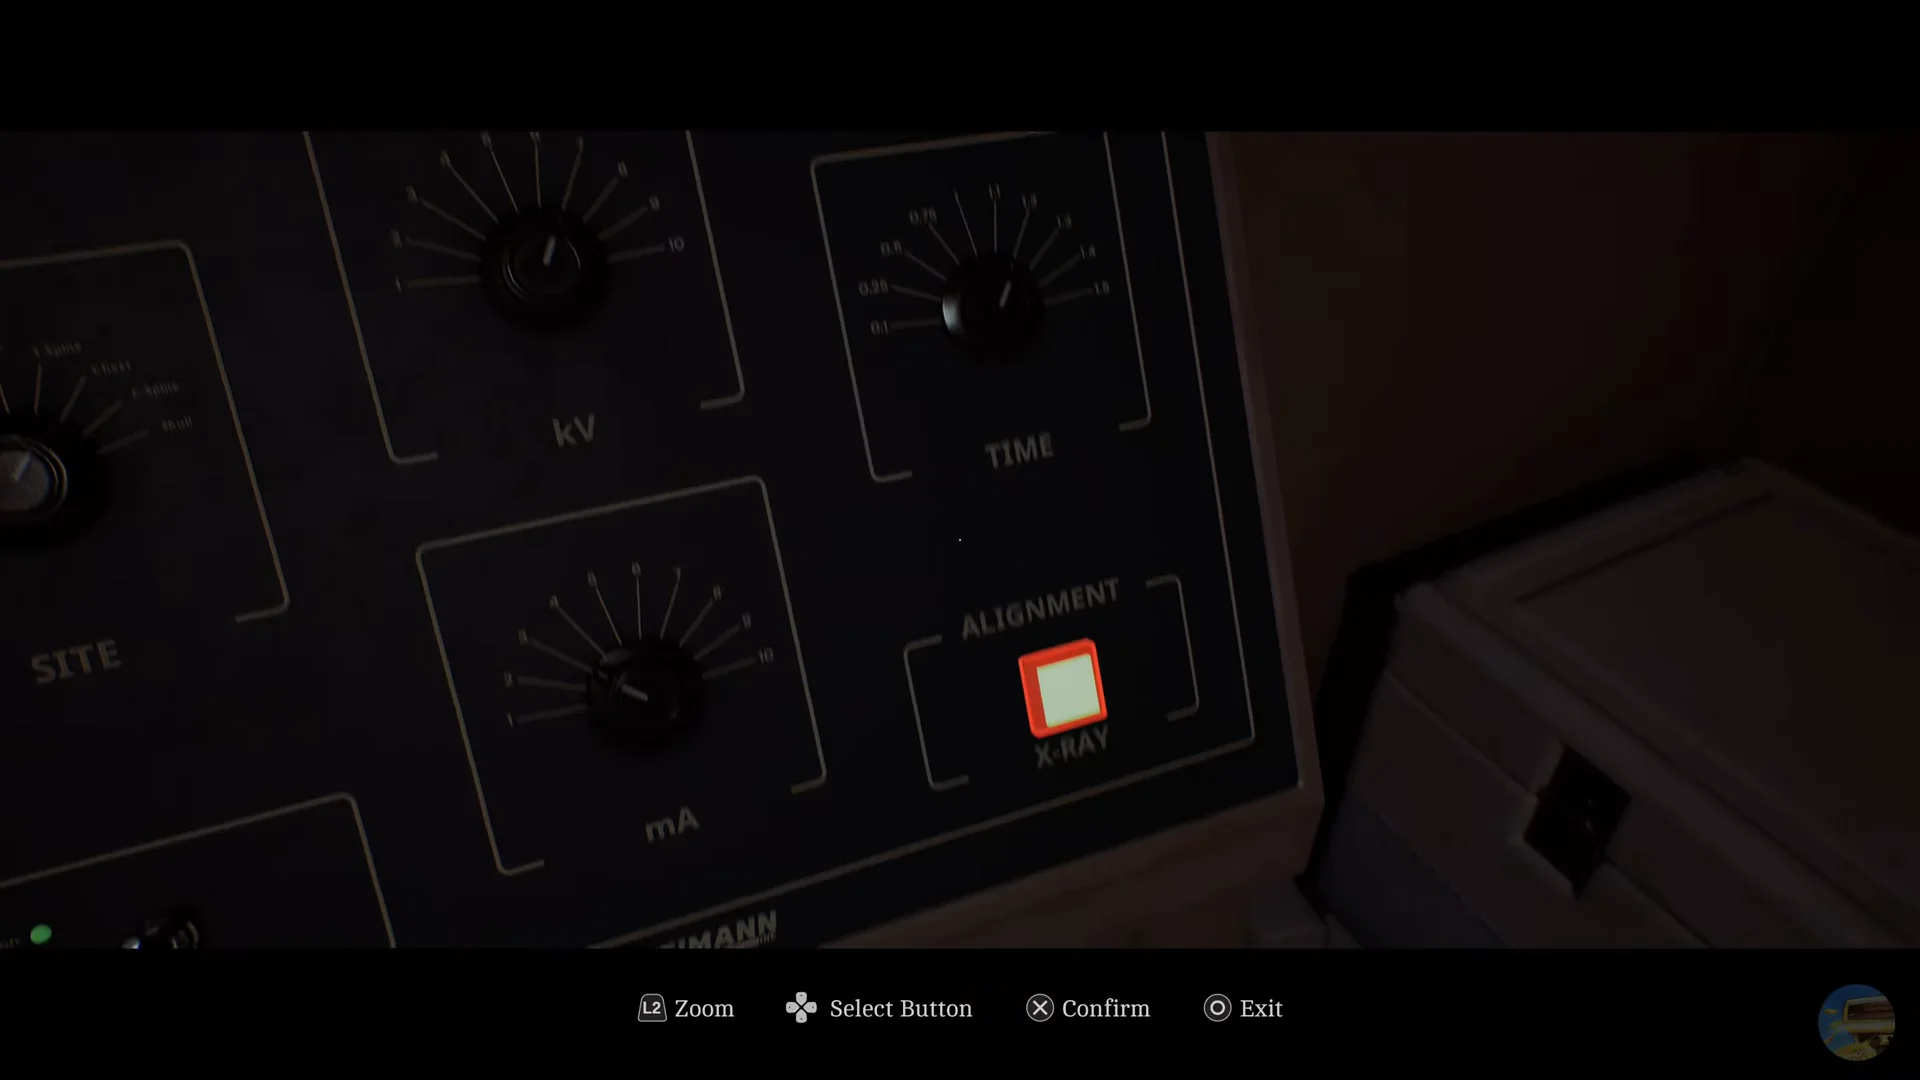
Zeimann dial settings for both scans
Each scan needs its own combination of site, kilovoltage, milliamperage, and exposure time. The numbers do not carry over, so the second scan requires a full reset of the dials.
| Scan | Site | kV / mA | Time |
|---|---|---|---|
| Head | Skull | 3 / 7 | 1 |
| Chest | Chest | 7 / 3 | 1.2 |
Skull X-ray
Chest X-ray
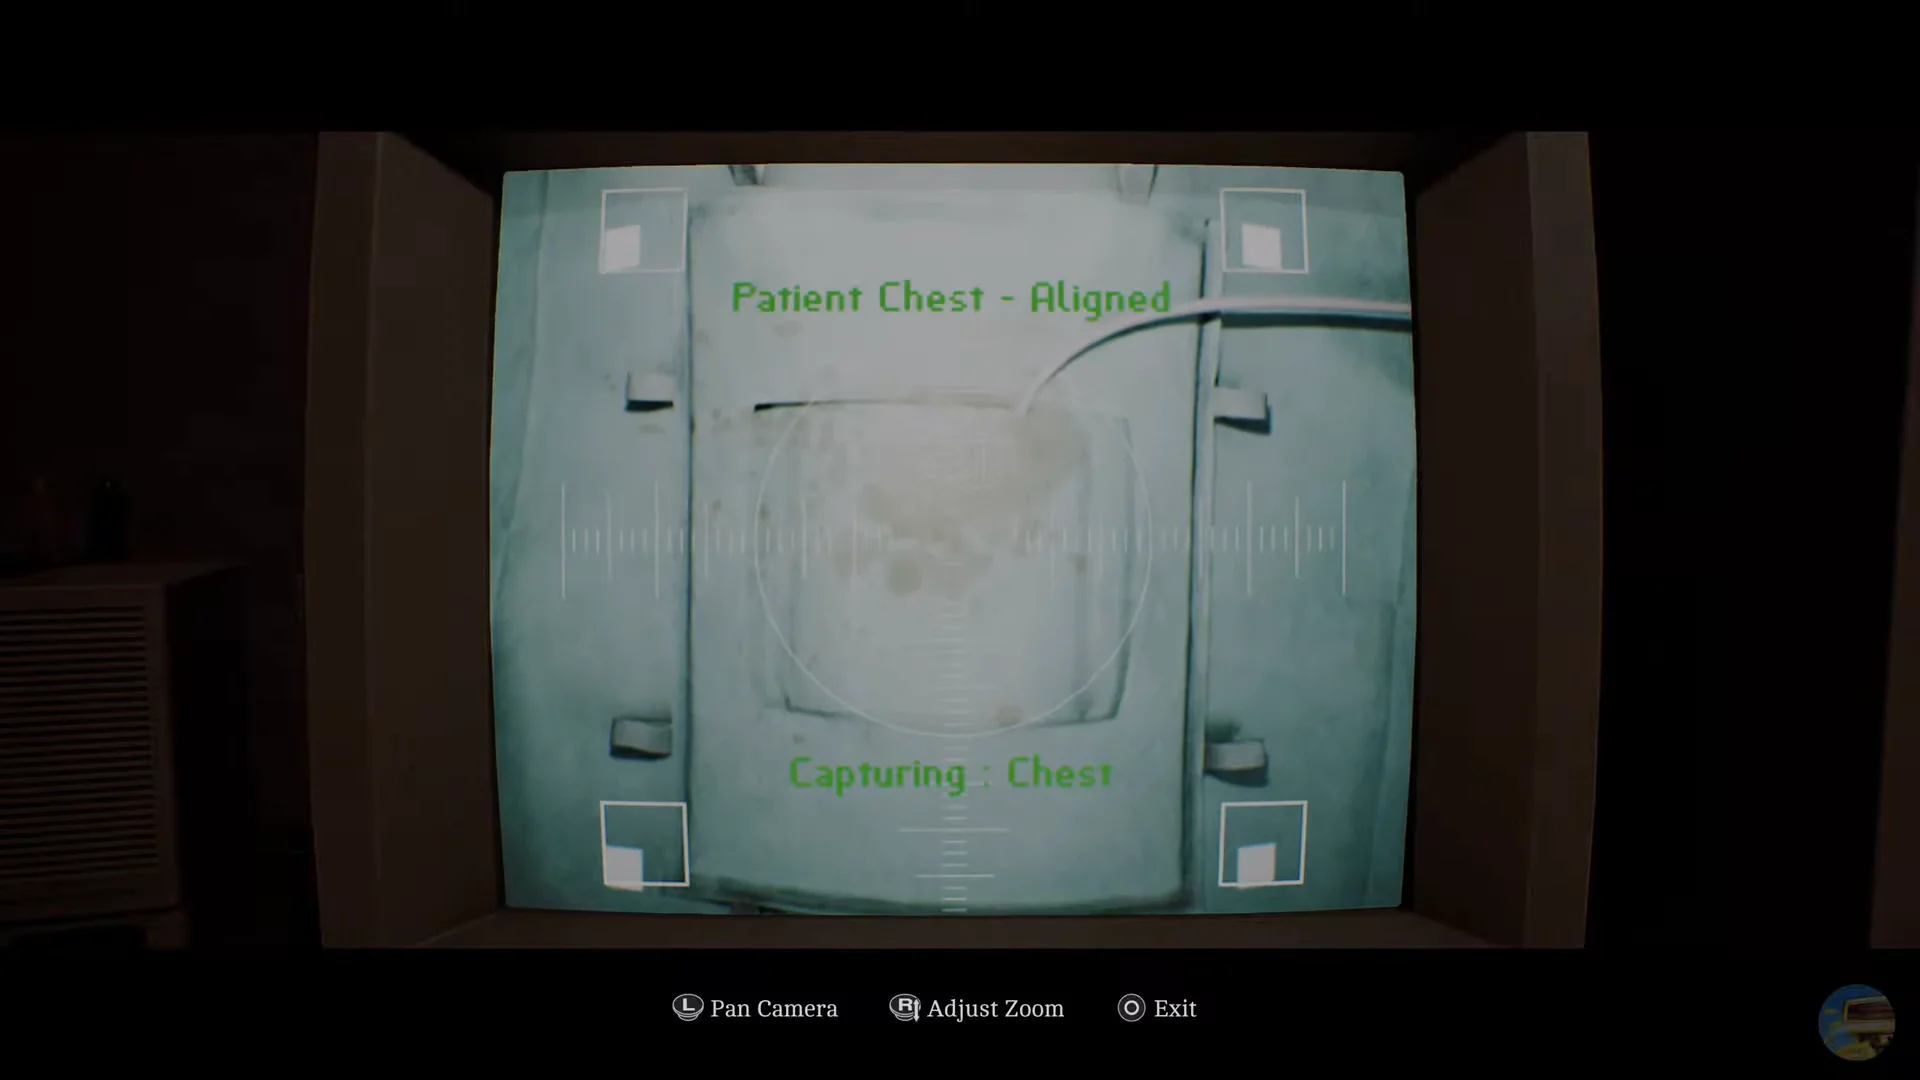
How to confirm both X-rays worked
Once both exposures are done, the printer in the X-ray room produces two film sheets. Pick up the Head and Chest X-rays from the counter, then carry them back to Surgery and place them on the board next to the intercom.
Mounting the films is what closes out the imaging stage. Dr. Glenn then moves the sequence forward by asking you to track down three medications elsewhere in the Medical Centre, which is your cue that the room is finished with.
Codes
- X-ray room door, beside Surgery — 7103
- Records Room, Chapman Ward Ground Floor — 2605
- Reception phone dial, for the basement elevator — 5353
Enter each one on the keypad attached to the relevant door, or on the phone dial in the case of 5353. The lock releases as soon as the last digit registers.