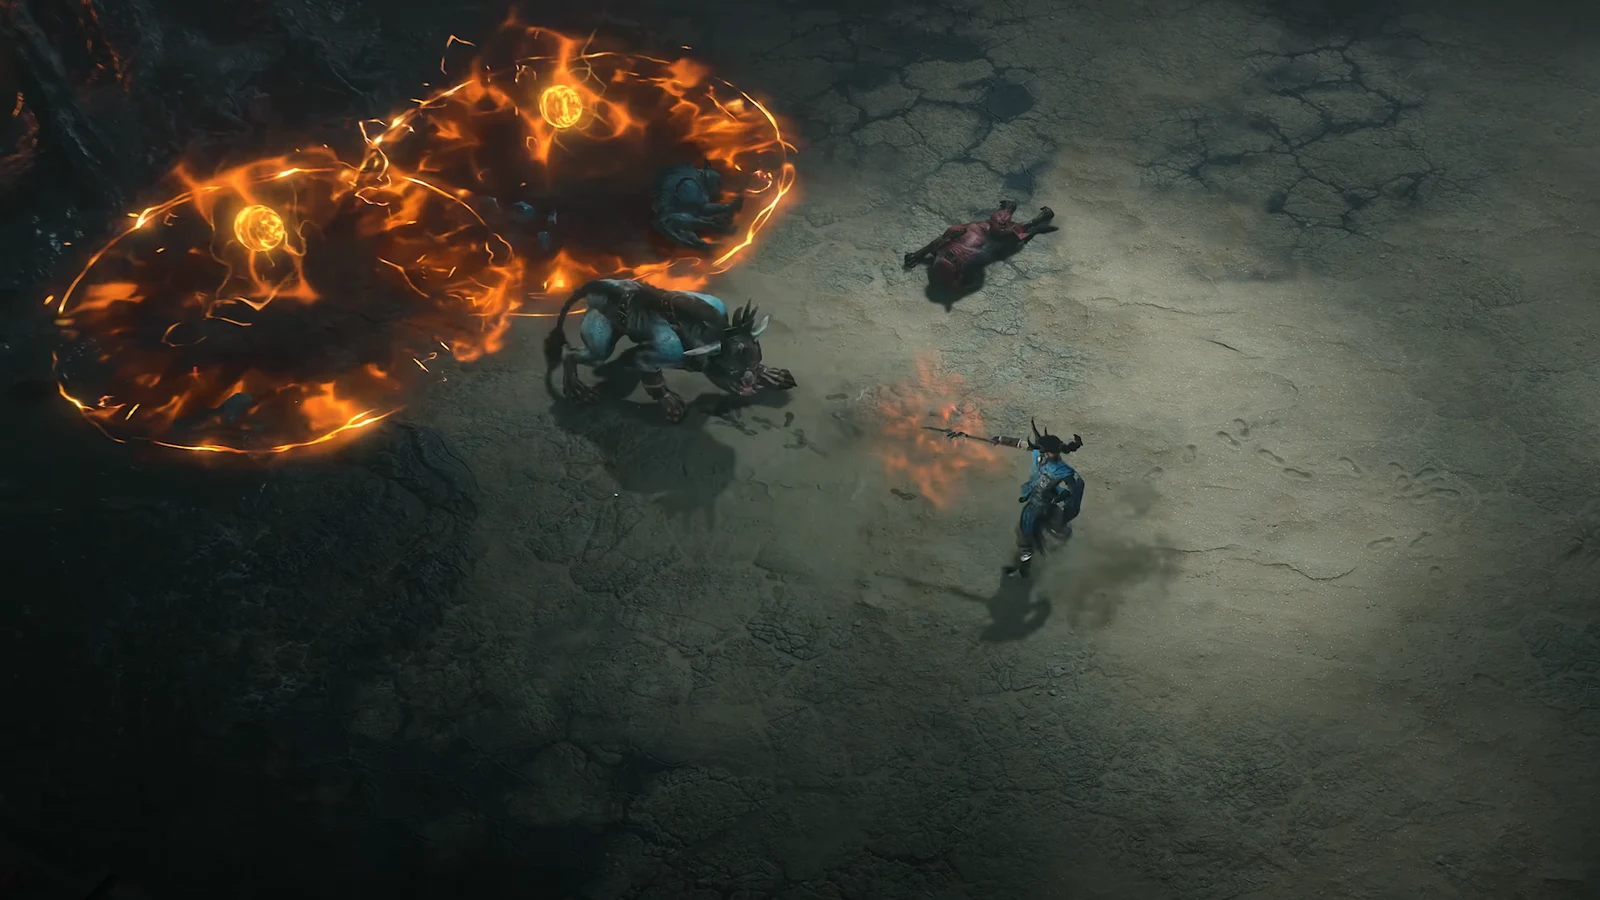
Penetrating Shot has turned into one of the strongest Rogue setups in Season 15, and the reason is simple. One unique bow changes a single-target line attack into a screen-filling area skill, and Poison Imbuement makes every one of those hits tick for a long time afterward. It clears Pit Tier 120, and it does it from a safe distance.
Quick answer: Run Penetrating Shot with Poison Imbuement and Eaglehorn, take Shadow Clone with the Sentry modifier, pick Preparation as your Specialization, and angle shots off walls so arrows hit twice.
Why Eaglehorn makes the build work
Penetrating Shot always pierces, so it already hits everything in a line. Eaglehorn adds two things on top of that. Arrows bounce off walls for 150% more damage, and when there is no wall to hit, they curve back like a boomerang. Line up your shots so the return path passes back through the pack and each cast lands on the same enemies twice.
Poison Imbuement is what converts those repeated hits into sustained damage. Unlike the Cold-based Rogue setups that lean on freezing and shattering, the poison damage does not need a crowd control condition to pay off, which is why this version holds up so well against bosses and tanky elites.
Corridors and narrow dungeon rooms are your friend. Open arenas cost you the wall bounce and a large chunk of your damage.
Skill tree setup
Core and Agility
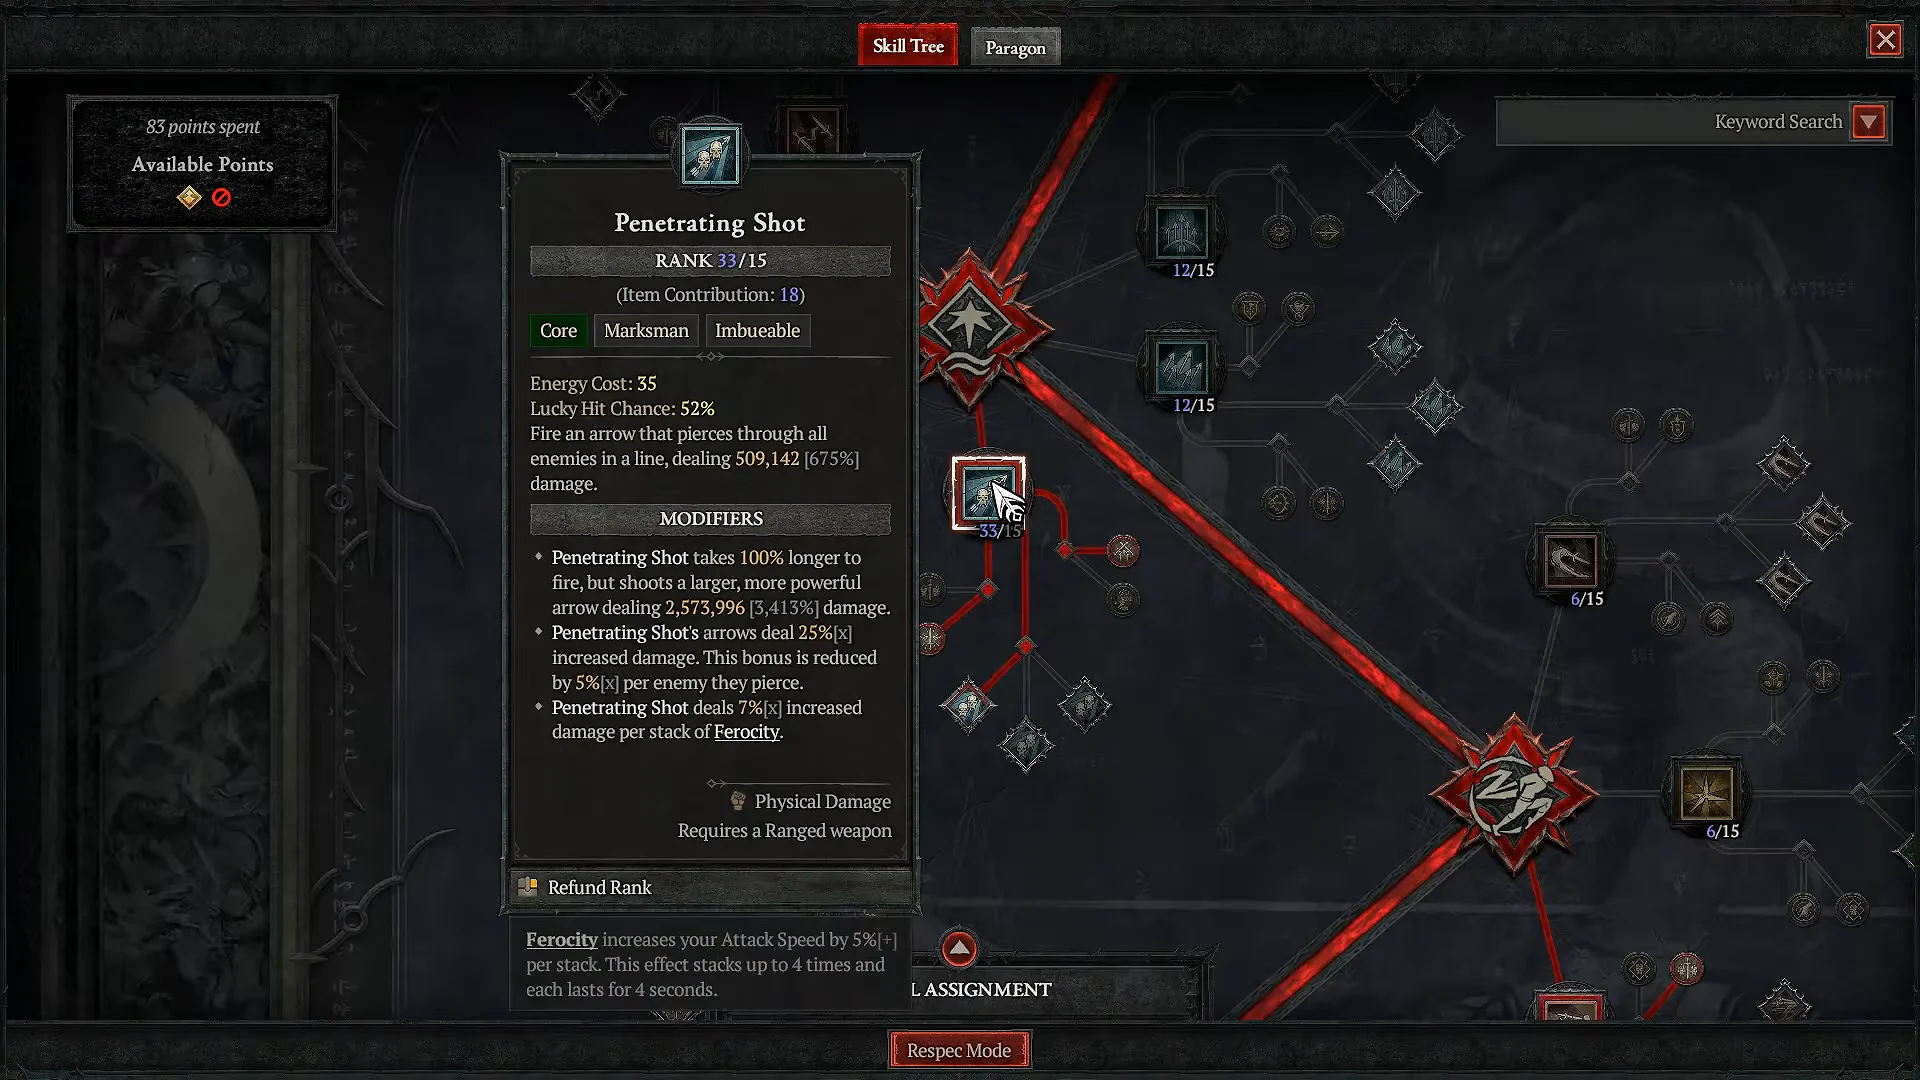
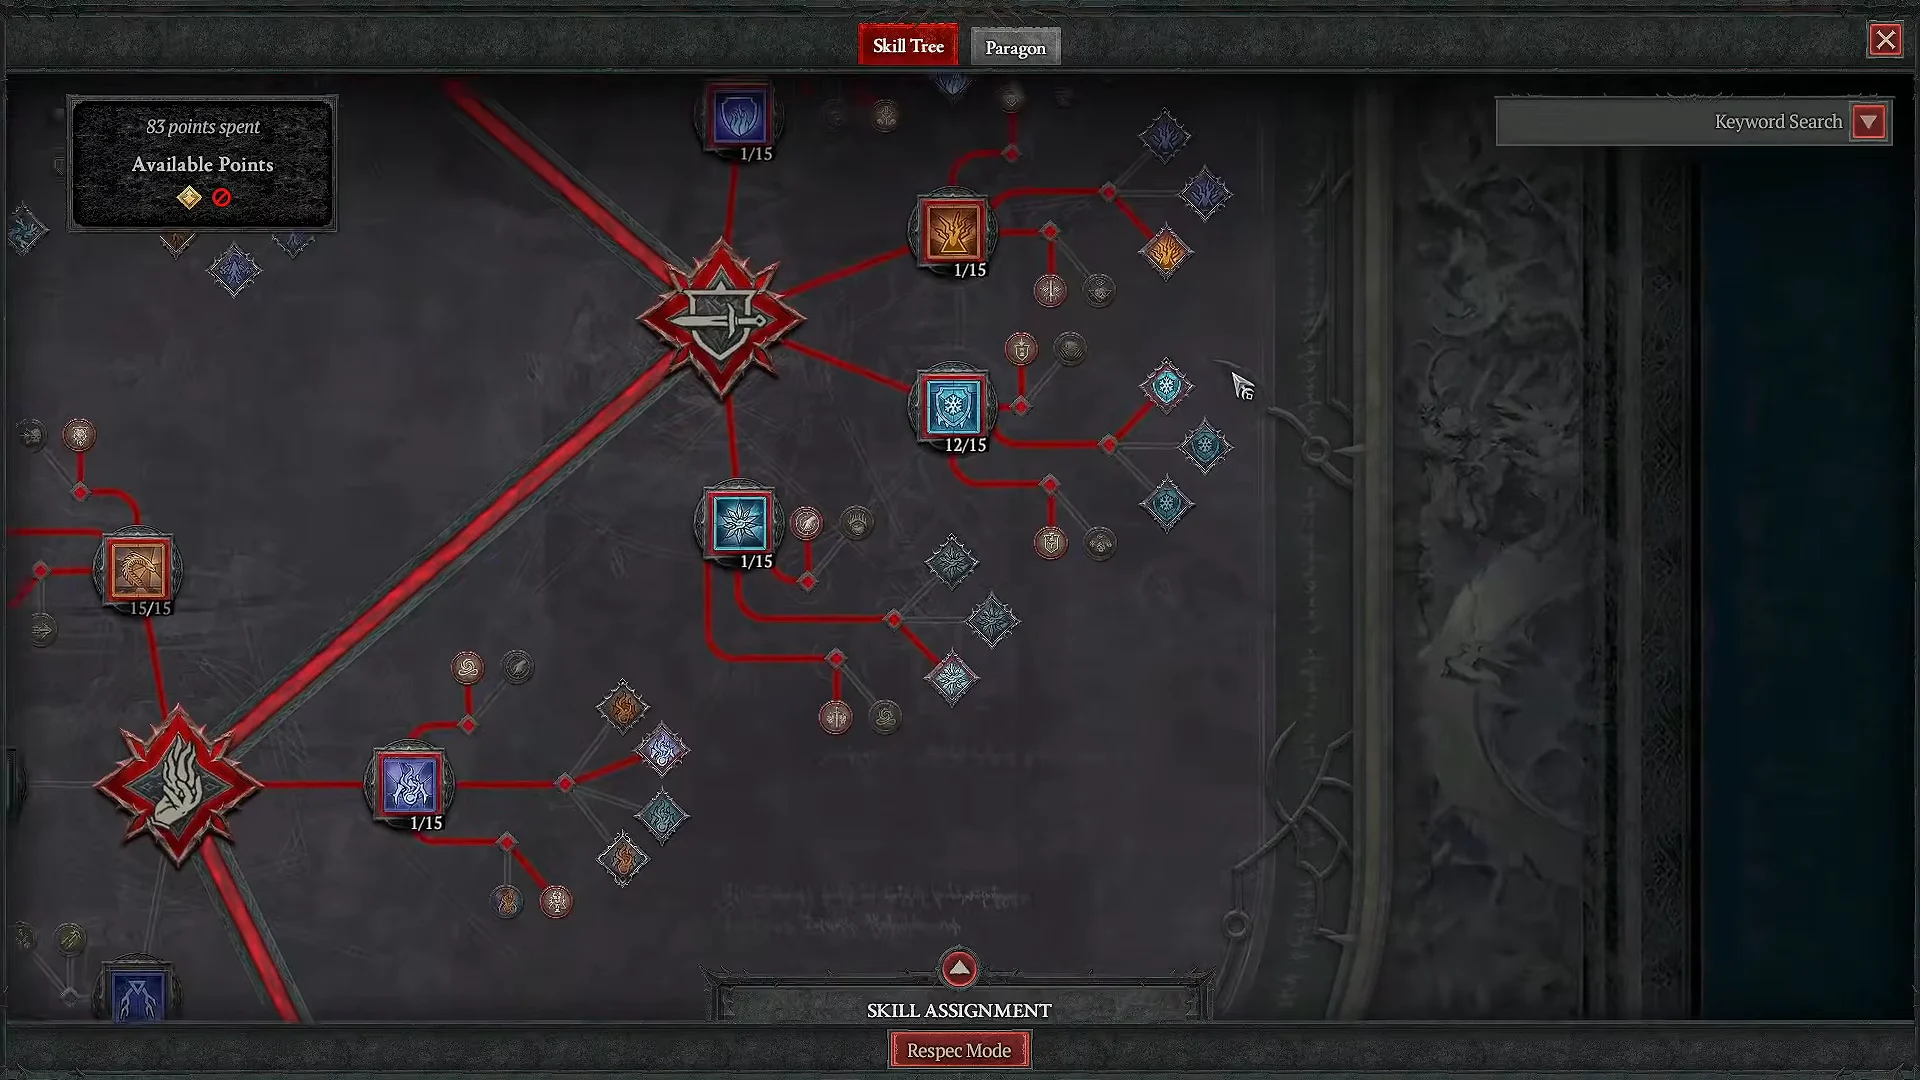
Penetrating Shot gets maxed out first, upgraded with Ferocity and Ballista. Ballista is the modifier you want kept on the bar for single-target work, since it loads extra damage into every arrow that passes through a boss.
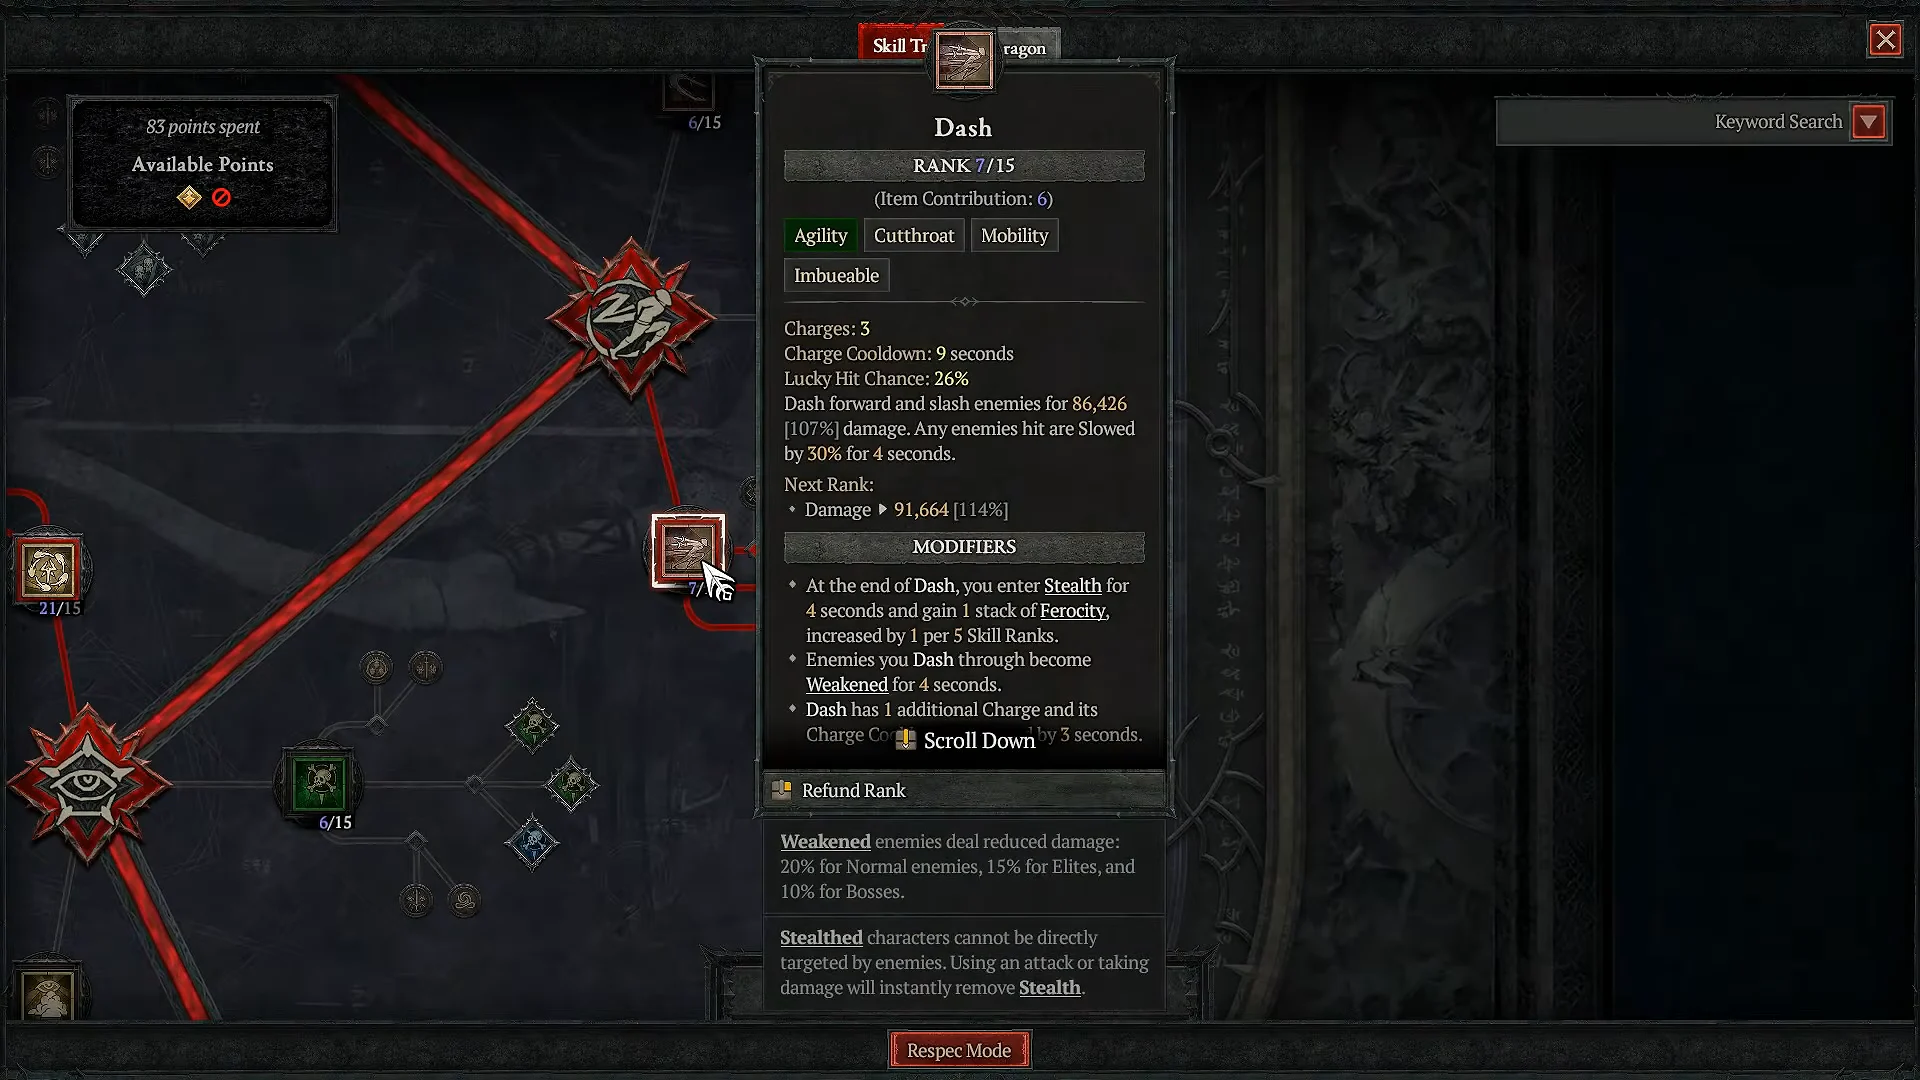
Dash takes a single point and uses Weaken plus Primer. It is your repositioning tool between packs and it feeds damage bonuses while you move.
Subterfuge and imbuement
Dark Shroud runs Shadow Dancer, and Concealment picks up Resolve and Recuperate. Poison Imbuement is the second skill you max, taking Duration and Toxic Touch so the poison stays on targets between casts. You need to be hitting enemies while the imbuement is live, since that is what pulls its cooldown back down.
Shadow Clone and the Sentry modifier
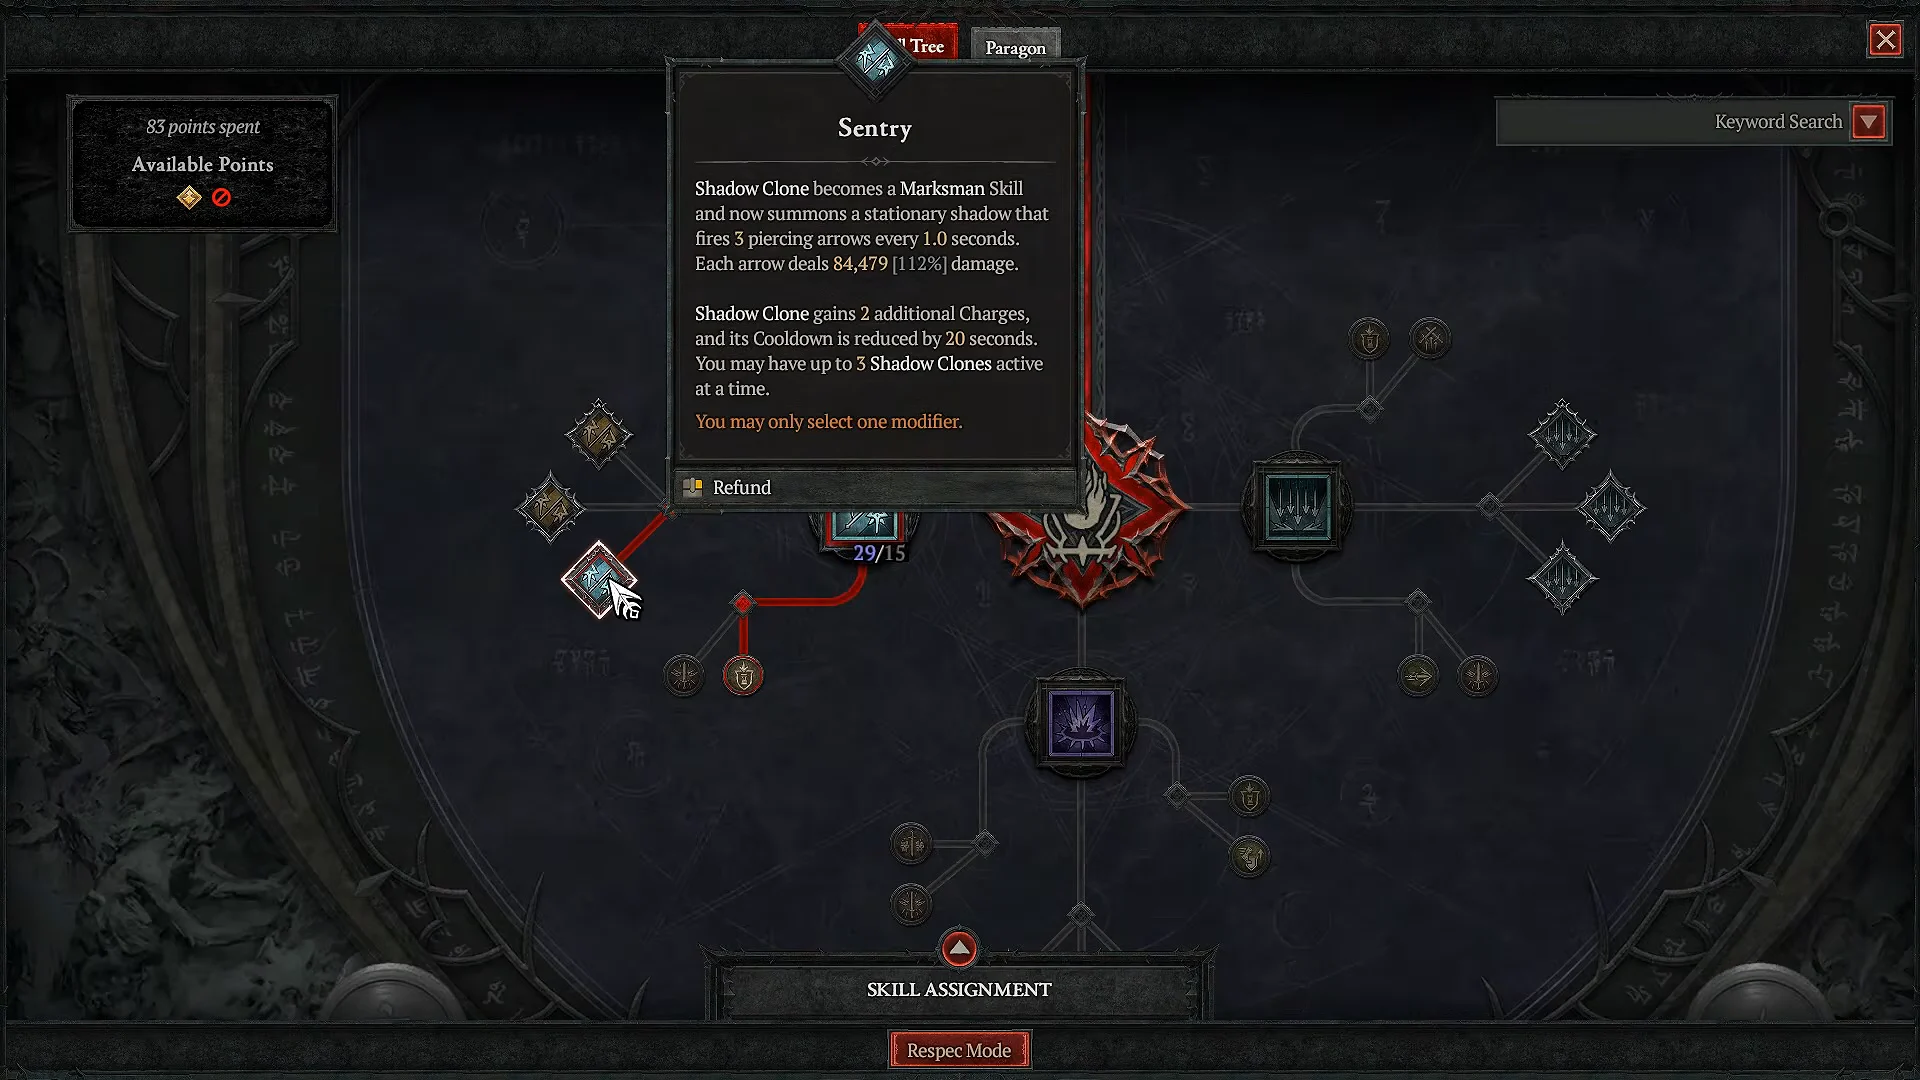
Shadow Clone takes Weaken and Vulnerable along with the cooldown node, but Sentry is the key pick. It converts the clone into a stationary Marksman turret that keeps firing Penetrating Shot while you move, which is a large part of the build’s total output. The clone also applies Vulnerable across the screen and resets your Concealment cooldown.
Specialization choice
Preparation is the pick for the poison version. Spending 75 Energy cuts 5 seconds off your Ultimate cooldown and grants 15% damage reduction, which keeps Shadow Clone up almost constantly given how much Energy Penetrating Shot burns. The Cold variant of Penetrating Shot goes a different direction and runs Combo Points instead, so do not mix the two setups.
Gear list
| Slot | Item | Purpose |
|---|---|---|
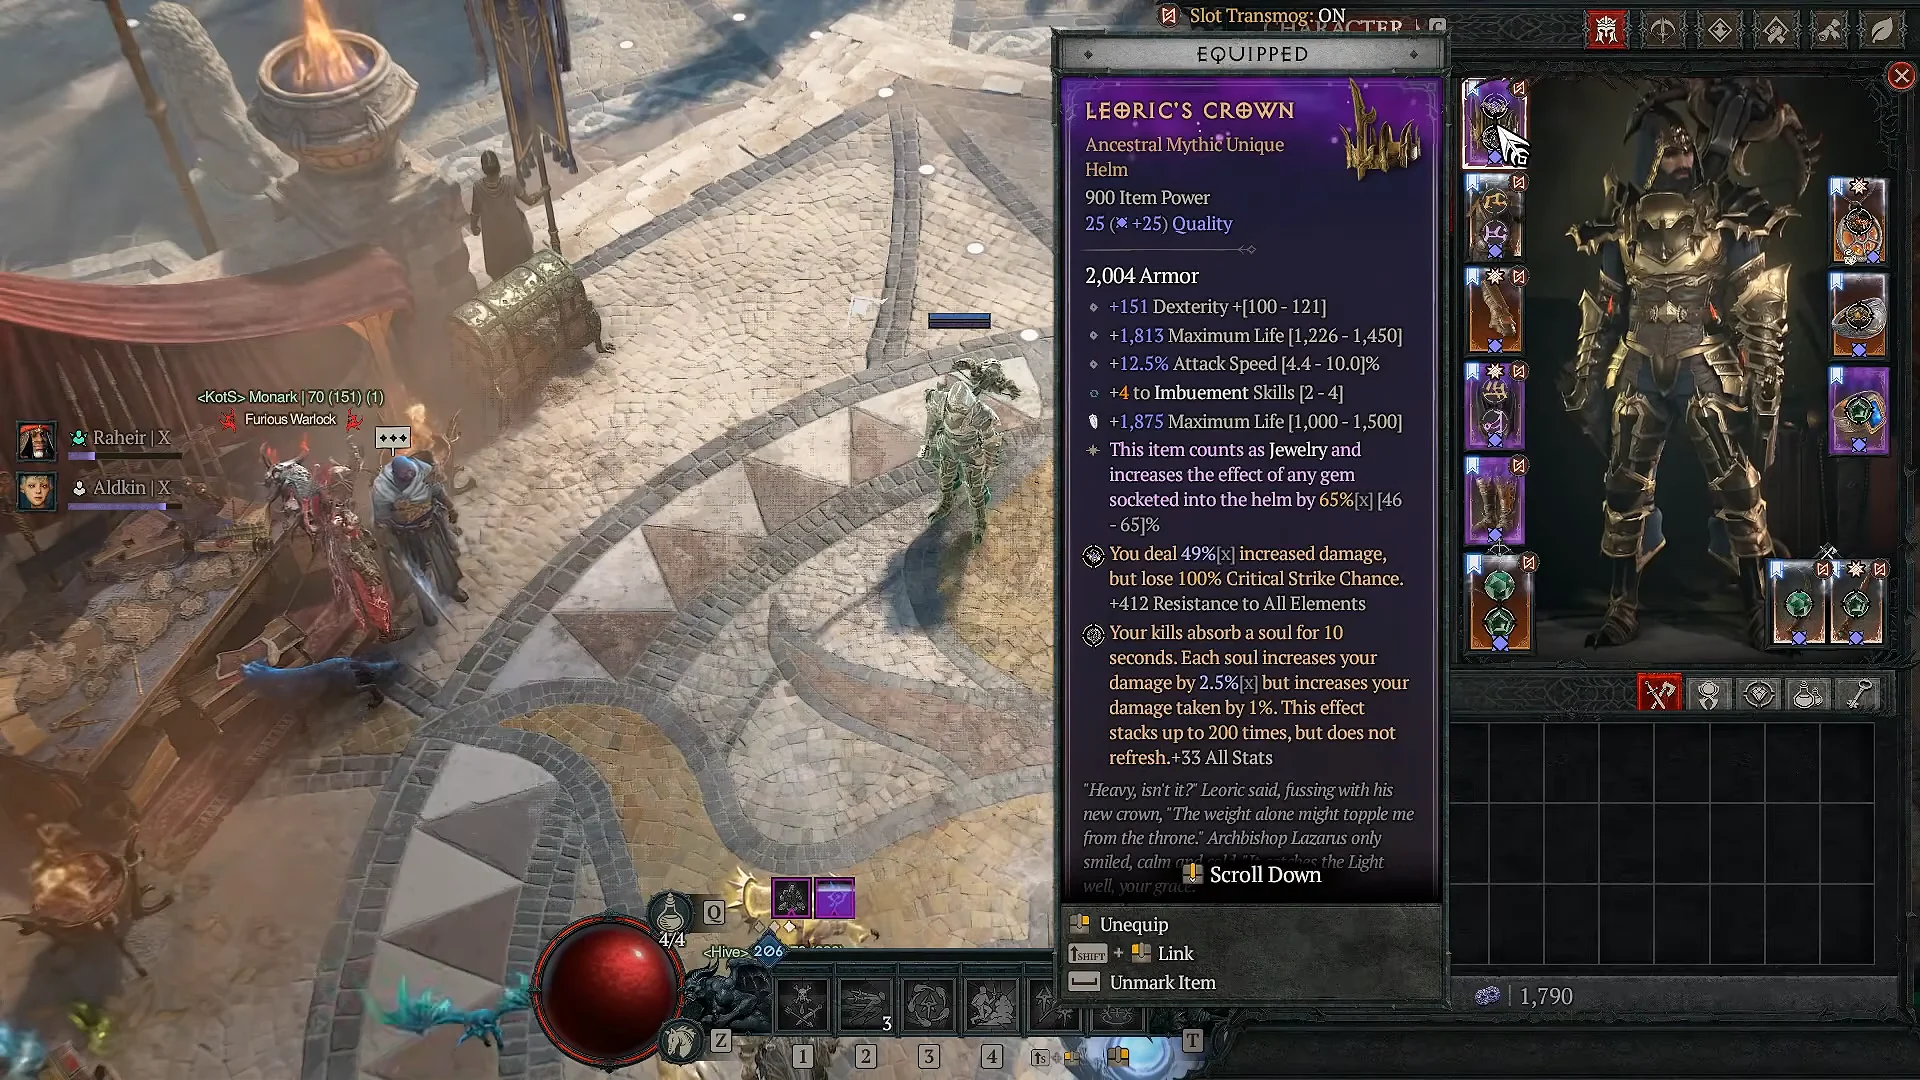
| Helm | Leoric’s Crown | Gem scaling |
| Chest | Enigma (Jah-Ith-Ber) | Teleport evade |
| Gloves | Crushing aspect | Damage multiplier |
| Pants | Tibault’s Will | Energy and damage |
| Boots | Skovosian Buskin of Obscurity | Movement speed |
| Ranged weapon | Eaglehorn | Wall bounces |
| Dagger 1 | Etna’s Lost Dagger | Elemental scaling |
| Dagger 2 | Writhing Xiphos | Stat stick |
| Amulet | Ferocious Lion’s Eye | Aspect carrier |
| Ring 1 | Band of Imitated Imbuement | Imbuement uptime |
| Ring 2 | Stone of Jordan | Resistance scaling |
The amulet is where you have a real decision. Exploiter Aspect is the equipped option in most setups, while Earthstriker’s Aspect is the steadier alternative because it builds Overpower stacks as you rotate between Dash, Shadow Step, and Penetrating Shot. Rustbitten Dirk is a strong swap for bosses and tanky elites, and Cowl of the Nameless goes in when you want more area damage instead.
If you are chasing mythics, the order that matters most is Eaglehorn, then Etna’s Lost Dagger, then Leoric’s Crown, then Tibault’s Will. Keep in mind you can only equip one mythic crafted through the Horadric Cube’s “Upgrade to Mythic” recipe.
Affixes, tempering, and Masterworking
On gear affixes, hunt poison damage multipliers, Dexterity, Maximum Life, and ranks to Imbuement skills. Because Stone of Jordan scales off matching resistances, keep the relevant resistance stat consistent across your pieces rather than spreading it thin. For the amulet transfiguration, % Poison Damage is the best result you can land.
- Armor tempers: Maximum Life
- Offensive tempers: Damage Over Time and Imbuement Potency
- Jewelry: add Resource tempers until your Energy feels comfortable
| Slot | Masterworking target |
|---|---|
| Helm | Imbuement Skills |
| Chest | Damage Reduction or +All Skills |
| Gloves | Damage multipliers |
| Pants | Dexterity |
| Boots | Movement Speed |
| Weapons and jewelry | Primary multipliers |
Soul Splinters, runes, and gems
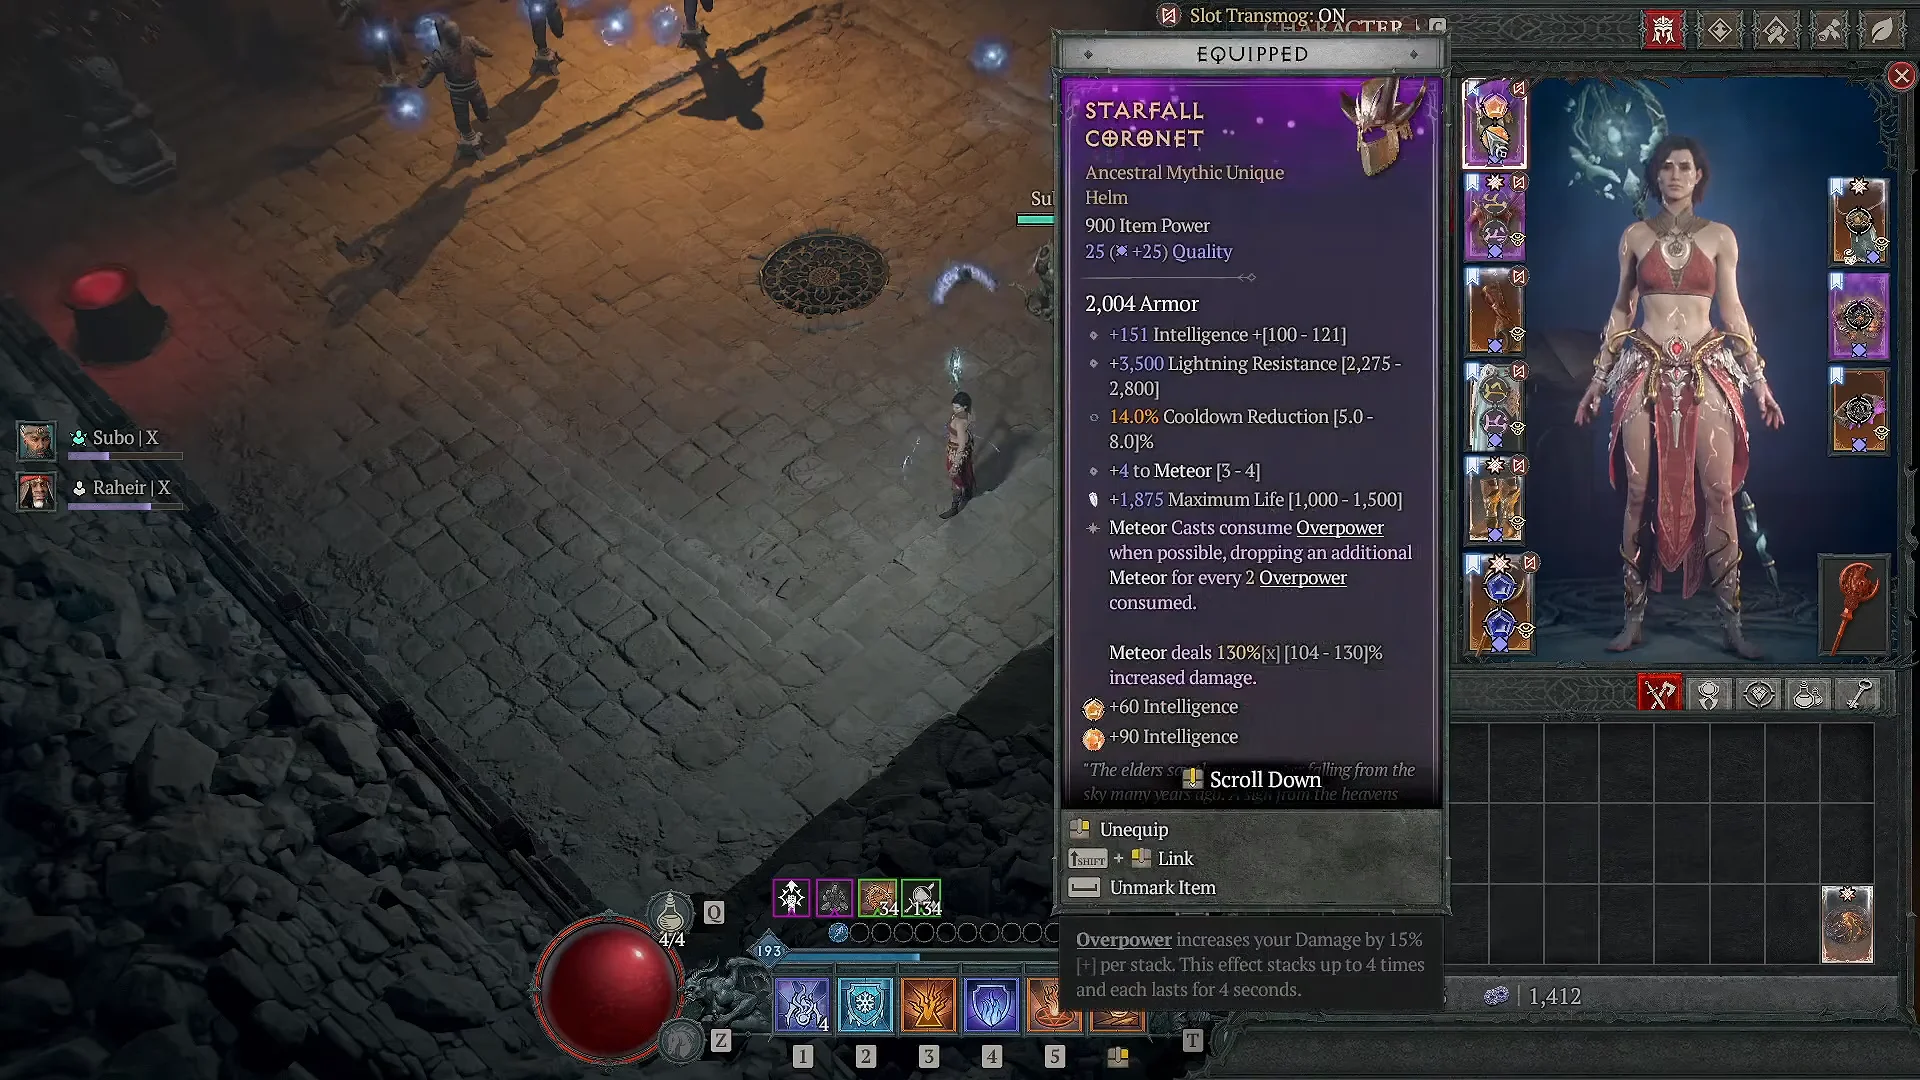
Soul Splinters are the seasonal gem layer, and the ordering matters. Splinter of Hellfire and Splinter of the Black Soulstone go into Leoric’s Crown, with Splinter of Sin and Splinter of Pain filling the jewelry sockets.
- Chest runeword: Igni-Sol, for offering generation and damage reduction
- Pants runeword: Cir-Vex, for skill ranks
- Weapon gems: Emeralds, for the poison damage multiplier
- Swap Jah for Lac if you want survivability over speed
Paragon boards and glyphs
| Board | Glyph |
|---|---|
| Starter board | Versatility |
| Exploit Weakness | Tracker |
| Eldritch Bounty | Canny |
| Cheap Shot | Efficacy |
| Danse Macabre | Bane |
Attach the boards in that order and grab the rare and magic nodes along the connecting paths rather than taking the shortest route between sockets. Pit runs are how you level these glyphs, so the board and your Pit tier climb together.
Talisman, charms, and Prime Evil Powers
The Talisman runs the Legacy of the Sightless five-set bonus, which resets your Ultimate quickly enough to keep Shadow Clone on near-permanent rotation. Cowl of the Nameless is the charm to slot alongside it, with the Horadric Seal of Glory on the seal slot. Hellfire Torch is the high-end option once you get there.
For Prime Evil Powers, take Baal’s line: Ice of Excidium, Cold Blood for resource generation, Searing Frost for vulnerability, and Shattered Flesh for damage over time.
Mercenary picks
Hire Subo and take Scorched Earth for its 30% damage over time multiplier, which lines up directly with your poison. Molotov and Snipe round out his kit. Varyana goes in the Reinforcement slot with Bloodthirst for attack speed, or Earth Breaker if you prefer the impact.
Pit rotation
You will know the rotation is landing when poison ticks stack visibly across the pack and your Ultimate comes back up within a few seconds of using it. If Shadow Clone is sitting on cooldown for long stretches, your Sightless set bonus or Energy spending is not keeping pace.
Fixing Energy problems
Energy is this build’s main friction point. Three things solve it: proc Tibault’s Will with Concealment, keep five Dark Shroud shadows active using the Mot rune, and stack Resource tempers on your jewelry. Resource Cost Reduction on the seal or your weapons works as a stopgap, and any Energy aspect on a ring, such as Aspect of the Umbral, covers the gap while you gear up.
If Energy stops being an issue entirely, Dark Shroud’s Shadow Dancer node is the defensive upgrade to take with the spare point.
What you end up with is a ranged build that stays mobile and does its damage from across the room, at the cost of average survivability and a real positioning requirement. Learn where the walls are, keep Shadow Clone rolling, and the poison does the rest.