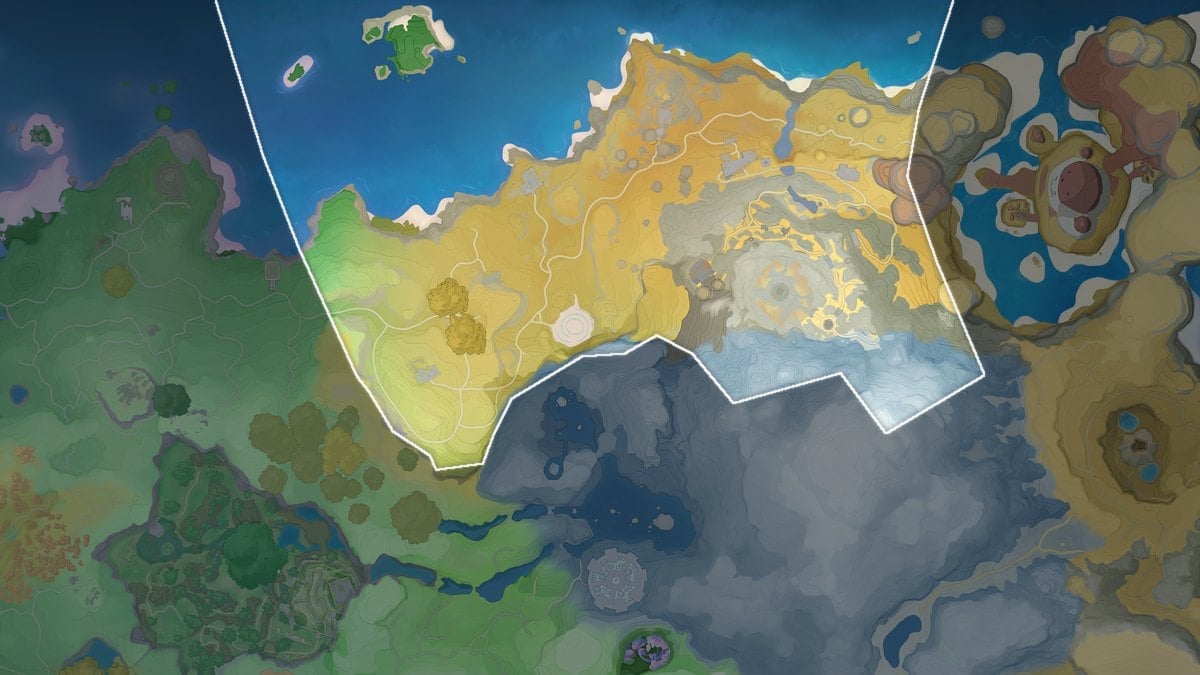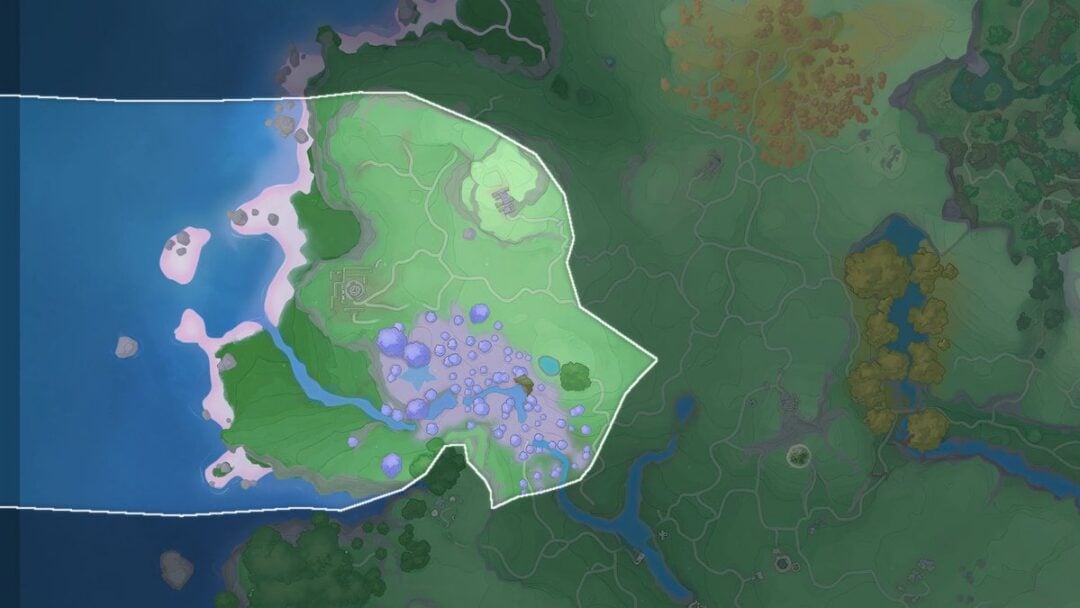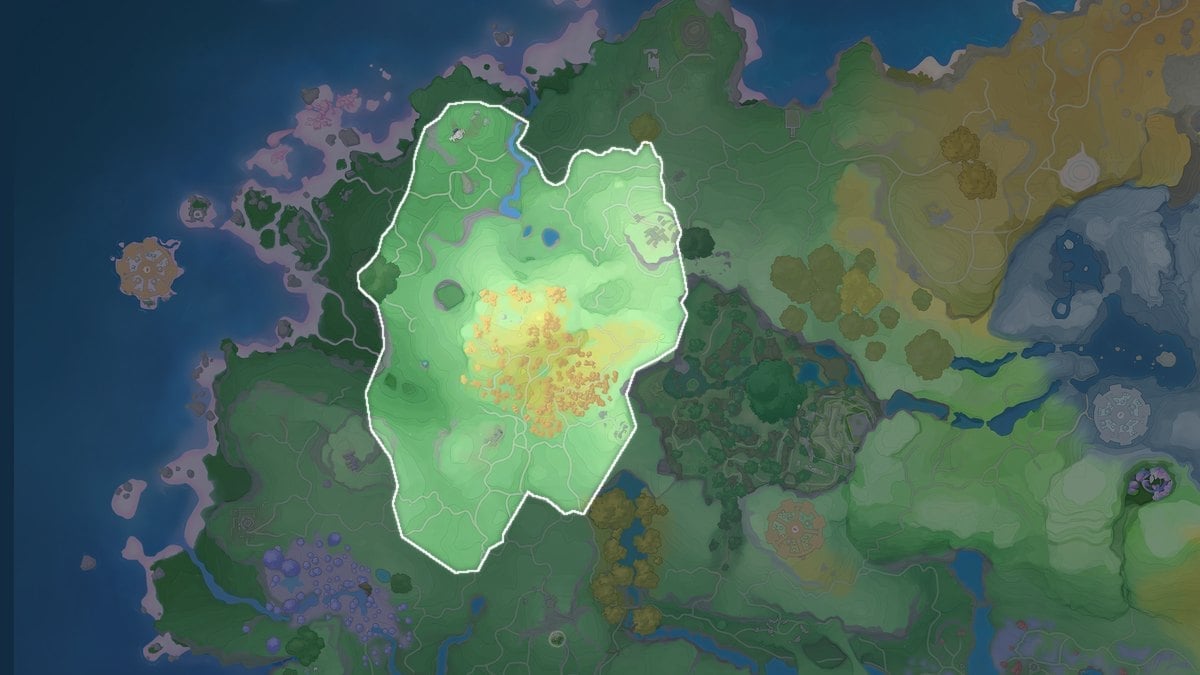
Beast Fang Ridge is the Fire-heavy mountaintop region of Breezy Plains, built for players around level 30 to 35. Its collectibles are not really hidden so much as locked. Vines, ice, cracked rock, and territorial Aniimo sit on top of almost everything worth picking up, and the ridge expects you to bring the right partner to strip them away.
Quick answer: Bring a Fire-type Aniimo and one that can fly. Nearly every chest and Lumin Amber in Beast Fang Ridge sits behind burnable vines, breakable rock, a glide, or a guard.
Beast Fang Ridge region facts and level range
The ridge runs level 30 to 35 across its whole spawn table, so a team a few levels under that will still clear the guards around sealed collectibles. Fire dominates, with Wind, Grass, Earth, and Ice filling in the rest.
- Region: Breezy Plains, level 30–35
- 16 Aniimo species across 226 wild spawn points
- 3 transporters, 3 cave entrances, 2 Blooms, 1 gathering node
- 3 Lumin Collection challenges and 4 Pathfinder Challenges
- Region boss: Alpha Glynsera, level 35, Ice
Unlock the transporters early. A collectible sweep here involves a lot of backtracking between the orange tree area in the middle and the cliffs at the north end.
What to bring before a collectible run
Four things cover the entire region. Skip any one of them and you will end up walking away from markers you can see but cannot open.
- A Fire-type Aniimo for brambles, thorn vines, dead leaves, and ice blockades
- A flying Aniimo for glides, treetop amber, and the ring courses
- A Breaker or heavy hitter for cracked boulders and wall sections
- An Emberpup-family Aniimo to twine with for one dialogue-locked amber
Beast Fang Ridge chest locations by obstacle type
There are 22 treasure chests scattered across the ridge, and they fall into four clean groups. Once you know which tool each group wants, spotting them on the map gets much faster.
Chests behind vines and brambles
This is the largest group, seven chests in total. The pattern repeats constantly: a thick bramble patch or a knot of thorn vines sits at the base of a stone arch, a ruin pillar, a tree trunk at a cliff edge, or wrapped directly around the chest itself. Burn it off with a Fire attack and the chest is immediately reachable.
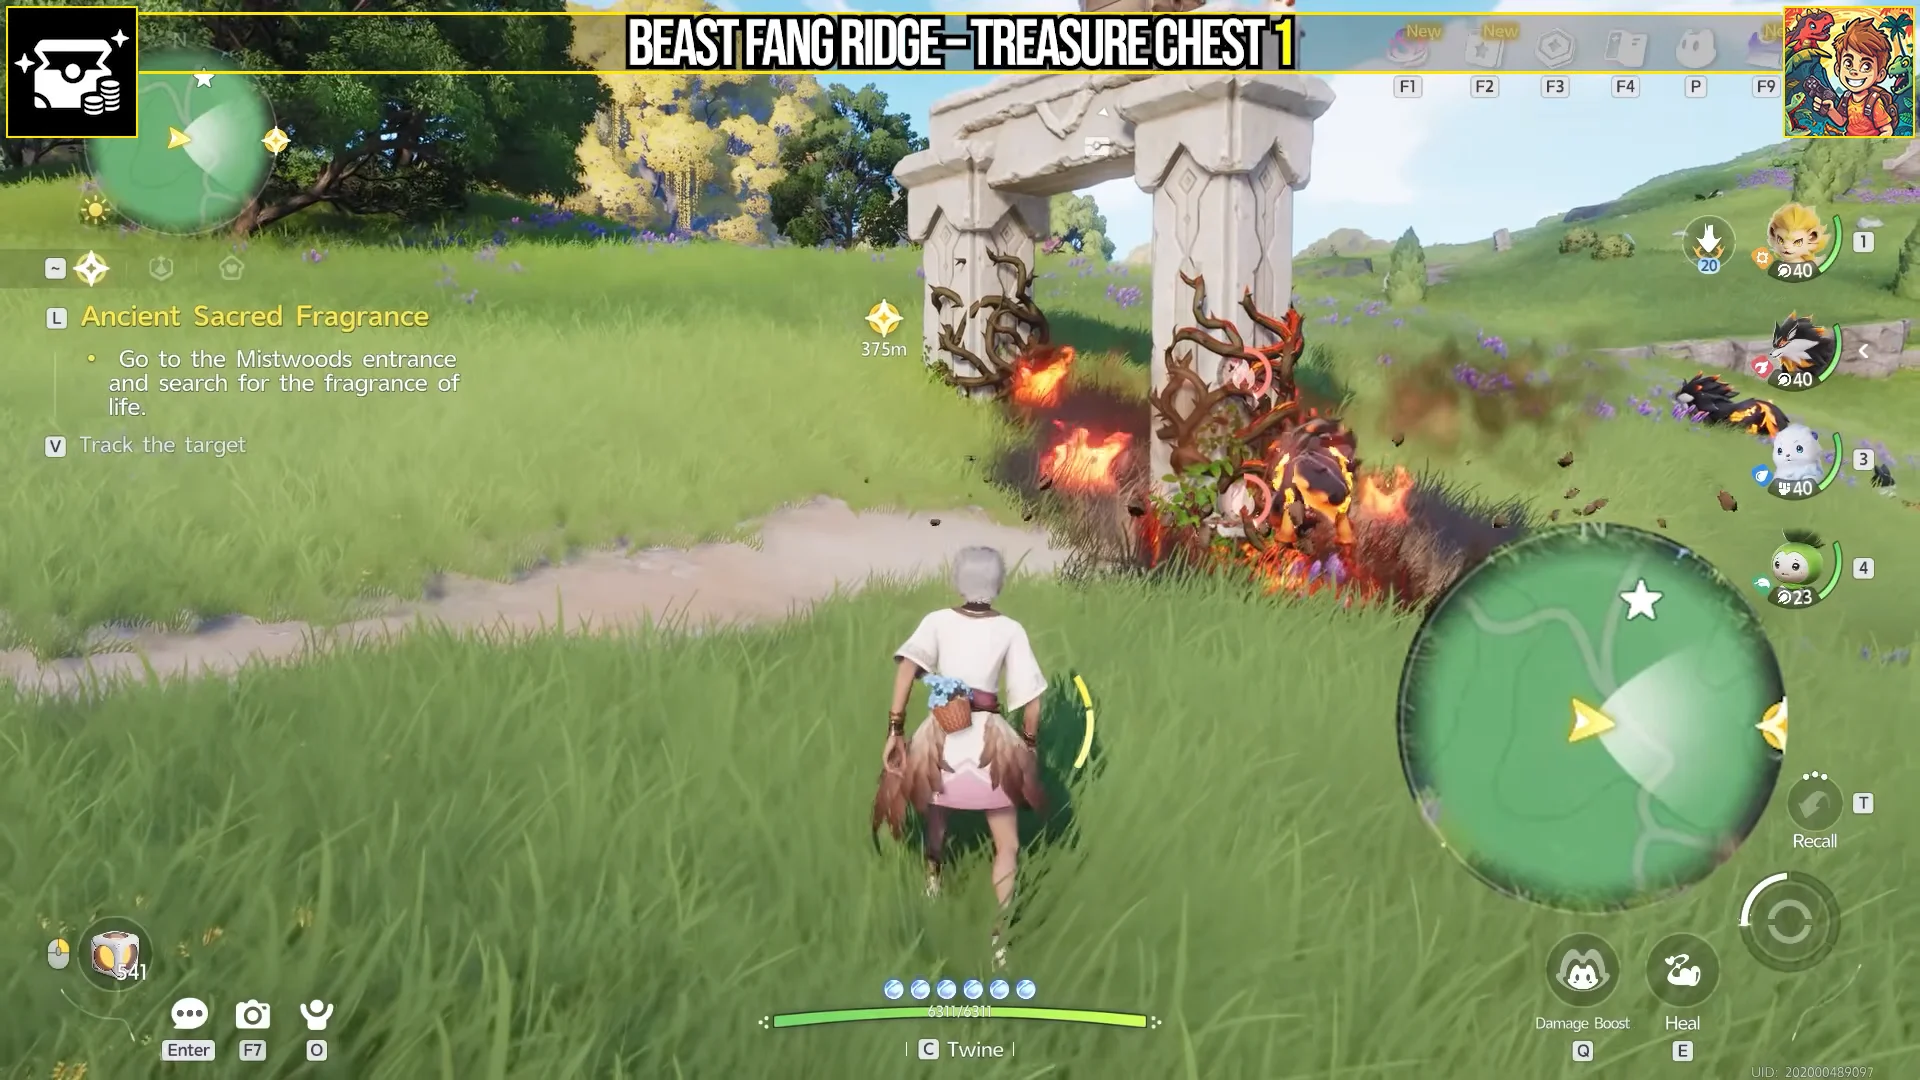
Two of these put the chest above you rather than behind the vines. At the ruin pillar and at the rocky outcrop, clear the growth first, then fly up or drop down to the shelf where the chest is actually sitting.
Chests inside breakable rock
Four chests lie beneath breakable terrain: one under a rock pile on the slope leading toward Nimbus Fields, another behind a fractured boulder sealing a small alcove, a third within a boulder pile on a grassy incline, and the last beyond the damaged wall of a stone arch structure. Keep striking the weakened surface until it gives way and reveals the chest below.
Chests on ledges, shelves, and open ground
Roughly a third of the ridge’s chests need nothing but positioning. Some sit in plain view along the ridge edge, under a marked tree on a hill, beneath a tree next to wild Aniimo, or tucked into a shallow alcove at a rock base. Two more are on the stone ruins platform, side by side.
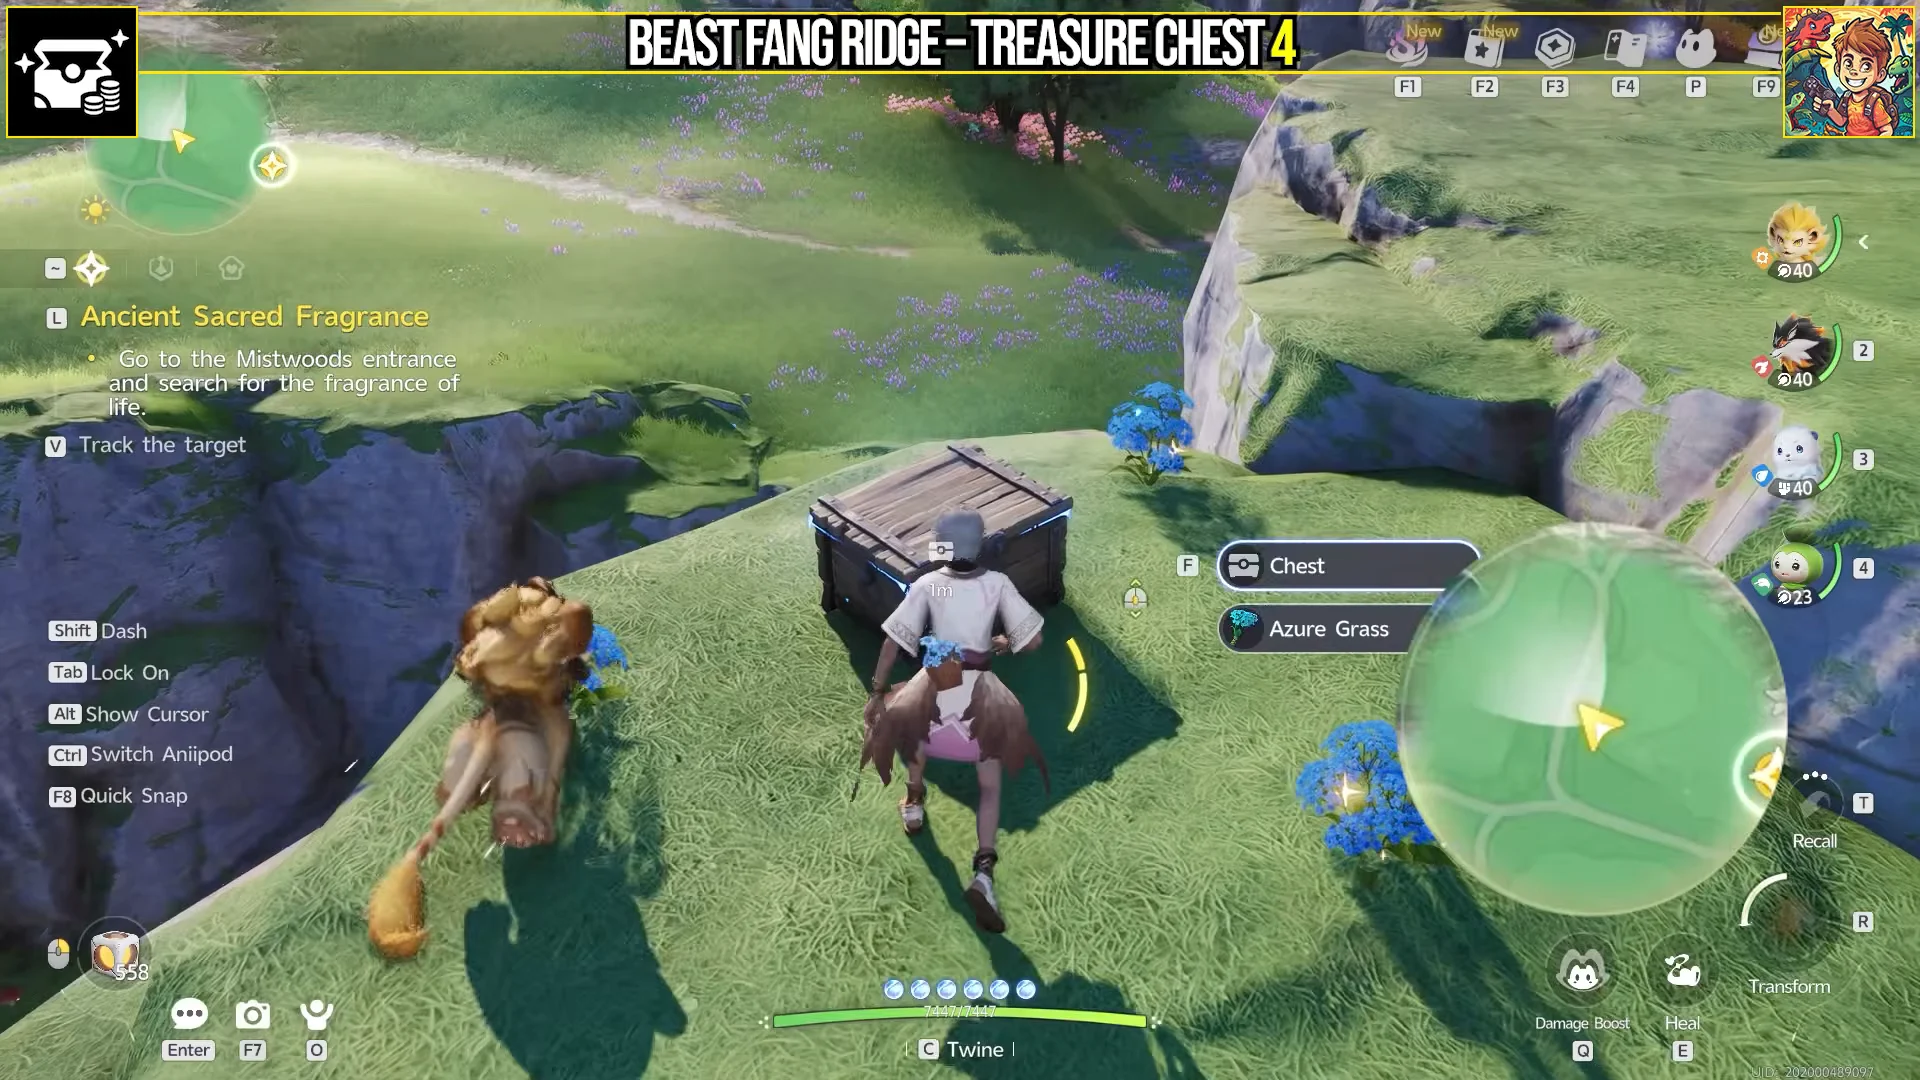
The rest of this group is vertical. You drop off a cliff edge onto a narrow rocky ledge, or glide down toward a rocky wall and land directly on the shelf holding the chest. Approach these from above, never from below.
The cave chests
Reach one chest by gliding into a small, fire-lined cave opening. Inside, interact with the campfire to summon a Trickster Sparki. Defeat it, then open the puzzle chest it guarded. After exiting, follow the downhill rock ledge just beyond the opening to find the final chest.
Beast Fang Ridge Lumin Amber locations and coordinates
Every pickup here is Lumin Amber: Breezy, and each one gives one unit. The coordinates below are the map positions to pin before you head out.

| Coordinates | What blocks it | How to clear it |
|---|---|---|
| -1300, 1120 | Amber up in a tree | Jump into the trunk from the cliff edge |
| -1323, 1183 | Amber on ancient ruins | Climb the pillars, glide over the crate |
| -1300, 1225 | Sonic Glide challenge | Touch the purple butterfly, surf the slope |
| -1485, 1312 | Ice-sealed cave mouth | Melt the ice, thaw the frozen Bonesky inside |
| -1165, 1182 | Lv 38 Flutternym guard | Defeat it to dissolve the bubble |
| -1150, 1235 | Thorn brambles on a rock edge | Burn them, then jump across |
| -1212, 1368 | Flameruff roll call | Twine into an Emberpup and pass inspection |
| -1172, 1389 | Split-rock rune | Line the camera into one golden circle |
| -1156, 1435 | Briar sphere, Fire By Wind | Burn it, then fly the rings for 6/6 orbs |
| -1219, 1431 | Lv 39 Flameruff pack | Clear the pack around the sealed dome |
| -1176, 1603 | Cliffside rune halves | Reposition until the red circle closes |
| -1092, 1603 | Dense tree roots | Burn the overgrowth away |
| -1289, 1516 | Ice pillar and thorns in a creek | Melt and burn, then align the boulder markings |
| -1311, 1568 | Fenrier and Bonesky guards | Defeat them around the barrier dome |
Rune alignment puzzles
Three of the ridge’s amber are perspective puzzles rather than obstacles. Broken rune carvings are split across separate boulders or cliff faces, and you have to stand in the one spot where the camera lines them into a complete circle. The river gorge version at -1289, 1516 needs a cleanup pass first, since an ice pillar and thorny branches block the sightline until a Fire Aniimo removes them.
Lumin Collection challenges
Three timed courses award amber at the finish line. Sonic Glide sends you surfing down a grassy slope through energy markers. Fire By Wind only appears after you burn the briar-wrapped sphere at -1156, 1435, then asks you to fly through rings and collect all six orbs before landing on the stone temple ruin.
The third, Across the Canyon, will not show on your map at all until you finish the Soaring Glide Sanctum at -1516, 1179. Clear the Sanctum, return to the temple platform stairs, and interact with the butterfly icon to start a gliding run down the valley through acceleration rings.
Guarded amber and the Flameruff patrol
Four amber sit inside protective domes with an Aniimo posted next to them. The guards run from a level 38 Flutternym up to a level 39 Flameruff pack, plus a Fenrier and Bonesky pair on the northern hill slope. Defeat the guard and the bubble dissolves on its own.
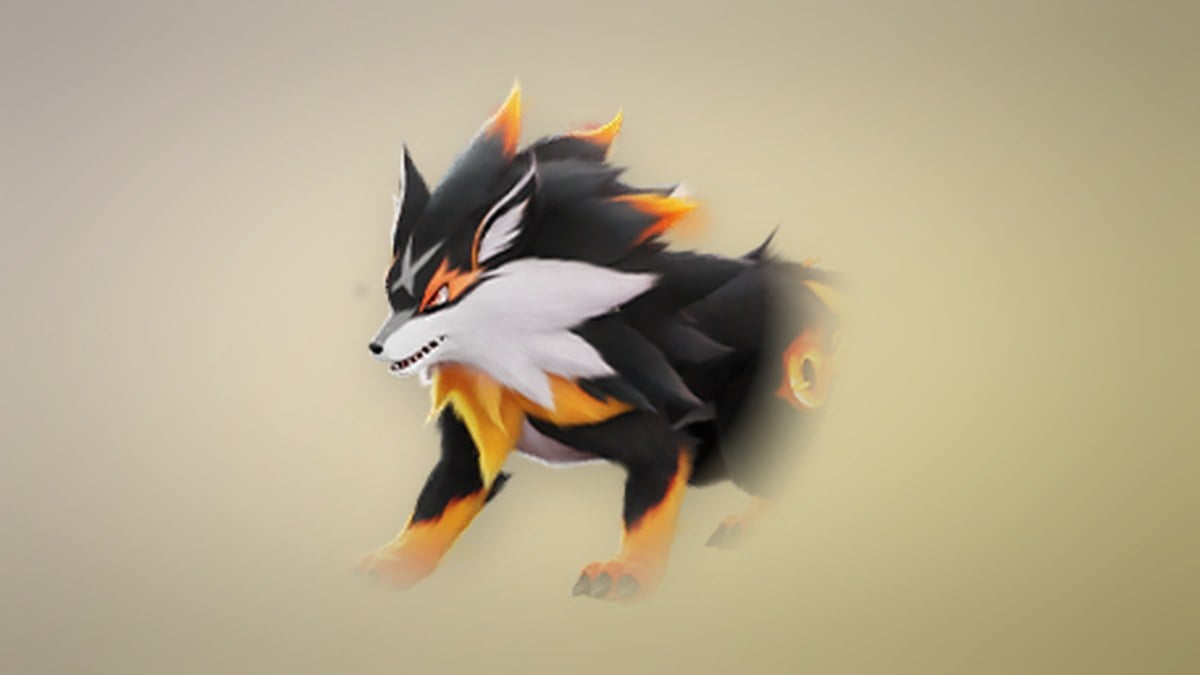
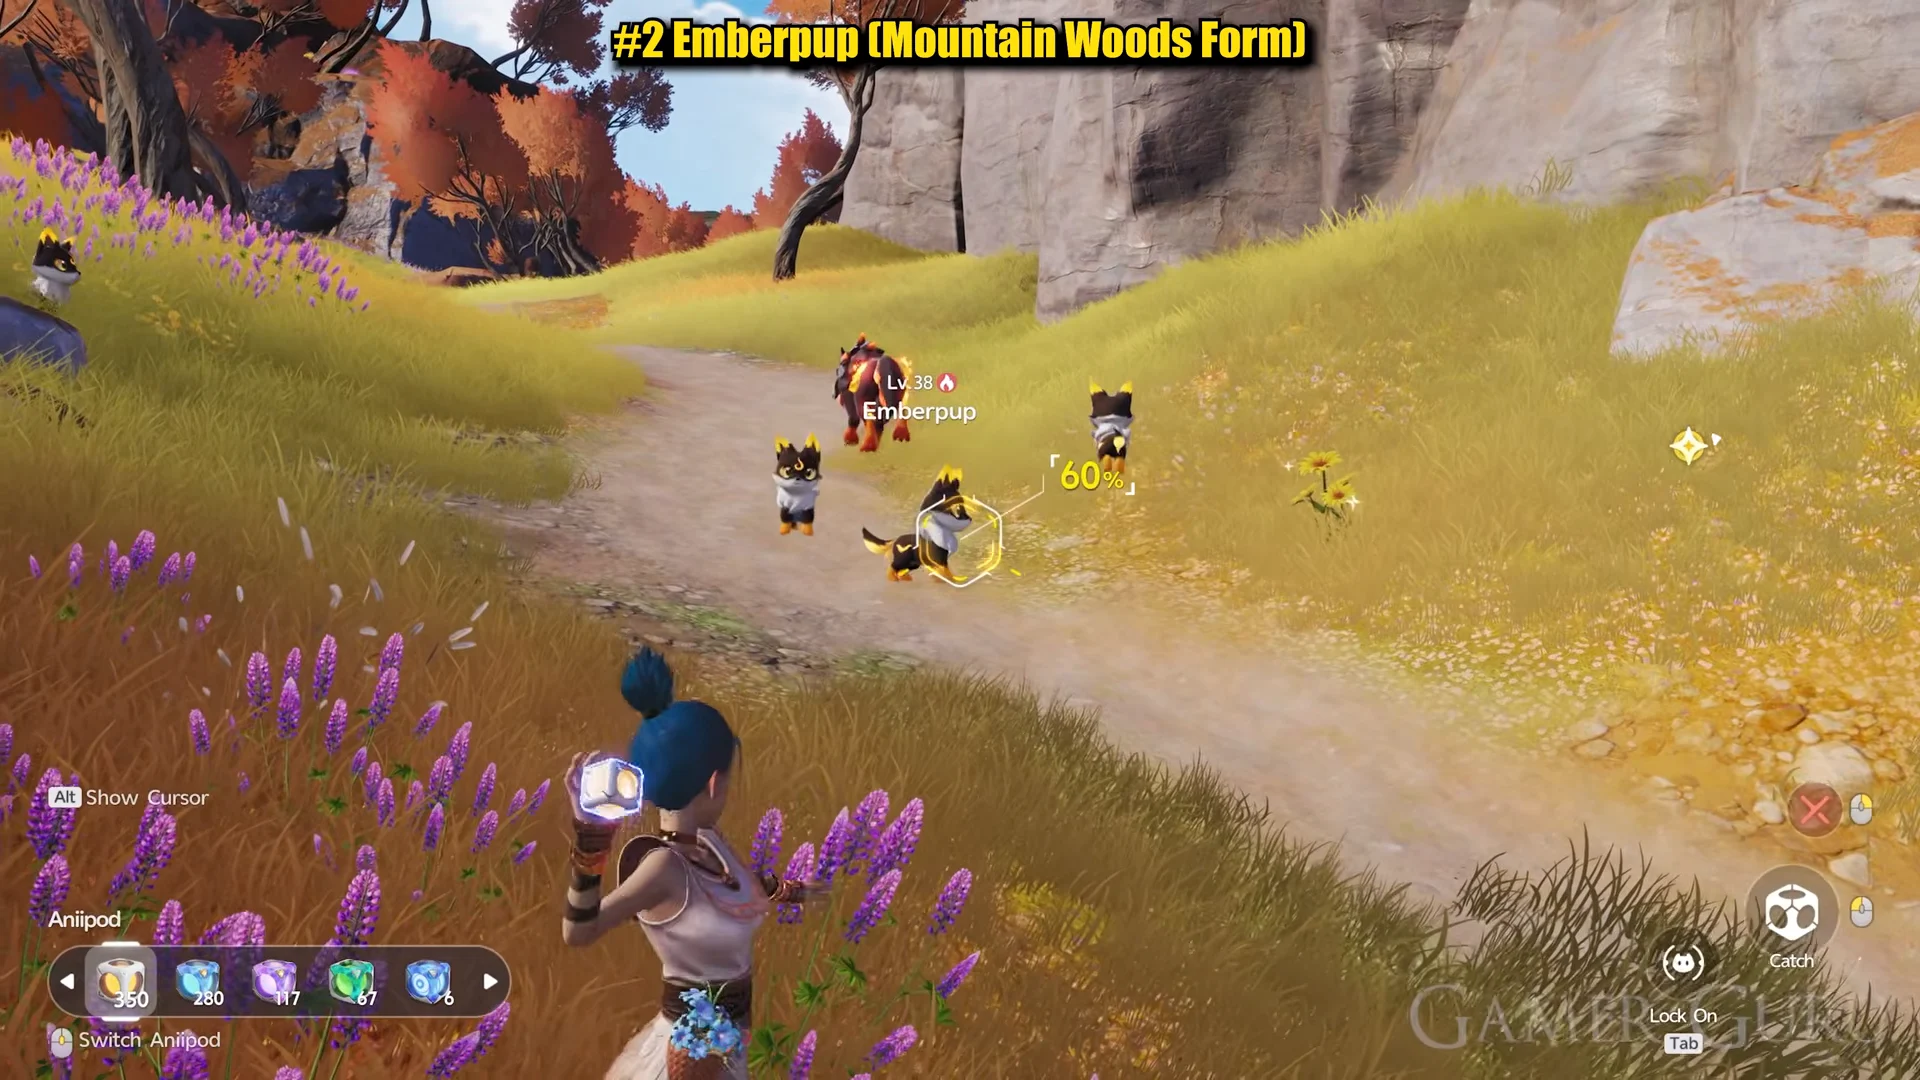
The patrol at -1212, 1368 is the one genuine outlier. Twine into an Emberpup, then speak to the Patrol-Ready Flameruff and pick the dialogue option “Never… overeat!” to blend into the pack. Passing the roll call hands over the amber directly.
The ice cave at -1485, 1312 doubles as Alpha territory. First-time Alpha clears also pay out Lumins, so it is worth taking the fight rather than grabbing the amber and leaving.
Pathfinder Challenges in Beast Fang Ridge
Four Pathfinder Challenges are spread across the region, and each one is a straight Aniimo duel against a named trainer. Sarah is the first, followed by Mario and Nightwolf out toward the edge of the ridge. The fourth is Leah, who stands near the campsite and has to be spoken to before the duel starts.
Win the battle and the reward drops immediately. There is no follow-up objective and no second visit required.
Collectibles locked behind night, weather, and story progress
Not everything on the ridge is available the moment you walk in. Some markers stay dark until an external condition flips.
- Sparki and Flamerion only appear at night, which needs the day and night cycle unlocked through the main story
- Scorchhowl in Thunderstorm form only spawns during an active thunderstorm, and does not respawn once the storm passes
- Mountain Woods Gracewing hides in a pile of dead leaves in Lumenfly Valley, reachable after progressing The Land of Dancing Illusions
- Across the Canyon requires the Soaring Glide Sanctum to be cleared first
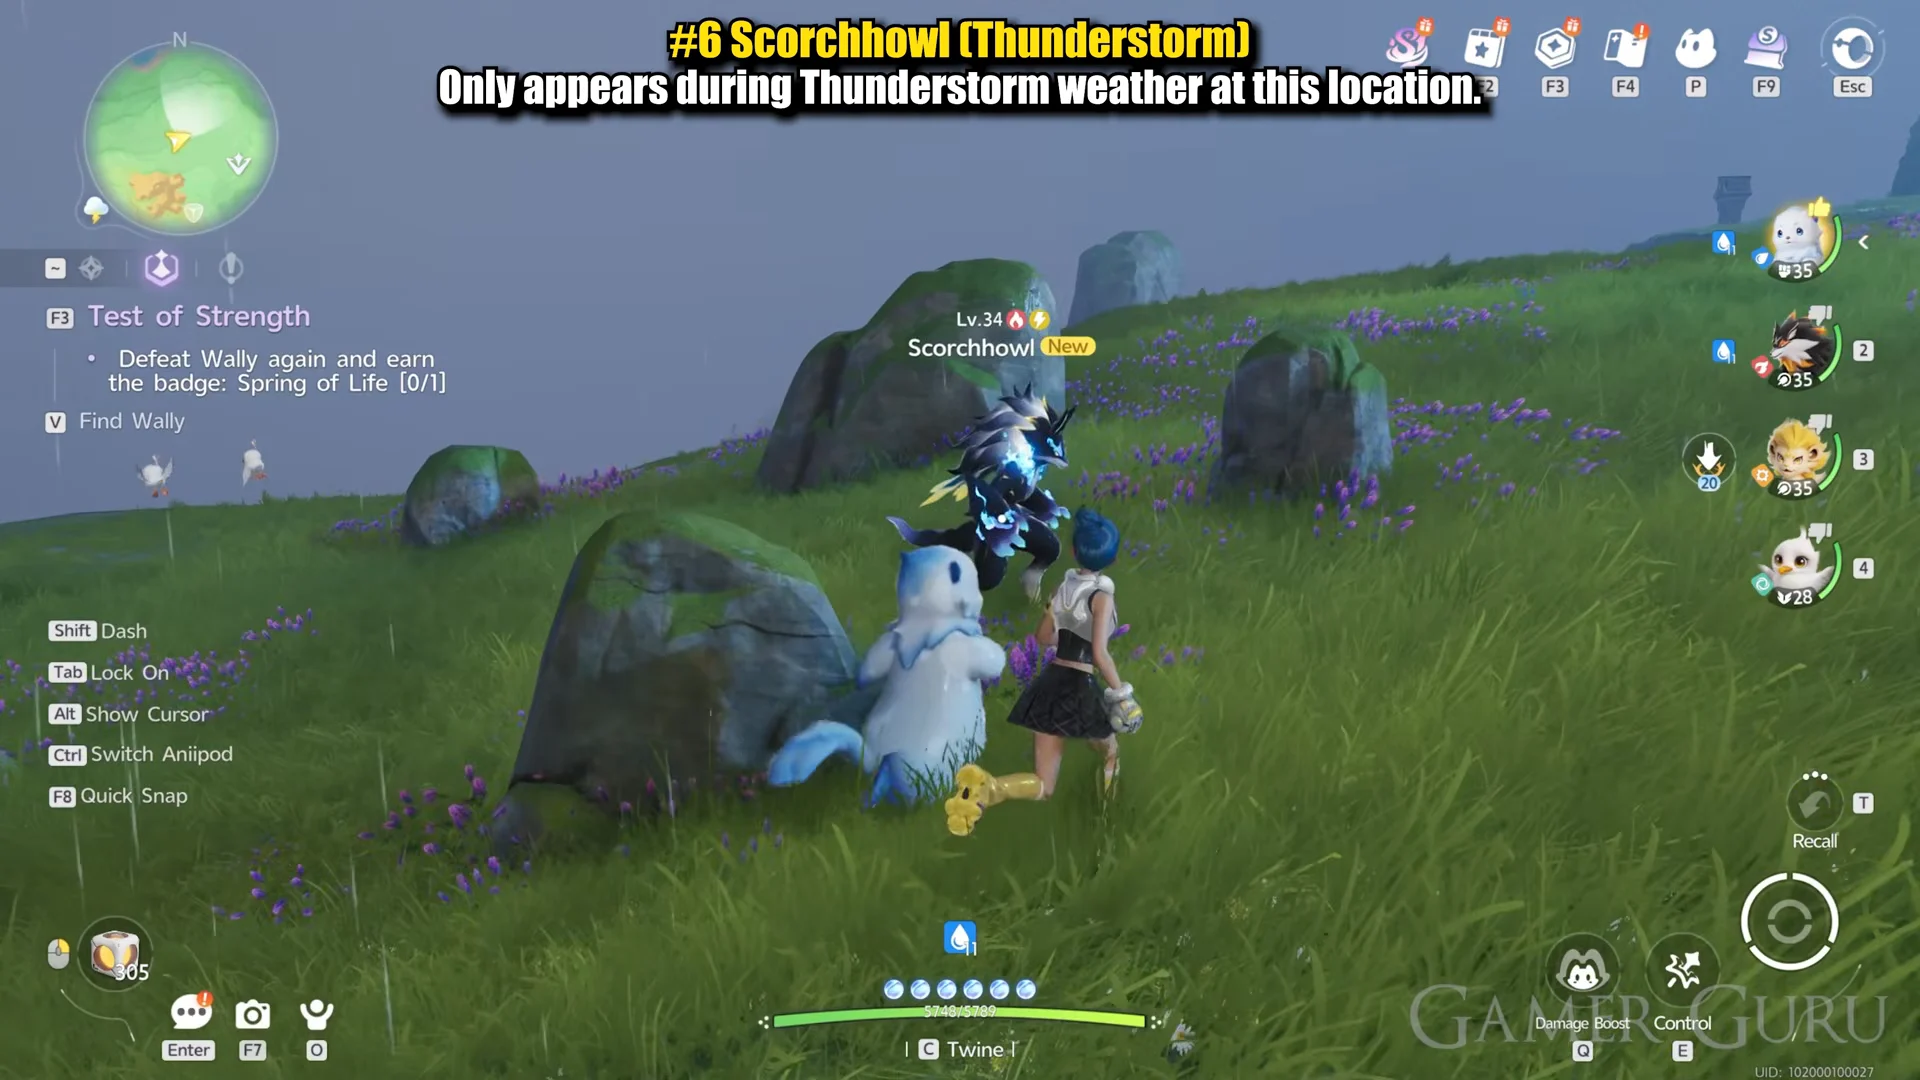
Open the map menu and check the Weather tab to see the timing. Regions exceeding 70% completion also change weather automatically every few hours, making storm-gated content much easier to schedule as you raise your exploration percentage.
How to confirm your Beast Fang Ridge progress
Every successful pickup gives a visible confirmation. Amber reads as Lumin Amber: Breezy x1 in the reward popup, chests play their open animation and hand over contents, and Lumin Collection challenges only pay out once the orb counter hits 6/6 and you cross the finish line.
The real tracker is the Breezy Plains percentage on the world map. It ticks up as you clear markers, so open the map between passes and check whether the number moved. If it did not, something in the area you just swept is still sitting behind vines, rock, or a guard.